Monday Articles - August 2022
Scroll down for latest instalment

Eventually managed to get all of the pieces of the headlight cowl 3D printed and stuck together. It doesn’t look very pretty, but it’ll do for now.
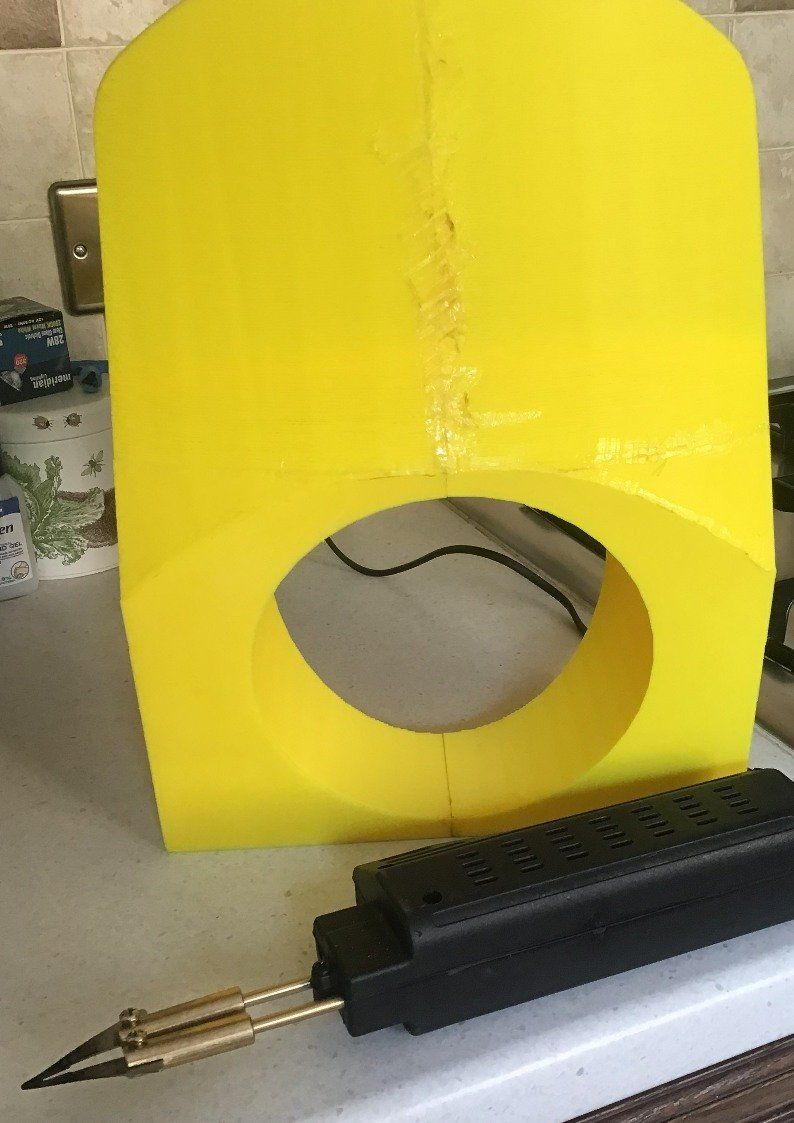
First problem is that the guide for the brake hose is in the way. The solution for that at the moment is to just take it off!
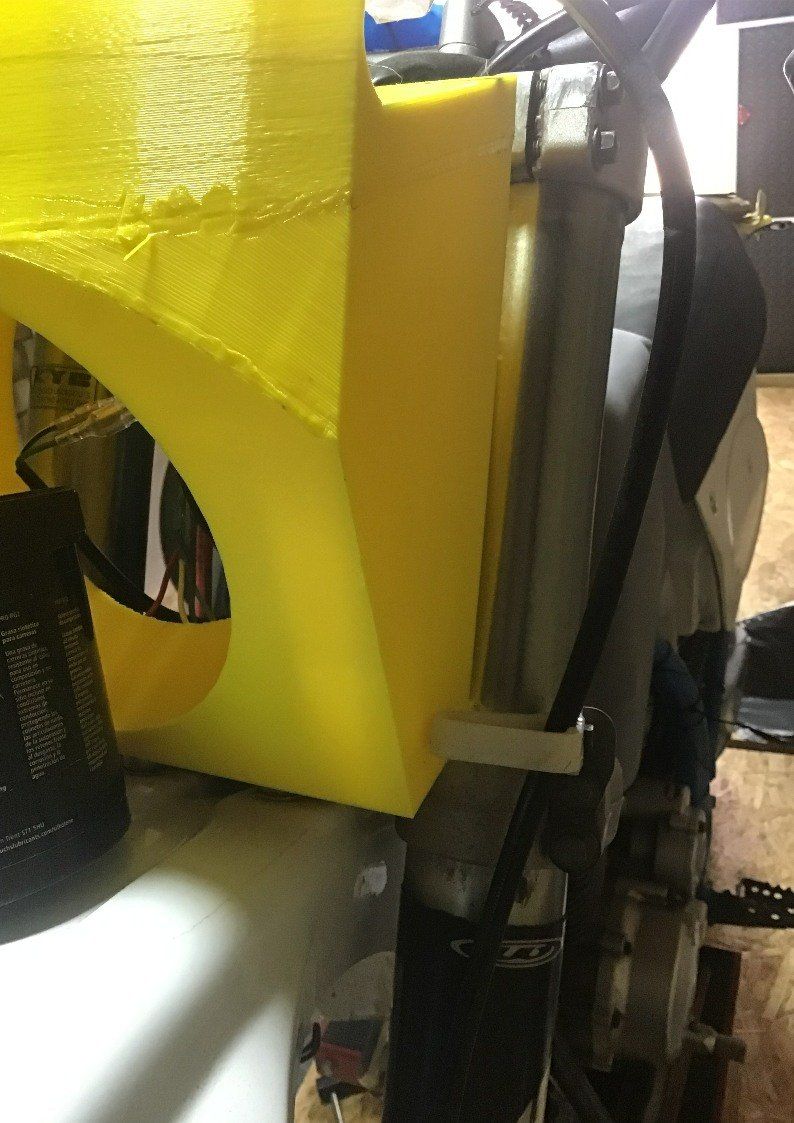
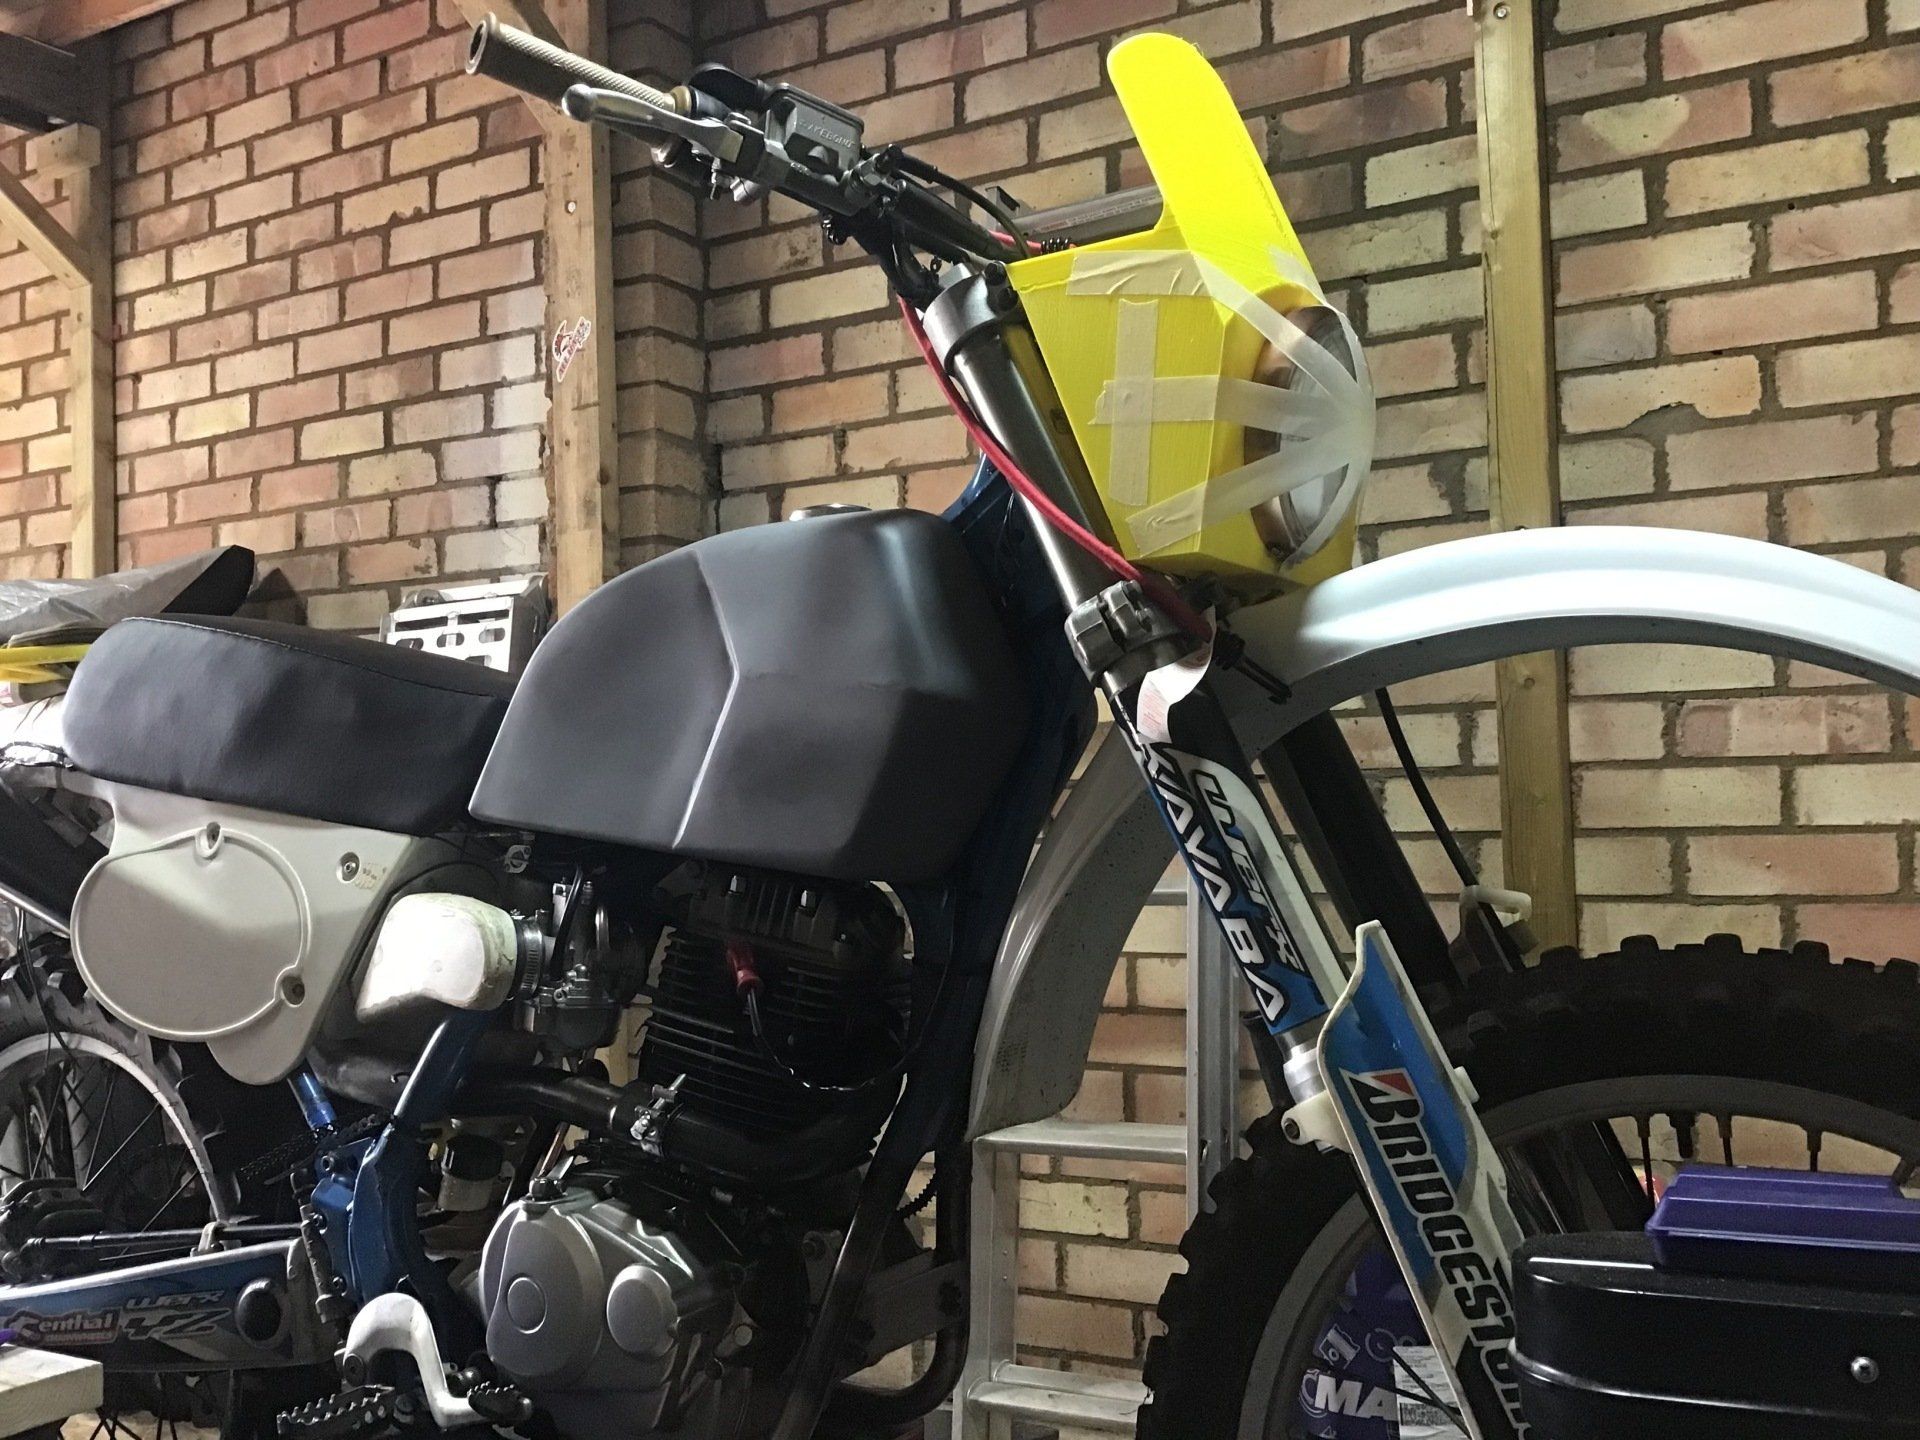
With the aid of a bungee strap, it’s now in place. I quite like the look. It’s kind of Paris - Dakar racerish.
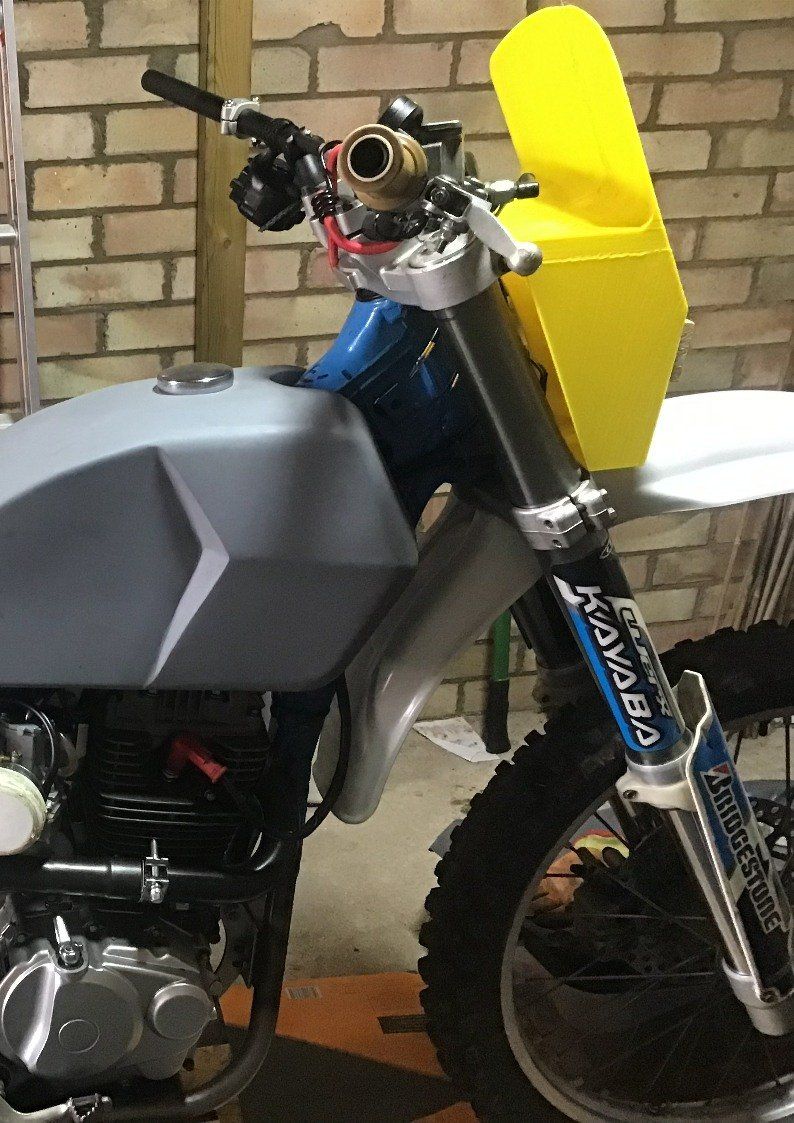
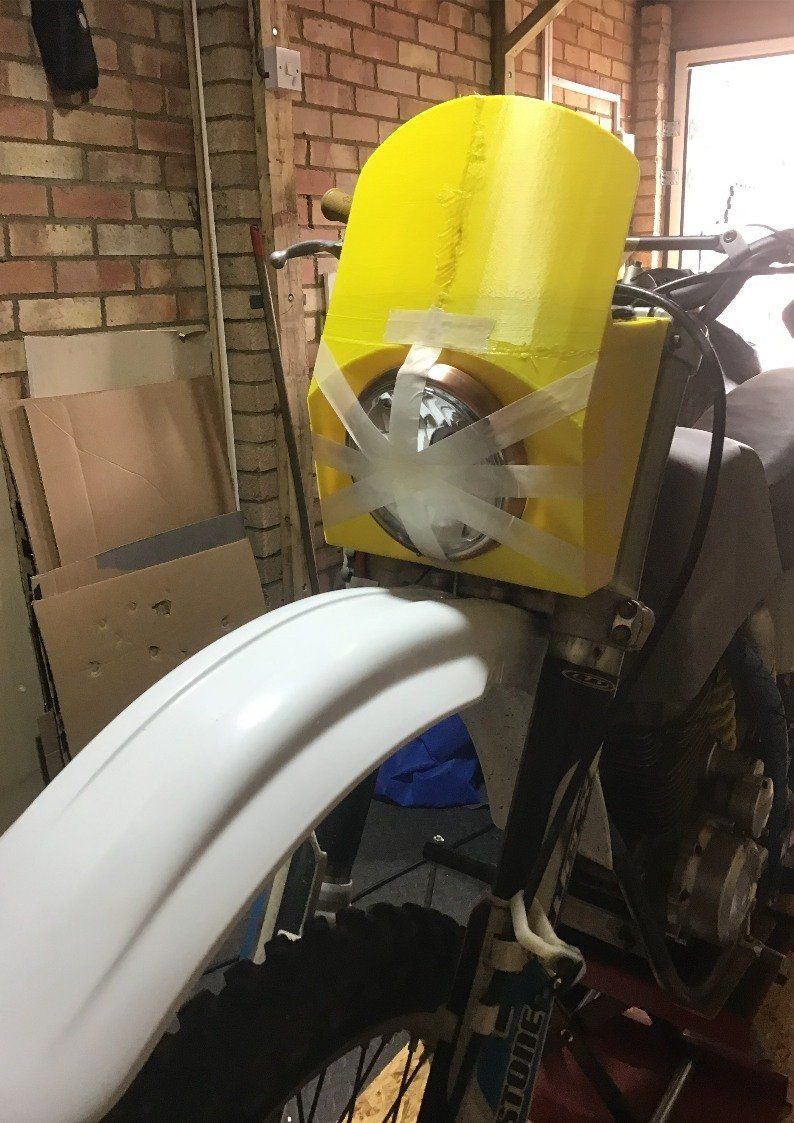
It looks a little too boxy from the front view, but I haven’t yet decided what changes I would make, or whether the boxy look will eventually grow on me.
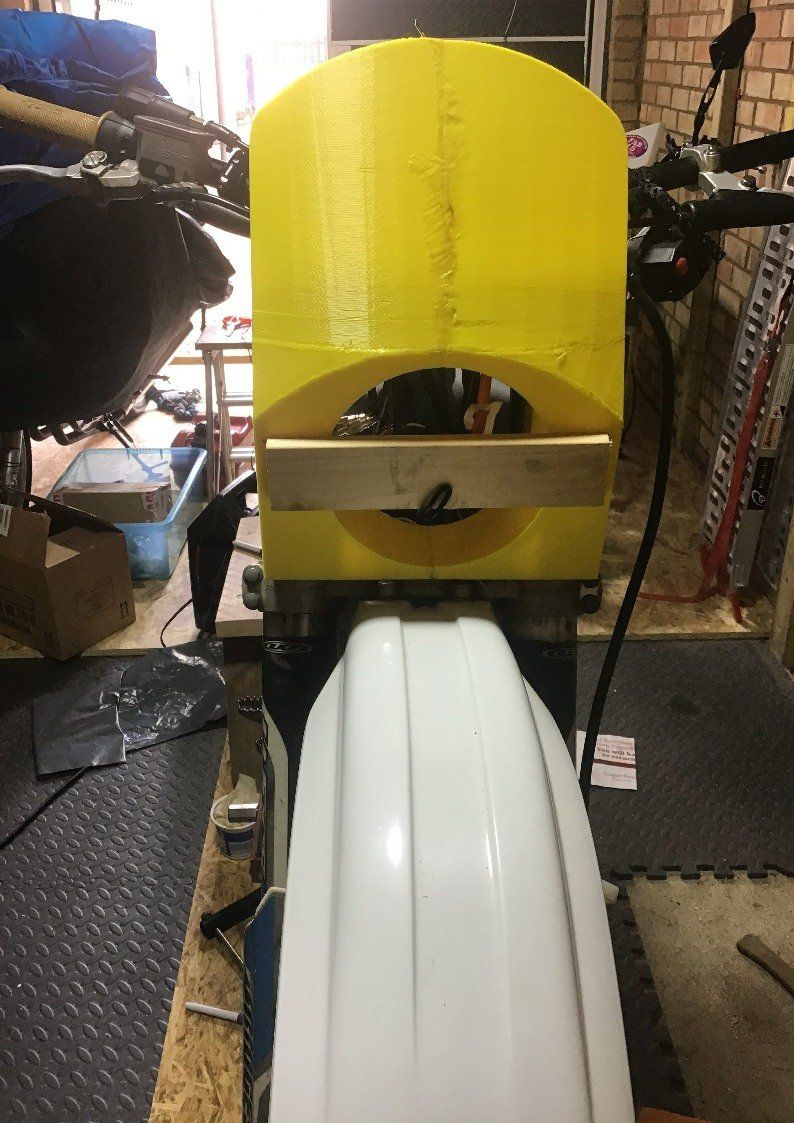
And I may make the edges of the screen more roundy… maybe?
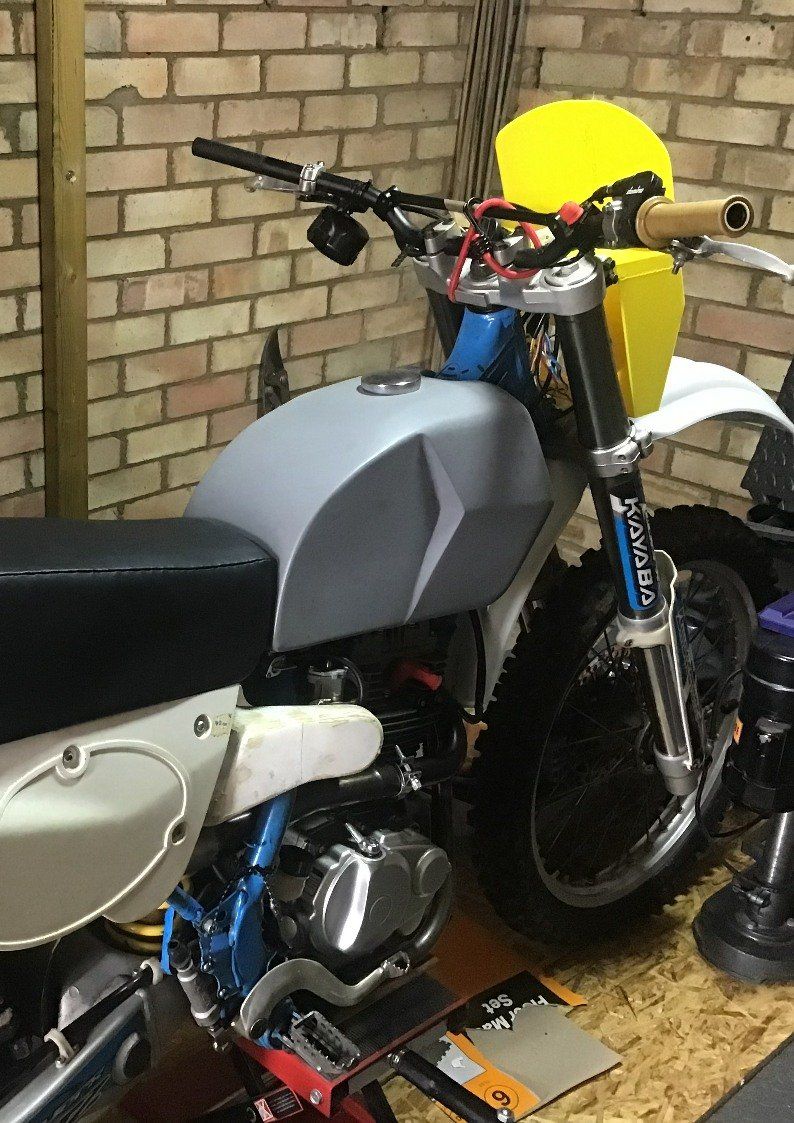
Time to see if the headlight fits. Thankfully I got that dimension right!
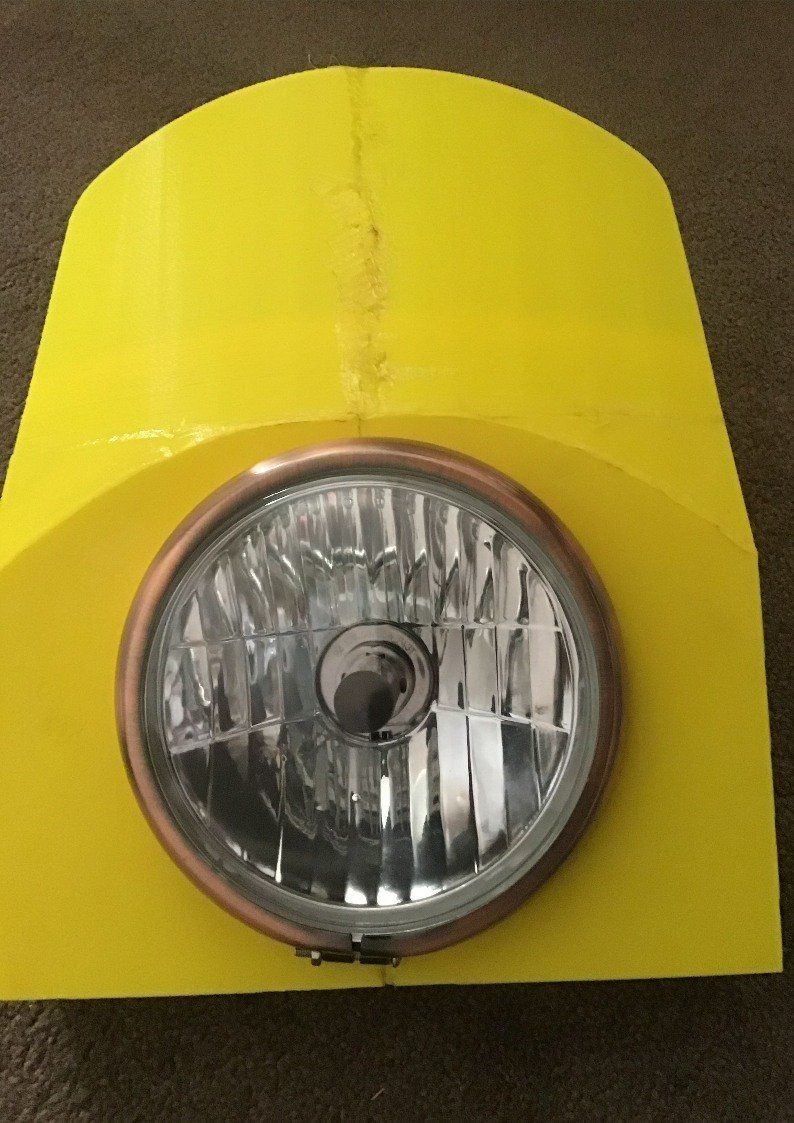
Have to remove the original mounting brackets though. Also a lot of the plastic surrounding the light is superfluous, so that’s coming off.
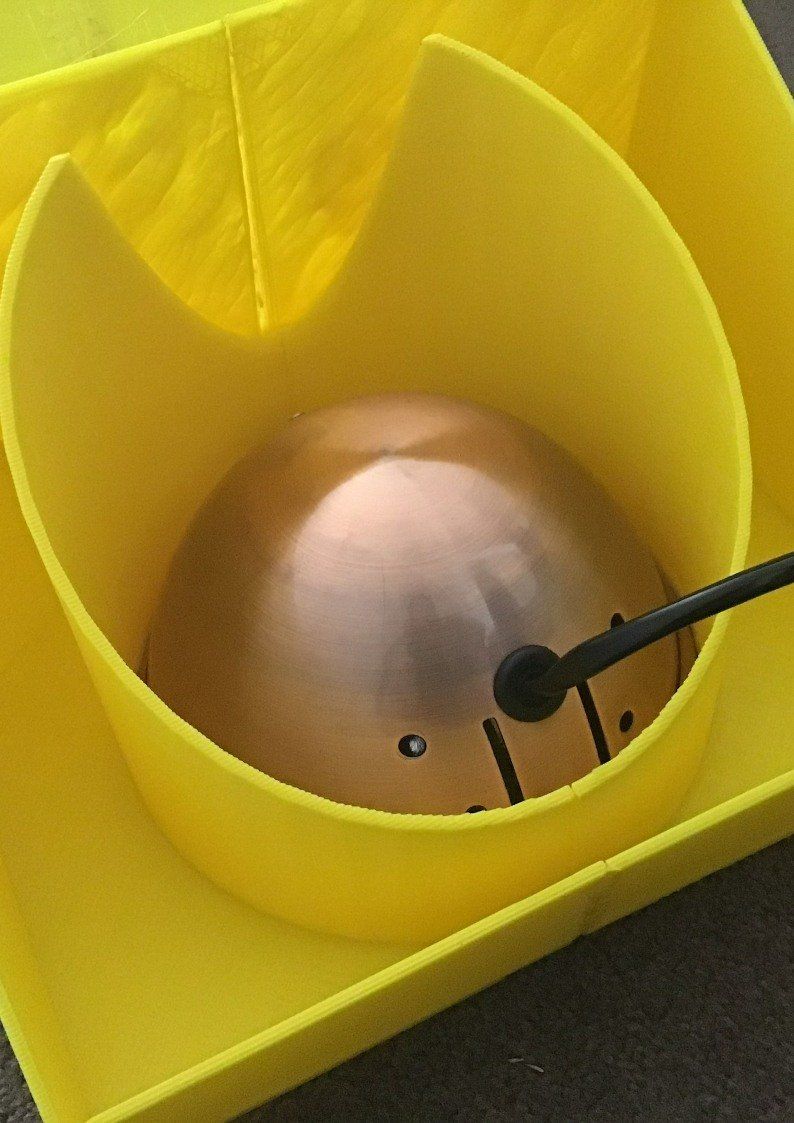
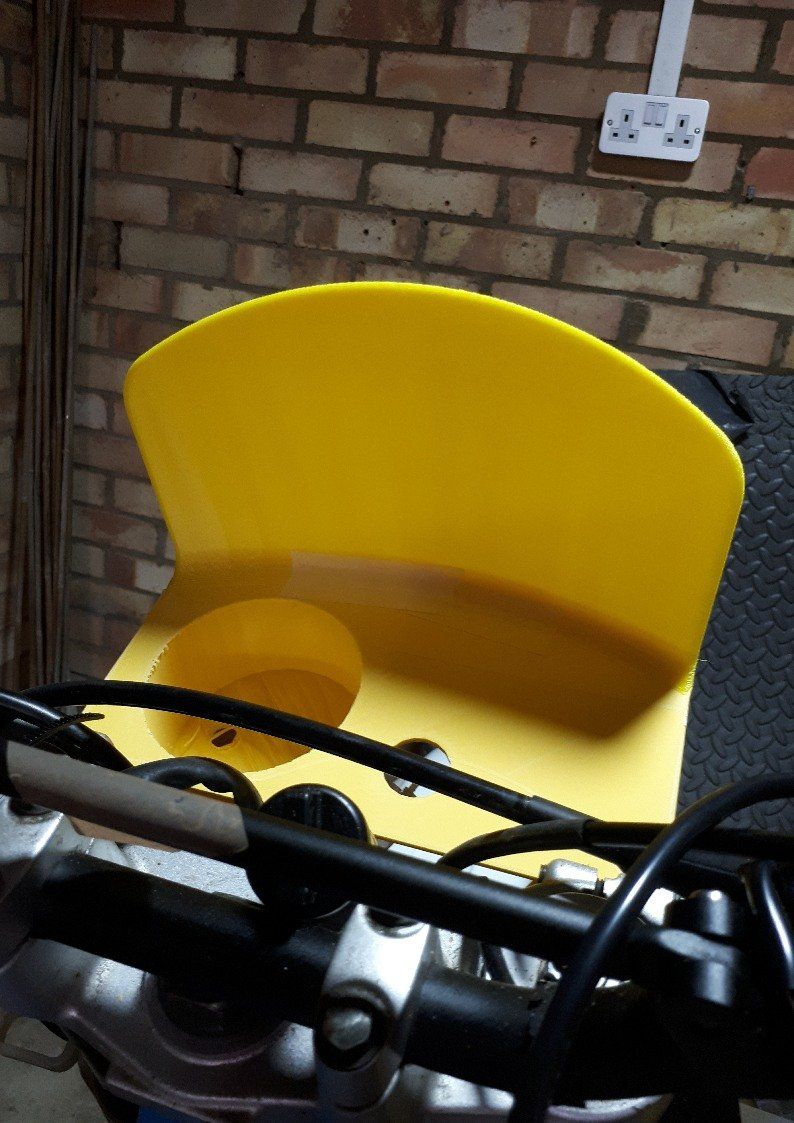
Extra plastic removed and holes for speedo and ignition switch added.
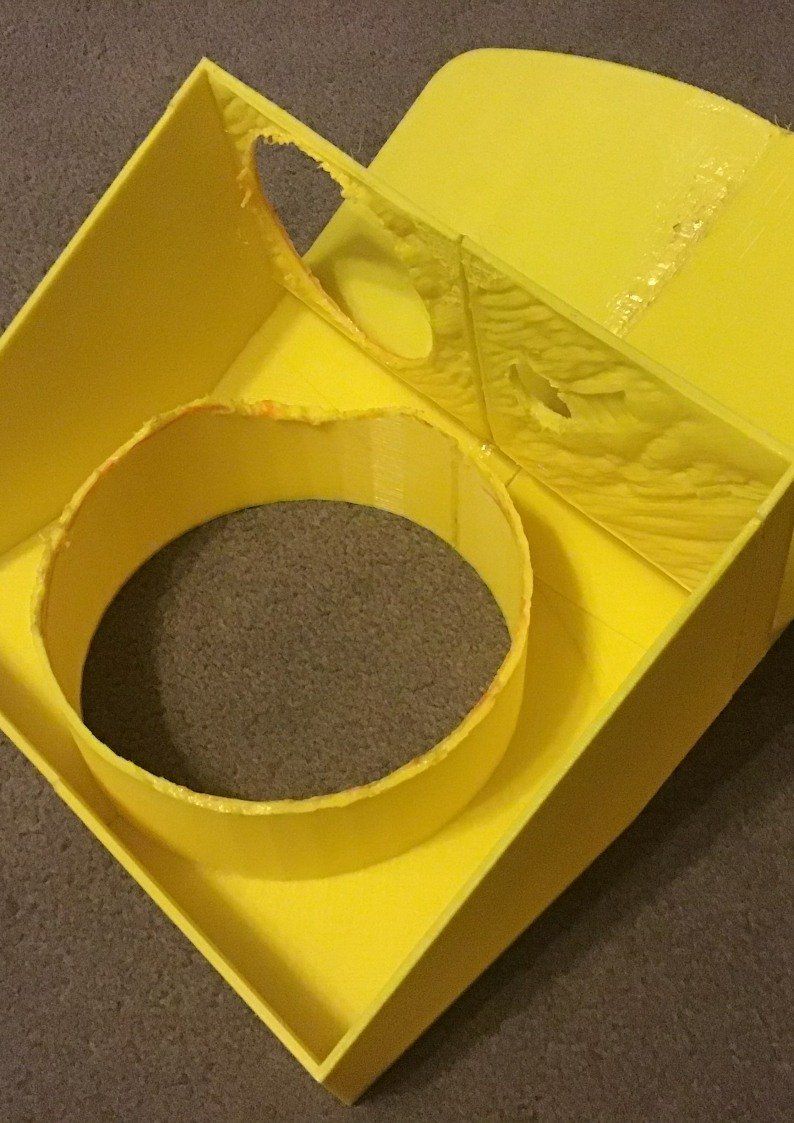
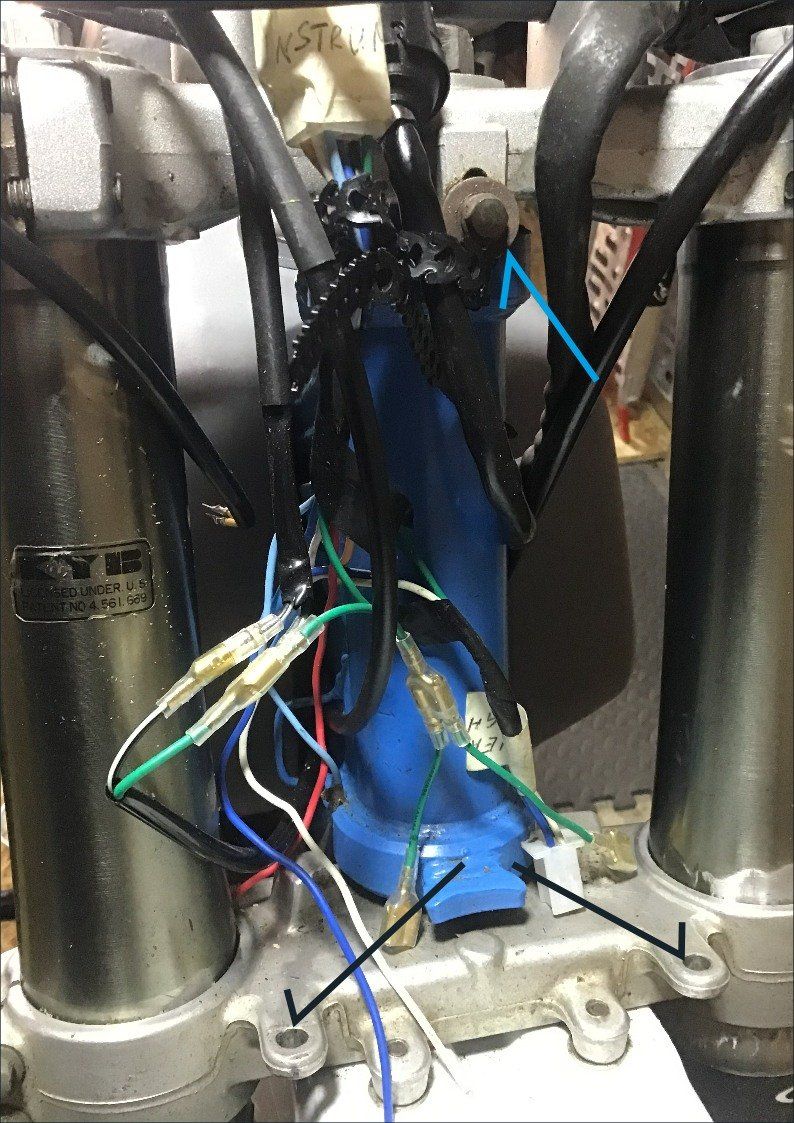
With lots of masking tape holding the headlight in place, it’s offered back up to the bike. At the moment, the headlight angle looks wrong. I think it might do a good job of illuminating the front mudguard! There needs to be some means of adjusting that.
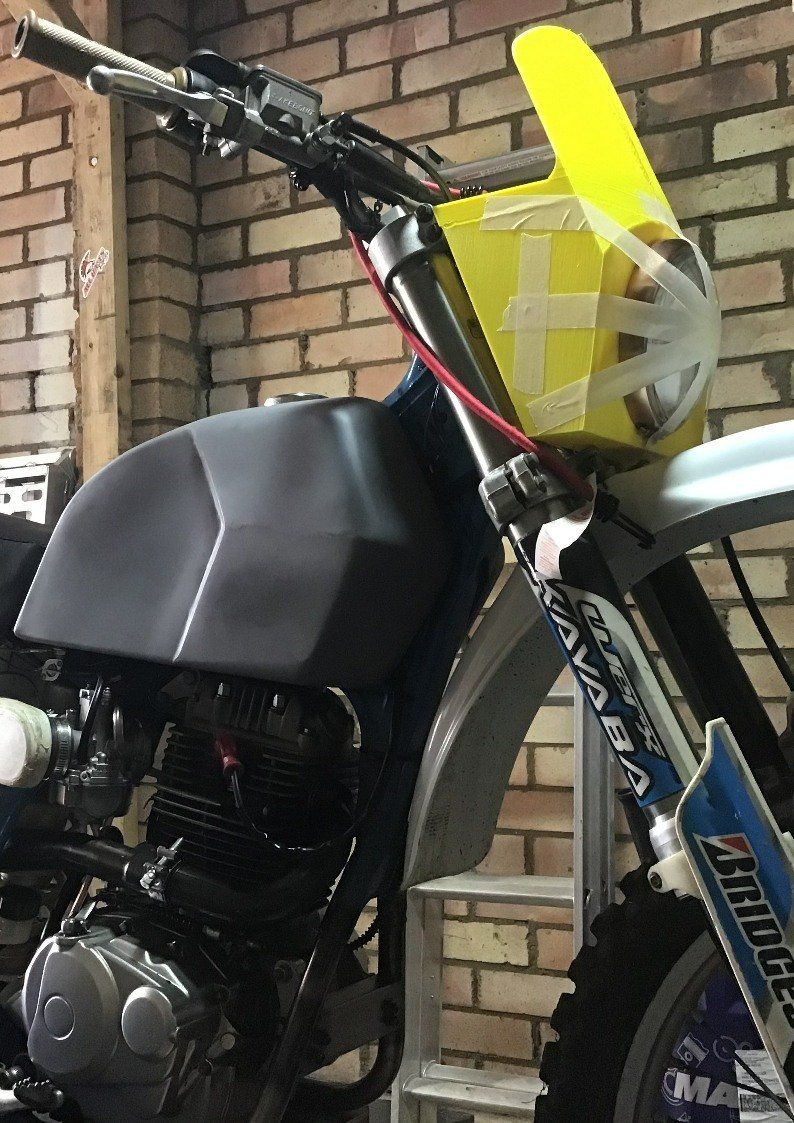
Another problem - obvious now that I think about it duh! With the speedo mounted flat you can’t read it from the sitting position. I don’t really want to have to stand on the pegs to see how fast I’m going, so that will have to be altered!
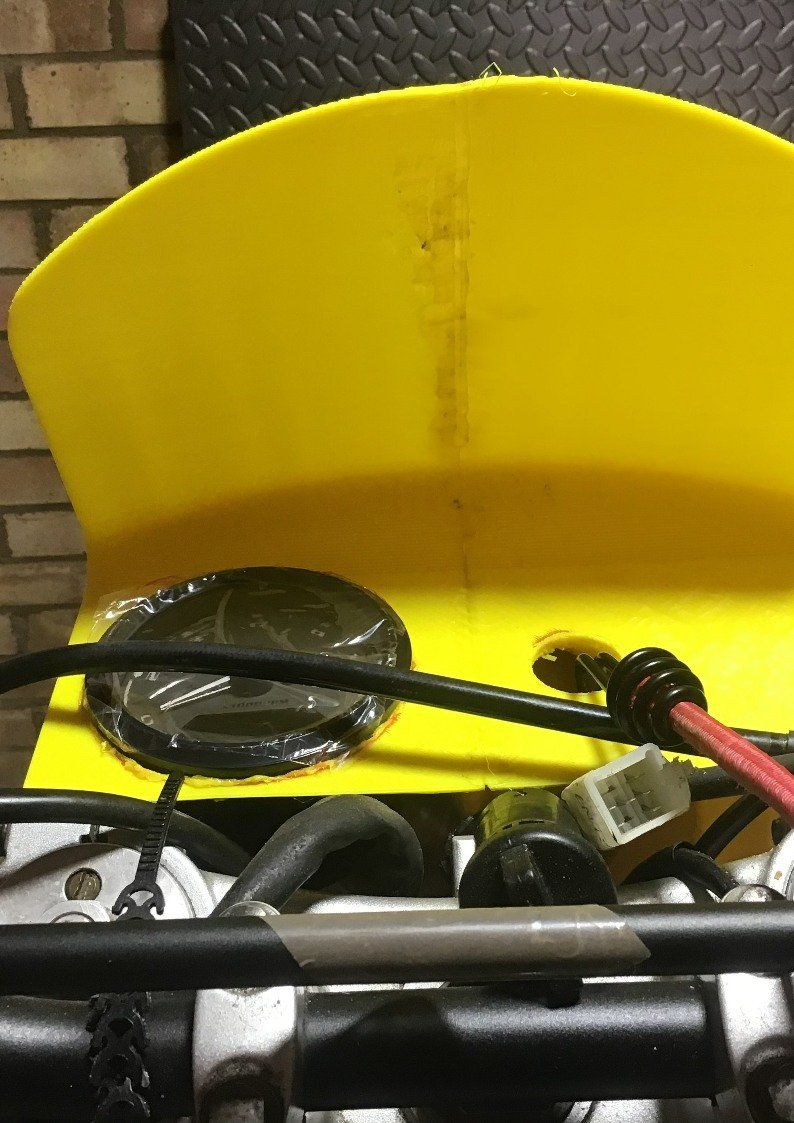
The next problem? Mounting the damn thing! There are three fixing points that the original number board used. Or I could make brackets that attach using the top and bottom yoke pinch bolts. Or I could make brackets that clamp around the forks themselves. Almost endless possibilities...
Another view from the front, this time with the headlight in place. I still can’t make my mind up…
The first prototype has thrown up more questions than answers, but it’s a start!
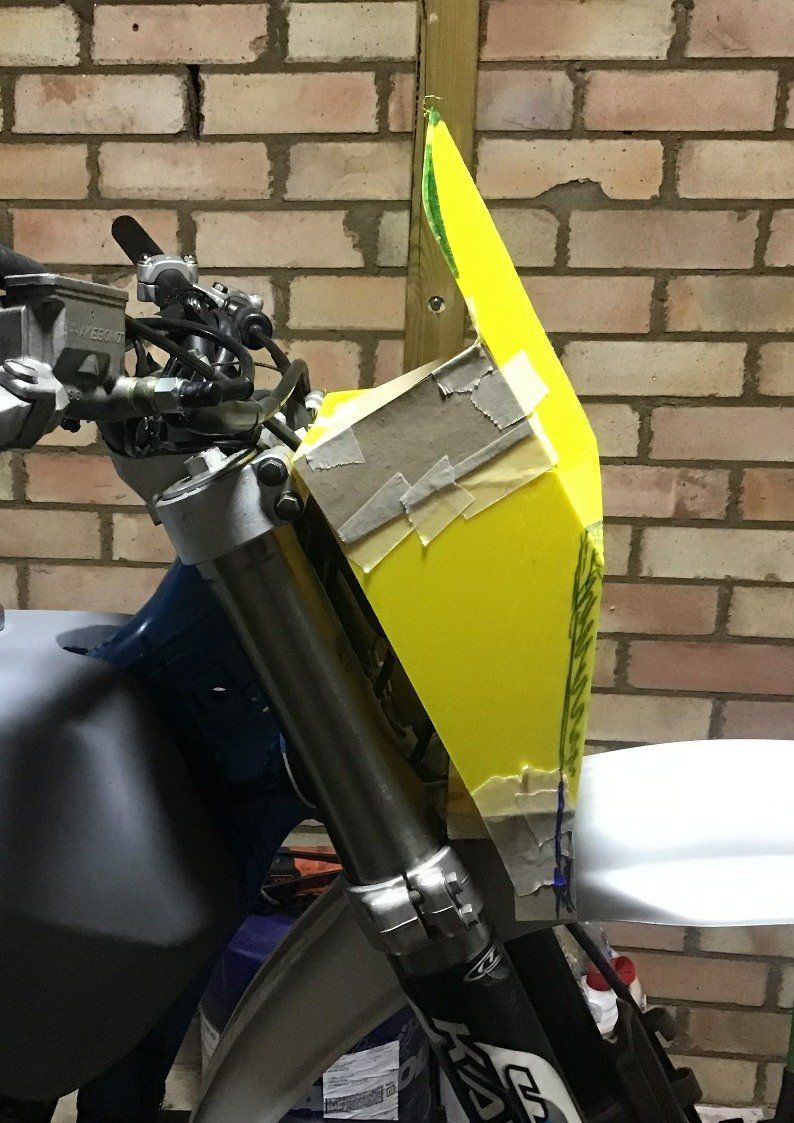
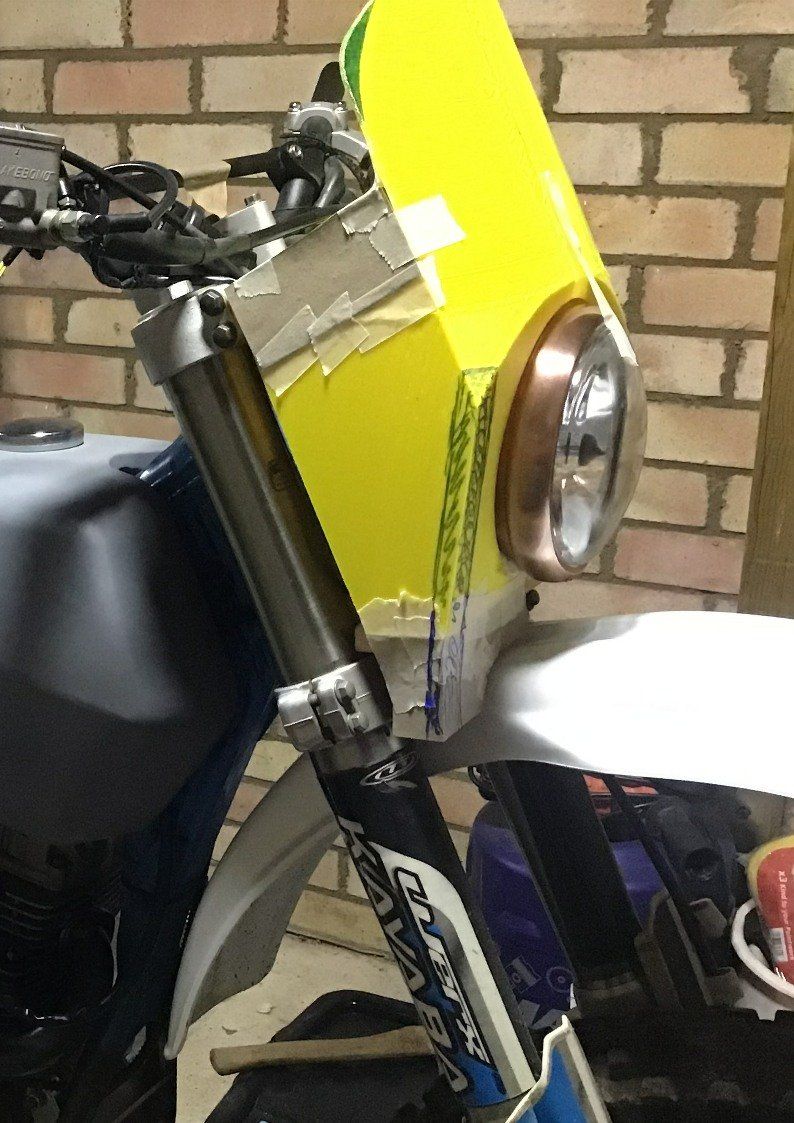
After deciding that the first attempt wasn’t too bad, but wasn’t quite right, I spent some time in the garage sticking bits of cardboard to it to try and improve the look. Eventually I settled on this:-
The mounting face for speedo and ignition switch is now angled. I’ve added a lower bit to fit around the front mudguard and angled the front edge so it’s not quite as slabby.
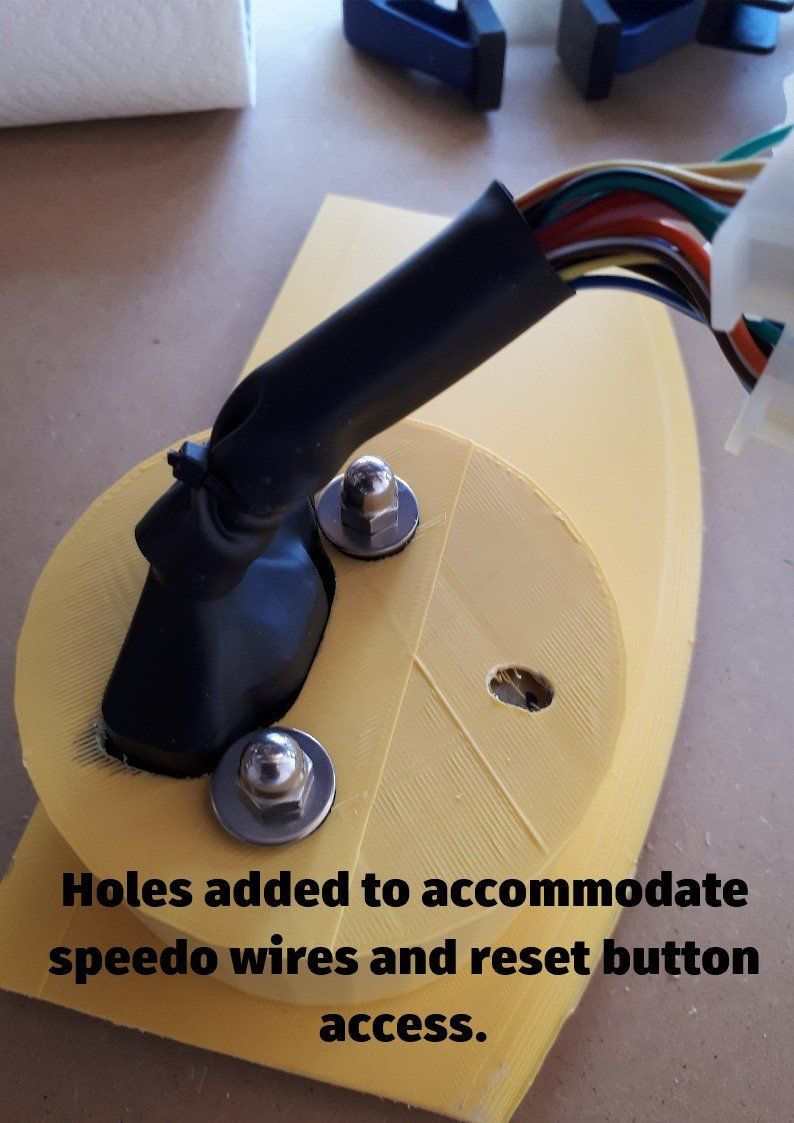
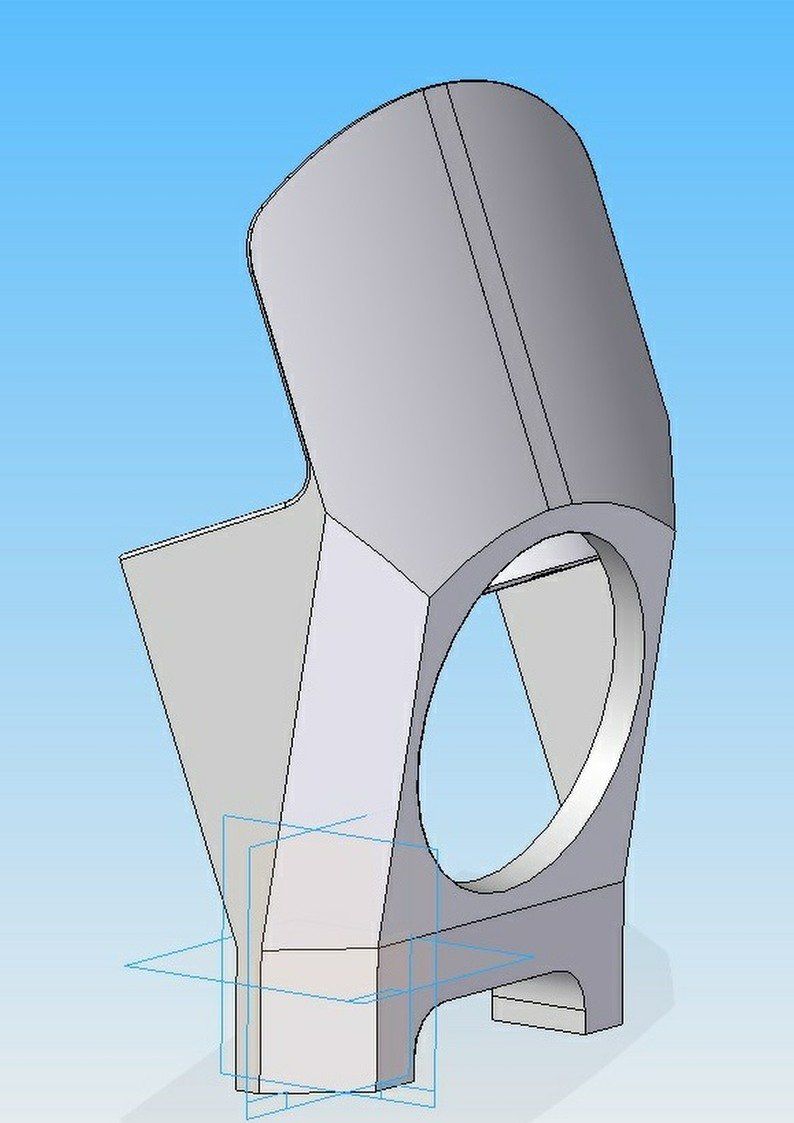
After redrawing it on CAD and a total of 38 hours of 3D printing, all parts of the Mk2 version are done. Of course this is when you also notice the errors. Someone didn’t put in a suitable hole for the speedo cables to go through for a start!
This week, then, I’ll be rectifying this and any others that I subsequently find. Hopefully by next week I’ll have offered it up to the bike and I also hope I like the modifications that I’ve made…
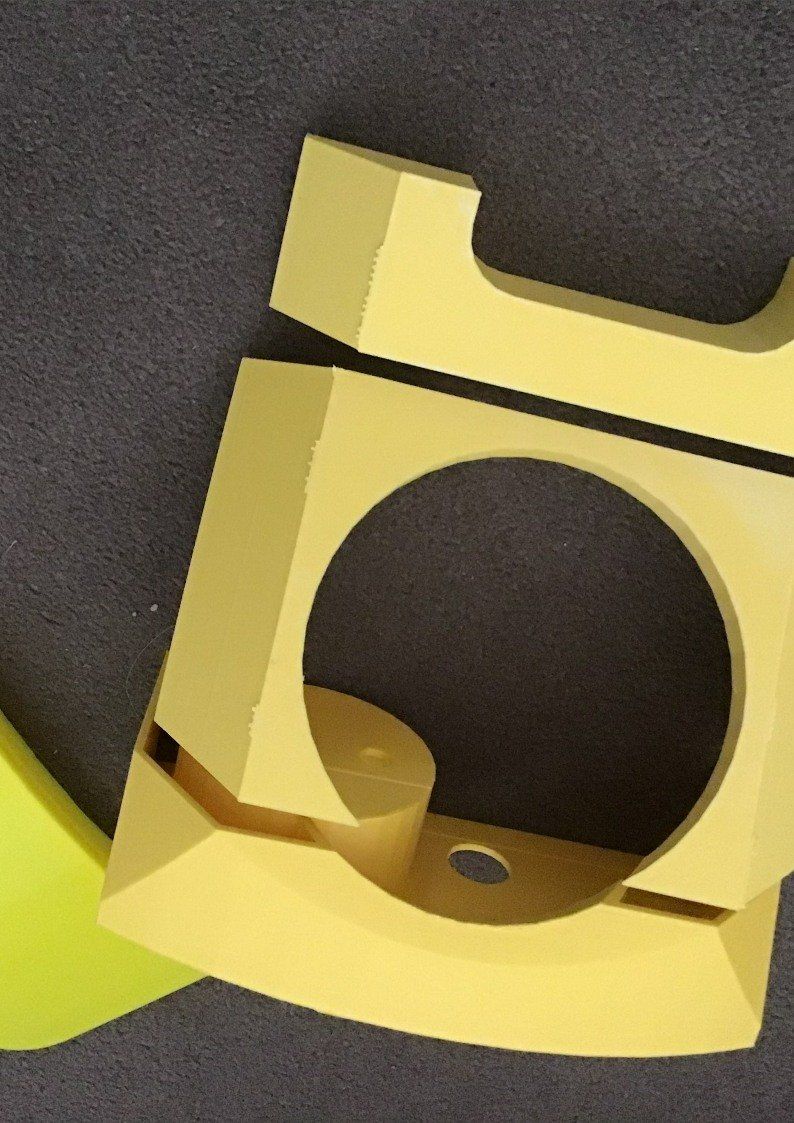
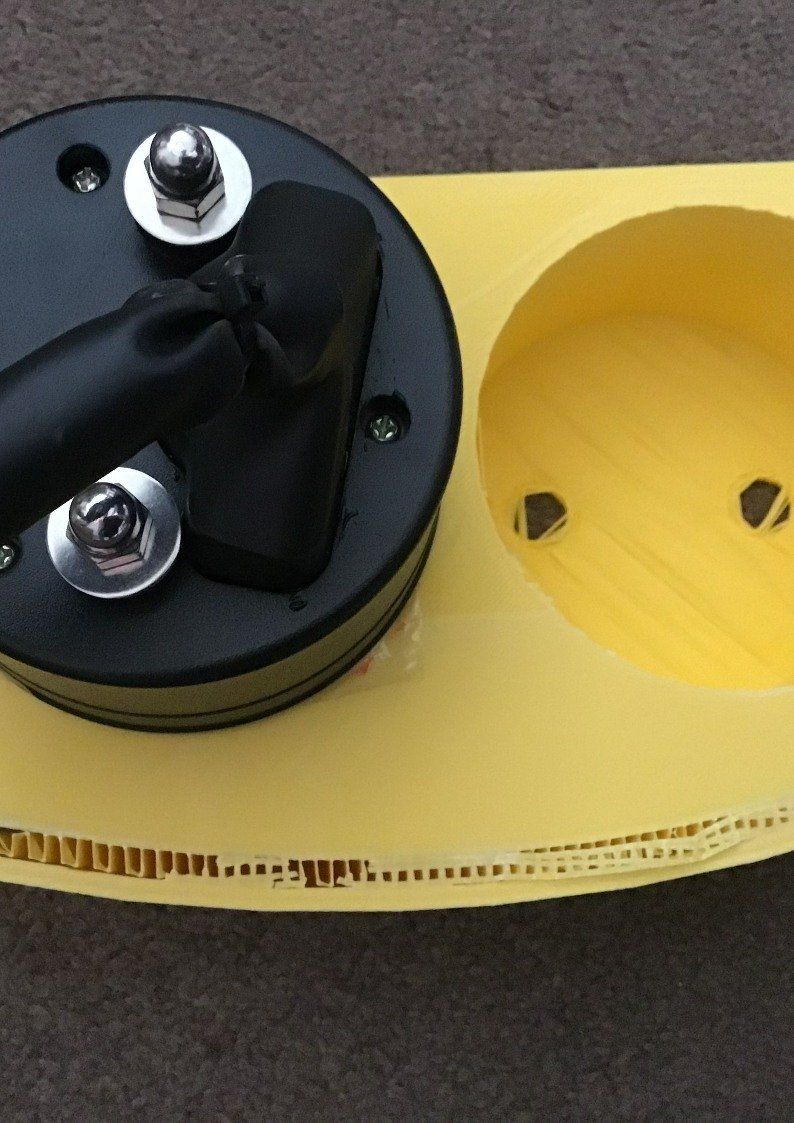

Forgetting to put holes for the speedo cables turned out to be the least of my problems!
I did a really bad job of redrawing the cardboard modified Mk1 version of the cowl and so the whole thing is shorter than I intended and the bottom extension is at the wrong angle.
It doesn’t look too bad on the bike. The top is now level with the bottom of the top yoke rather than the top, but the speedo would now be readable from the sitting position and the front brake hose gets more clearance, so it’s not all bad. I like it from all directions apart from head on!
I’ll work with this one for a little while before (perhaps) moving on to the Mk3 version…
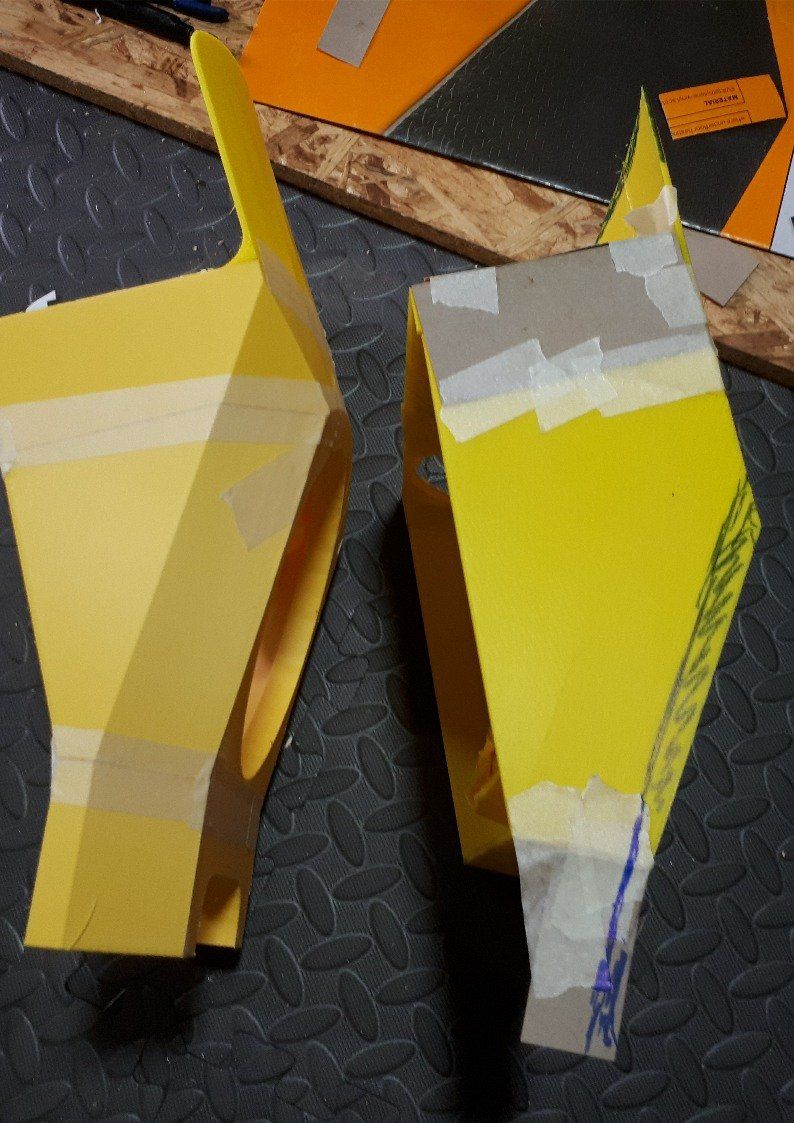
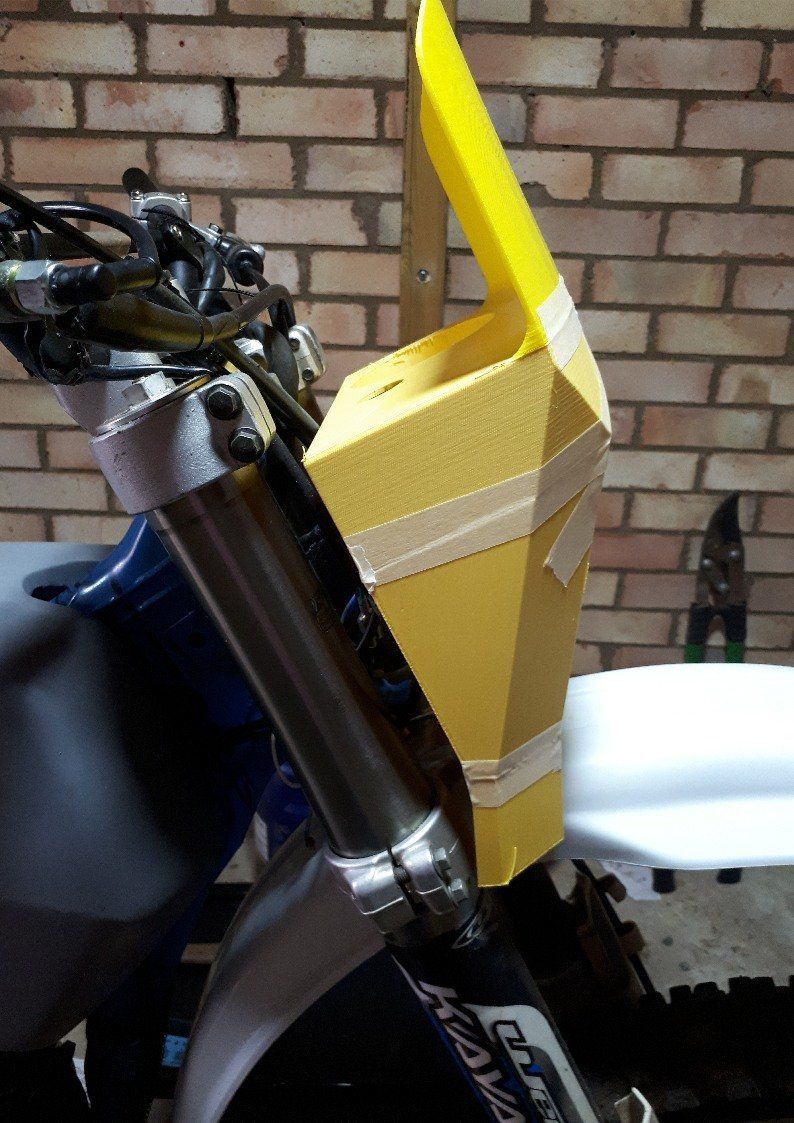
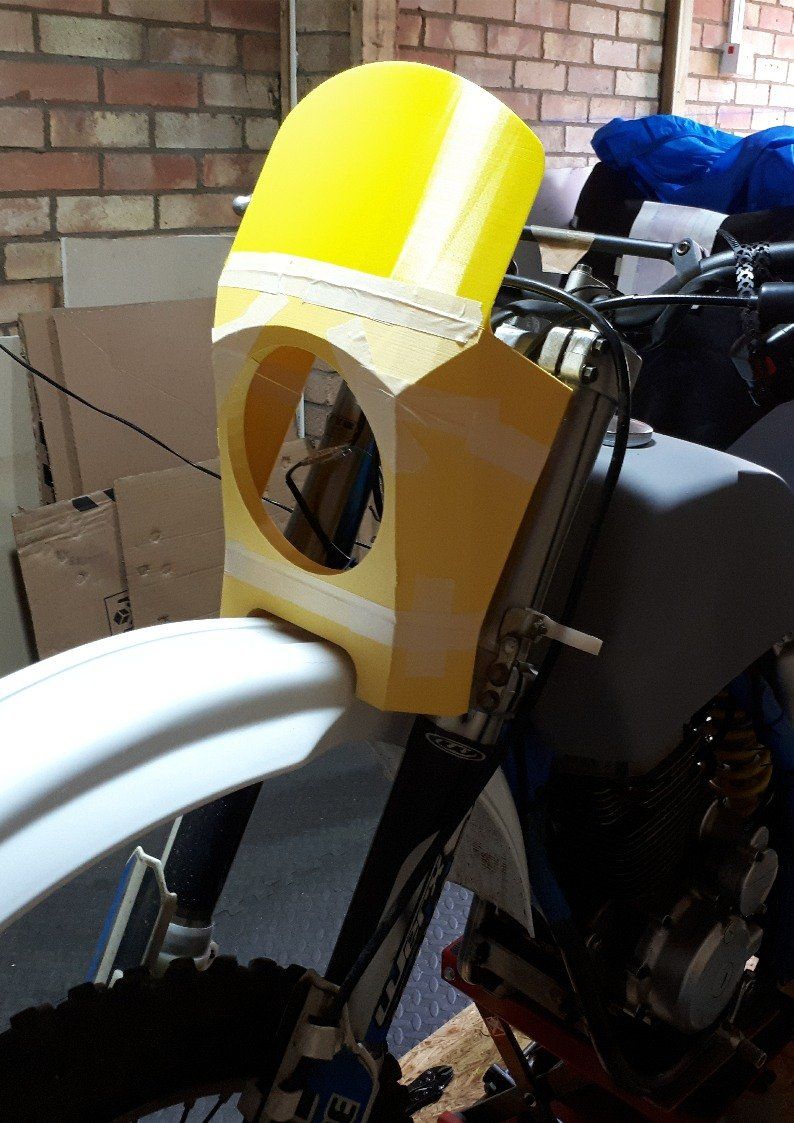
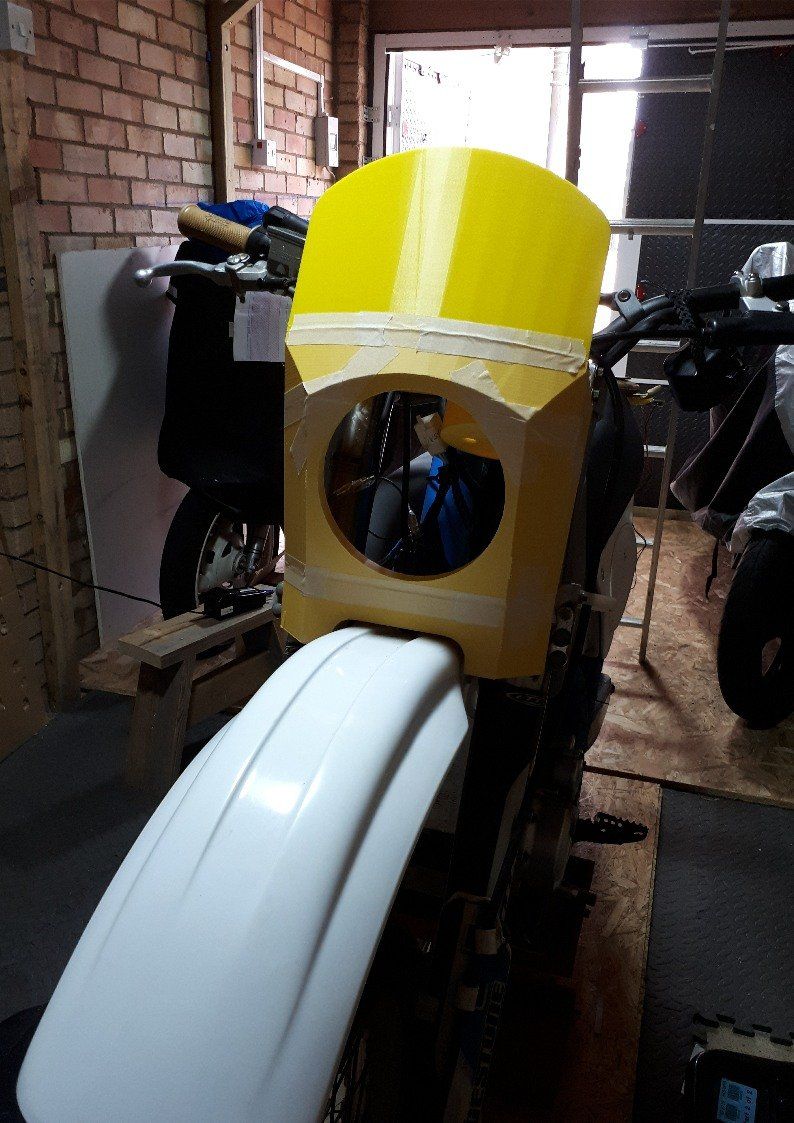

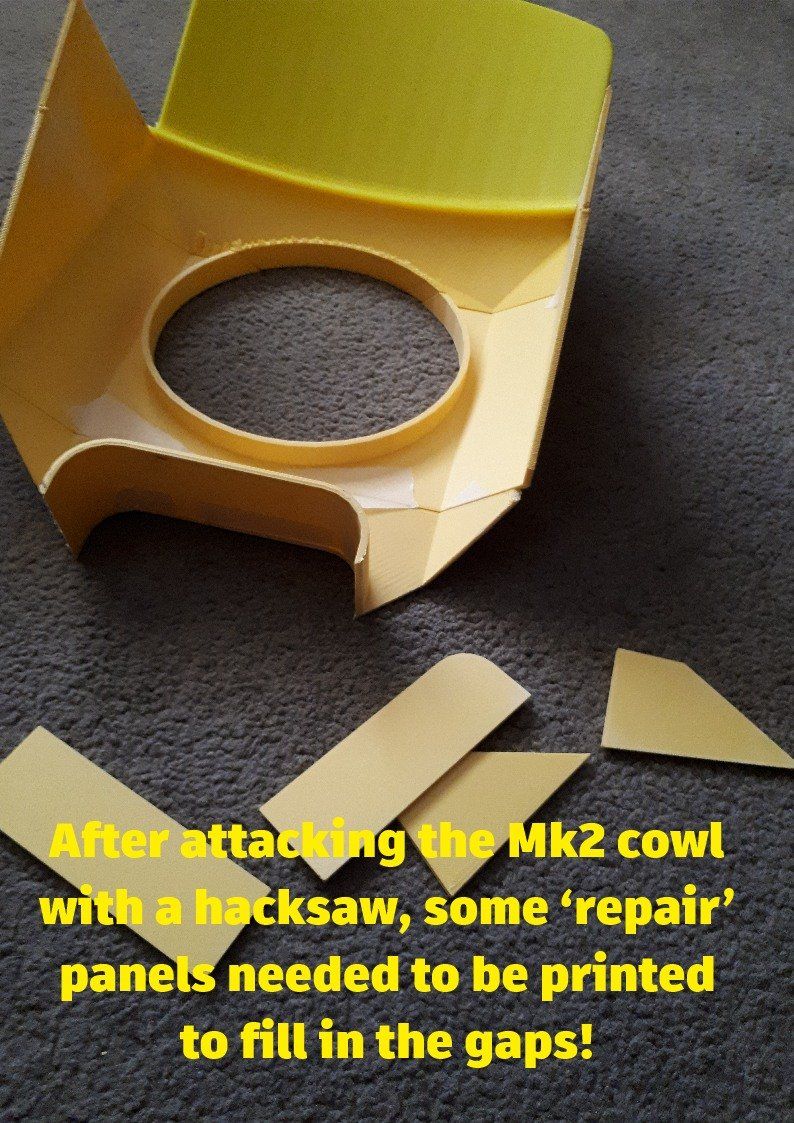
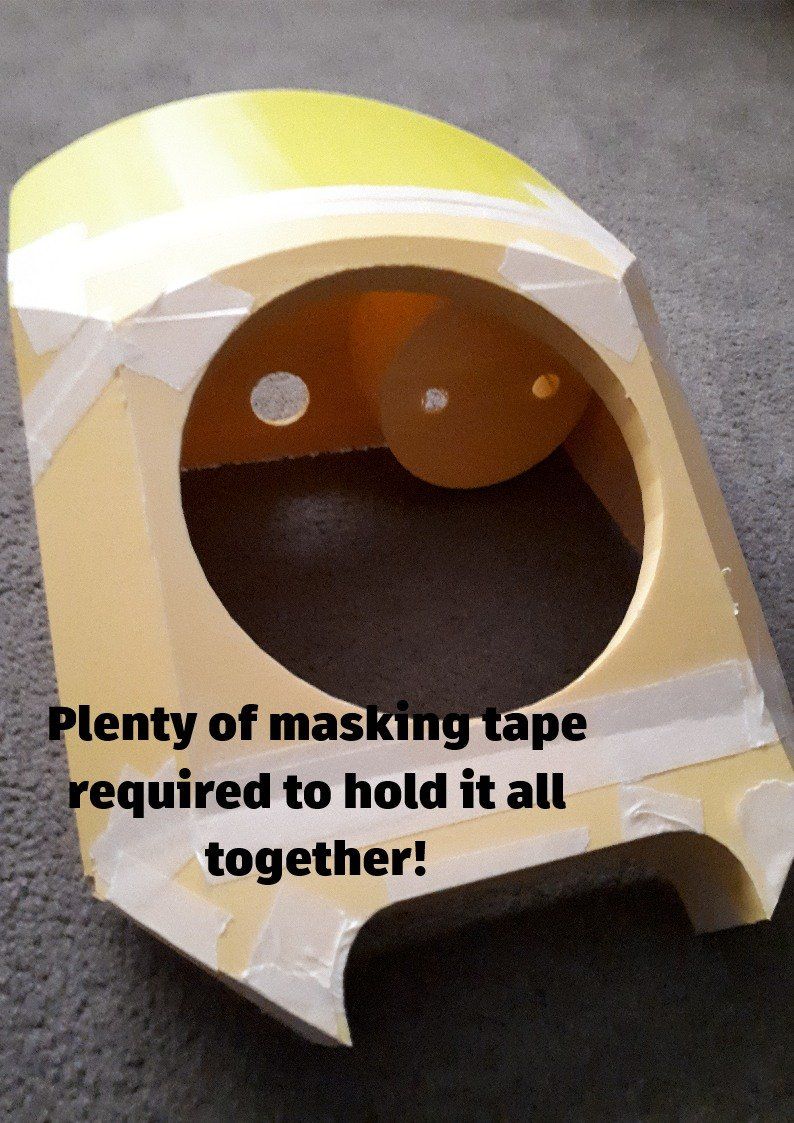
And so onwards to the Mk3 version of the headlight cowl…actually, it’s still the Mk2 version but it’s been attacked with the hacksaw and files and gained a few additional panels.
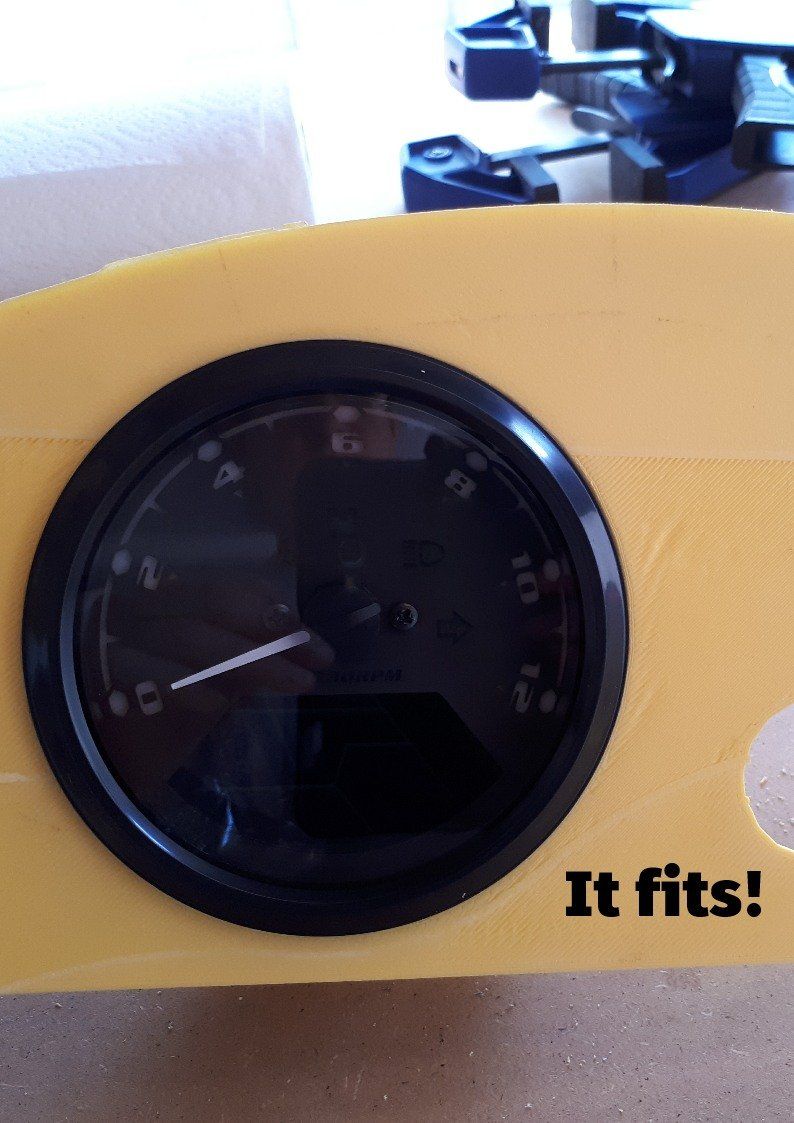
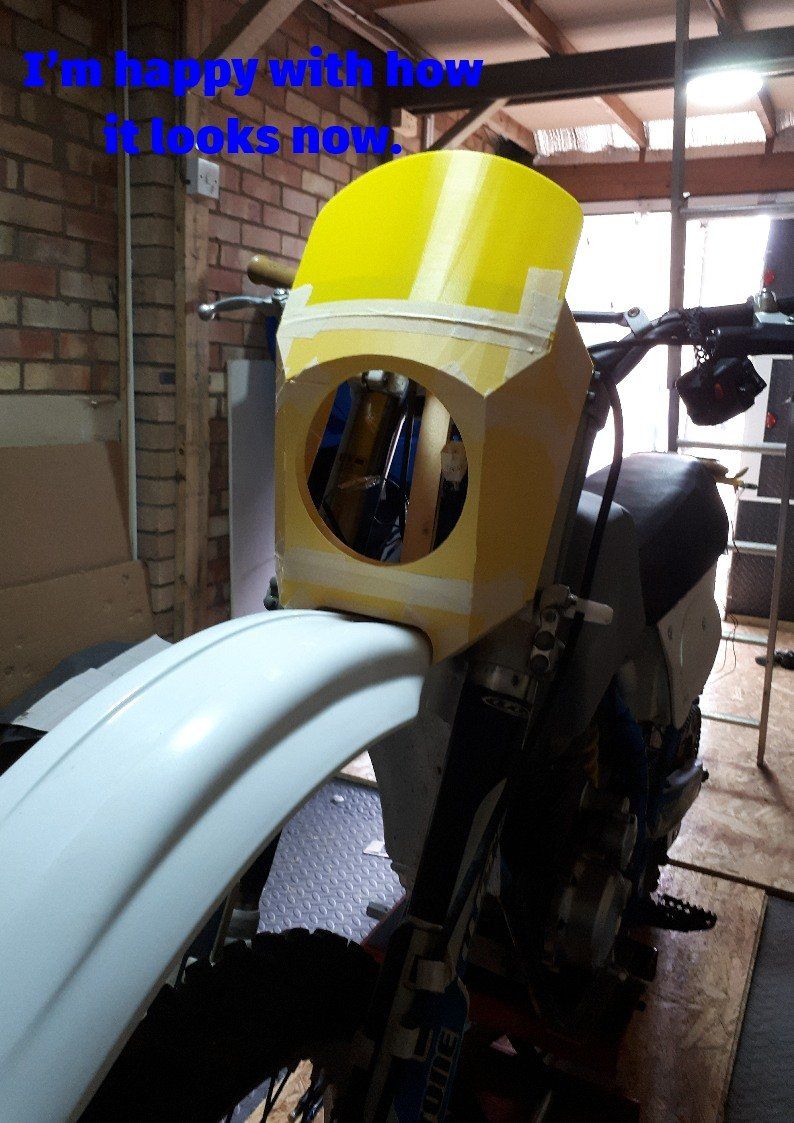
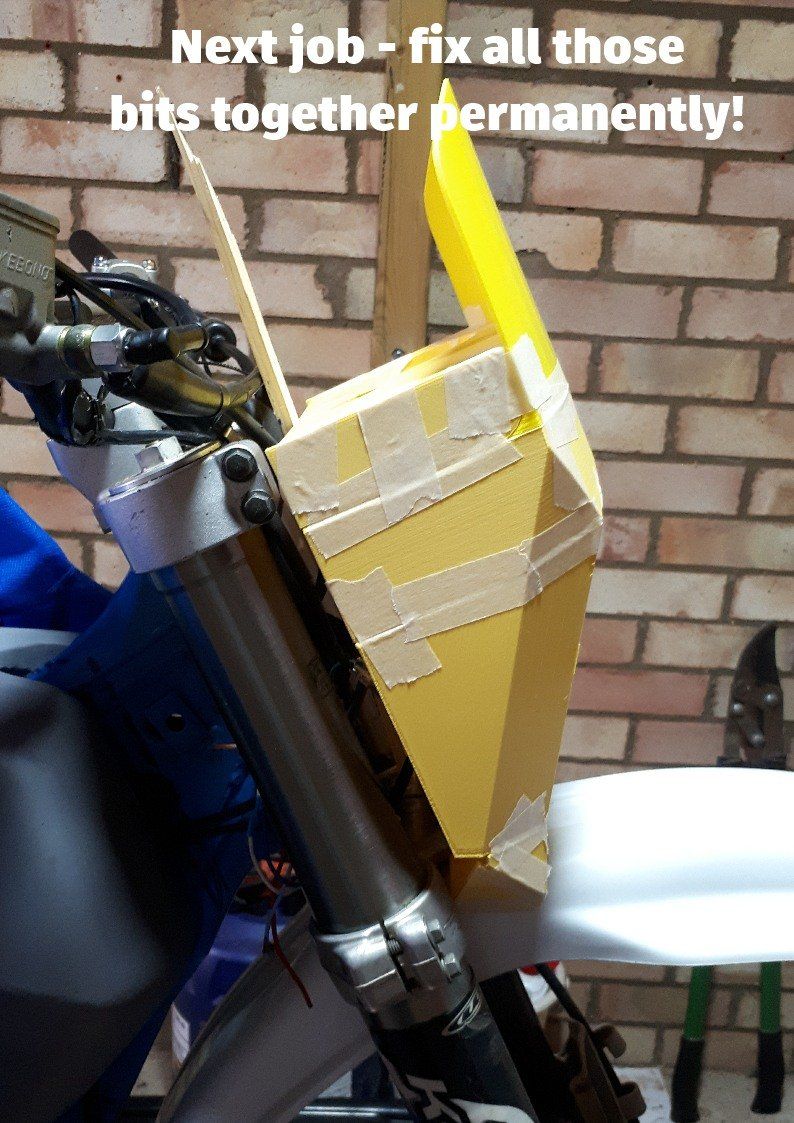
Now I have something that I think looks okay. I’ve even managed to get the speedo to fit. Next job will be to stick all the bits together with something more permanent than masking tape!
