June 2019
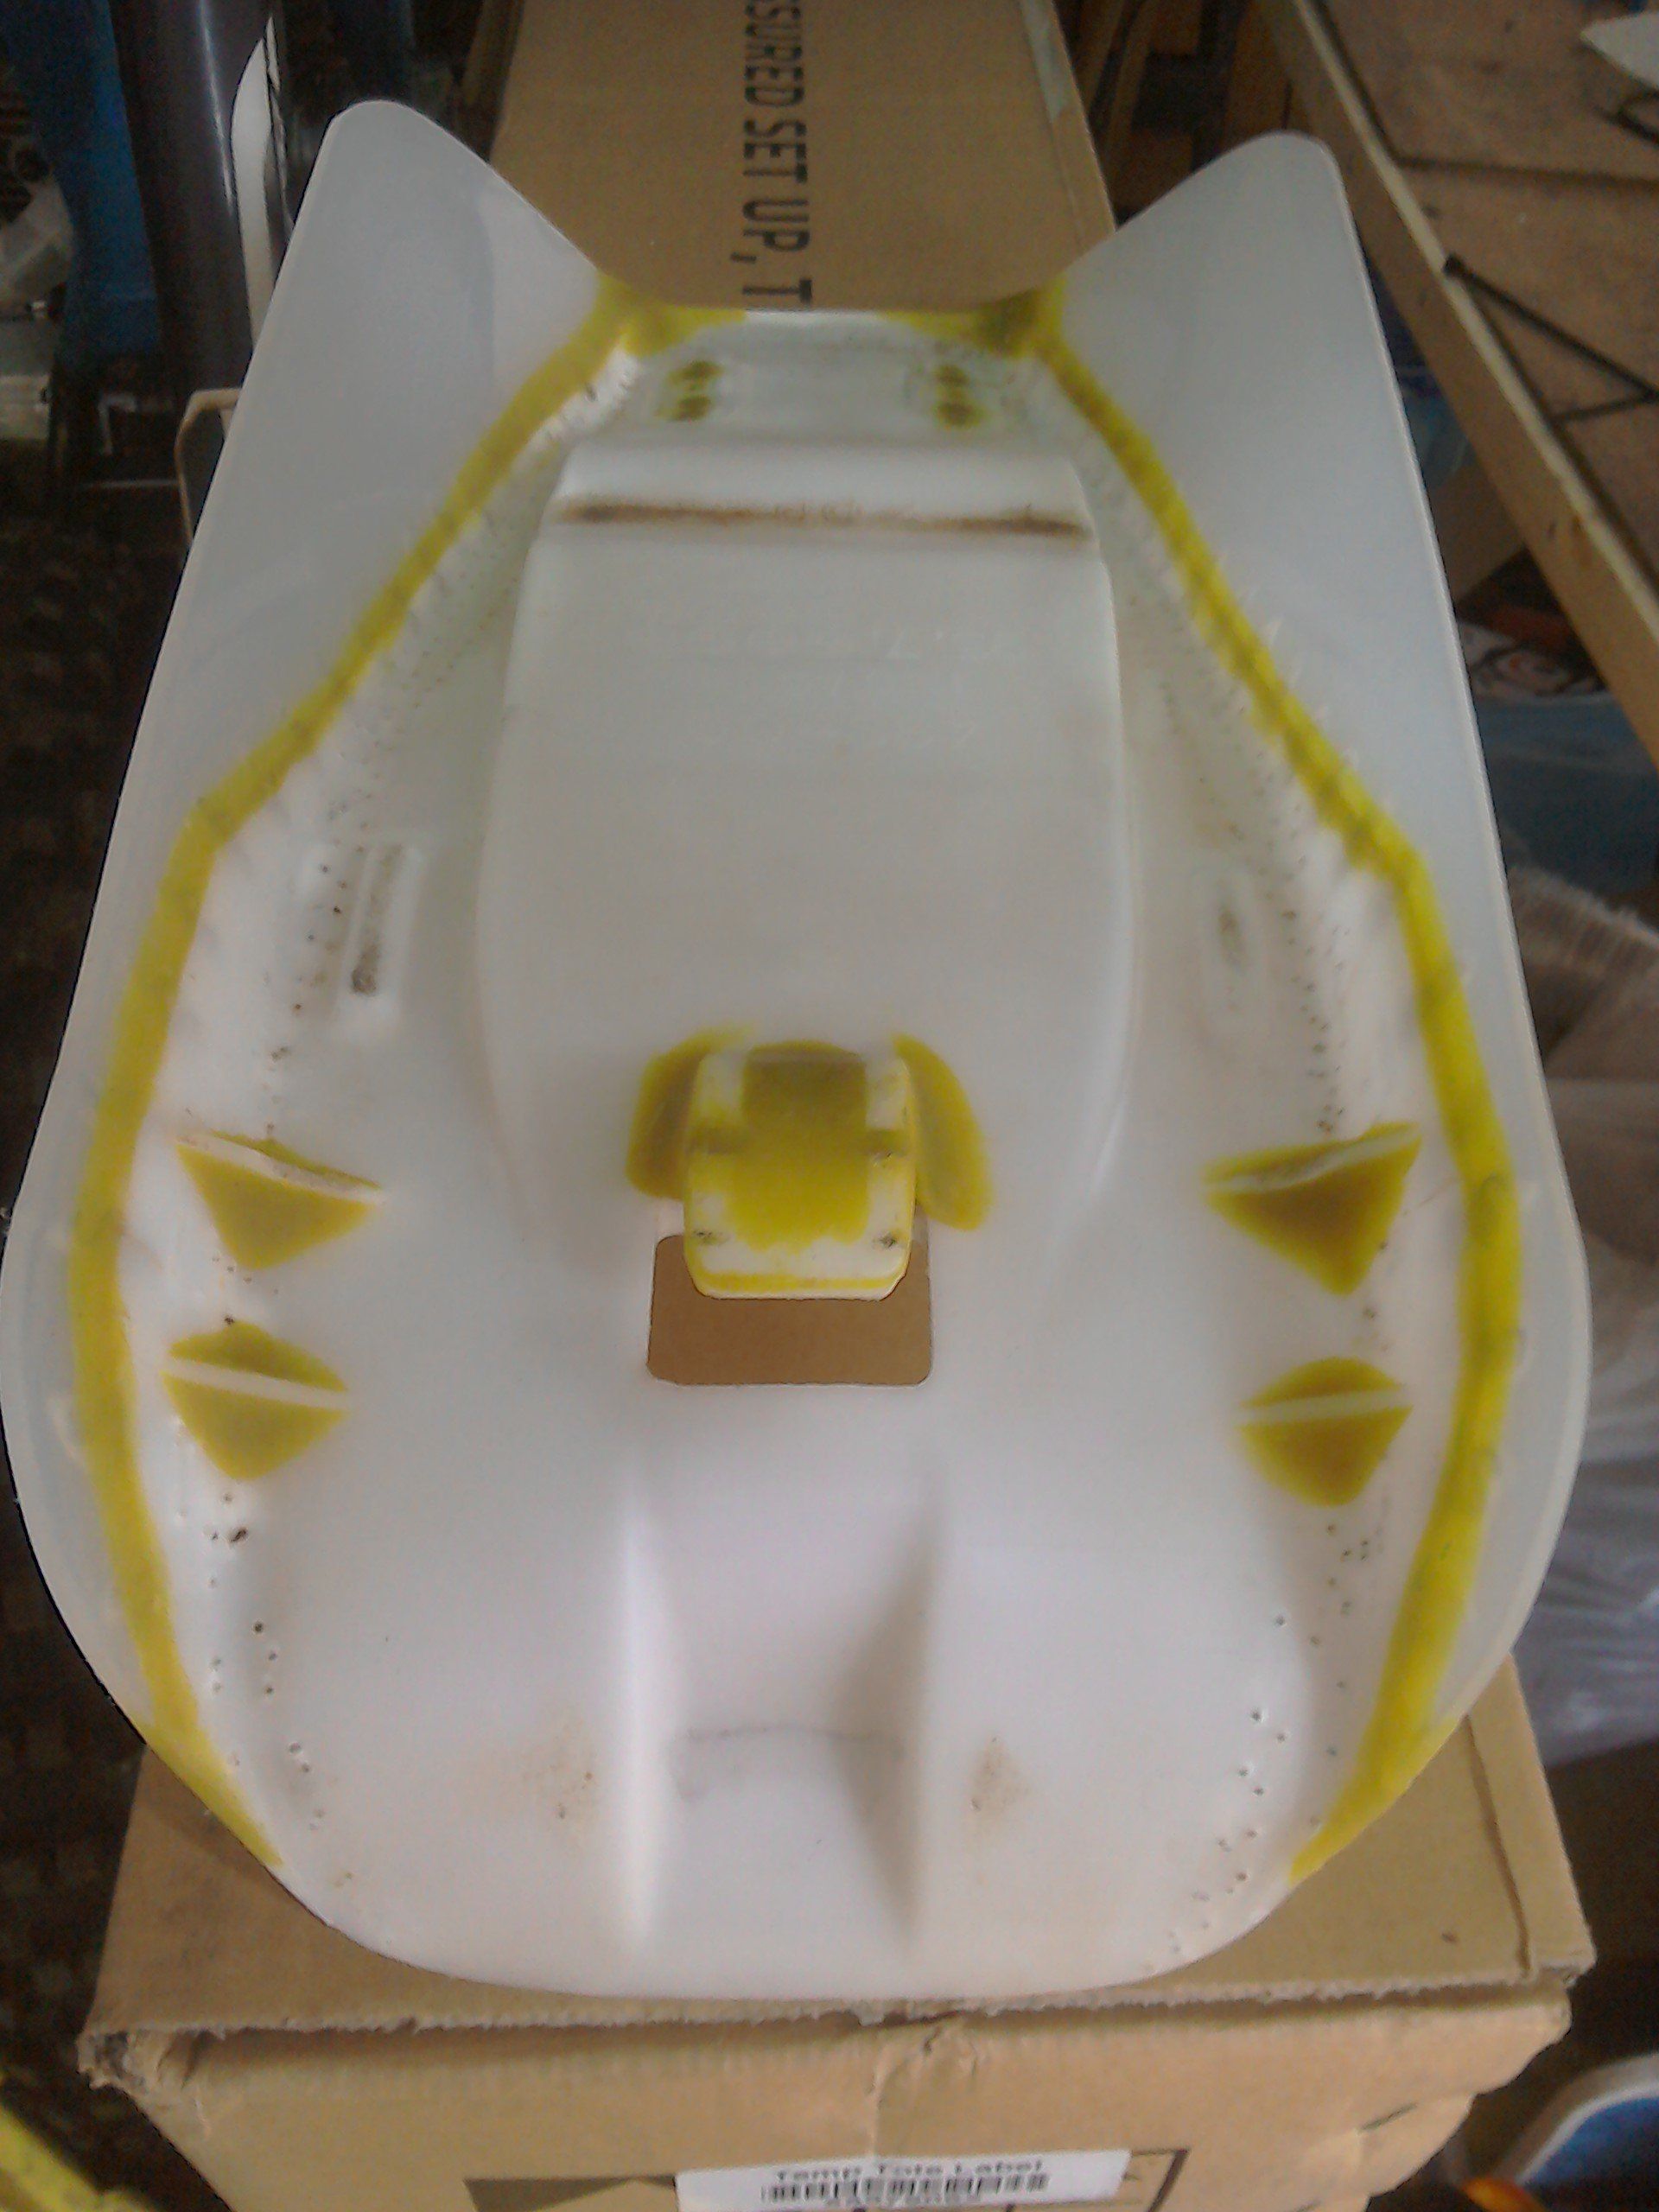
Right, I’ve made a decision, I’m going to use the plastic seat base as a pattern and make a fibreglass version, and I’m going to do it next. The one main problem with this is that it’s a long time since I’ve done any fibreglass work, so I’ve dug out the books (and DVD) that I have on the subject to refresh my memory. I’ve also had a trip up into the garage roof-space to retrieve my fibreglass supplies, some of which were long past their expiry date. Those three years have really flown by!
One thing that I know I need to check is the compatibility between the polypropylene of the seat base and whatever resin I decide to use. I’ve got a couple of test pieces lined up to experiment on. The plastic seat base itself also needs a bit of attention if it’s to successfully be used as a pattern (a good clean up for a start!) any gaps between the original base and the added wings need to be addressed, as do any other holes that I don’t want filled with resin.
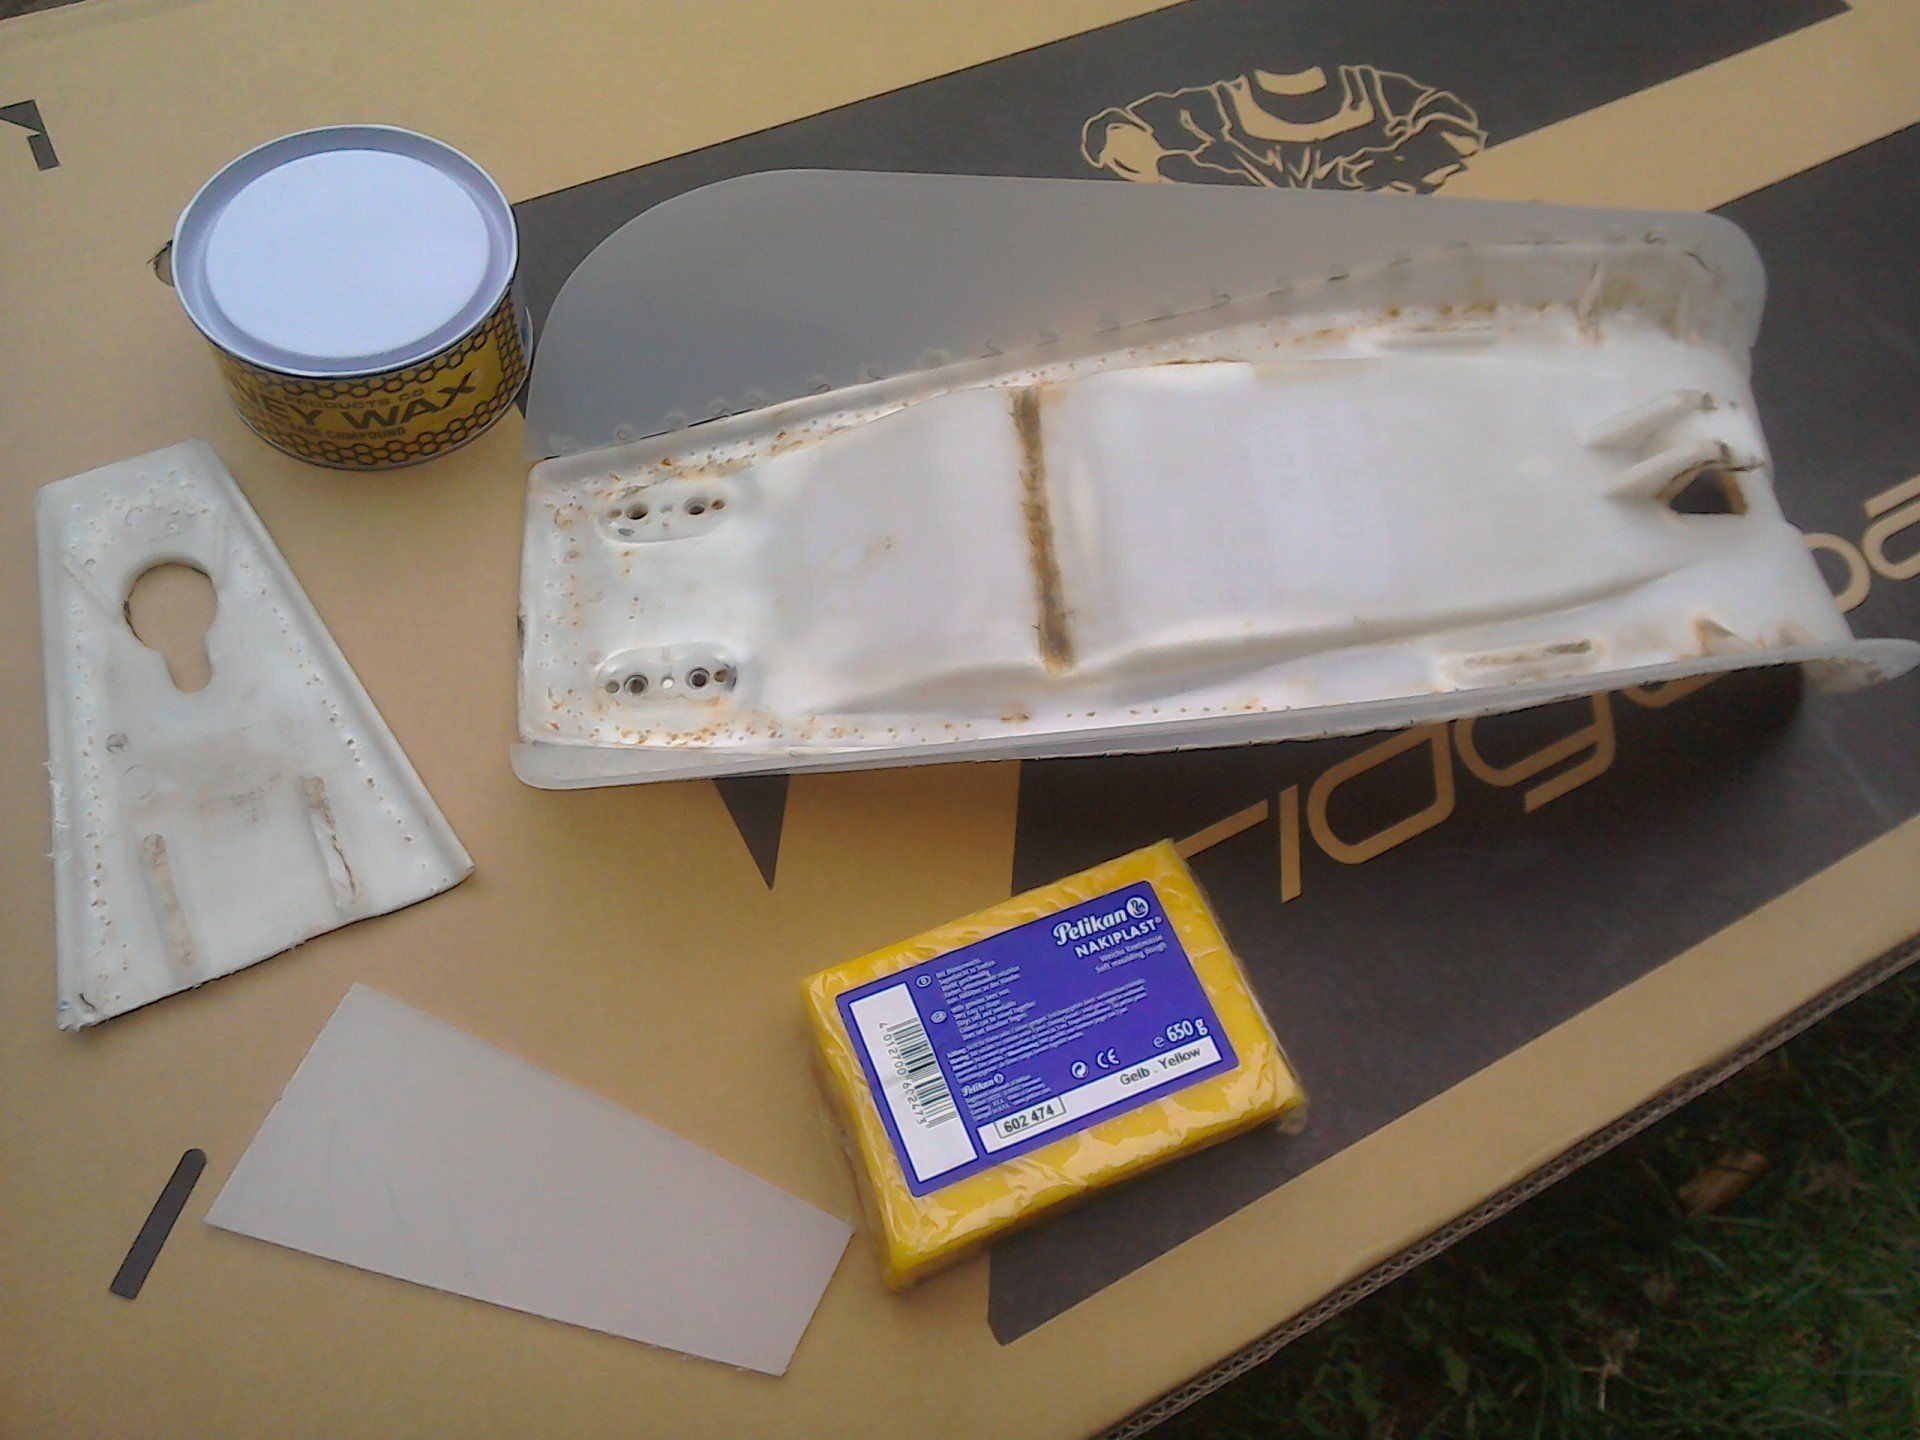
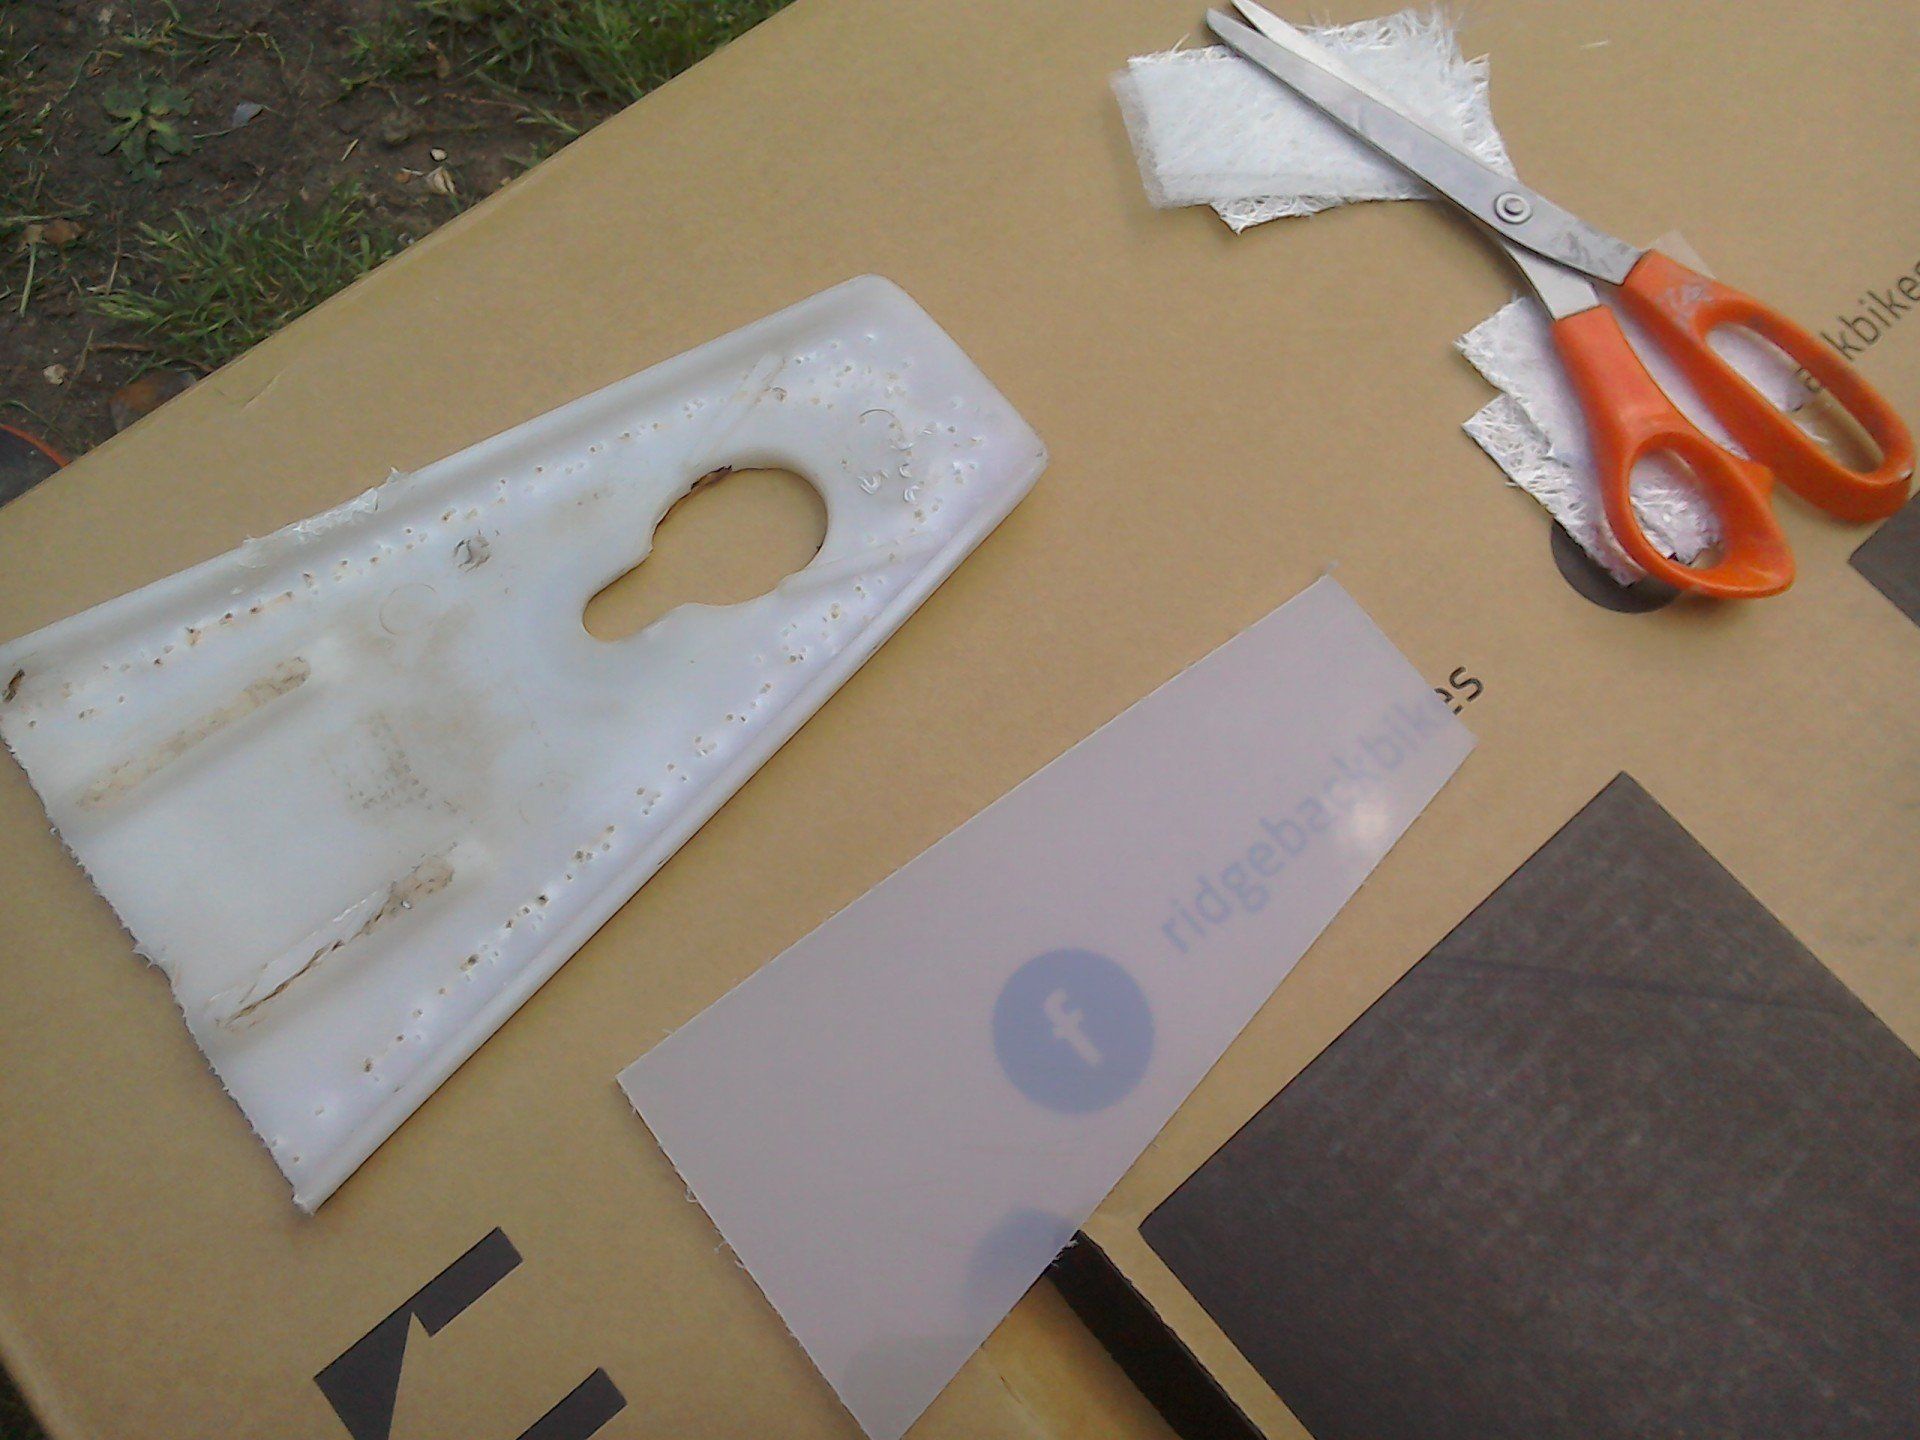
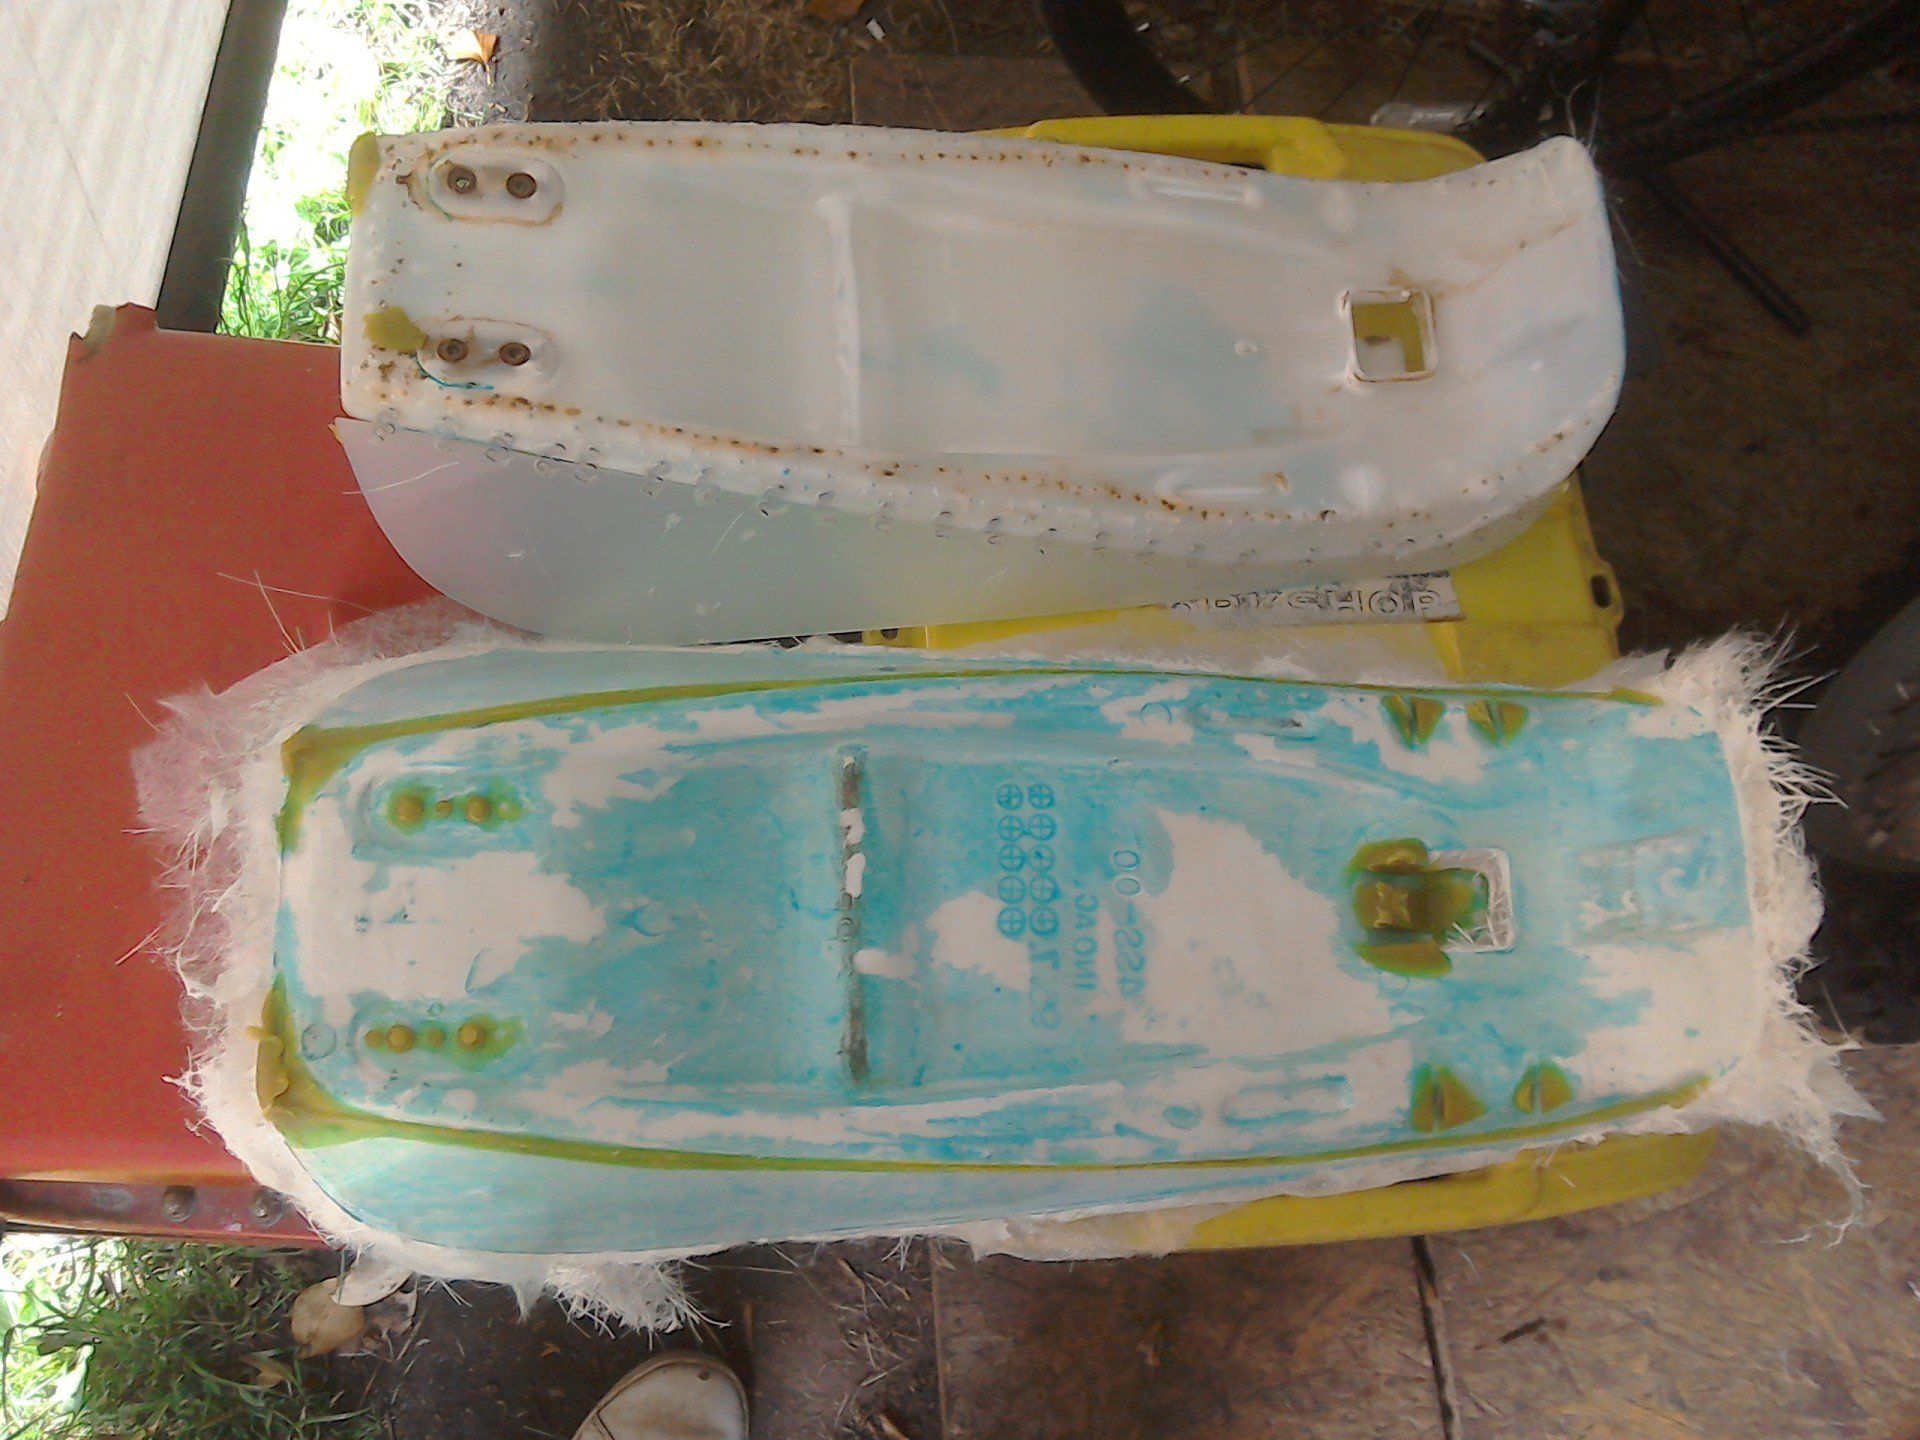
The picture above shows the seat base that's going to be used as the pattern, test pieces on the left, mould release wax in the tin and the yellow bar is moulding wax, used to fill in any holes or imperfections in the pattern.
The picture above shows the seat base that's going to be used as the pattern, test pieces on the left, mould release wax in the tin and the yellow bar is moulding wax, used to fill in any holes or imperfections in the pattern.
So, that’s what I’m going to be getting on with next week, except for one small matter…I have a mantra that you can never have too many books, tools or motorcycles, and with this in mind, by next Monday, all being well, there will be another project in the shed, so I might get a little sidetracked…
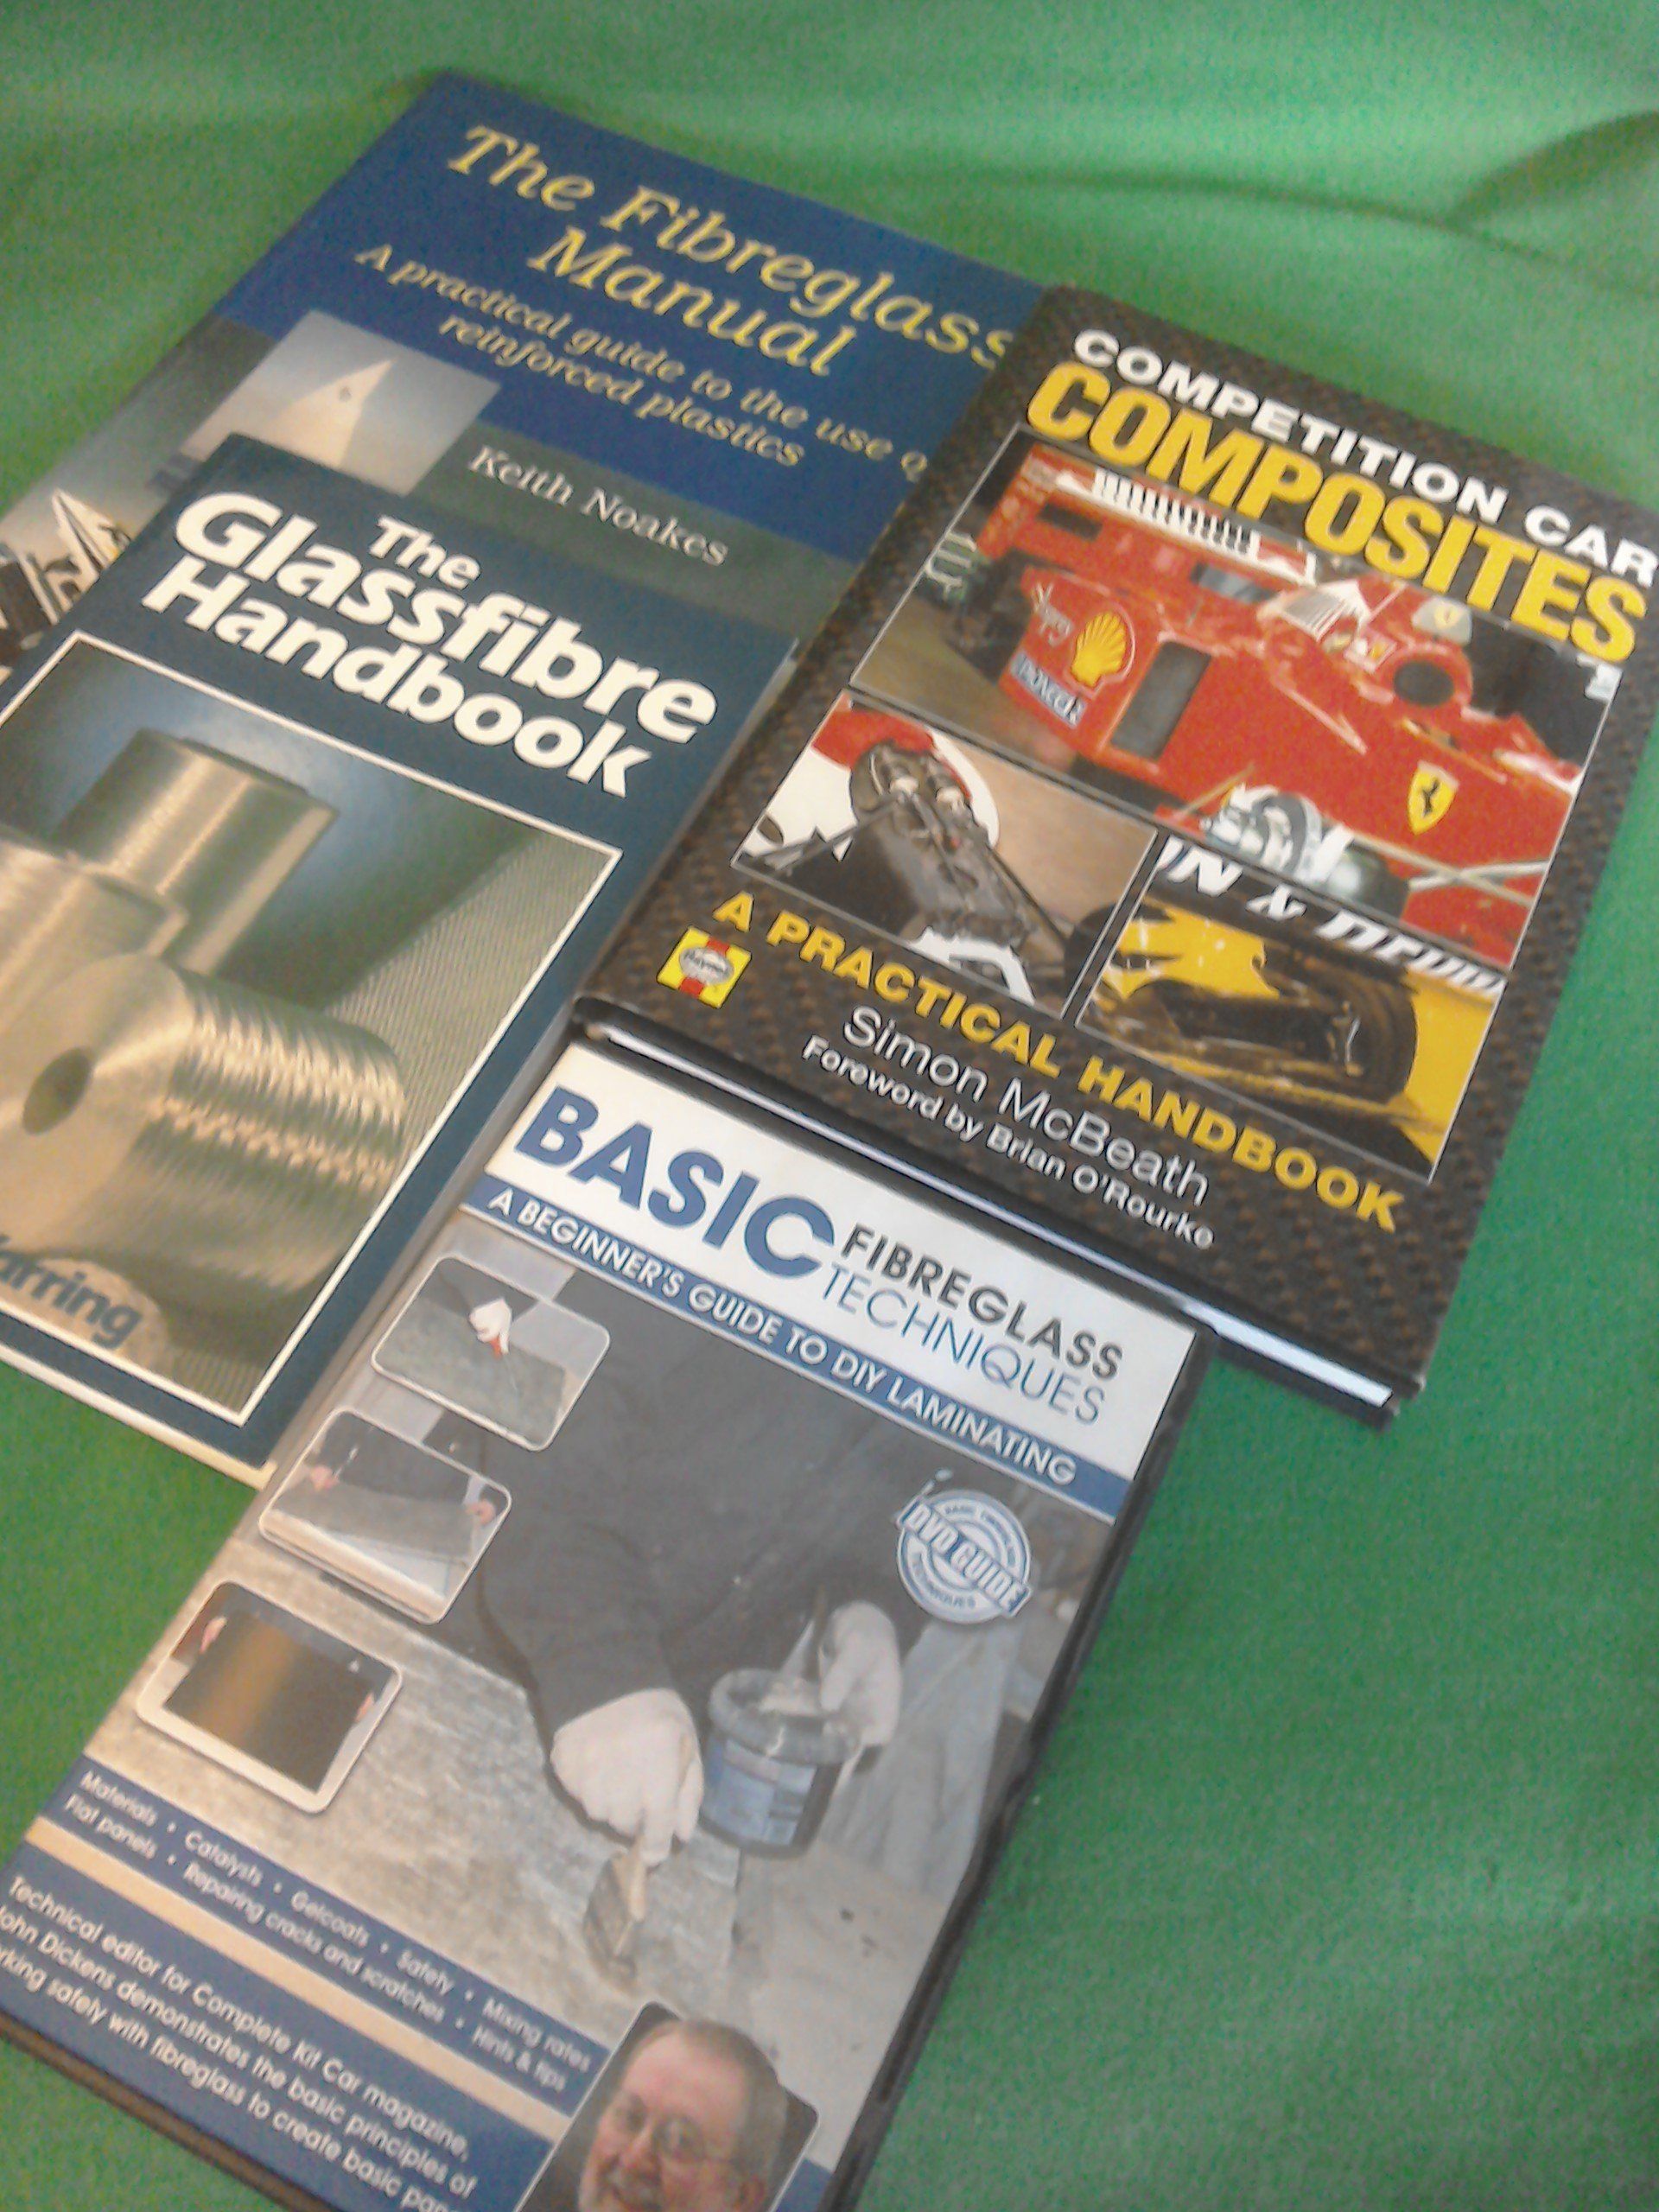
On the subject of books, you can see my current selection of fibreglass reference material in the photo below. There’ll be a more in-depth review of these in the August issue of the magazine, but to summarise, if I could only have one, then it’d be ‘Competition Car Composites’. For a textbook, it’s actually quite readable.
On the subject of books, you can see my current selection of fibreglass reference material in the photo below. There’ll be a more in-depth review of these in the August issue of the magazine, but to summarise, if I could only have one, then it’d be ‘Competition Car Composites’. For a textbook, it’s actually quite readable.

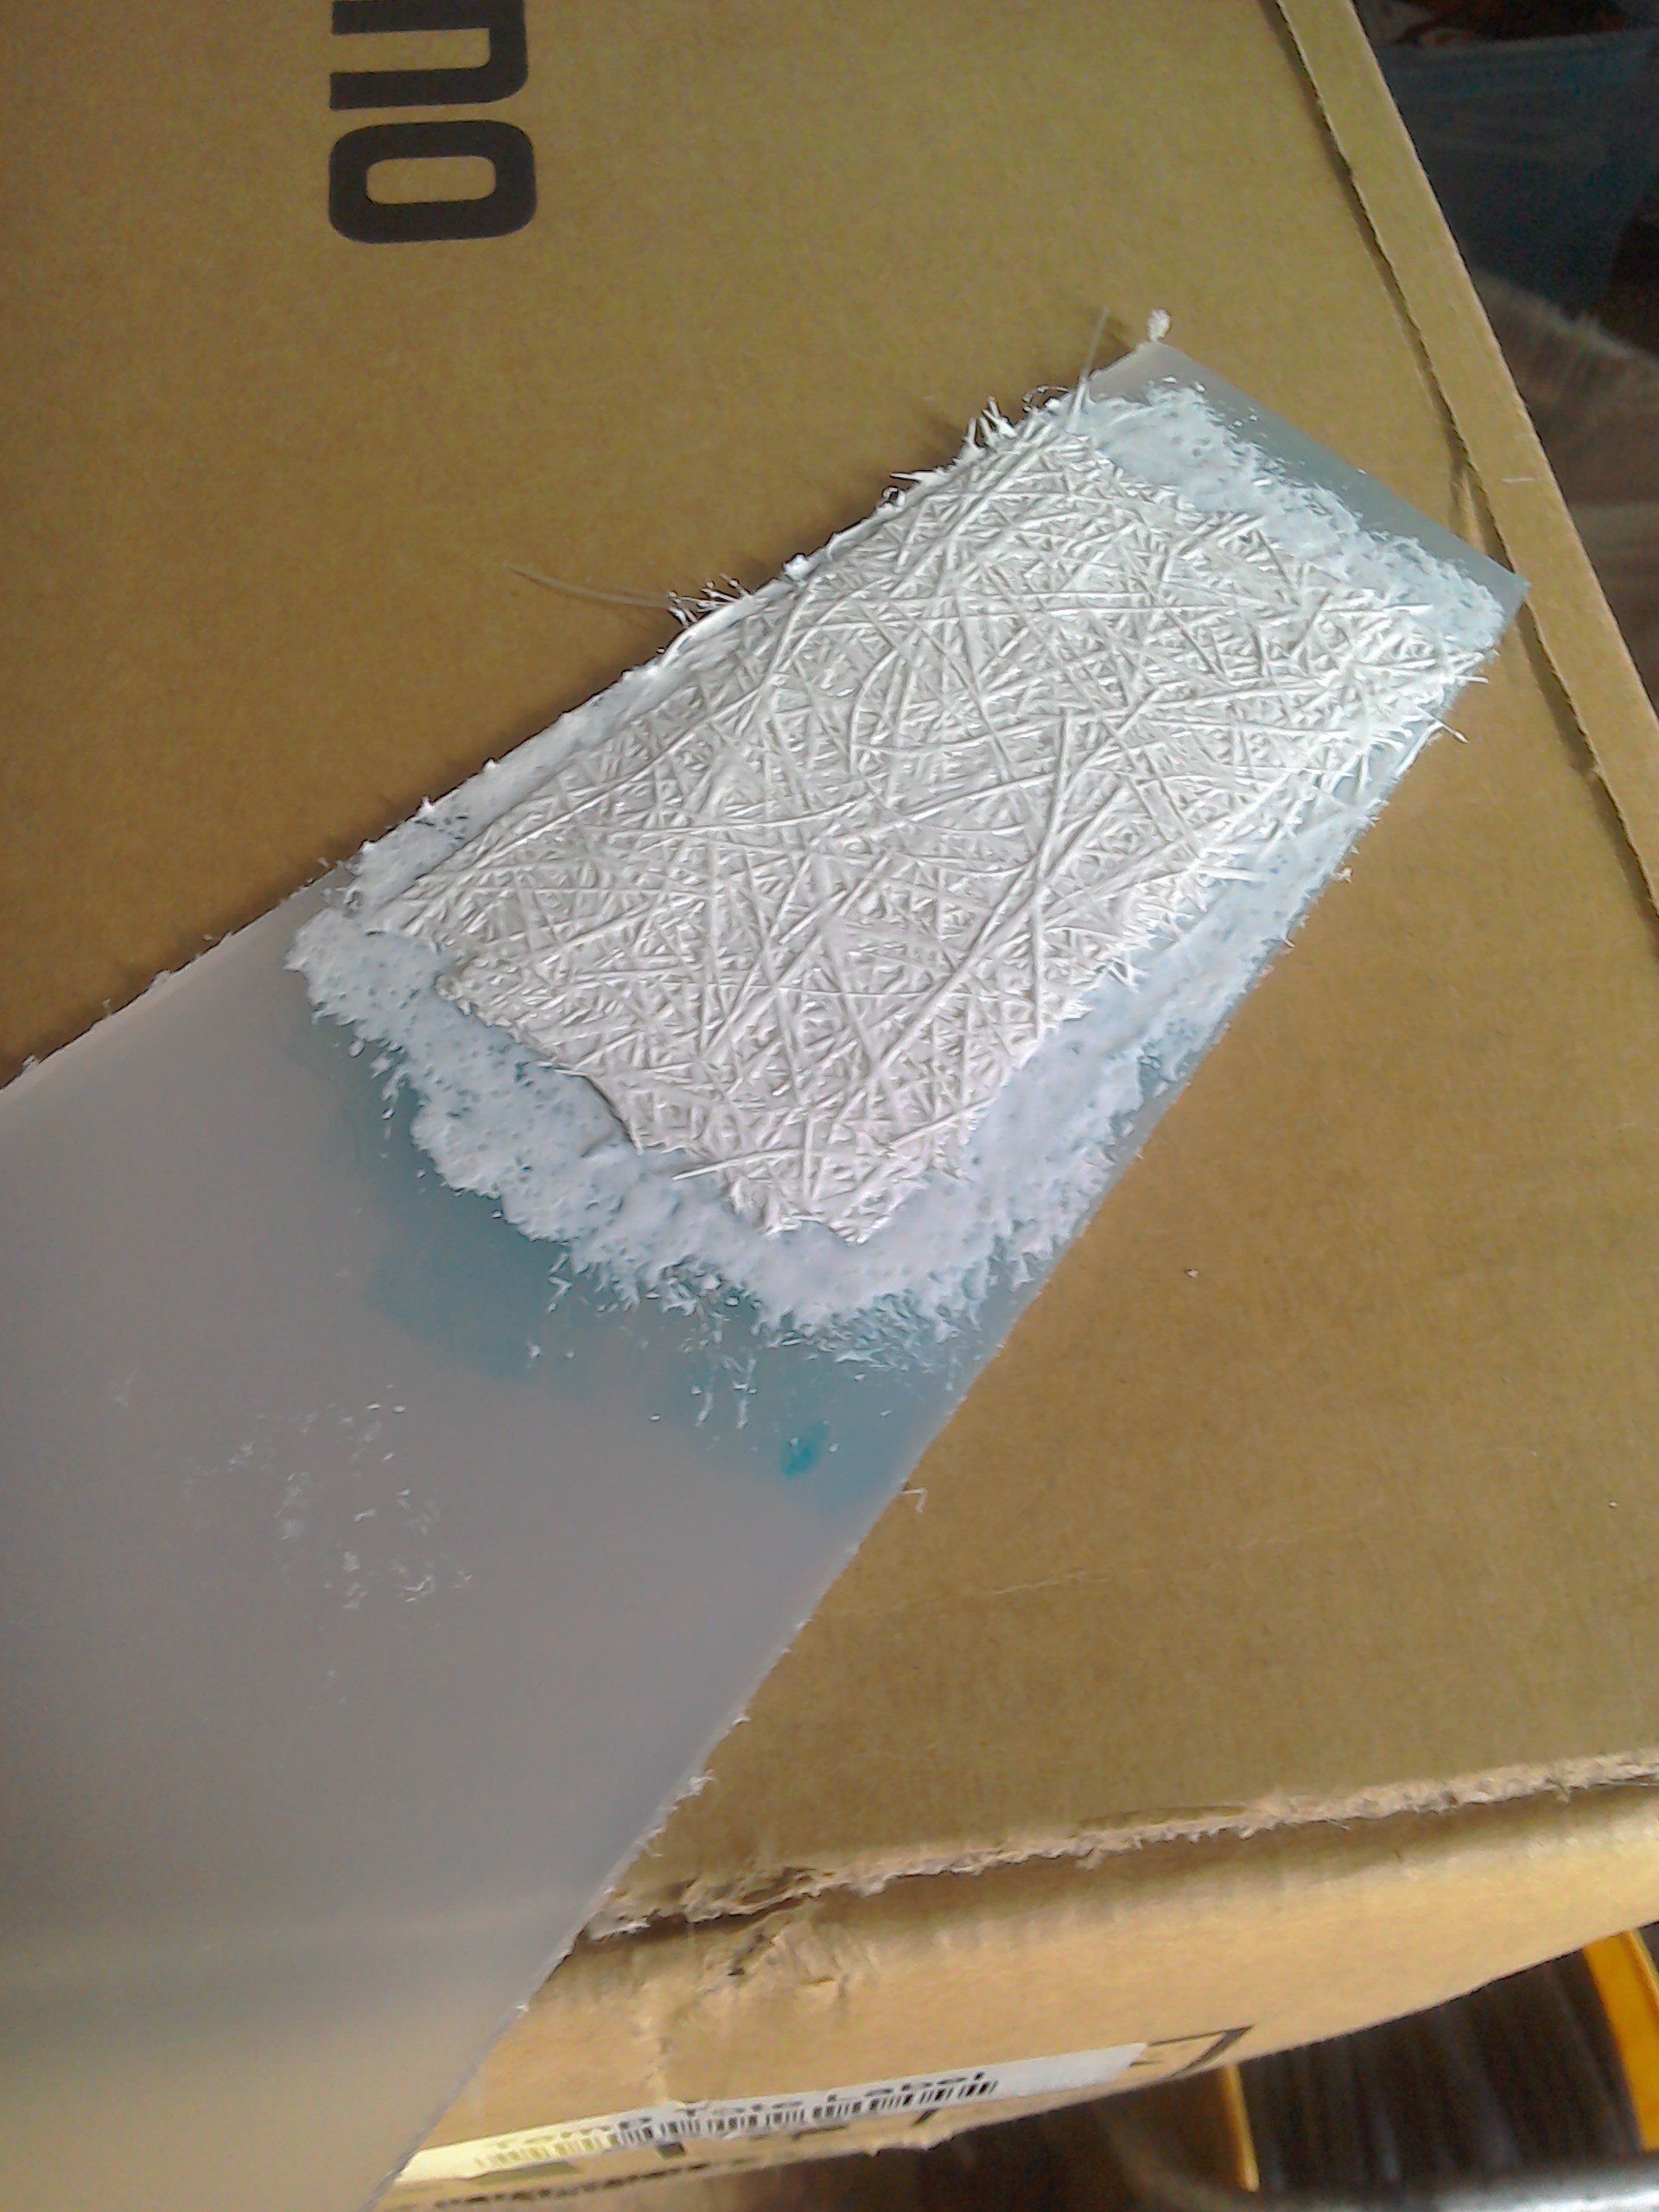
See, told you that I might get sidetracked with the arrival of a new acquisition and so (unsurprisingly) I haven’t got very far with the seat base. I have made a little progress though, two test pieces were laid up with fibreglass to check that a) my current material supplies were still usable and b) that they weren’t going to stick to or react with the plastic of the seat base when it was used as a pattern.
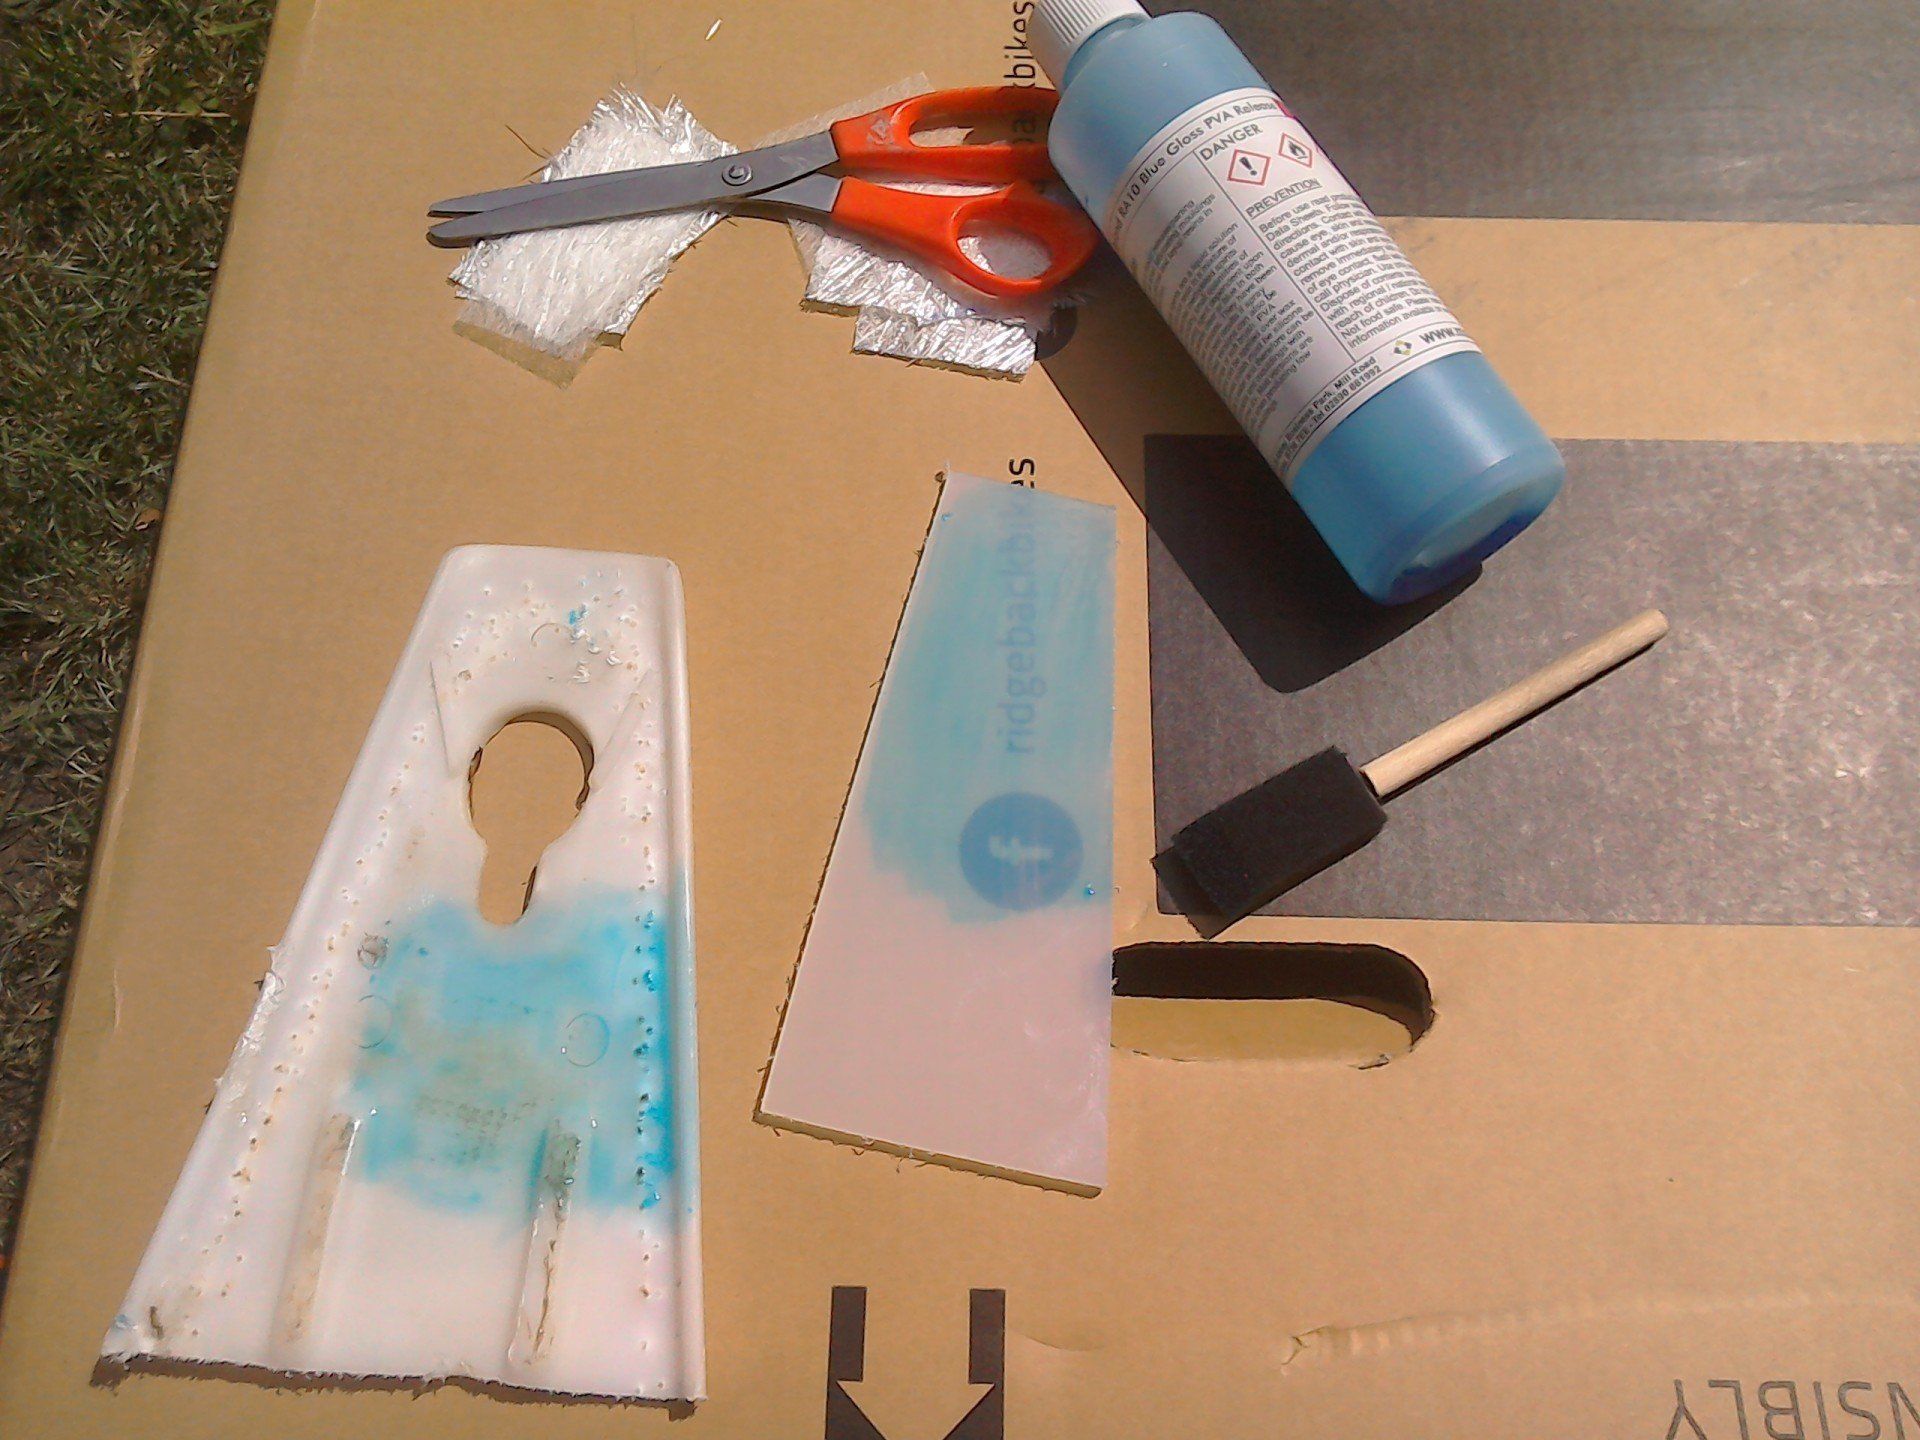
I picked an offcut of the original seat base and of the polypropylene used for the additional seat 'wings' to have test laminations laid up on them (see pic below).
I picked an offcut of the original seat base and of the polypropylene used for the additional seat 'wings' to have test laminations laid up on them (see pic below).
First, the test pieces need to have some kind of release agent on the surface. The choices are mould release wax or PVA (or a combination of both). Wax is time consuming to apply, you need several layers to ensure that coverage is complete, but a highly polished wax surface produces a correspondingly glossy finish to the laminate. As the seat base isn't actually going to be seen when in use, surface finish isn't critical, so I chose to use PVA. The PVA is a liquid which is applied to the surface using brush, sponge or it is possible to spray it. Once dry it forms a thin, plastic like layer on the pattern. (It's the blue stuff in the picture below.)
Obviously I got carried away doing the actual lay up as I didn't take any pictures until I'd laminated all of the layers. But, once the PVA is dry, the gel coat can go on. This takes around 20 mins to become tacky, then the surface tissue layer goes on, followed by 3 layers of chopped strand mat. Once laid up, the laminate needs at least 2 to 3 days to fully cure.
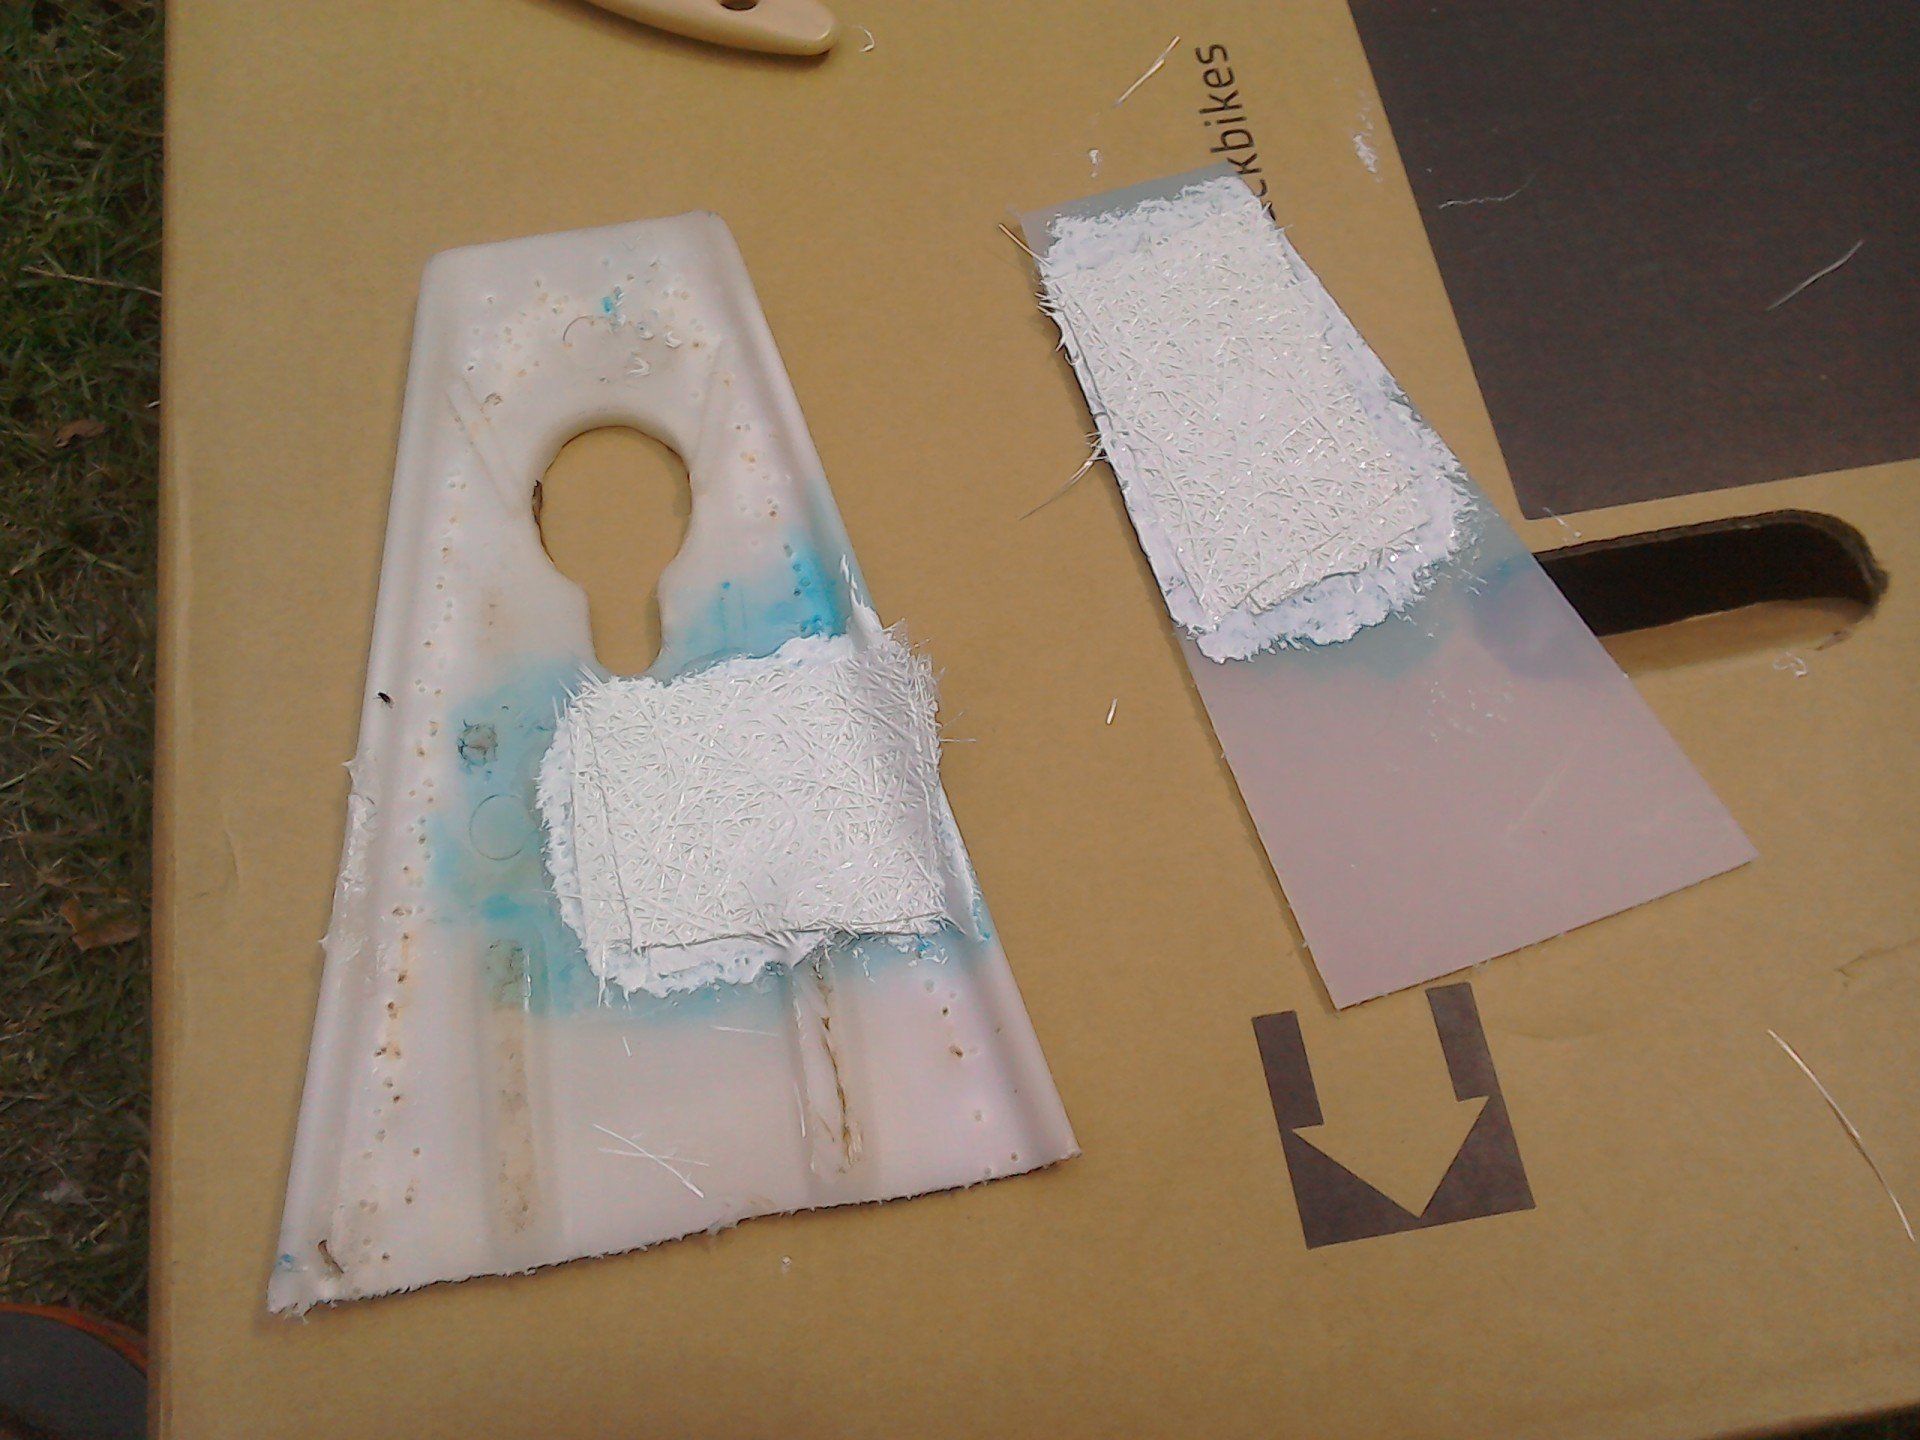
Laminate on the seat base offcut is now fully cured. Next, the moment of truth, will it release without trouble?
Success, the laminate releases without problem. The PVA layer, if it doesn't peel off cleanly, will dissolve in warm water.

Same process for the polypropylene offcut.
Again, a successful release. It seems that we should be OK to go for the real thing.

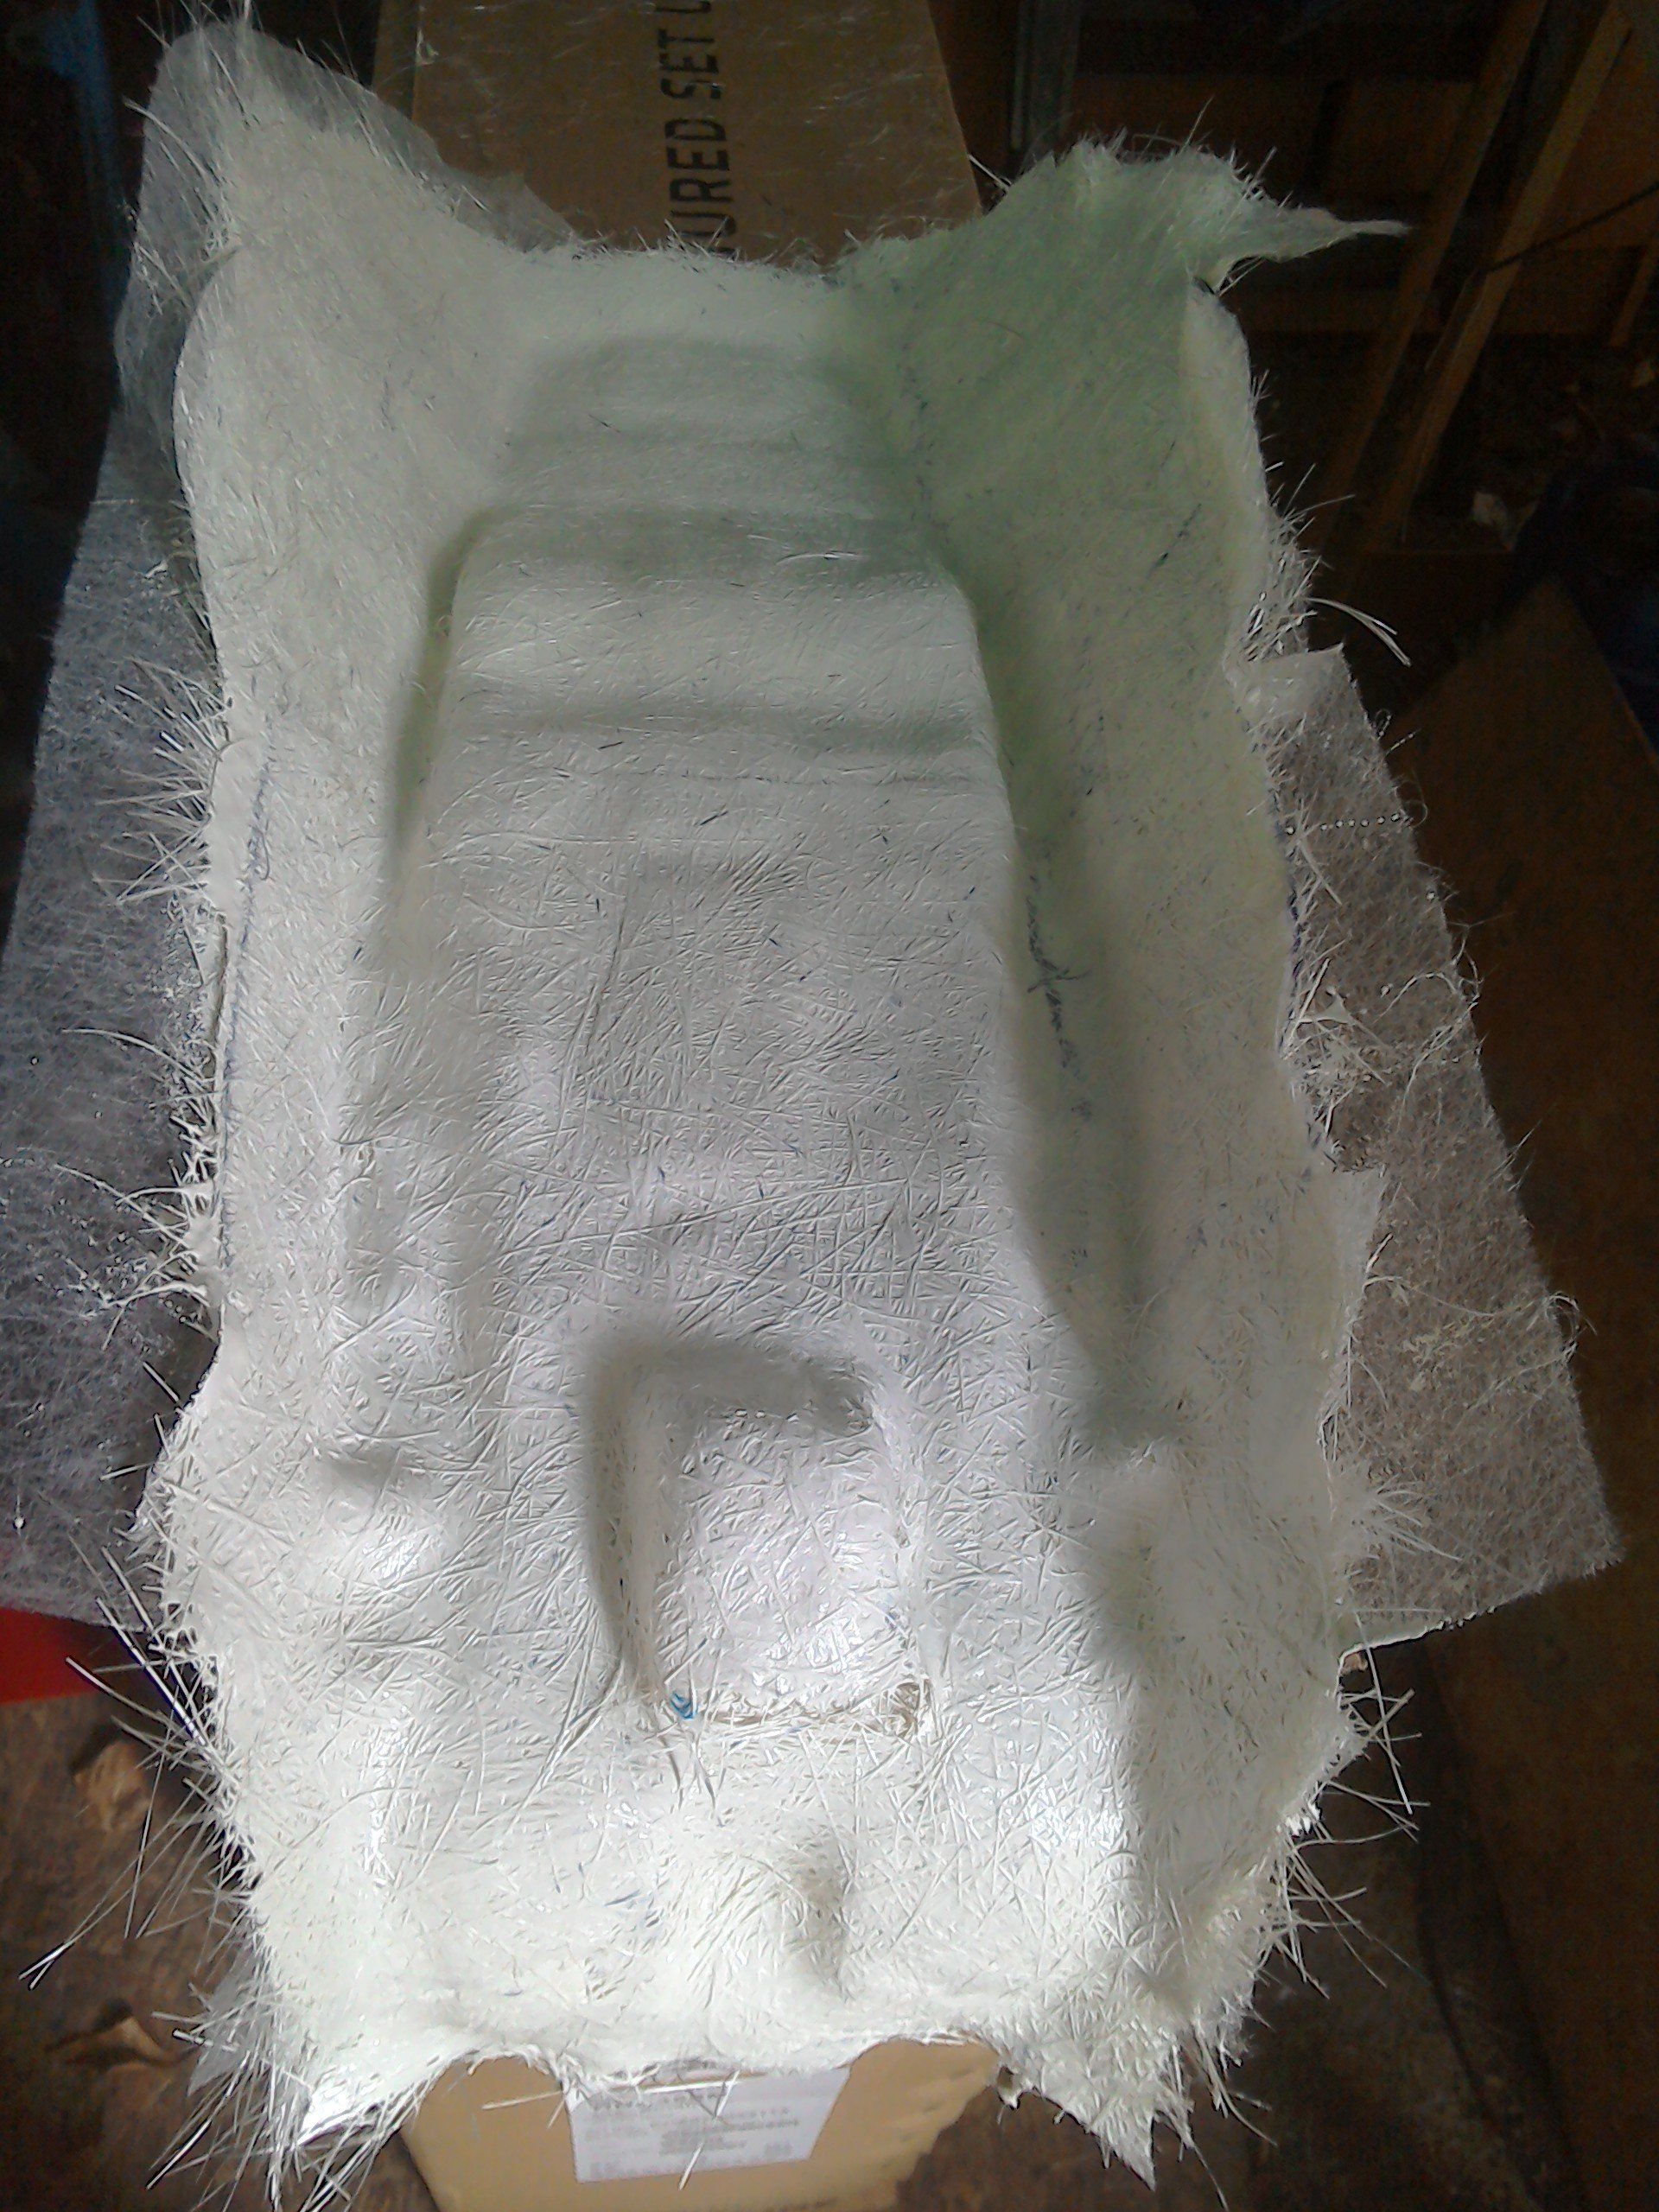
In preparation, I’ve been busy with the moulding wax, sealing all the holes, covering imperfections in the seat base and generally reshaping where required to make it easier to mould. It’s now ready for PVA, and then gel coat, surface tissue and lots of layers of chopped strand mat. Hopefully we'll have got that far by next Monday.

The picture below shows the laying up of the seat base mould in progress. Because of the time constraints when using fibreglass resins (once the catalyst goes in, the clock starts ticking...) and because I'm trying to fit laying each layer around other jobs, I forgot to take photos. So, in this picture, a layer of PVA release agent has already gone on and been left to dry. This has been followed by the gelcoat layer, which is left until it goes tacky, and then the surface tissue and the first layer of chopped strand mat.

Several more layers of mat have now been laid and also some core mat. Core mat is a thicker layer which is used to bulk up and stiffen a GRP moulding. This is not great fibreglass work, I used up some old resin and lots of offcuts of chopped strand mat to make the mould knowing that it is probably only going to be used once or twice. The resin was way past its best and was too sticky to use successfully. In desperation, I thinned it with some acetone, not knowing at the time whether this was a good idea or not, but I wanted to get the job done. I've subsequently learnt that it is OK to thin it providing no more than 10% acetone is used.
The mould was then left for 5 days to give it time to sufficiently harden before any attempt was made to separate it.
The mould was then left for 5 days to give it time to sufficiently harden before any attempt was made to separate it.
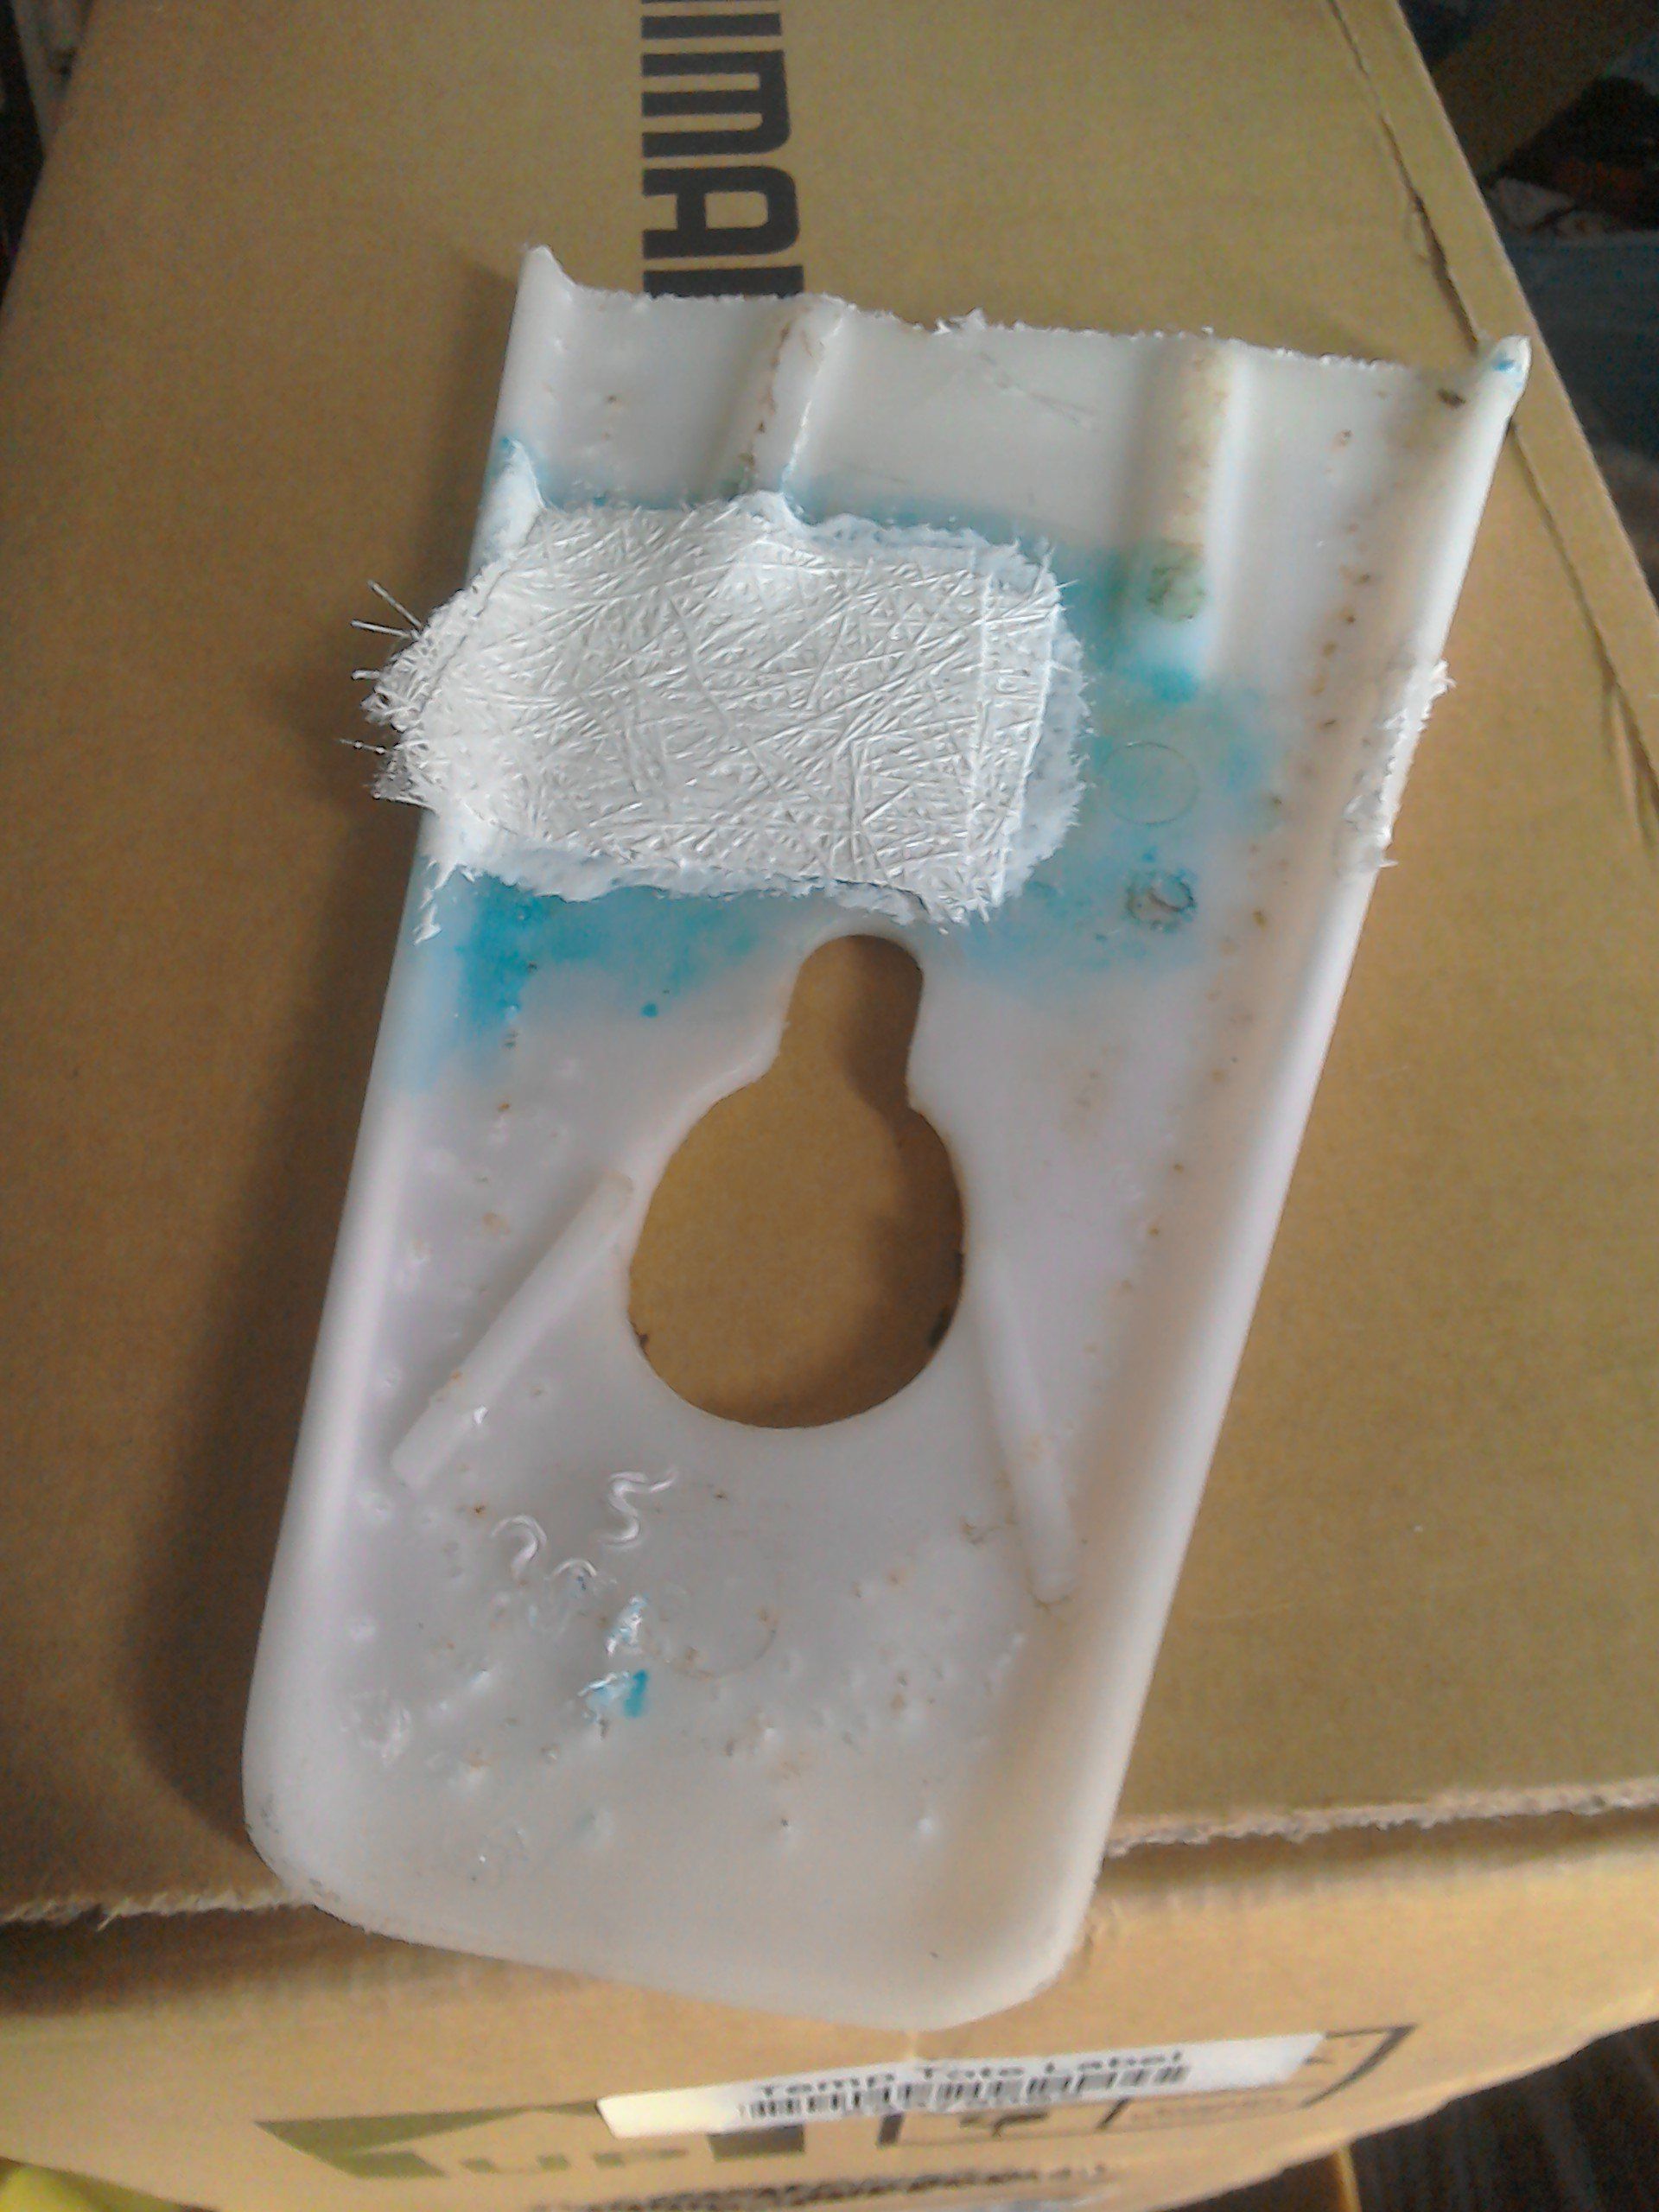
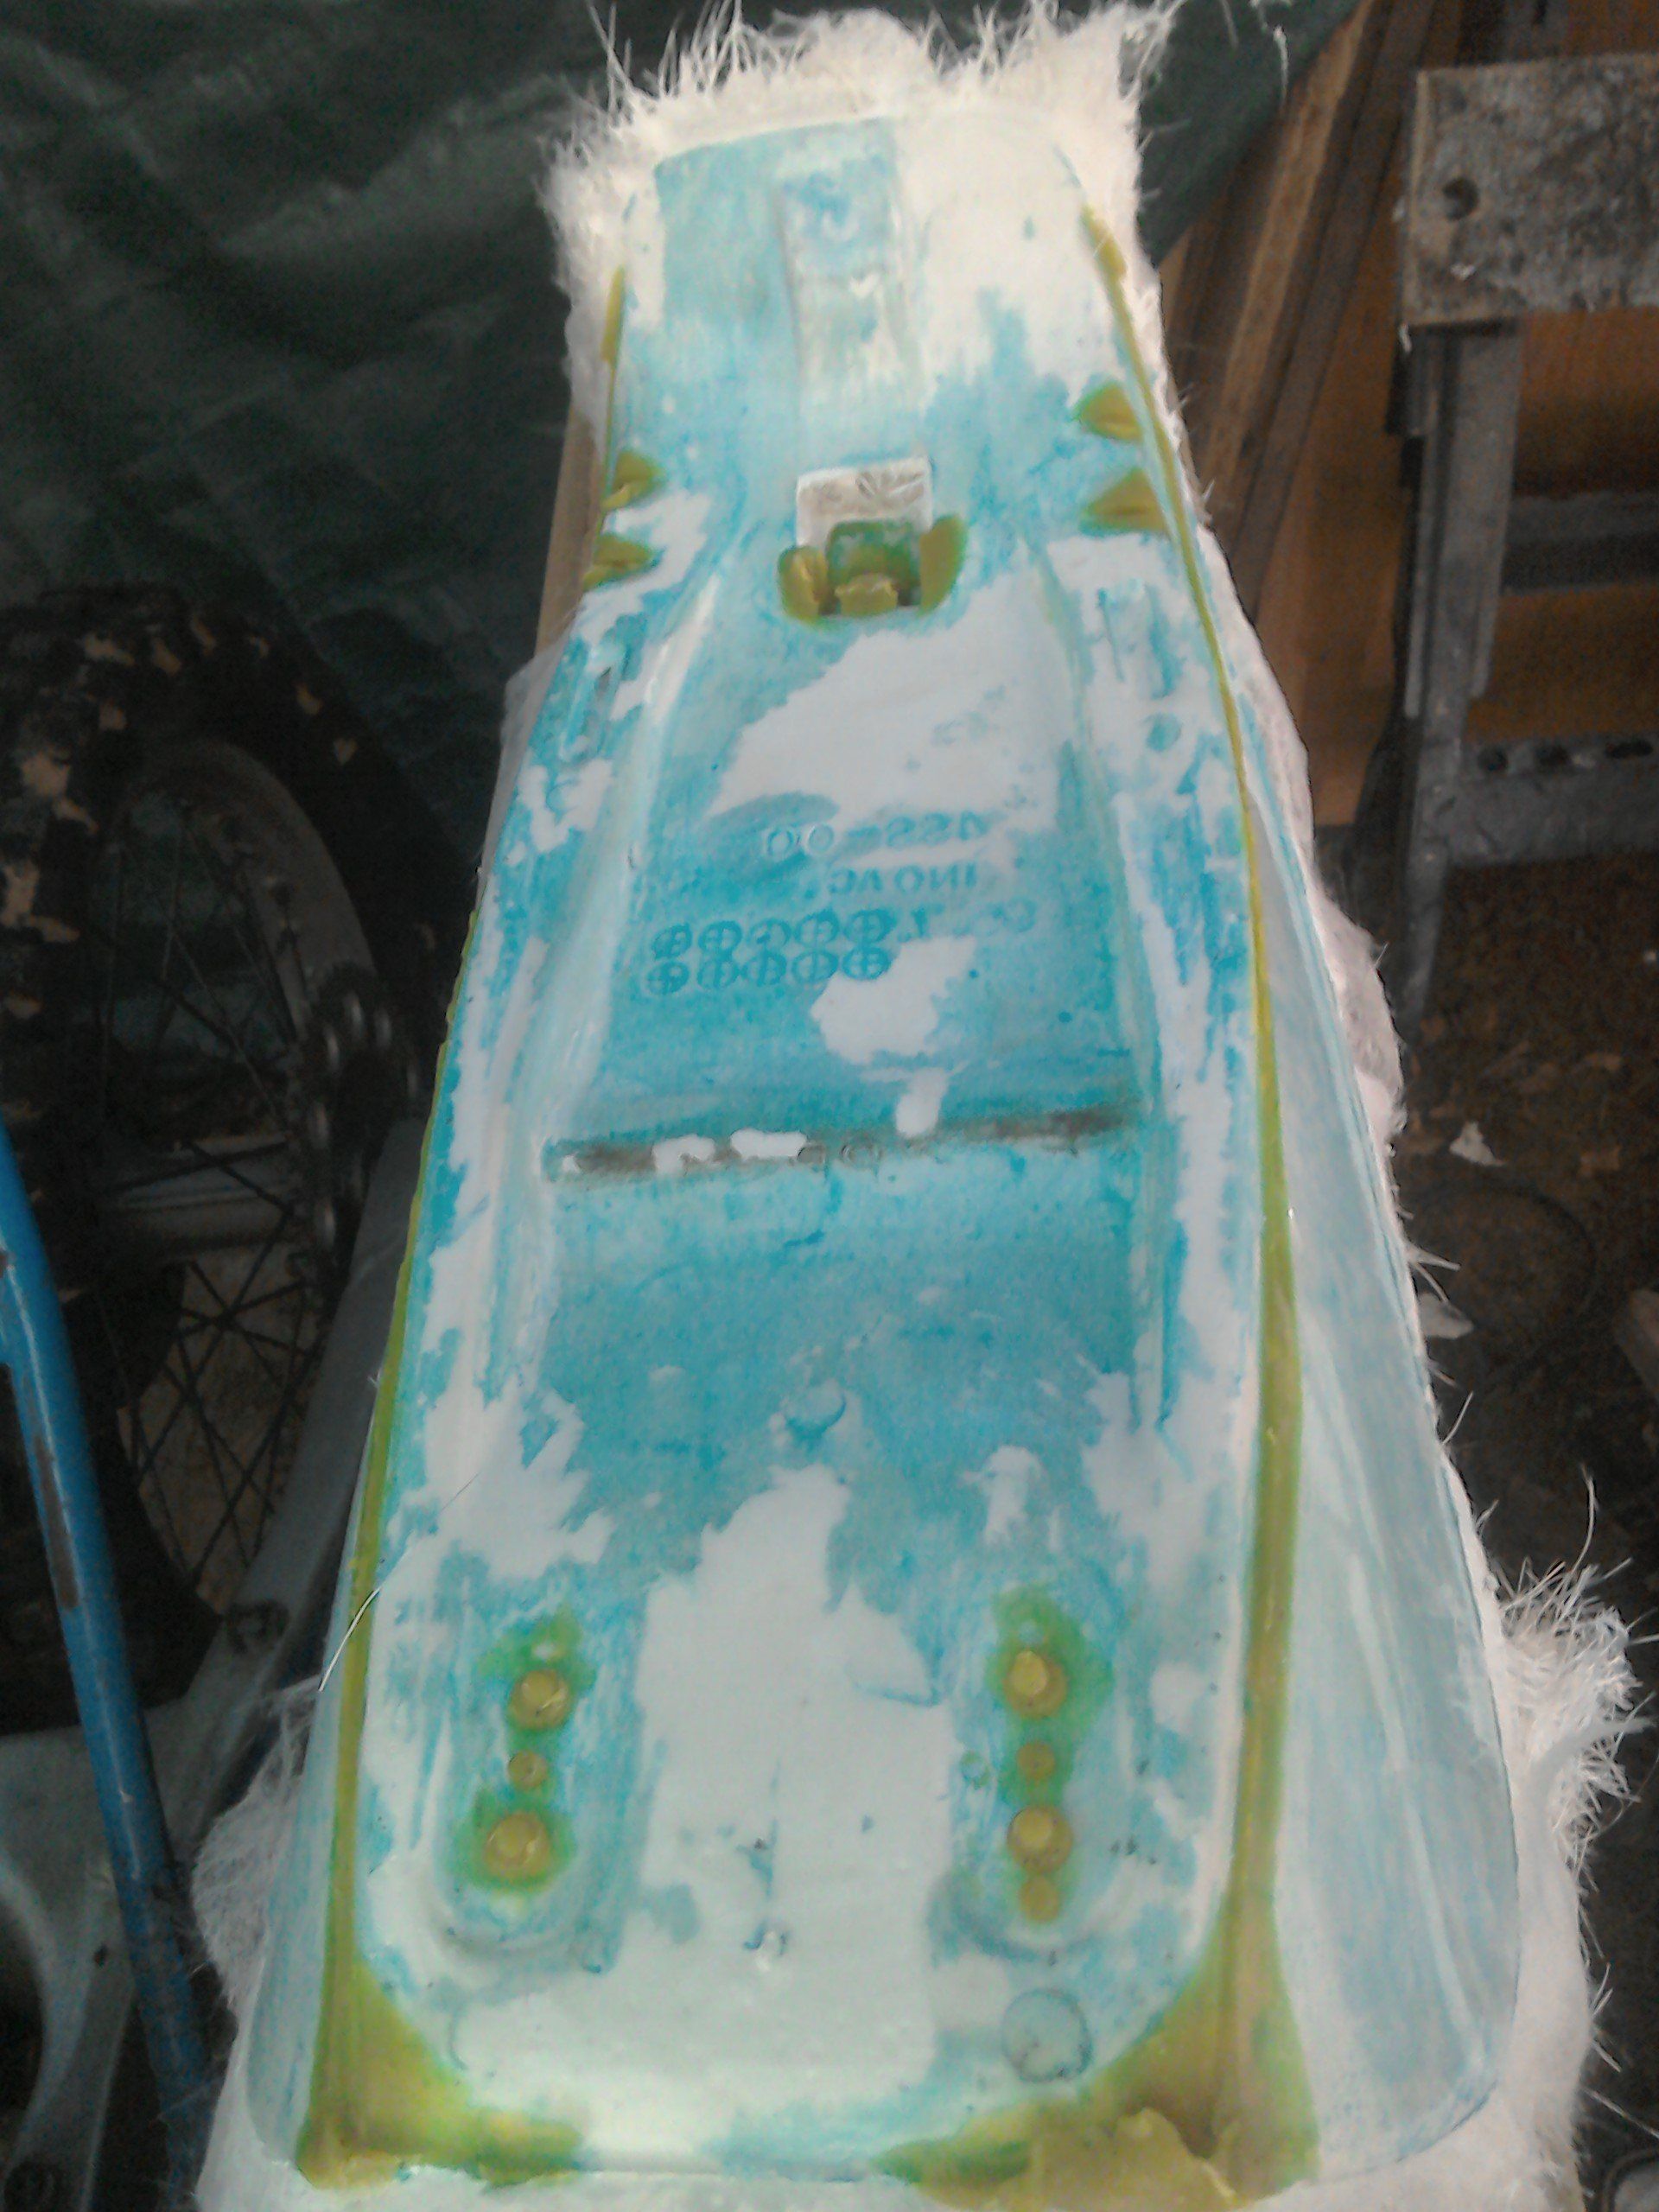
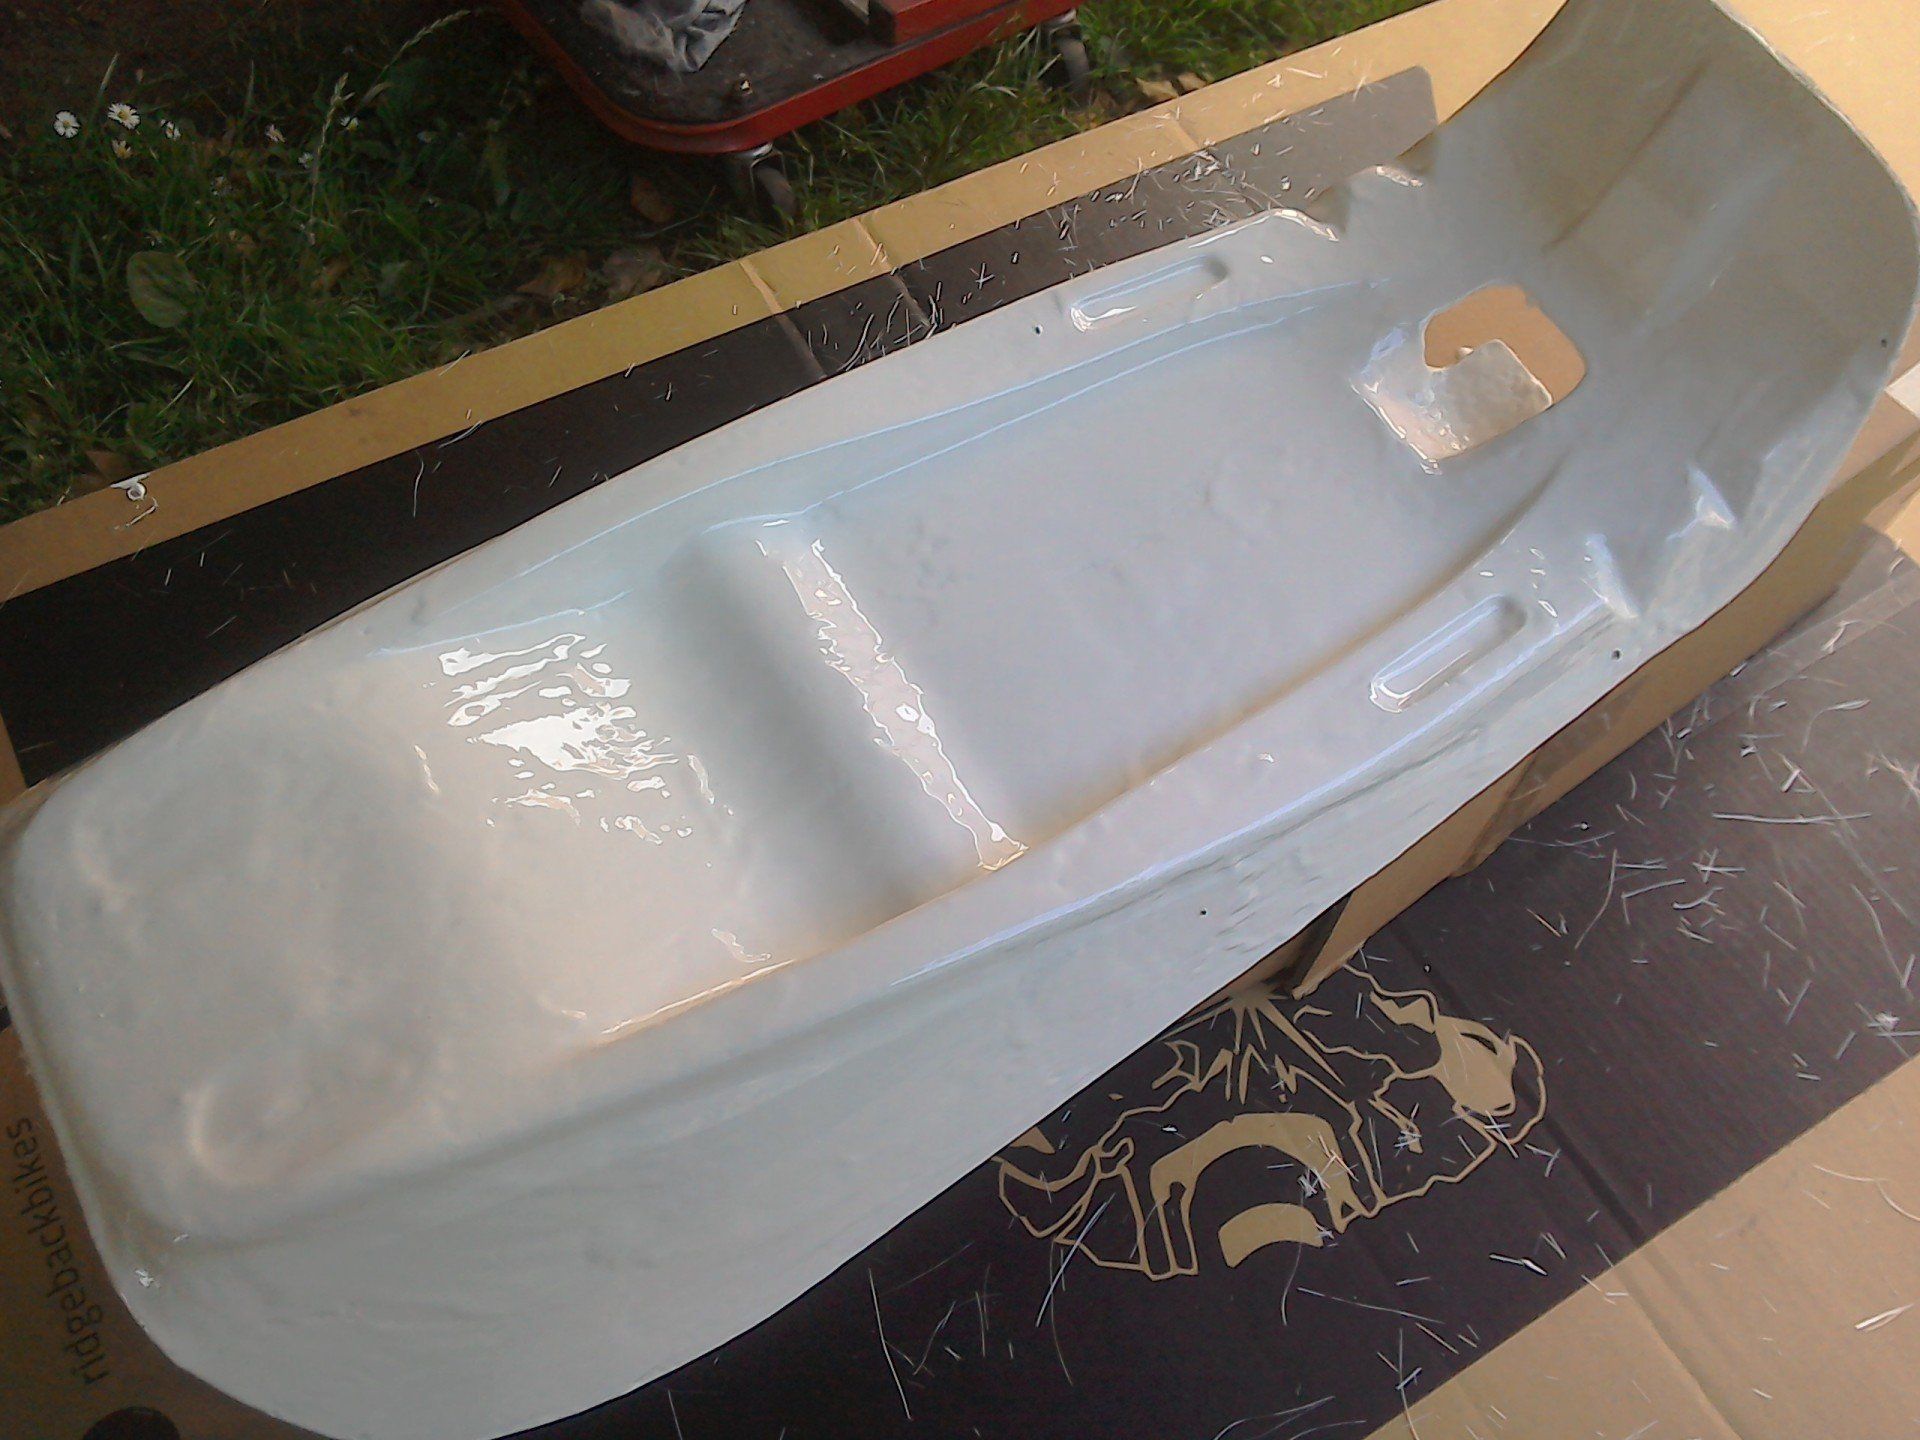
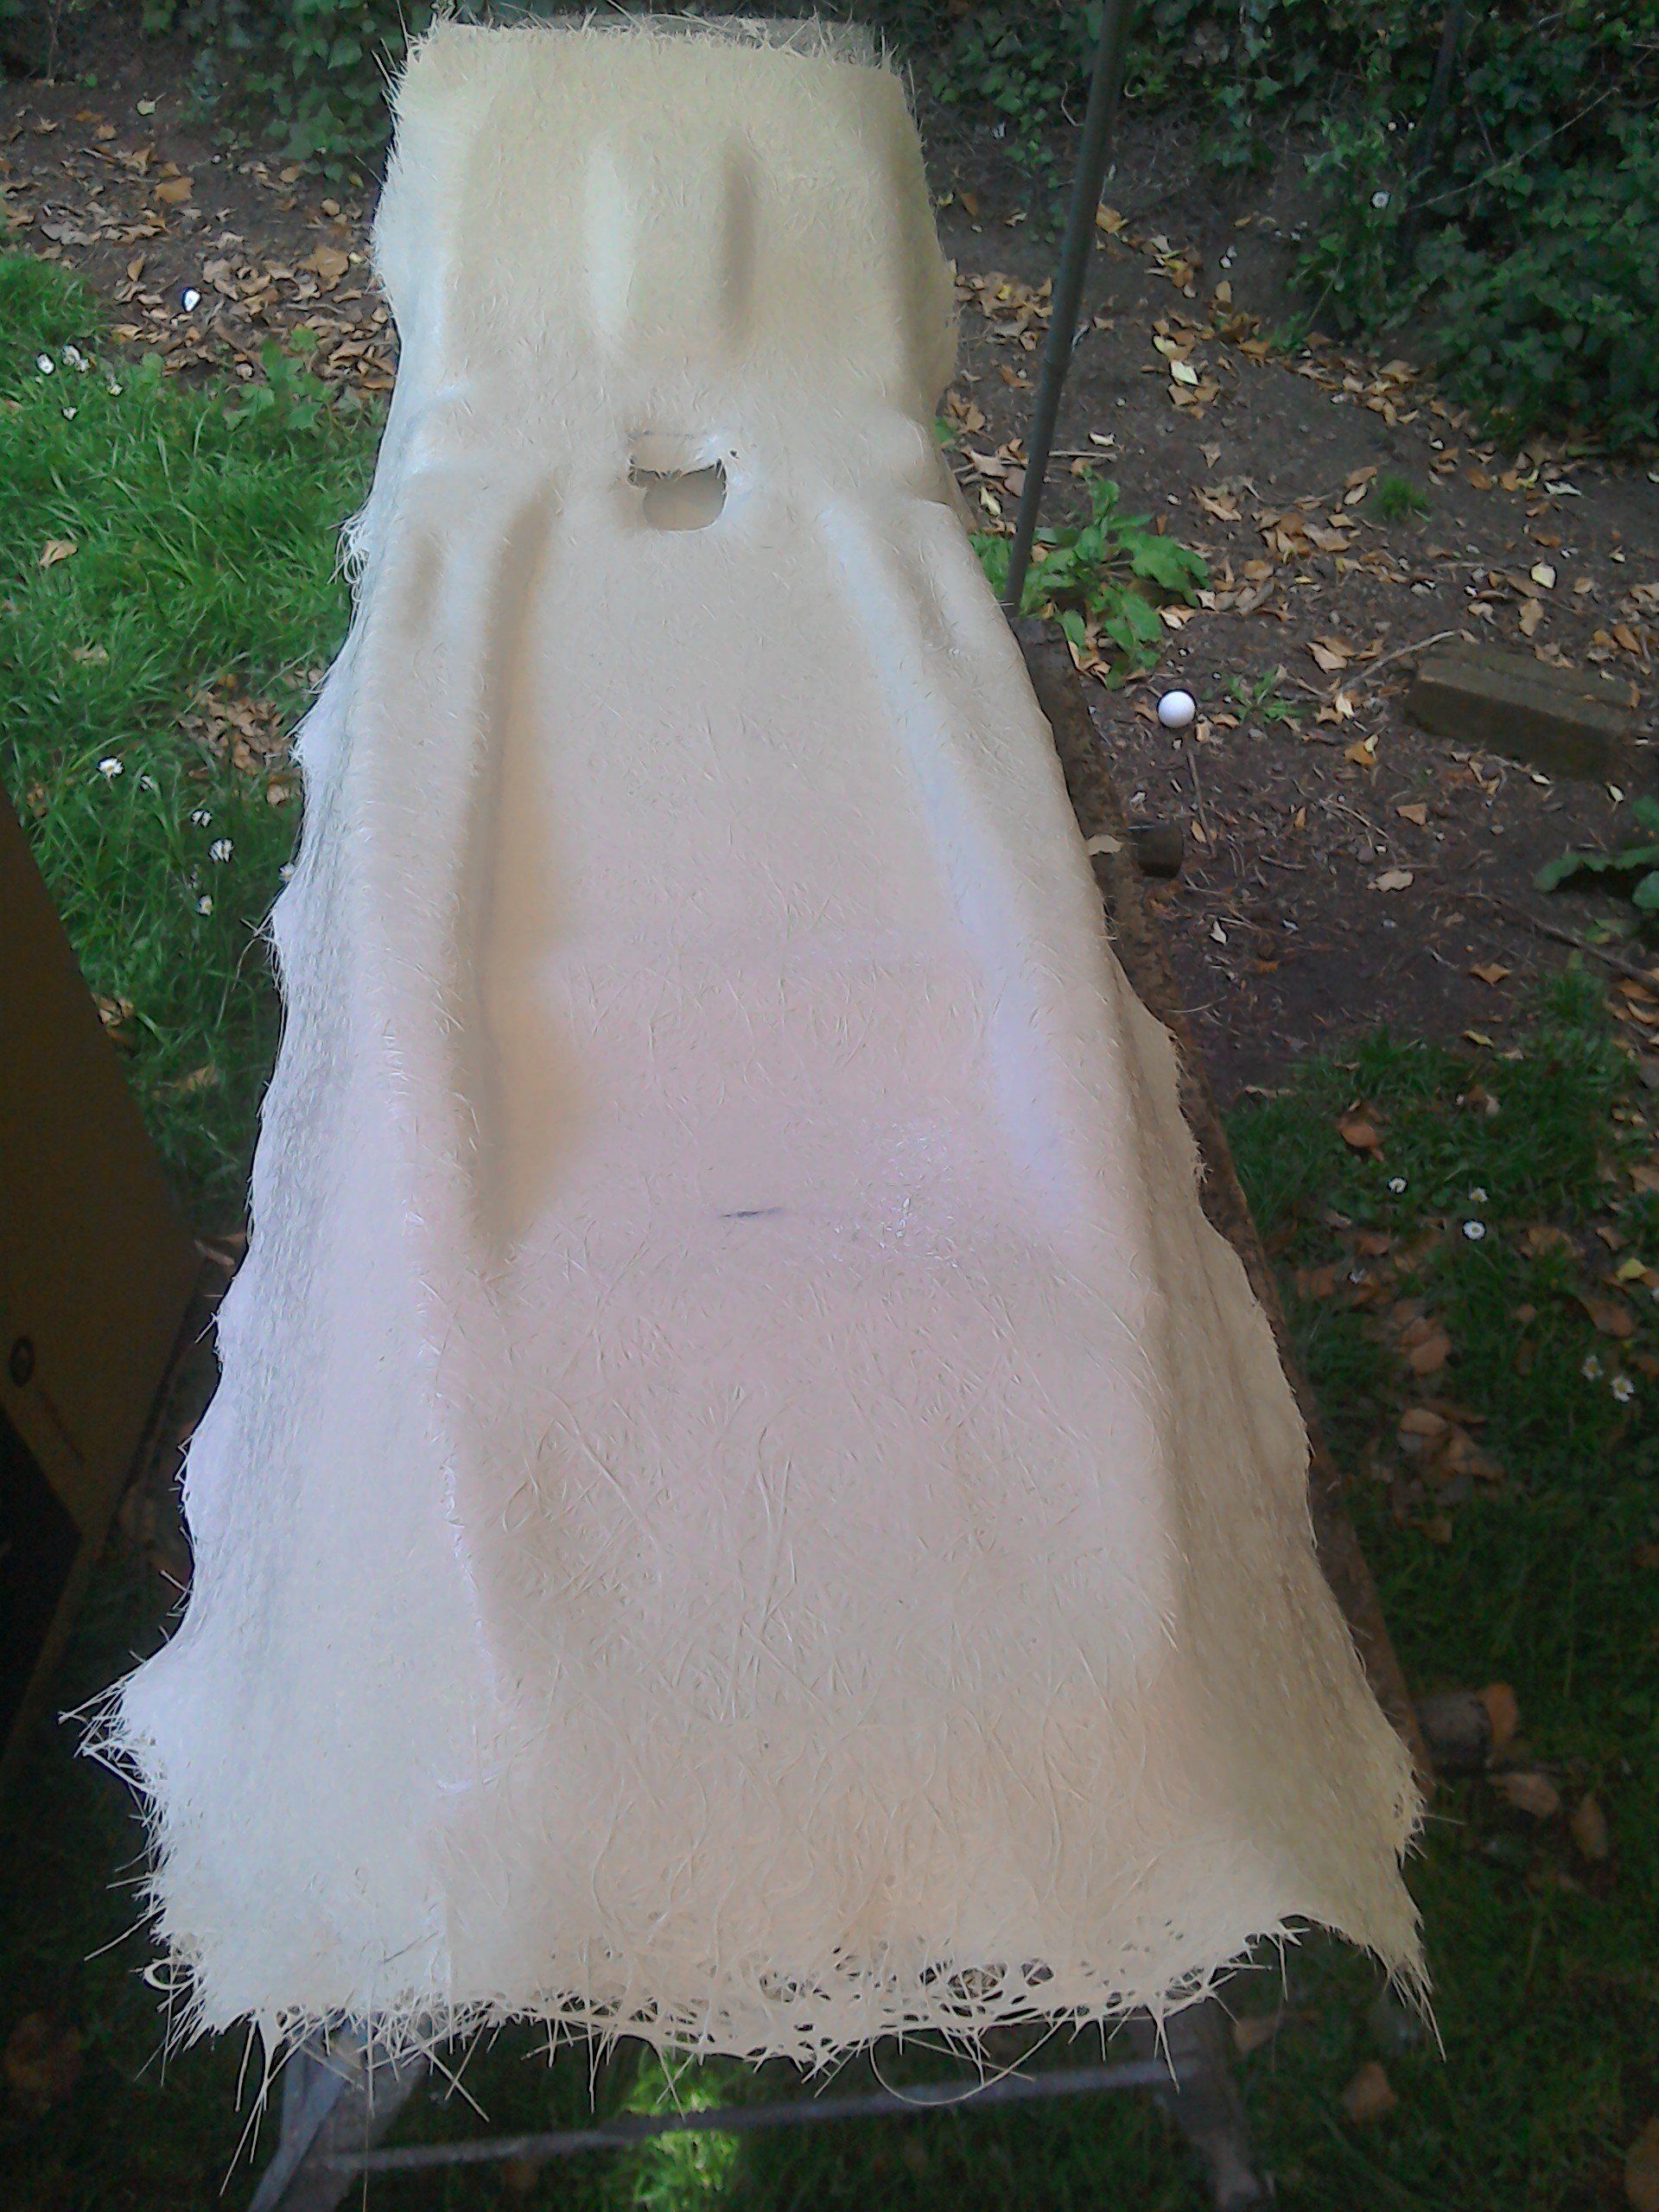
This is a side view of the pattern and mould, you can just see the blue PVA layer through the plastic. Hopefully it's done its job and stopped the two from sticking together.
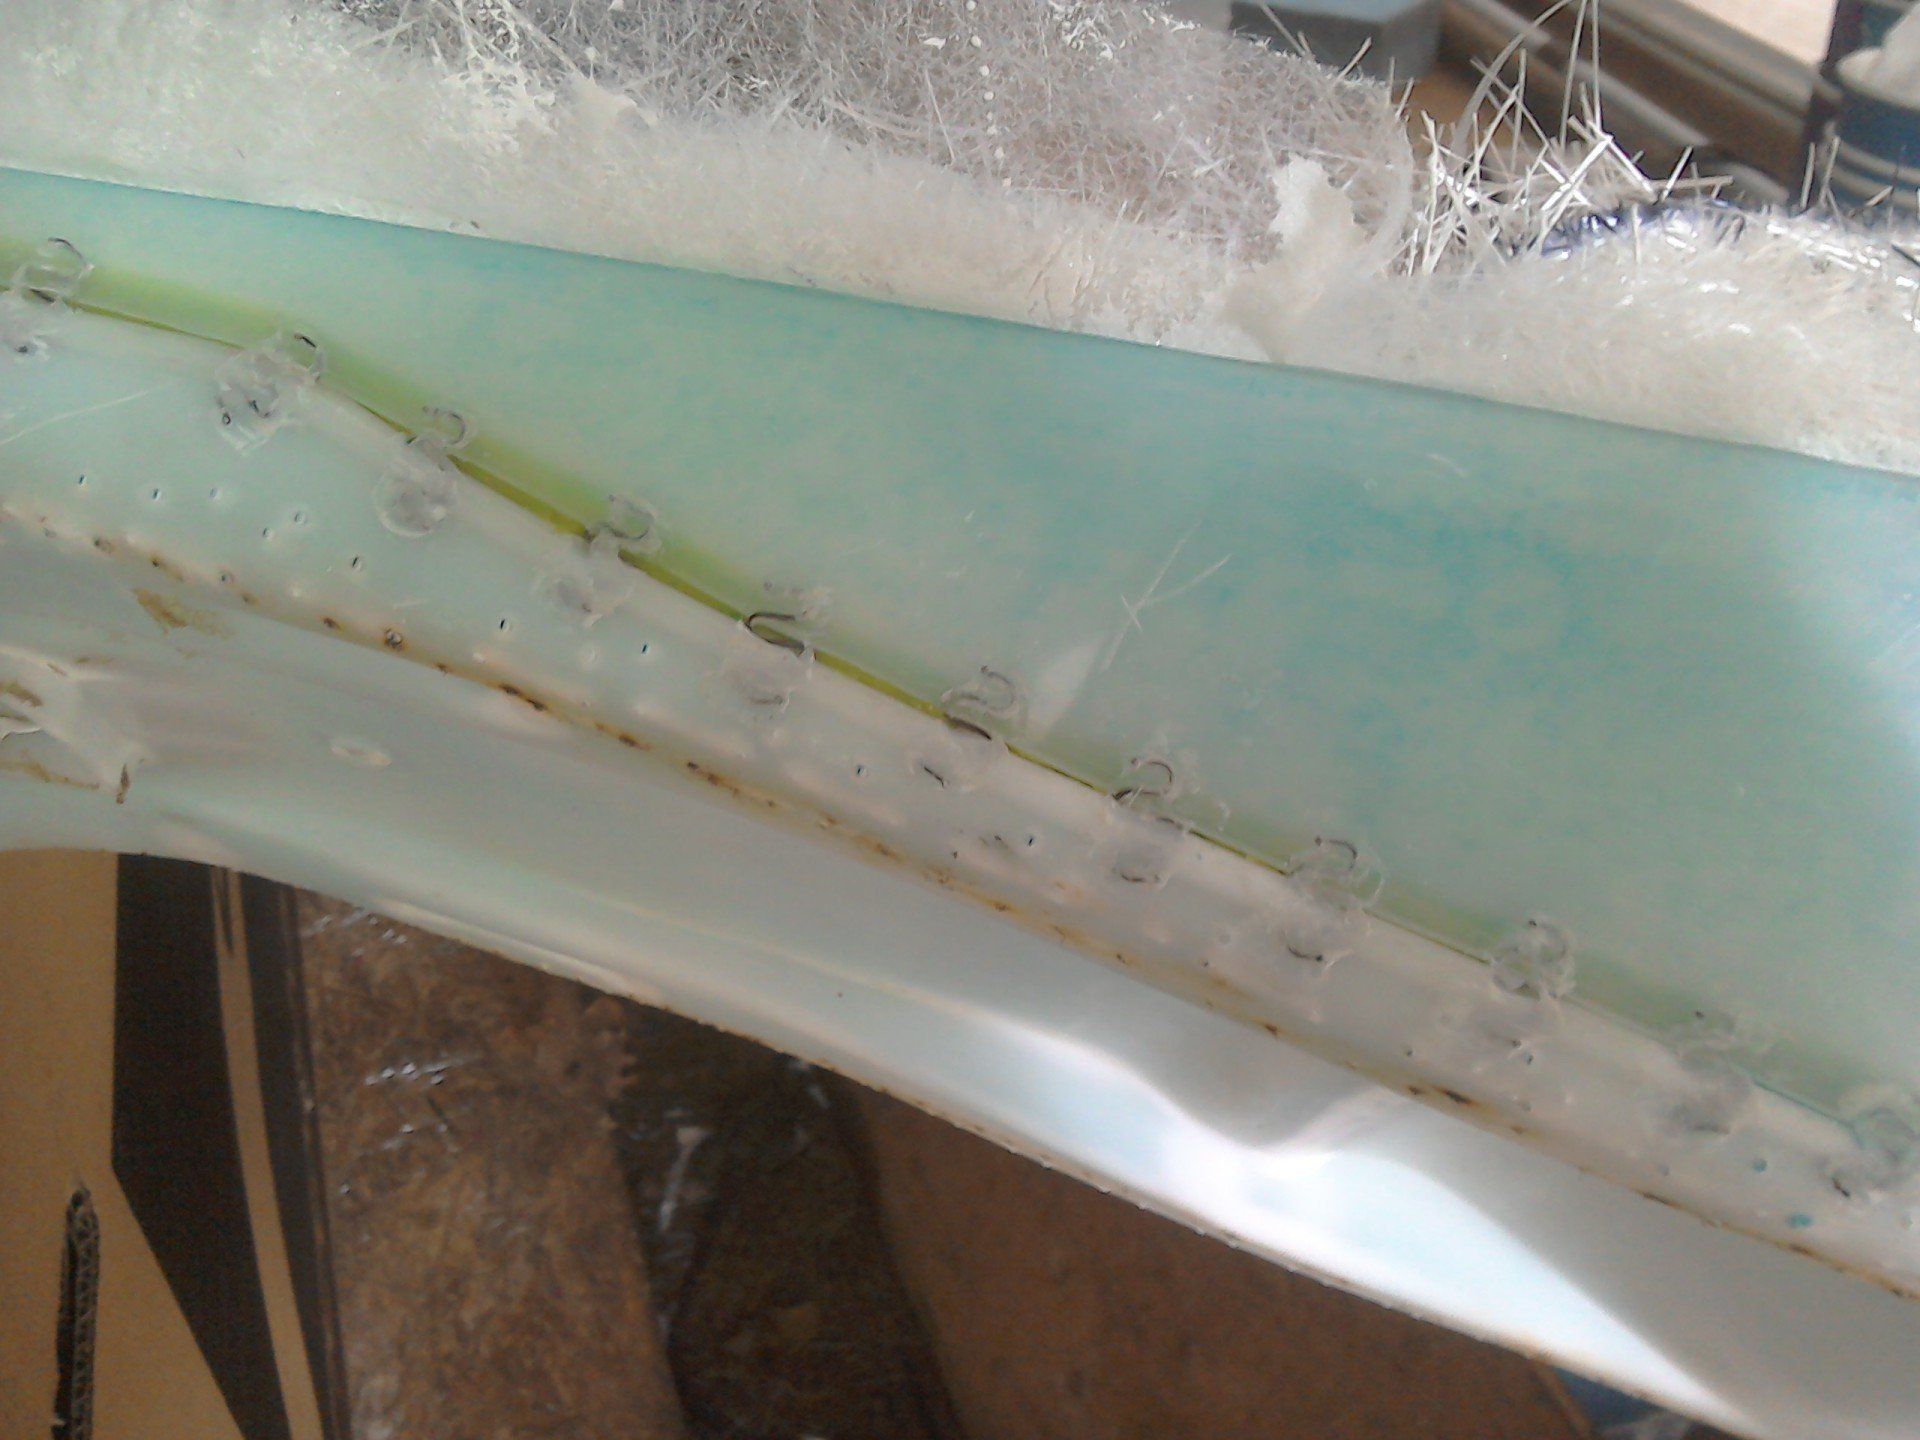
Thankfully, the PVA did do its job and pattern and moulding have successfully parted company. Pattern is top of picture, moulding below. All that's required now is to clean off the yellow wax and blue PVA, then trim up the edges and we're ready to make the seat base proper.
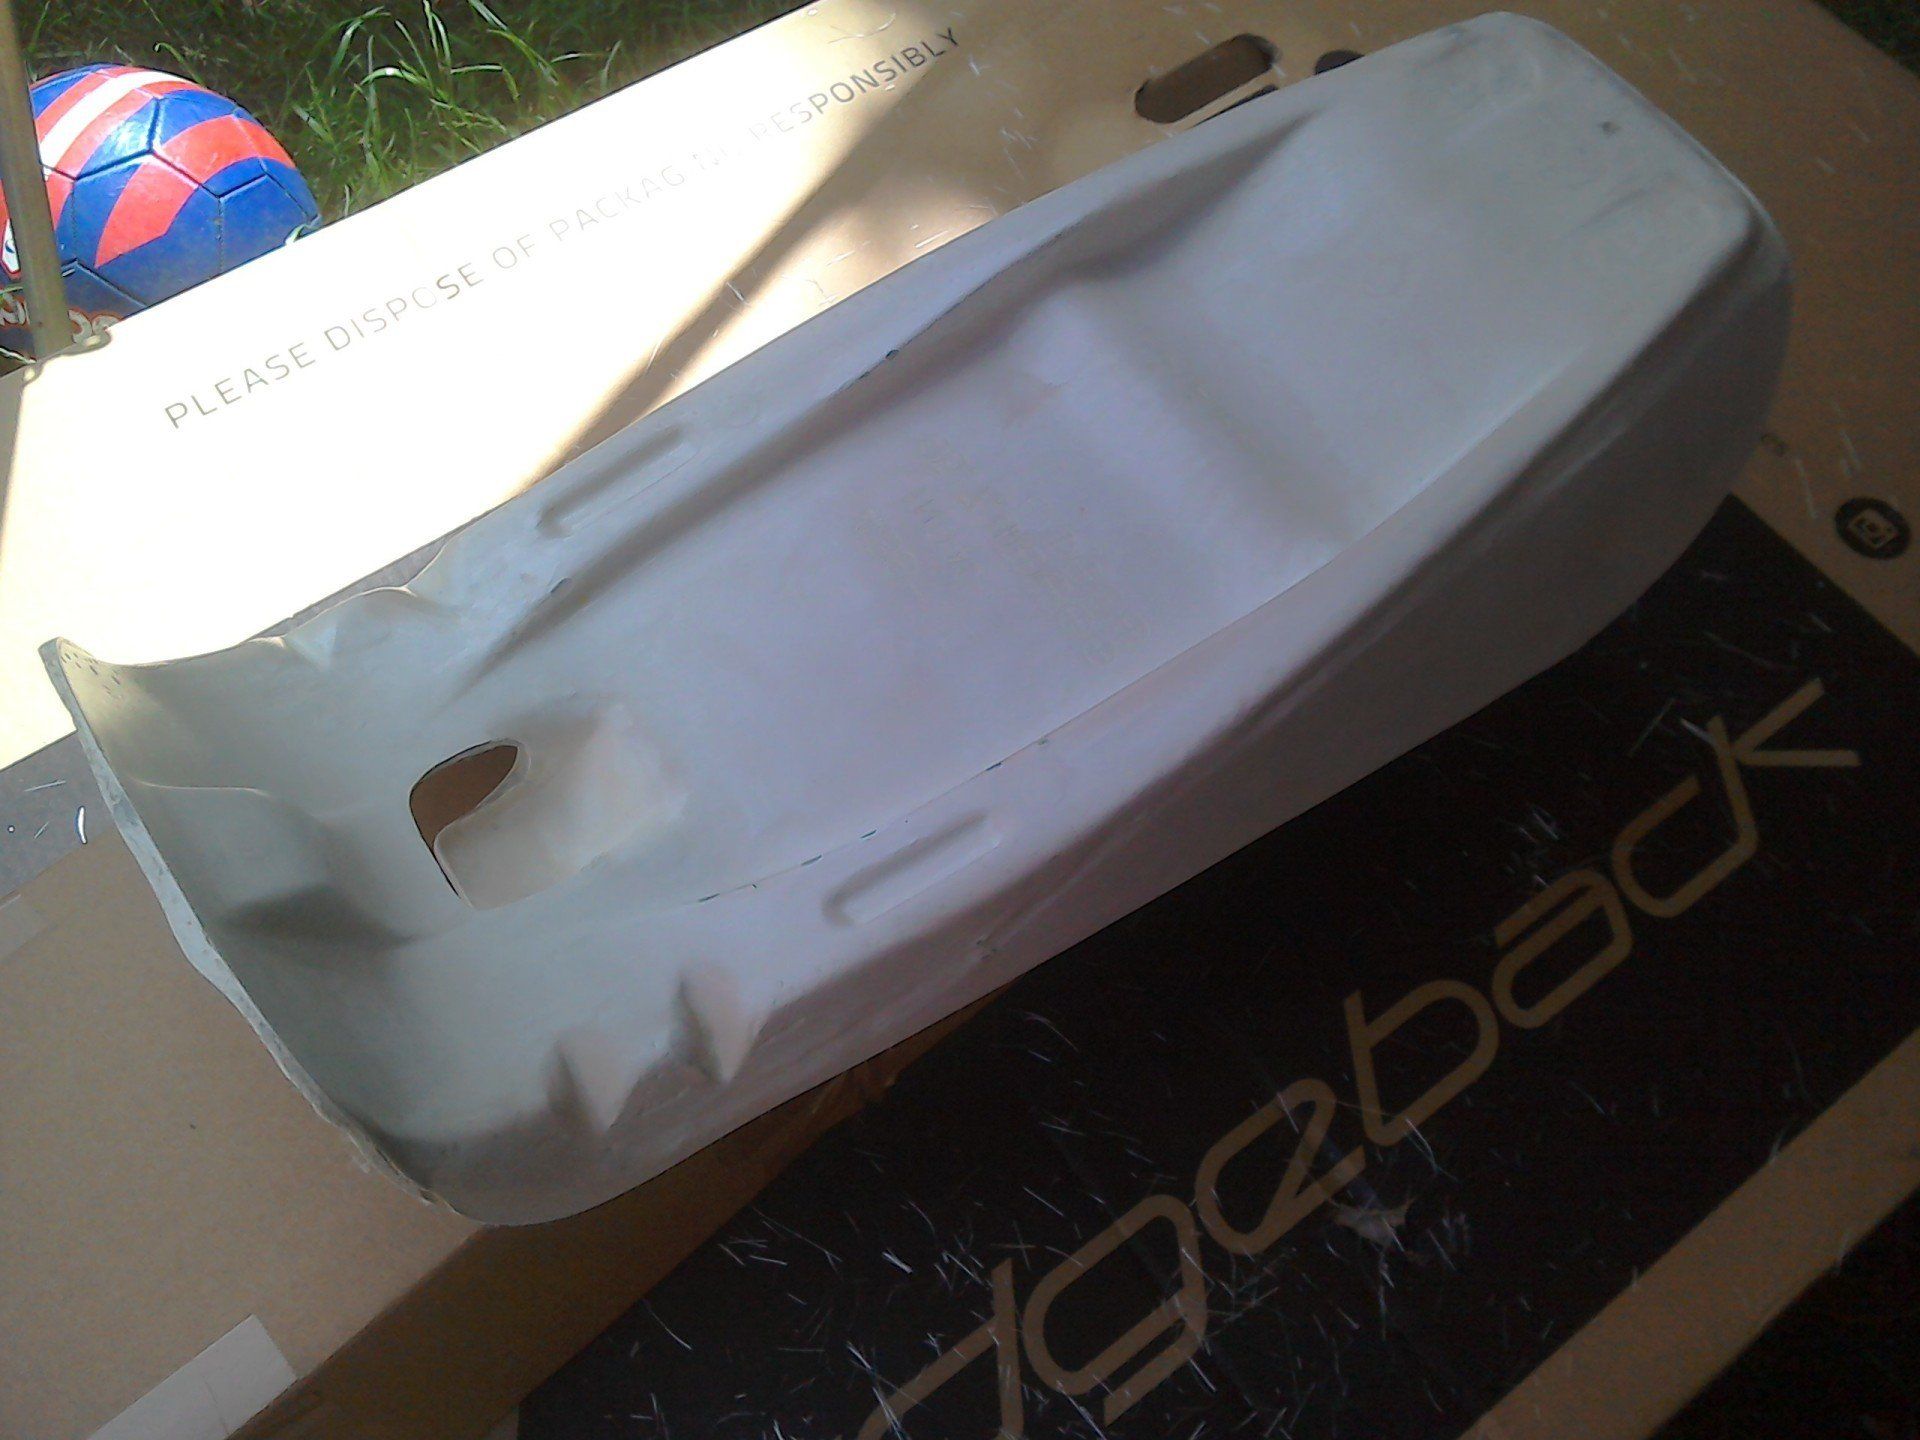
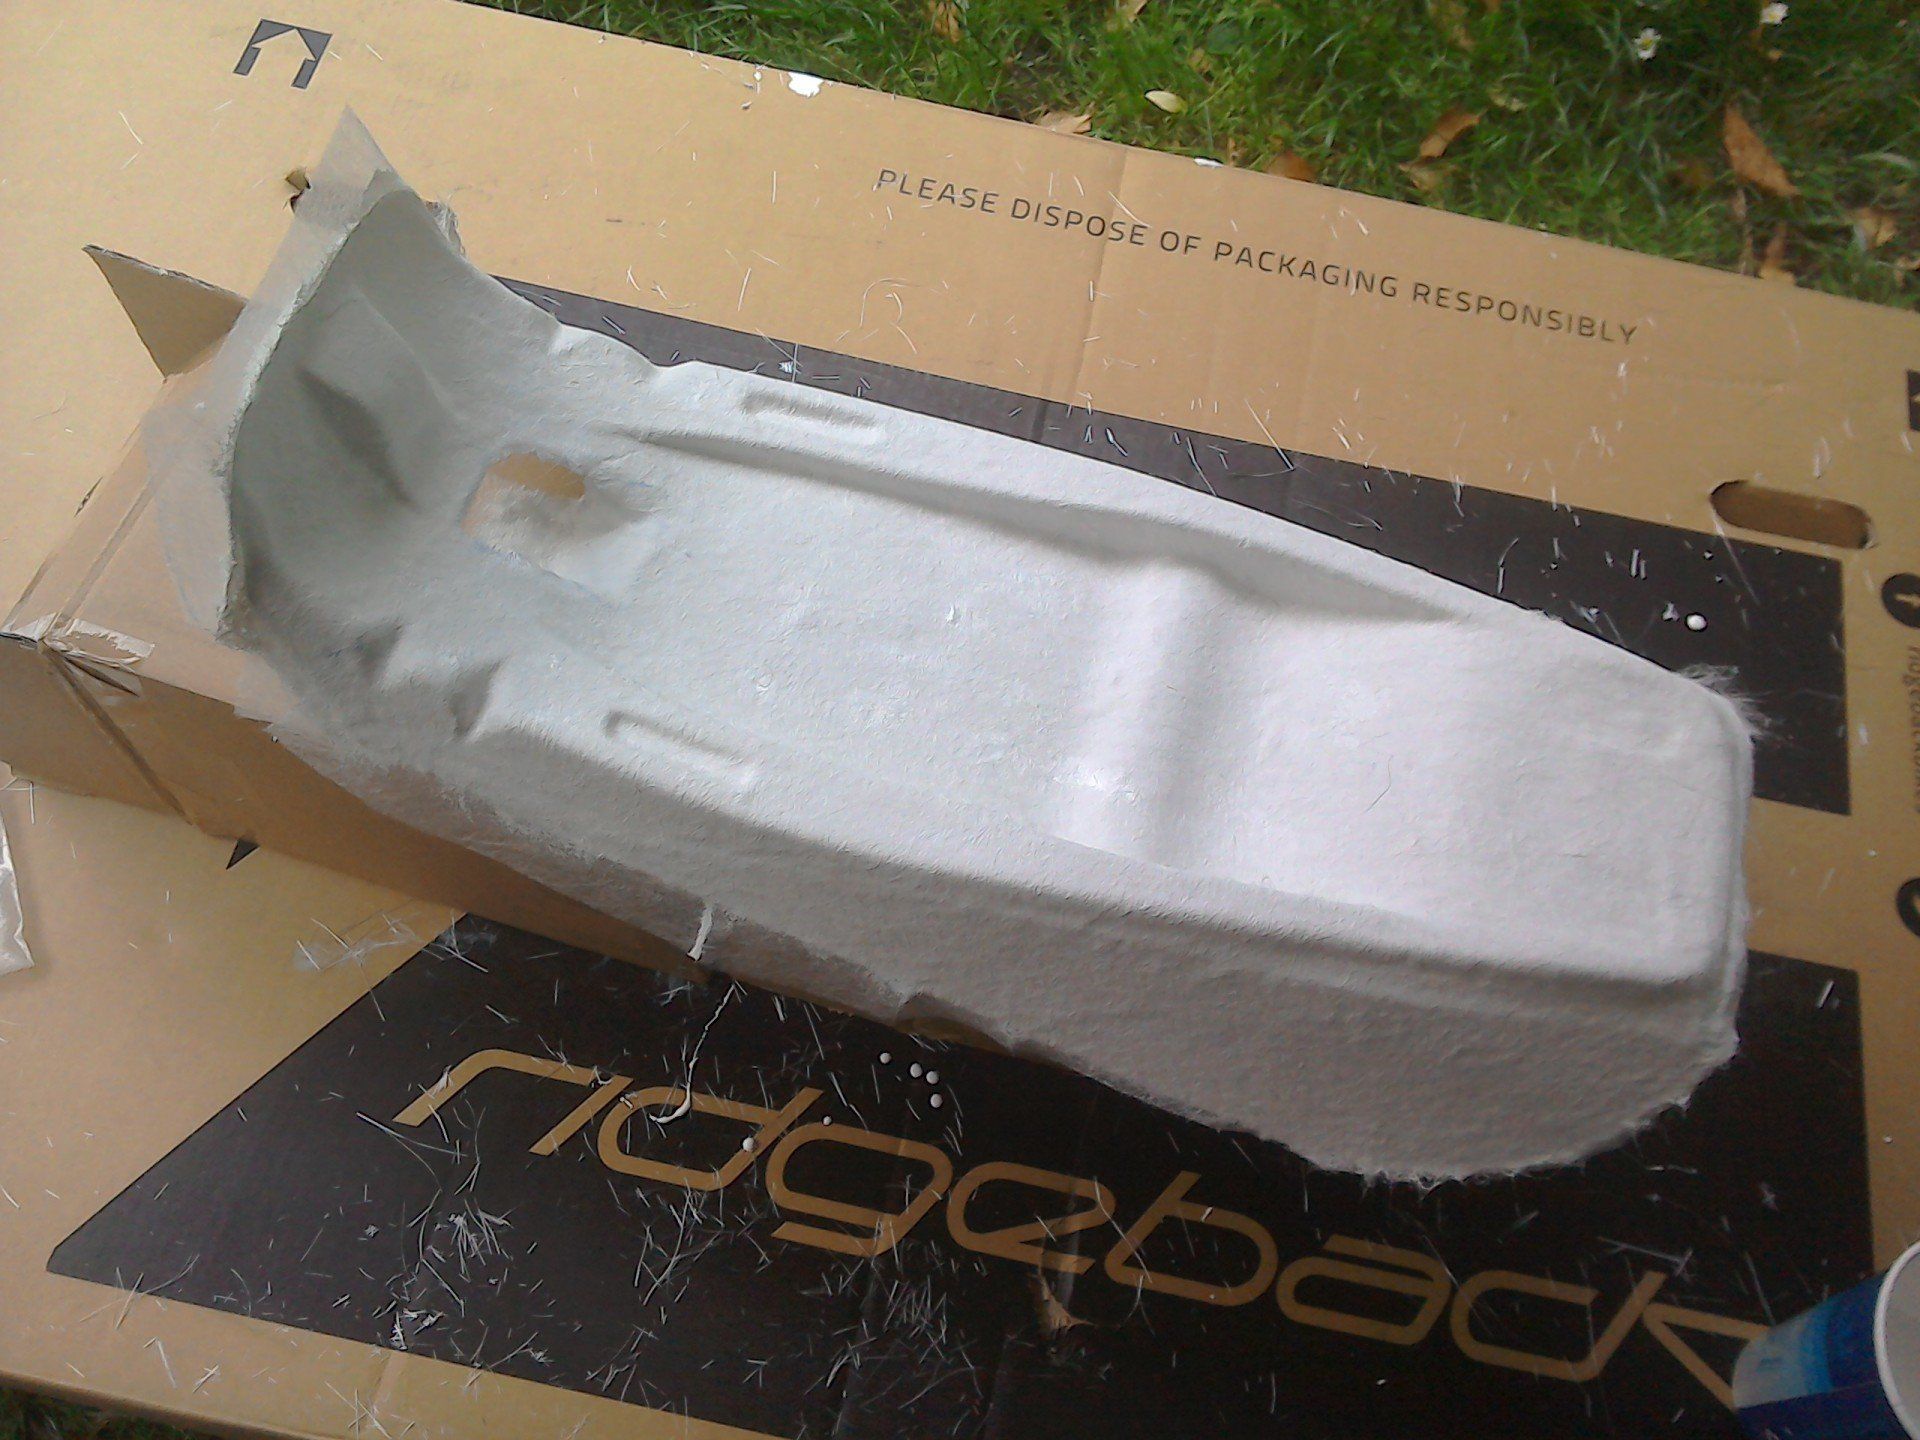
Another (slightly out of focus) picture of the seat base mould.

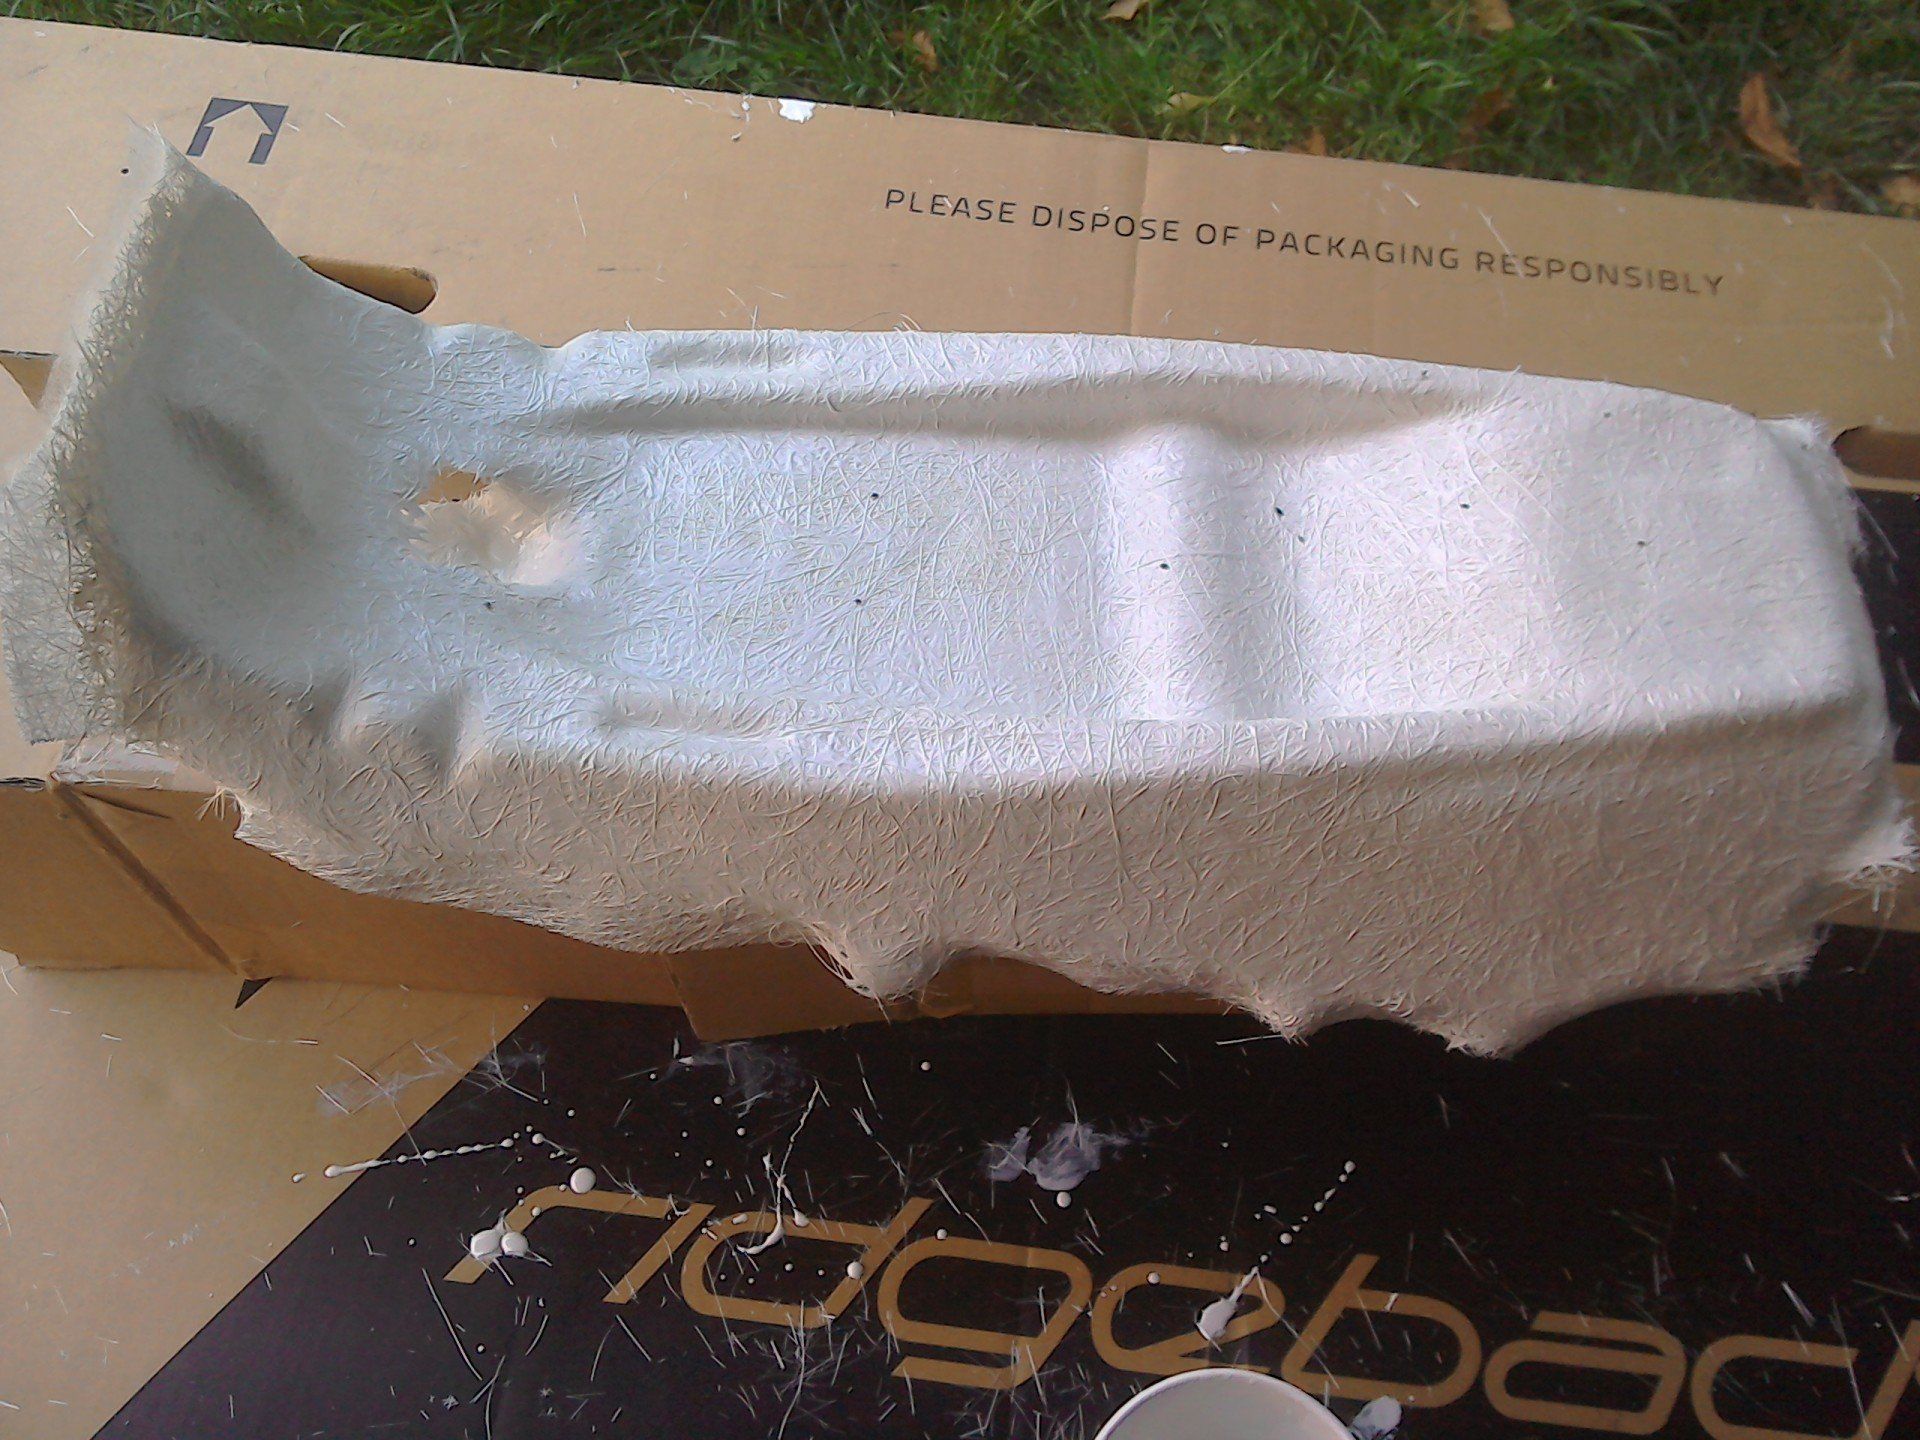
The seat base mould has been washed to remove all traces of the blue PVA mould release and the edges trimmed using an angle grinder and flap disc (see pic. below). The flap disc makes light work of trimming up fibreglass, but it is a messy business. Make sure to wear gloves, eye protection and a dust mask - those little glass fibres get everywhere!
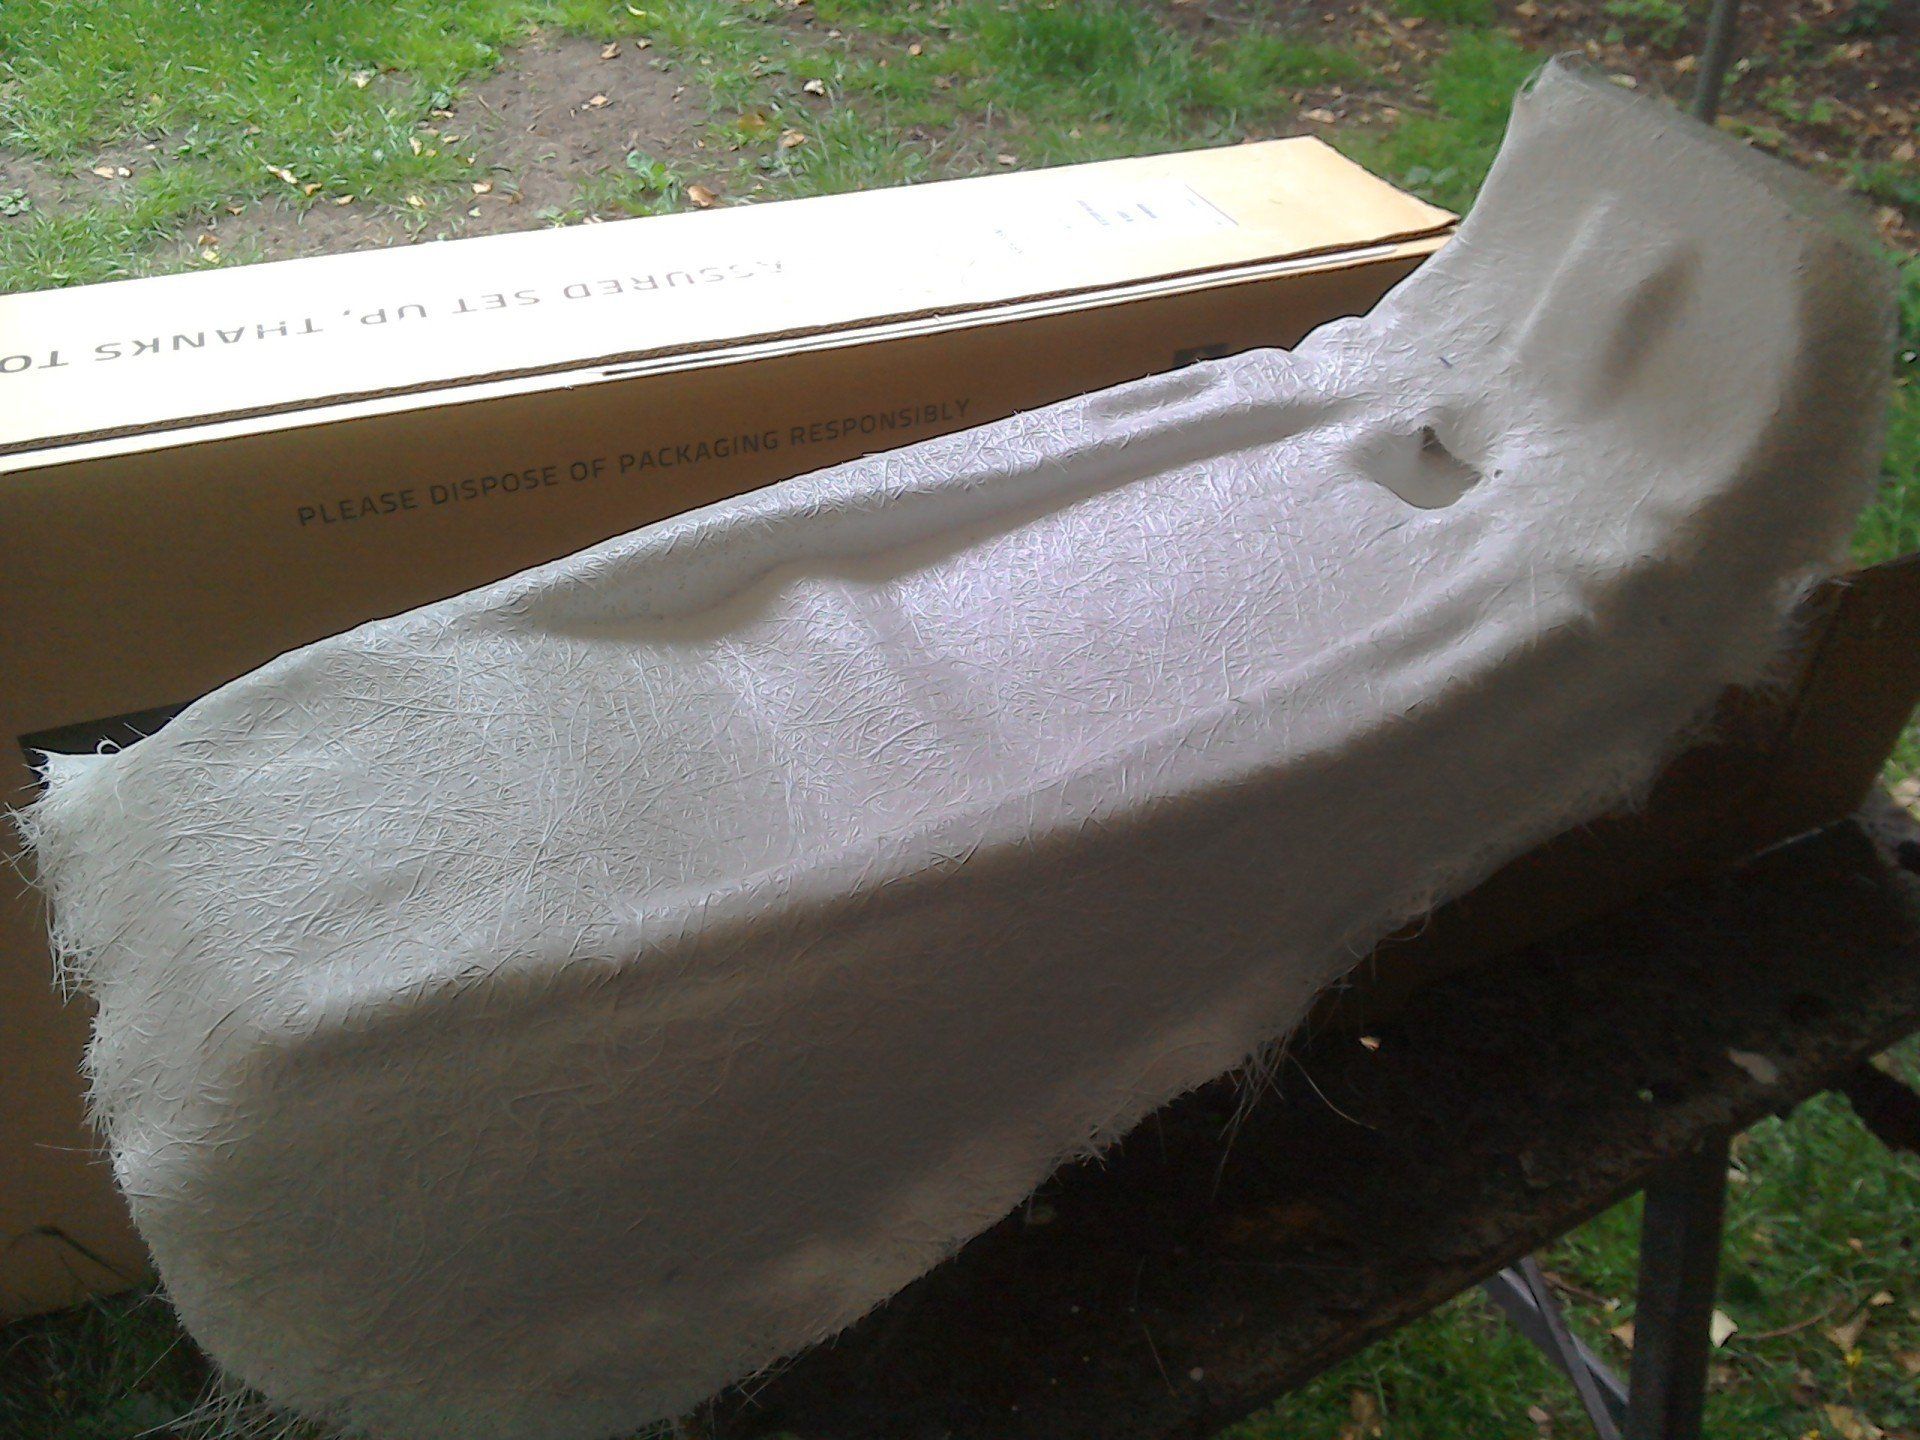
There were a few small blemishes on the surface, these have been filled and sanded, and the mould is now ready to use. This time mould release wax will be used instead of PVA. The number of wax coats required depends (mostly) on personal preference. I go for 8. Given that you have to leave 15 minute gaps between coats of polish, it does mean that it takes a little while to do. The large number of coats is not really to do with building up a thick layer of wax, it’s more to make sure that no areas are missed - you really don’t want it to stick!
There were a few small blemishes on the surface, these have been filled and sanded, and the mould is now ready to use. This time mould release wax will be used instead of PVA. The number of wax coats required depends (mostly) on personal preference. I go for 8. Given that you have to leave 15 minute gaps between coats of polish, it does mean that it takes a little while to do. The large number of coats is not really to do with building up a thick layer of wax, it’s more to make sure that no areas are missed - you really don’t want it to stick!
While waiting for the new resin to arrive, and in between wax polish coats, paper templates have been made so that the surface tissue and chopped strand mat can be pre-cut ready for laying up. Laying up the seat base will be the usual gel-coat, surface tissue, 3 layers of 450gsm chopped strand mat routine.
With the arrival of the new supplies, the laying up of the seat base proper can begin. This time I've remembered to take photos of each step!
First, it's on with the gel coat (below). The visible brush strokes don't matter, providing everywhere has got a good layer of gel coat, as they will all be covered by layers of chopped strand mat.
What was very annoying were the little black beetles that were attracted to the white gel coat. (You can see them in the picture, they're the little black dots.) I picked off as many as I could, but some are permanently embedded in the seat base!
When the gel coat has set sufficiently, it's time to add the surface tissue, a very lightweight fabric which conforms easily to the mould shape.
Then it's on with the chopped strand mat. This is the first layer, below. Laying the cloth is always a little fraught. You know that the clock starts as soon as the catalyst goes in, so you don’t want to hang around, but the cloth is stiff and won’t conform to the shape of the mould until it’s fully wetted with resin and starts to soften up. It’s then a case of frantic dabbing with a brush and rolling with a roller to form it to shape and remove any air from between the layers of cloth. Hopefully, you get that done satisfactorily before the resin starts to gel. (Even more beetles on this layer. Perhaps working outside wasn't a good idea.)
Time for the second layer. You can lay all of the layers in one go, it's the quickest way, but I prefer to let the previous layer start to harden a little before moving on with the next.
That's it, third and final layer in place. Now everything has to harden for a couple of days before I get to find out if I missed any areas with the release wax!
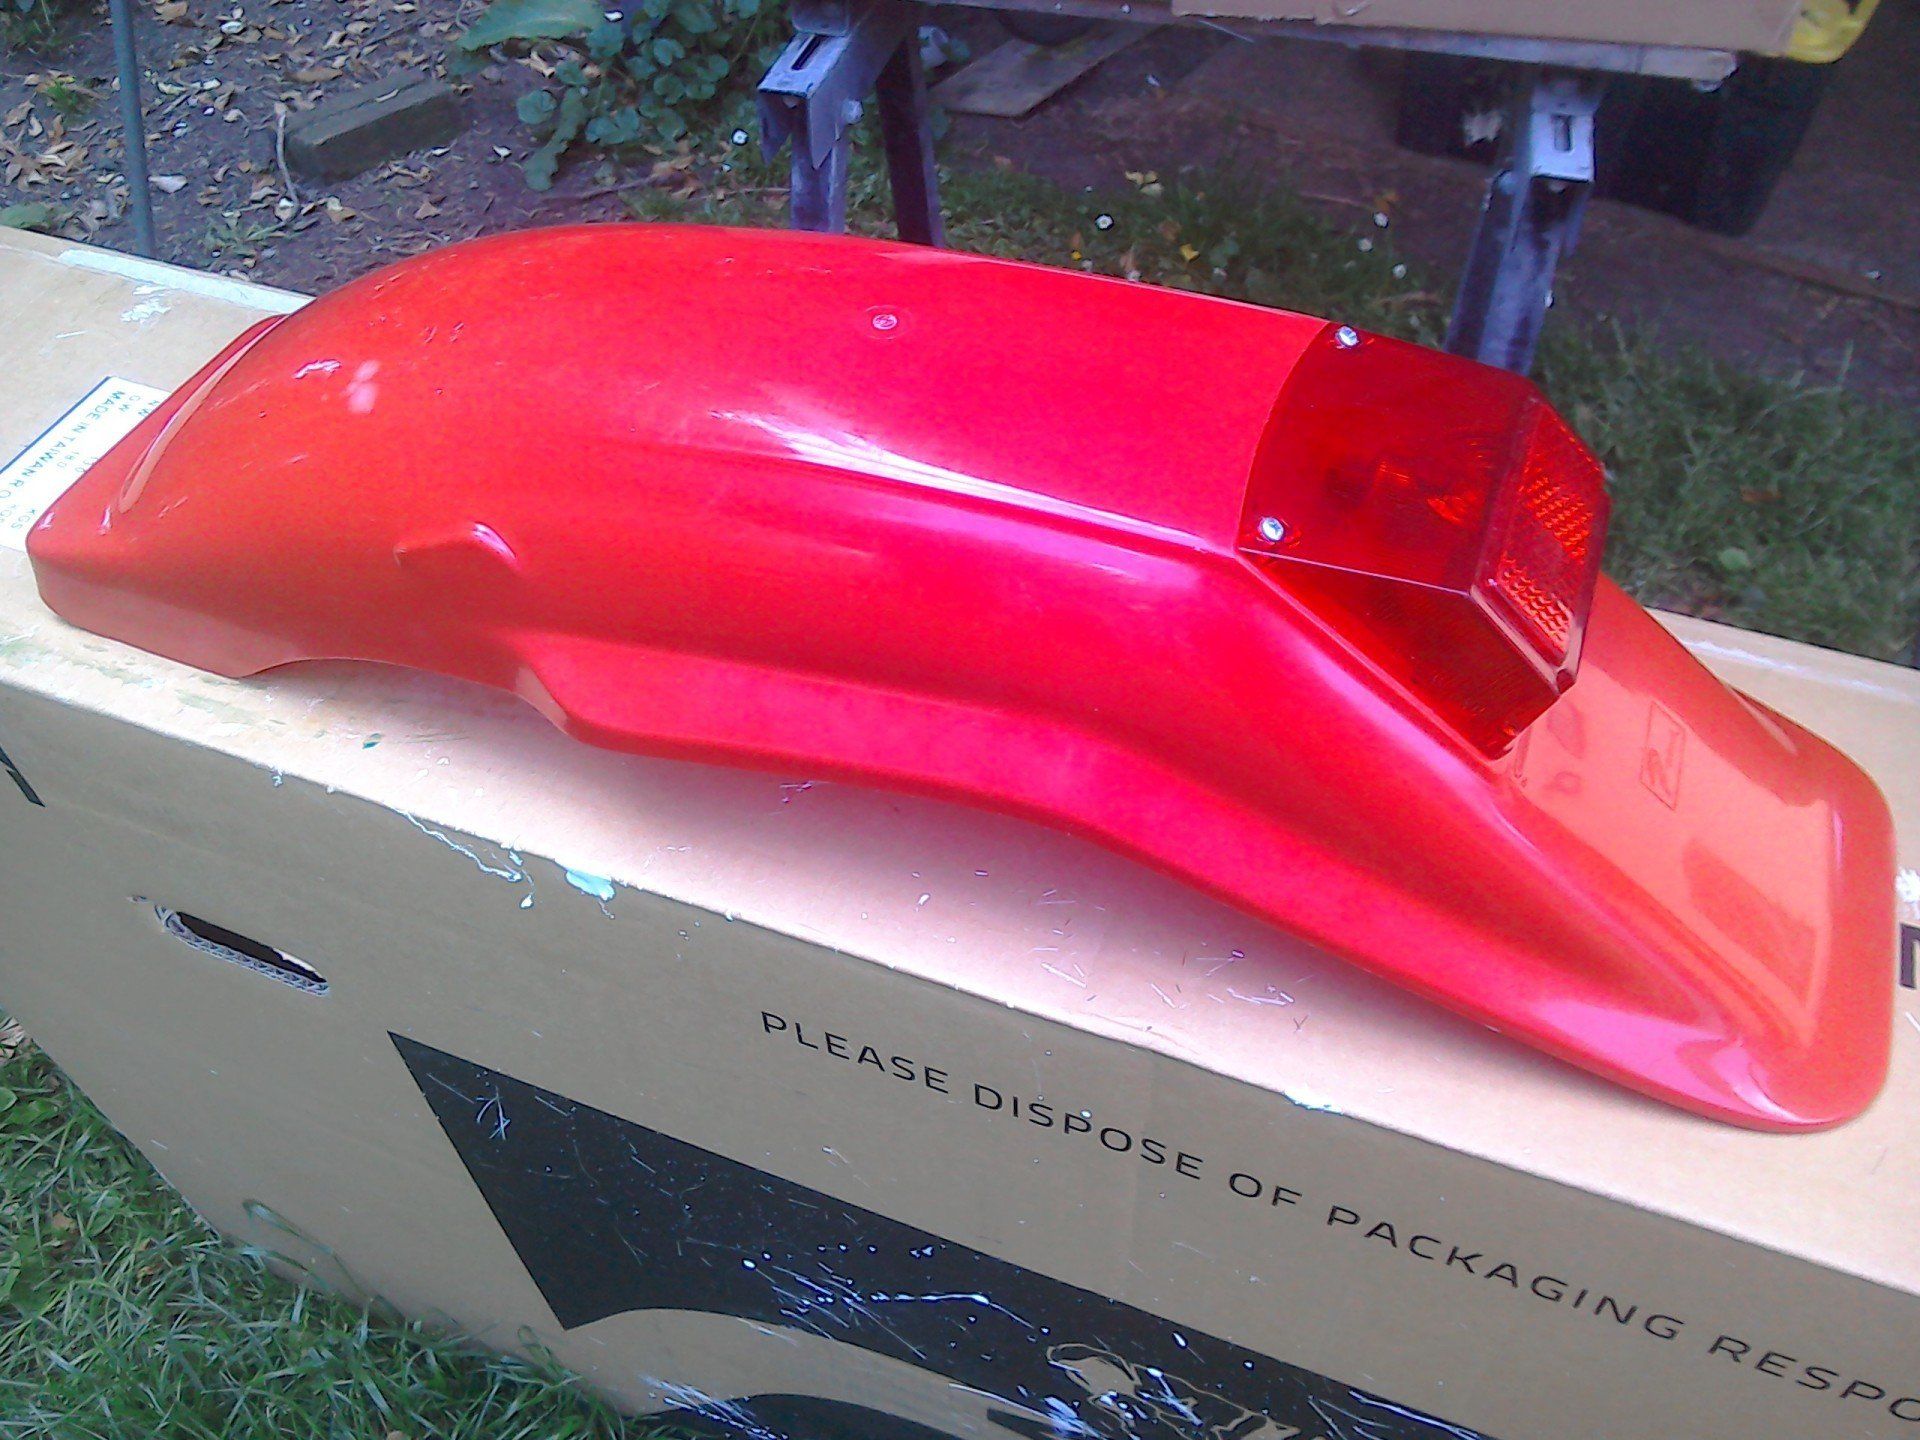
Whilst the fibreglass stuff is out, this rear mudguard is next in line for the GRP treatment. It's not quite the width / size / shape that I really want, and rather than cut the original about, it'll be used as a pattern to make a mould. Then I can make and modify as many as I need, until I get exactly what I want.