DIY Engraving
Buoyed by looking at examples of professional engraving work, I decided to have a little go myself. Unsurprisingly, I quickly find out that this engraving lark is much harder than a skilled practitioner makes it look!
First port of call was the internet and watching videos on hand engraving. Next, I needed more detail on the tools used. Some time with Google turned up a bewildering amount of information and it was soon obvious that even though I was used to sharpening lathe tools, I was never going to be able to grind up a tool suitable for engraving with. That was until I had a look at www.igraver.com. Part way down, on the left, in the gravers section (graver is the proper name for an engraving tool) I spy a section labelled ‘free round gravers’. Immediately attracted by the word free, I click on it and take a look. Turns out they’re not really free, but made from worn beading tools.
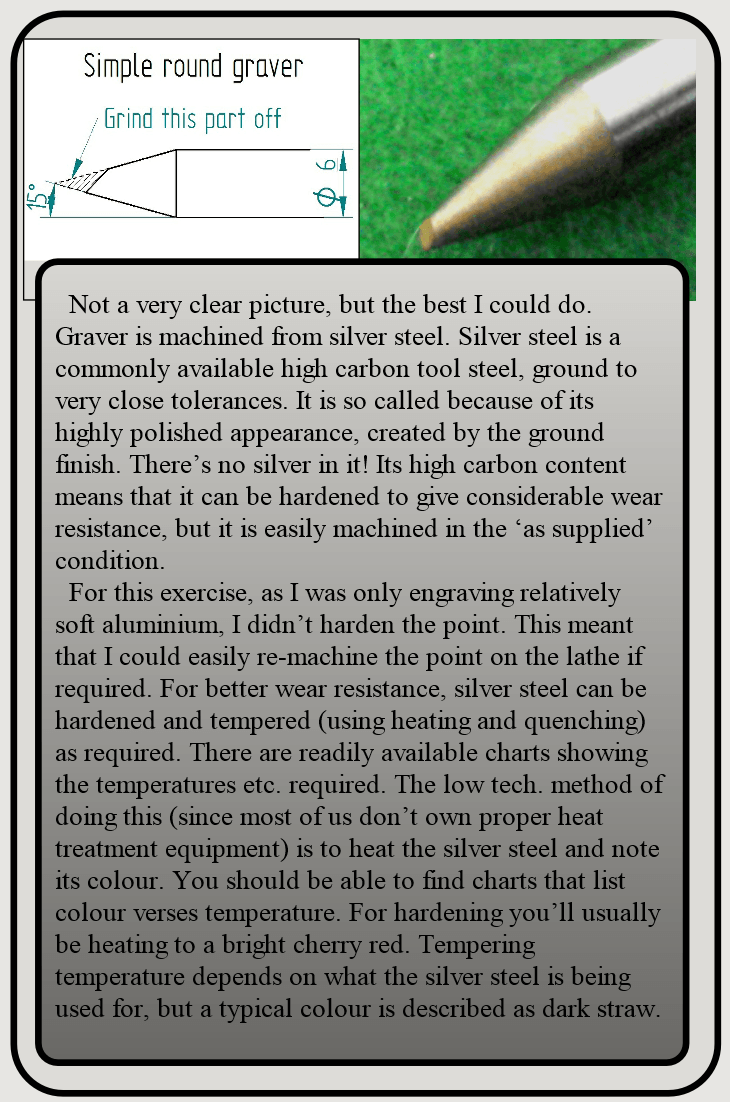
No, I have no idea what a beading tool is, but the picture showed something that I thought I might be able to reproduce. Basically, it’s a round tool, tapering to a point, with a face angle ground on (see drawing below). The face provides the cutting tip and the tapered section the heel. (The heel of a graver is what the tool rides on during cutting. Without a heel, the graver would simply dig into the metal without going forward. Changes in wrist angle make the cut go deeper or shallower.)
I find a suitable bit of silver steel (about 150mm long)and make my way to the lathe. 15 degrees is frequently mentioned as a suitable heel angle, so I set the top-slide of the lathe to the appropriate angle and machine a taper. Then out of the chuck, I grind the 45 degree face angle (by eyeball) on the bench grinder. Now to give it a try.
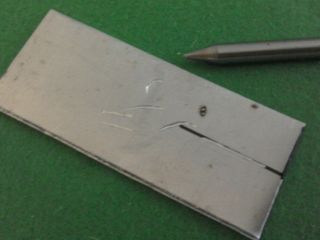
My very first attempts (left, above on a mobile), which are more scratches than engraving. I used a small hammer as the motive power.
Second attempt (right, below on a mobile), barely better than the first, but promising enough for me to persist with it. Engraved lines have been blacked (with a sharpie marker) to make them more visible.
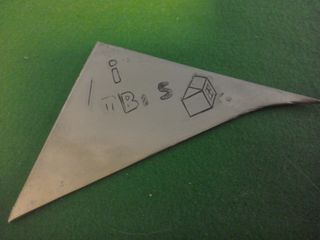
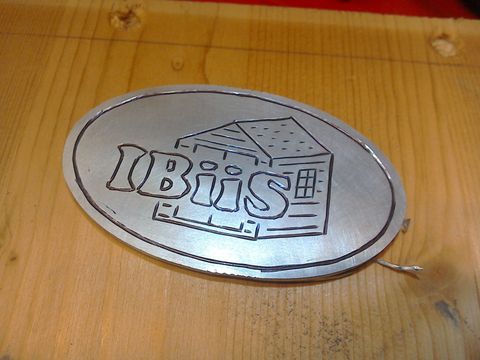
Undaunted with my less than impressive efforts so far, I blundered on and decided to try and engrave the logo that I wanted to use on my bike. Finding a scrap of aluminium, I stuck a print out of my design onto the surface, and marked the design by lightly scoring along the lines with a sharp knife blade. Then, having sharpened my graver using a fine abrasive stone, I started at it. And the result? Promising.
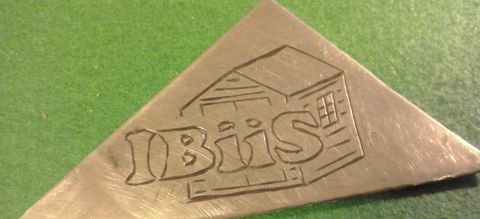
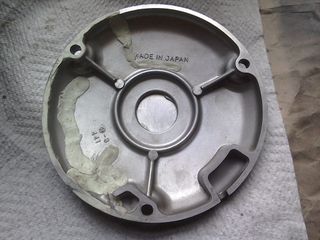
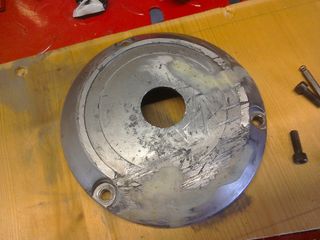
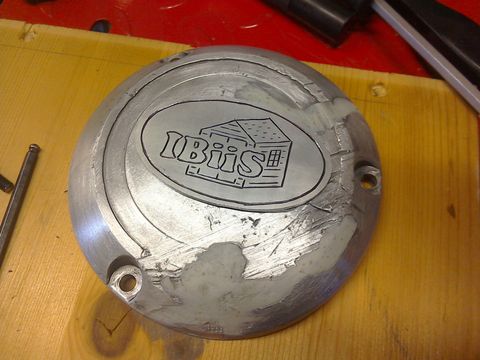
More encouraged by this result, I decided to try and make something for the GS500’s ignition pick-up cover. Now this cover (as you will see from the pictures) has had a hard life. These covers seem particularly vulnerable on the GS and it’s difficult to find one that isn’t damaged to some degree.
Cracked and grazed, the cover was manipulated back into a vaguely round shape and reinforced with a healthy dose of epoxy putty.
The hole in the centre should be covered by a Suzuki badge, which would have fitted in a circular recess in the cover. Most of this recess has been worn away, so I decided to just make my own badge to cover the hole and not worry about fixing the scrapes and scars on the cover. Hopefully, one day, I’ll find a better cover for a reasonable price.
Once again, I found a suitable piece of aluminium, transferred the design to it using a knife blade, and sharpened up my graver. The result? Far from perfect, but good enough for me.
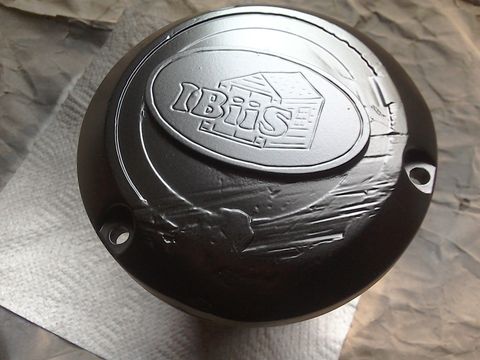
Next to fix the badge to the cover. Again, I broke out the epoxy putty and used this as the ‘glue’ to hold everything in place. I used a small amount of standard filler to blend any gaps between badge and cover, before spraying it all black. At this stage I’m not sure if the badge will remain all black, or whether I’ll sand the top of the badge back to bare aluminium.
Now I know that my effort is pretty poor compared to what skilled engravers can manage, but I was quite pleased with my first efforts. I may try tank badges next…
