Rattle Can Paint Warmer
Summer is passing us by (at least it is here in the UK) the temperature in my ‘spray booth’ (tent) is starting to drop and the rattle cans don’t really like it. Most specify that for best results they need to be sprayed at room temperature, generally taken to be around 20 to 22 degrees C. For a long time I have warmed the tins by standing them in warm water, but this has the disadvantage in that if you take too long prepping your work, both the water and your paint have gone cold again. What I really needed was something that maintained the temperature of the paint for as long as required, sort of a tyre warmer for paint cans.
Searching around for a (cheap) solution, I came across the heated grip kits of far eastern origin for sale on ebay. There are many available, and on the surface they all look the same. So being a bit impatient, I ordered the cheapest one that was dispatched from the UK and so would arrive fairly quickly. It cost the princely sum of £3.65 including postage and on arrival was found to be pretty shit! In fact it is so cheaply constructed it’s funny. The ‘element’ consists of electrical resistance wire snaking across a piece of cardboard which has then been plastic laminated. Connecting wires have been soldered on and then stuck to the side of the element with clear tape. Some of the other ebay offerings do seem to include proper film type heating elements. They may have been a better choice! Also included in the kit is a small reel of electrical tape, an on / off switch and a couple of pieces of sleeving and heat-shrink. All of which are pretty superfluous for this application. Would I attempt to use this kit for its intended purpose? Probably not.
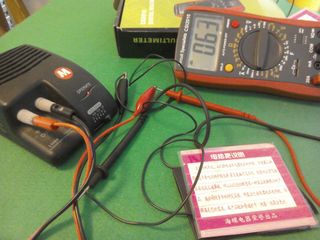
For test purposes, I connected one of the elements to a 12V supply. The elements are advertised as being 10W, so on a 12V supply we should expect the element to draw a current of 0.75A. Sticking an ammeter in series with the circuit showed a current draw of 0.66A, so in the right ballpark. The element got hot, but without a thermometer available I can’t give you an exact figure. My hand said it was just starting to verge on uncomfortably hot! The limited instructions included in the ebay ad seemed to indicate that the elements were to be connected in series across the 12V supply. I tried this using my trusty little power supply, but the heat output produced was minimal. If you want to use both elements and get the best heat output, connect them in parallel (see side panel) but you need to have a power supply capable of supplying 1.5A at 12V. A motorcycle battery can provide this, but consider fitting an inline fuse in case of short circuits of other faults.
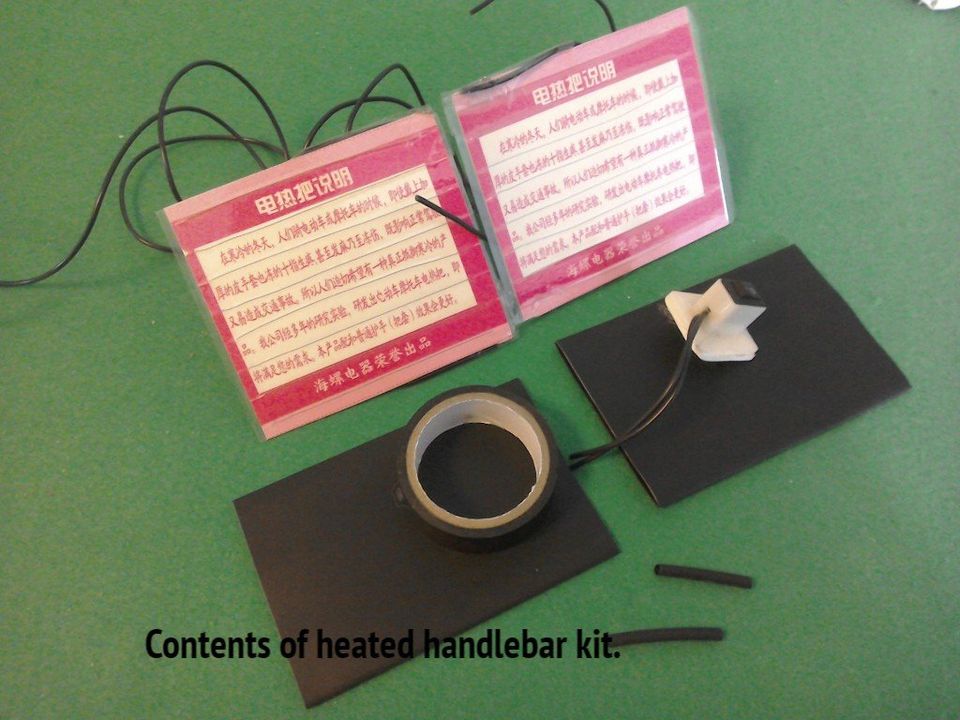
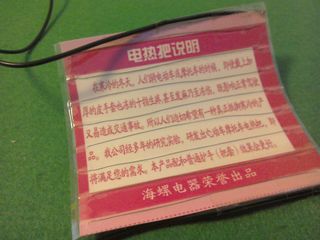
A closer look at one of the heater ‘elements’ supplied with the kit. Yes it really is made from laminated cardboard!
Bench test of one of the elements (right). Using a 12 Volt supply, the current flow measured 0.63 Amps

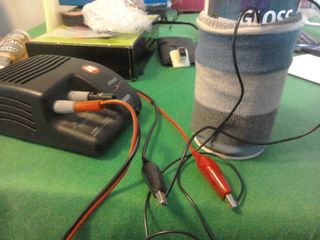
To re-purpose these to warm my cans, I went for the simplest solution, taping the element to the can using masking tape and then covering the can and element with an old sock, folded over to form a double thickness of material. I used crocodile clip leads to connect it to the power supply.
How long it takes to warm up the can depends on how full it is. Given time, It gets a full 500ml can to a temperature that my hand feels as just warm. This doesn’t seem to be very hot, but if you stand an unheated can next to it, you can definitely feel the difference and ultimately seems to allow the paint to spray well. There doesn’t seem to be any danger of a single element overheating the paint. If you wanted more heat, you could use both elements, connected in parallel as previously discussed. When it comes to using the paint, I just disconnect the power supply and spray away. This does mean that you have dangling wires when spraying. If that irritates you, remove the sock, peel off the element and then spray.
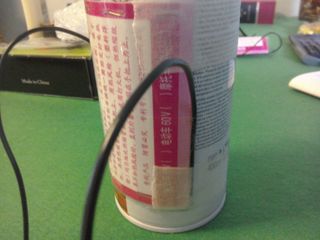
Element taped to paint can (left). You could use the tape supplied in the kit, but masking tape tends to be easier to remove.
Old sock used double thickness over the element and can to provide insulation and keep the heat in. You can now go off and prepare for spraying while your paint warms up. I then just unclip the power supply and paint, connecting the can back to the supply between coats. This does have the disadvantage of leaving the wires dangling from the spray can, which may (or may not) annoy you.
