
More Royal Enfield Hunter 350 Stuff
Royal Enfield Hunter Headlight Fairing
UPDATED!
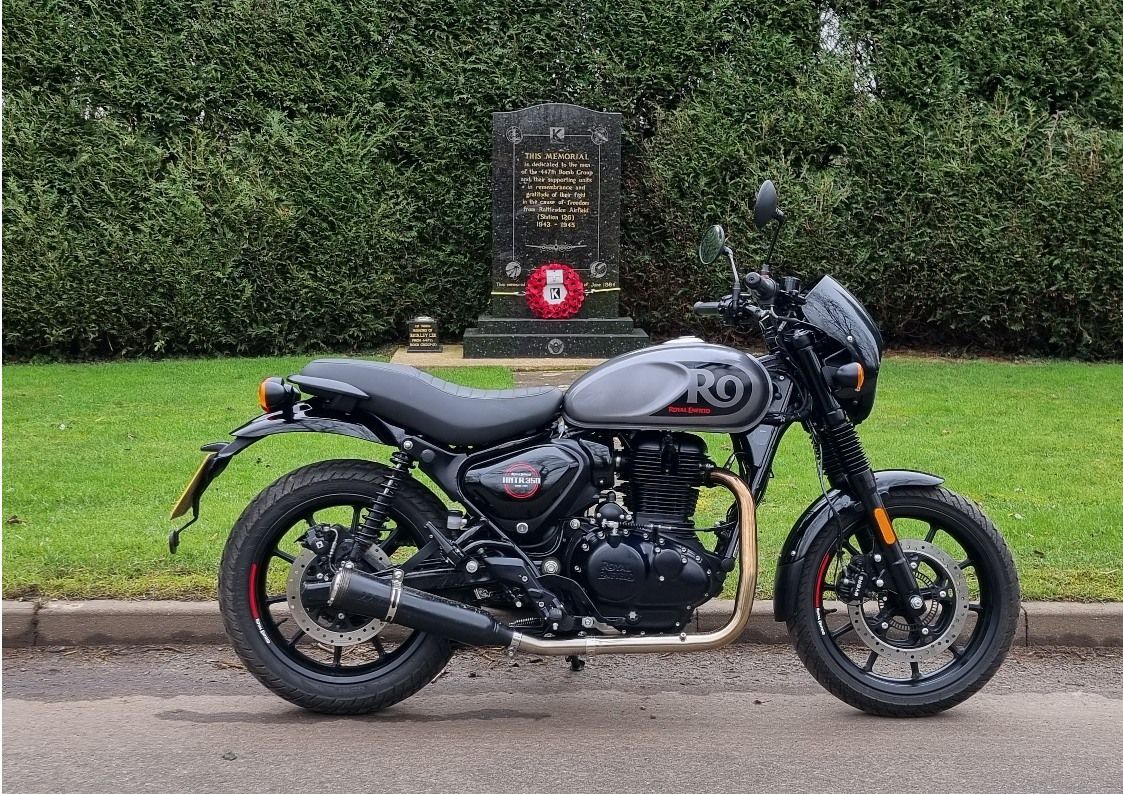
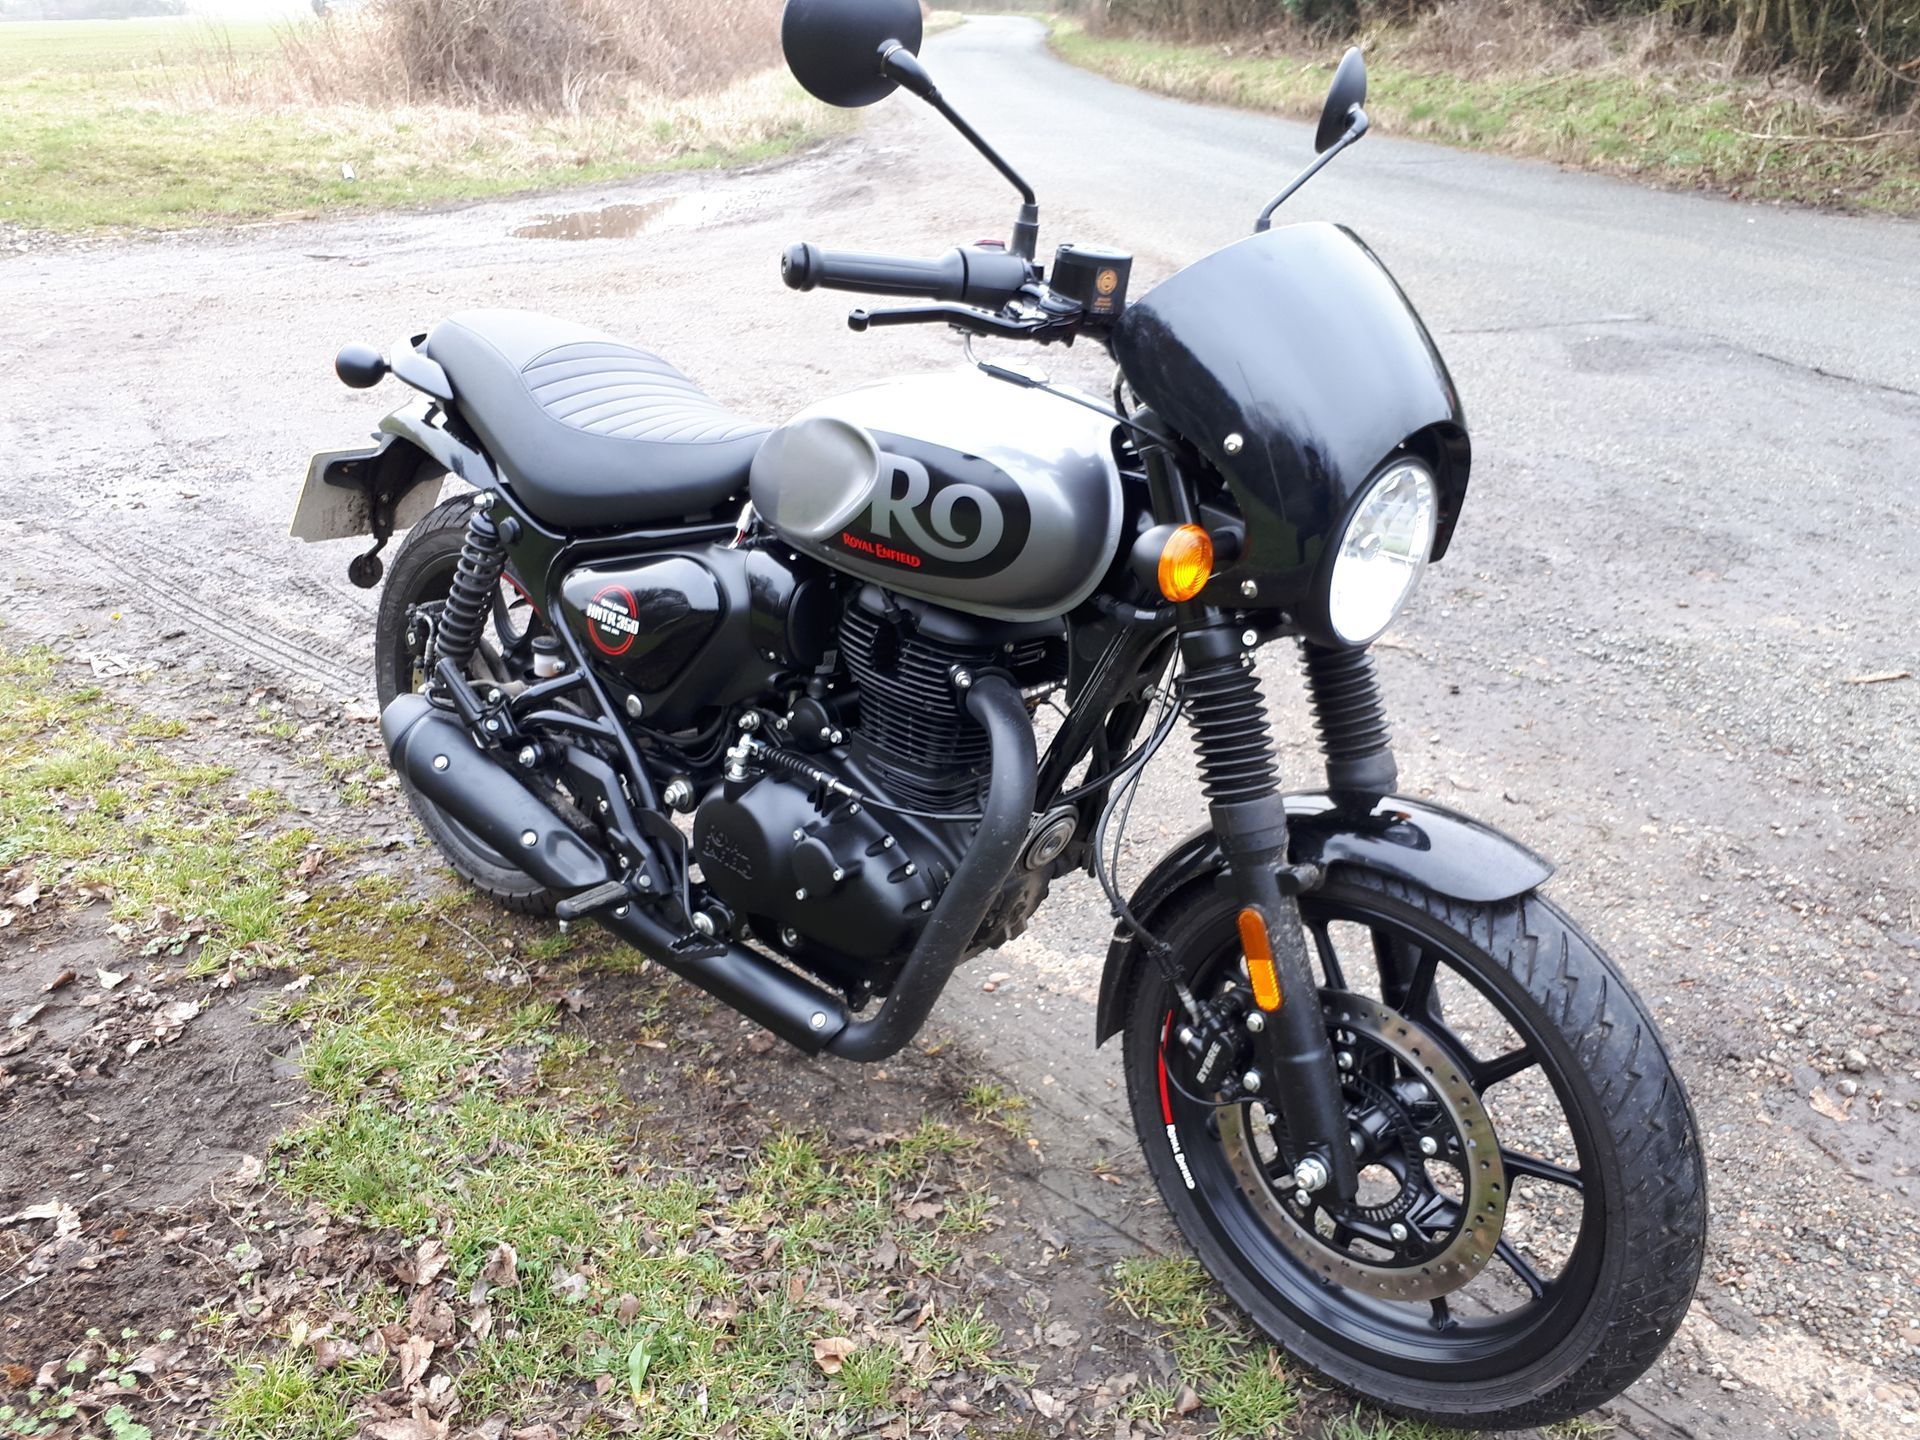
I'd long wanted to add a small fairing to the Hunter but didn't really want the standard small Royal Enfield one. I wanted something a little different, so I spent a little time on the internet looking for something that I liked the look of and this was what caught my eye...
It's meant to fit a Kawasaki Z900RS and costs around £40 - £50 from various online sellers. (Amazon, AliExpress etc.)
I initially chose the light smoke version and despite the Kawasaki obviously having a larger diameter headlight, initial mock ups looked promising, I just needed to make it fit...
When I first attempted to fit the headlight fairing, I went with 3D printed mounts. I have now come up with a plan to adapt the metal mounts that came with the fairing.
Below details my attempt at mounting the fairing using the metal brackets. If you're interested in the 3D printed mounts, keep scrolling down because all that info is still here as well.
Bracket Modifications
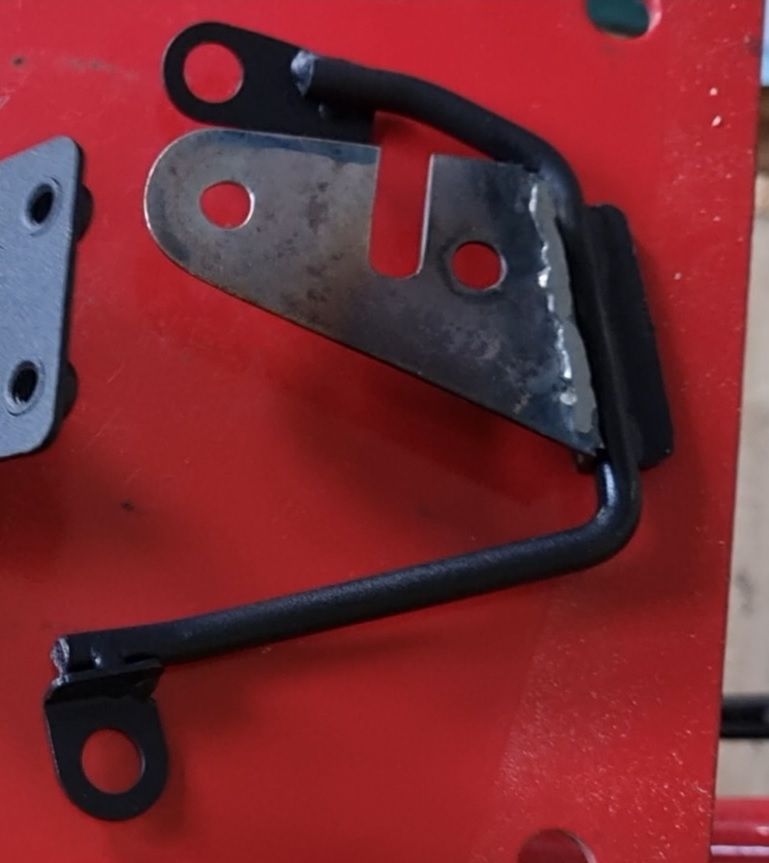
The picture below shows a standard bracket as supplied with the fairing (left of picture). Unfortunately, it doesn't fit the Hunter without a little modification, which is what the the bracket on the right has been subjected to.
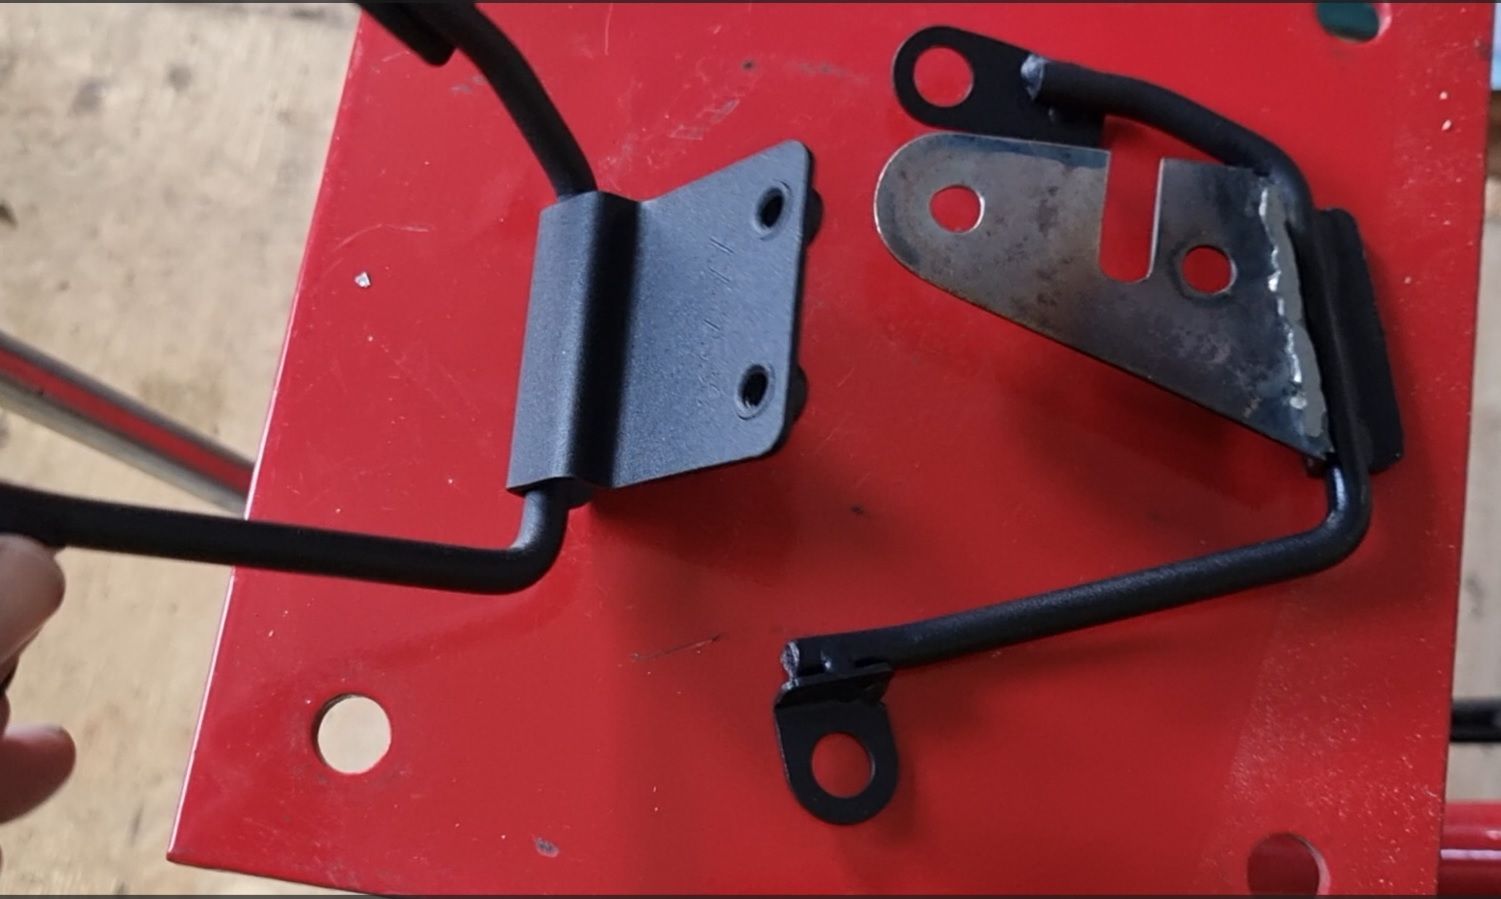
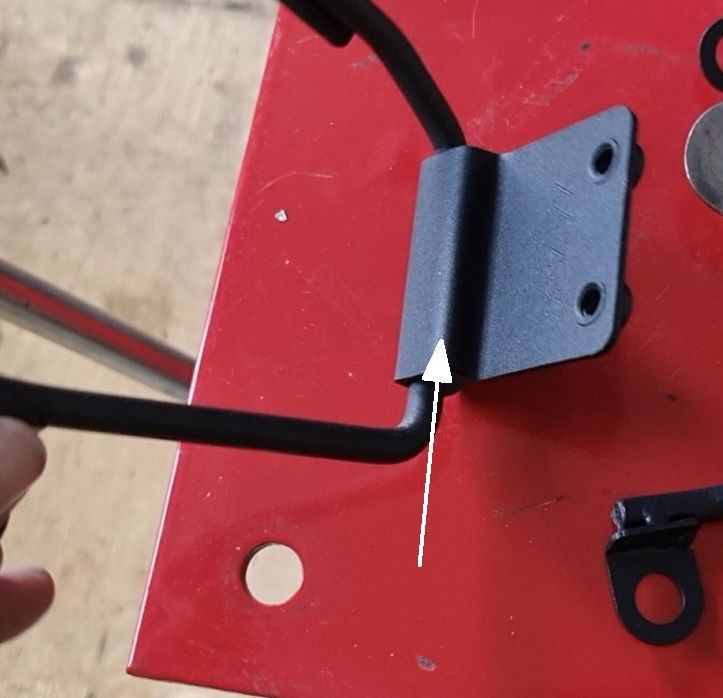
The first step is to cut off the bits we don't need. Grab your favourite cutting tool (I used an angle grinder with a thin cutting wheel) and cut along the fold line indicated by the white arrow. If you're using the cutting disc method, turn the bracket over and the wheel will run nicely along the inside of the fold. Tidy up the cut edge and sand off the powder coat near the edge in preparation for welding.
Now you need to make up the plate to weld on instead. I used 1.2mm thick mild steel sheet, because that's what I had to hand. I wouldn't go thinner than that, but a little thicker would be fine.
The dimensions for the plate are pictured below (you can safely round up or down those dimensions to whole numbers without much issue!). I 3D printed some templates which I could draw around and centre punch the hole locations. I then drilled the holes (they're M8 clearance, so at least 8.2mm dia., bigger if you want a little more wiggle room when fitting!) while I had plenty of material to hold on to, before roughly cutting out the shape with cutting disc. It was finished to size using a flap disc in the angle grinder.

The templates (below) make life much easier.
Here are the STL files so that you can print some. (Note: You need to import these as imperial units, or resize them if your slicer doesn't have that option). Contact me if you have problems. I can provide ready printed ones if you'd like. Email me: jaynereeve119@gmail.com for details.
Hole centre and outline template
STL
Slot cut out template
STL
Angle guide
STL
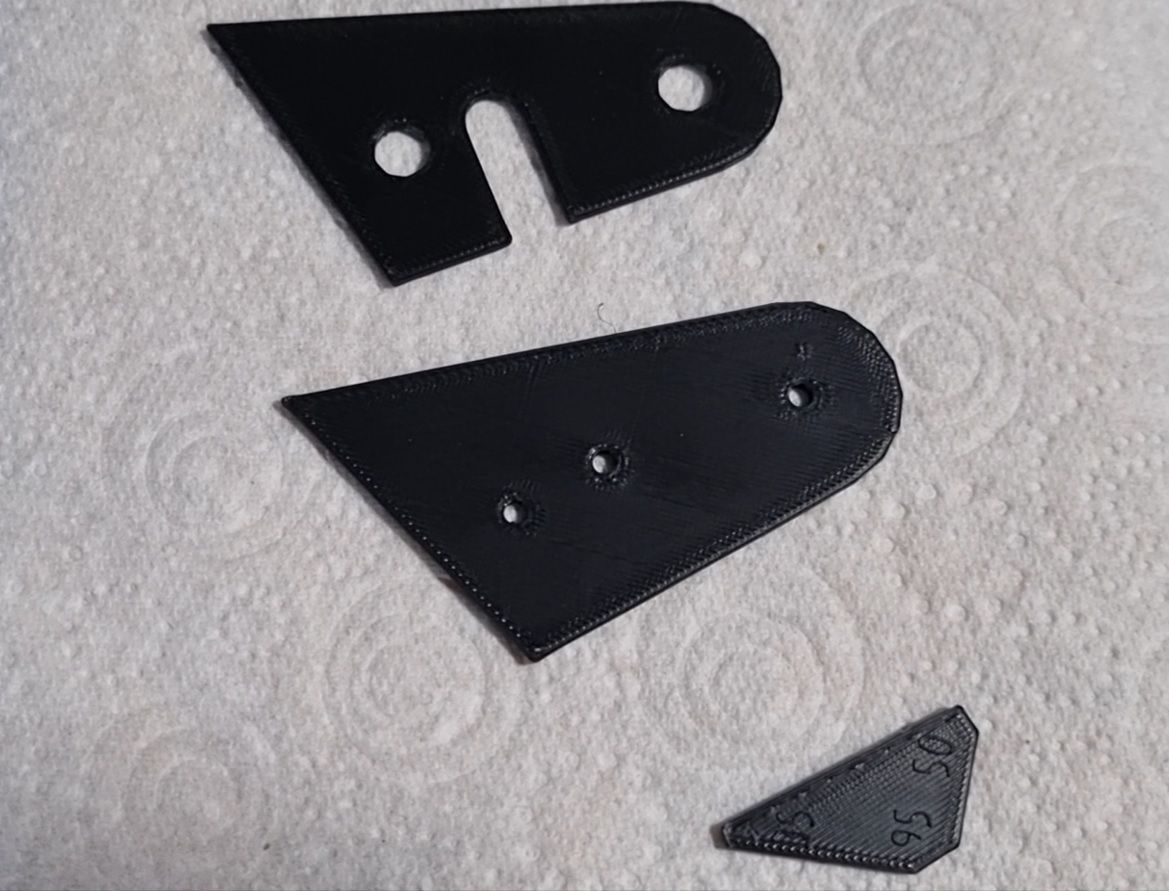
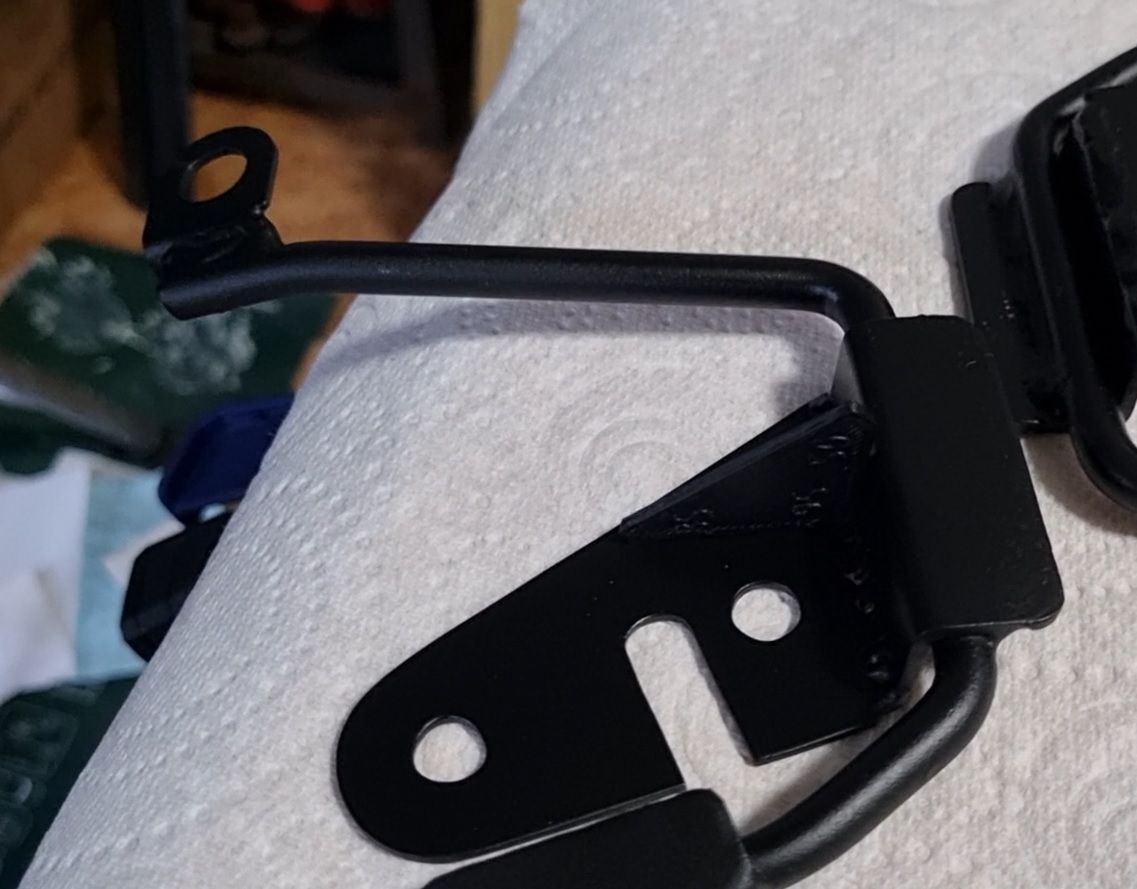
Now you need to weld mounting plate to original bracket. This goes on at approx 95 degrees. Hence the little angle gauge template above. I recommend just tacking these first and trying everything first as you may need to tweak to get the fit you want.
Mounting The Fairing
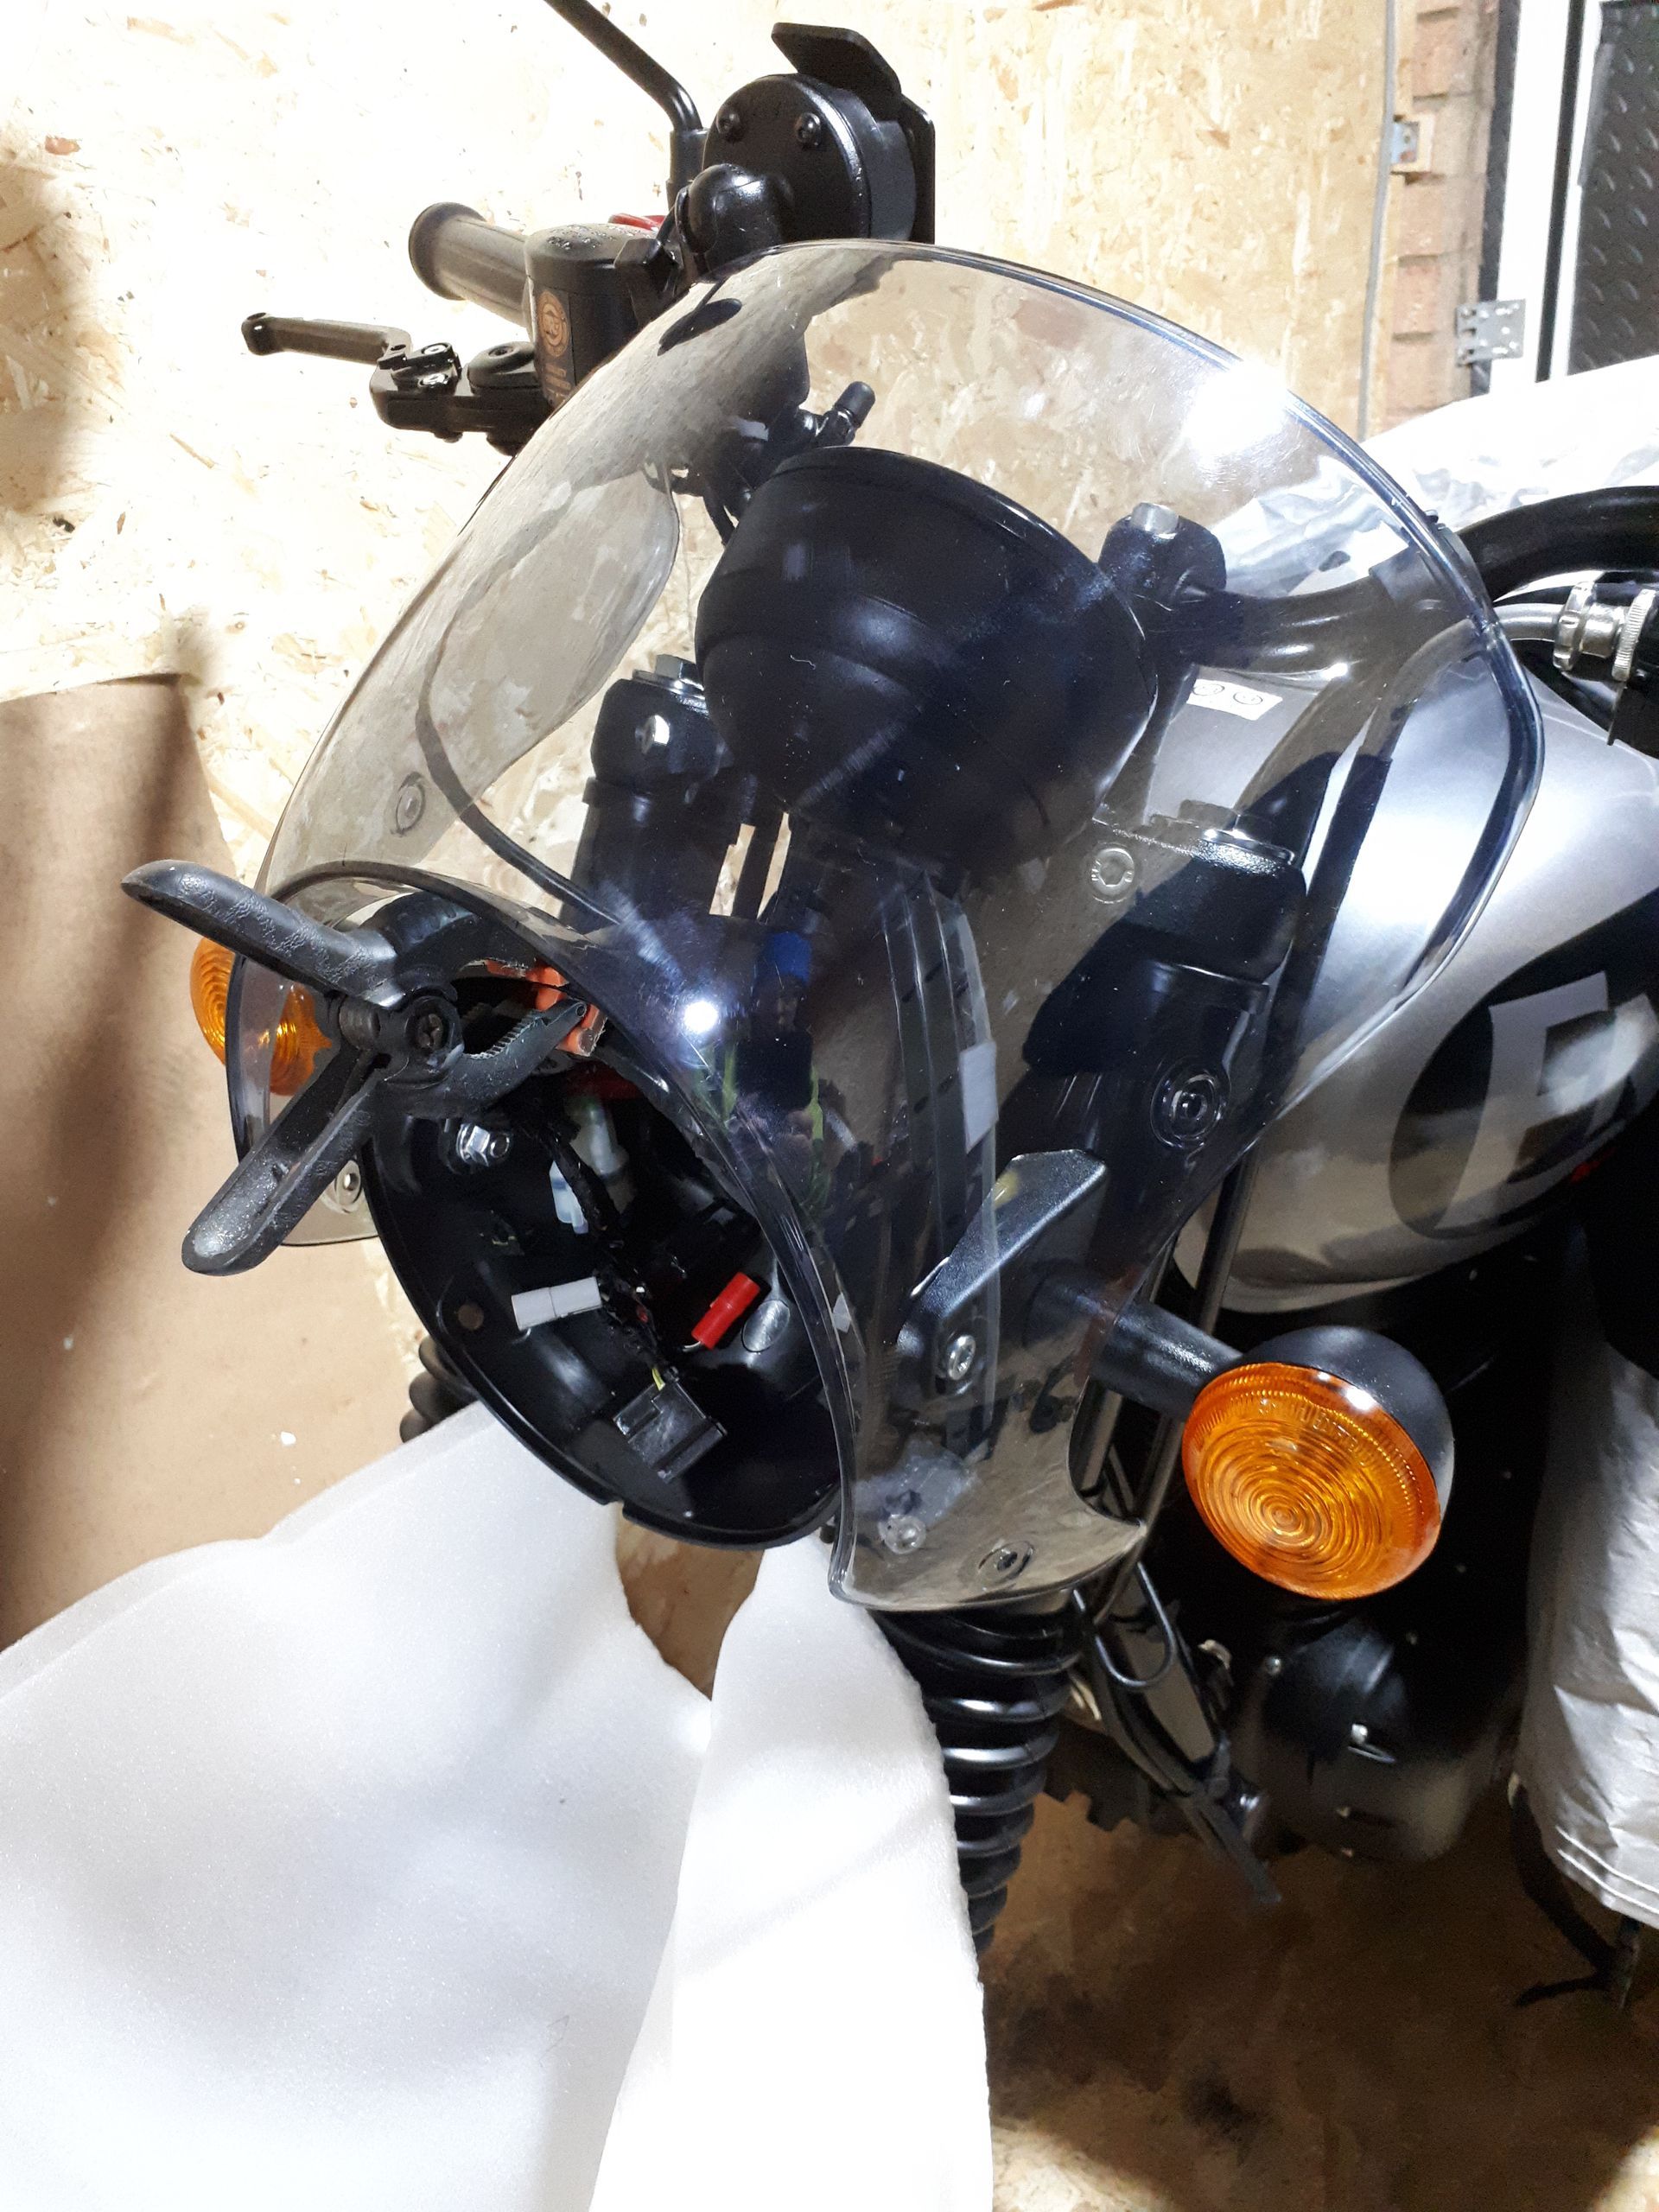
To mount these, you need to remove the lens/bulb unit from the headlight. Loosen the two screws at the bottom and then with a wiggle to unhook the little locating bracket at the top of the bezel, it should come off.
You can then loosen and remove the bolts at either side of the headlight casing. The indicator and mounting bracket then pivot around the fork leg. It's a little stiff as the metal sleeve has to be eased out of the rubber grommet. Make sure you have some slack in the indicator wire.
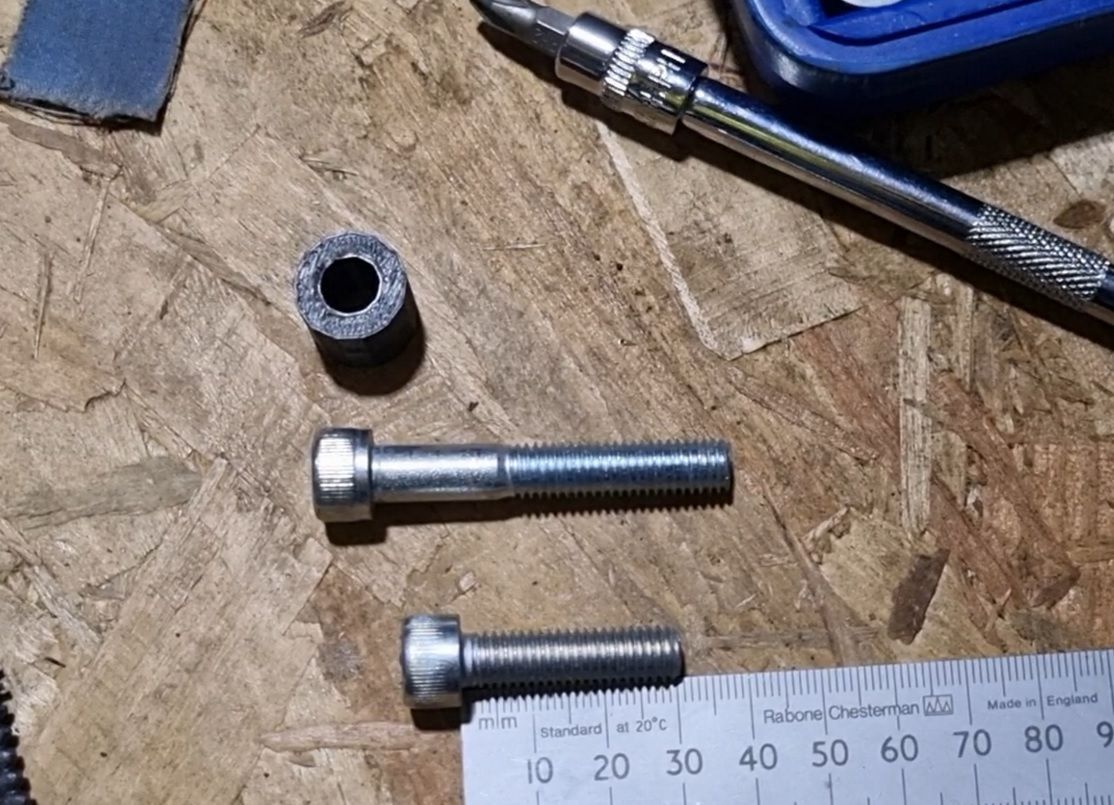
You'll also need a couple of extra bits and pieces. First off you'll need longer mounting bolts, 15 to 20mm longer than the standard ones. You'll also need 2 spacers. These are approx. 16mm diameter, with an M8 clearance hole and 14mm long. (I said 15mm in the video, but I actually ended up using 14mm.) I've used 3D printed ones. You could turn up some nice aluminium ones instead.
Spacer
STL
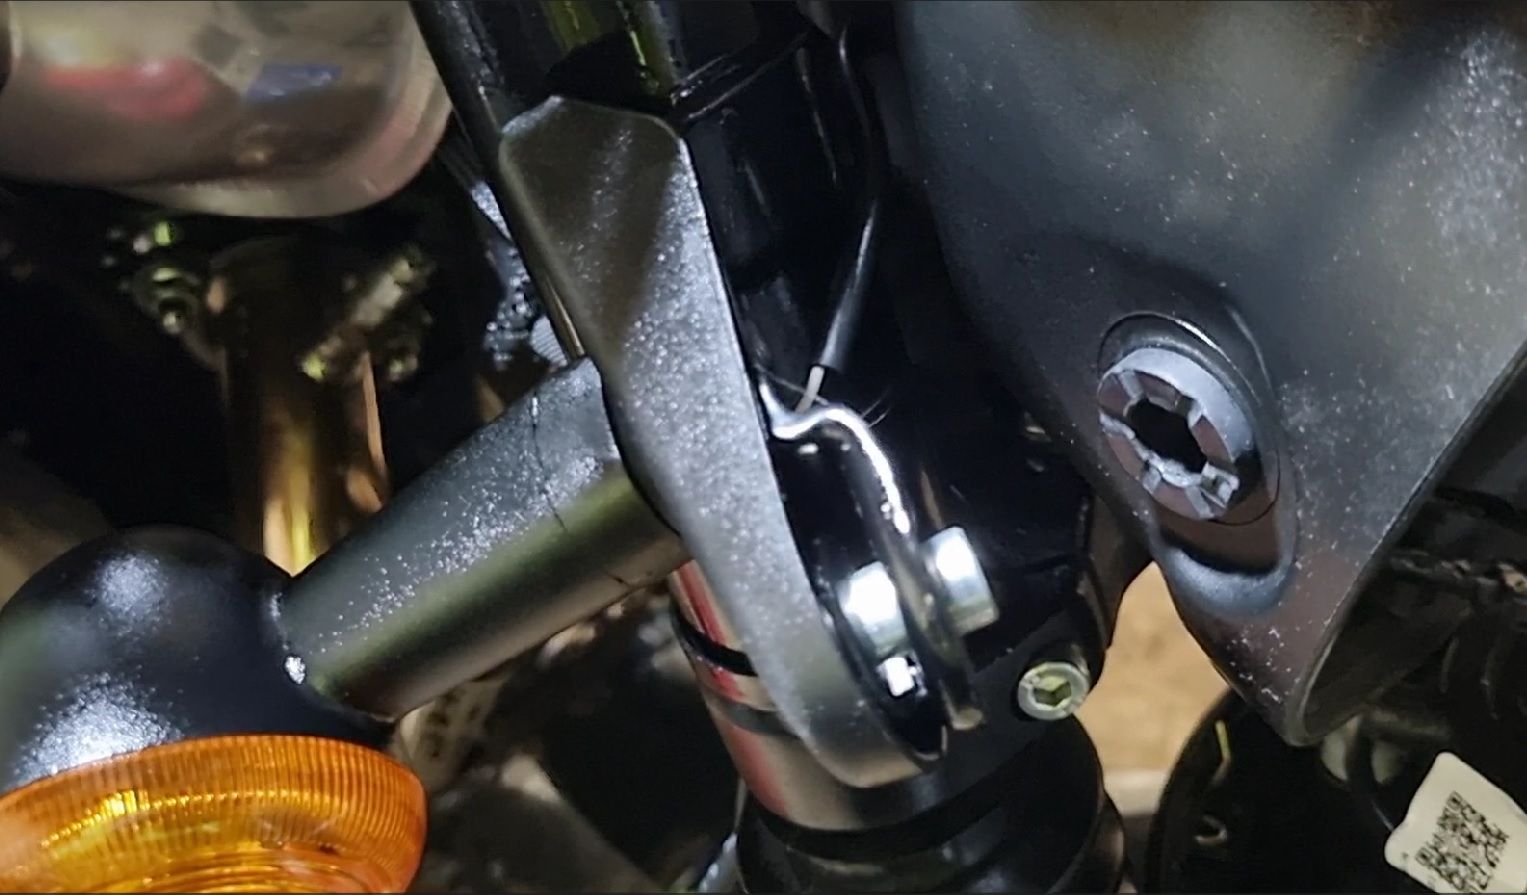
Now unbolt the indicator and wiggle its wires through the slot in the mounting plate and its bolt through the back hole in the mounting plate. It's a bit of a wiggle, but it can be done.
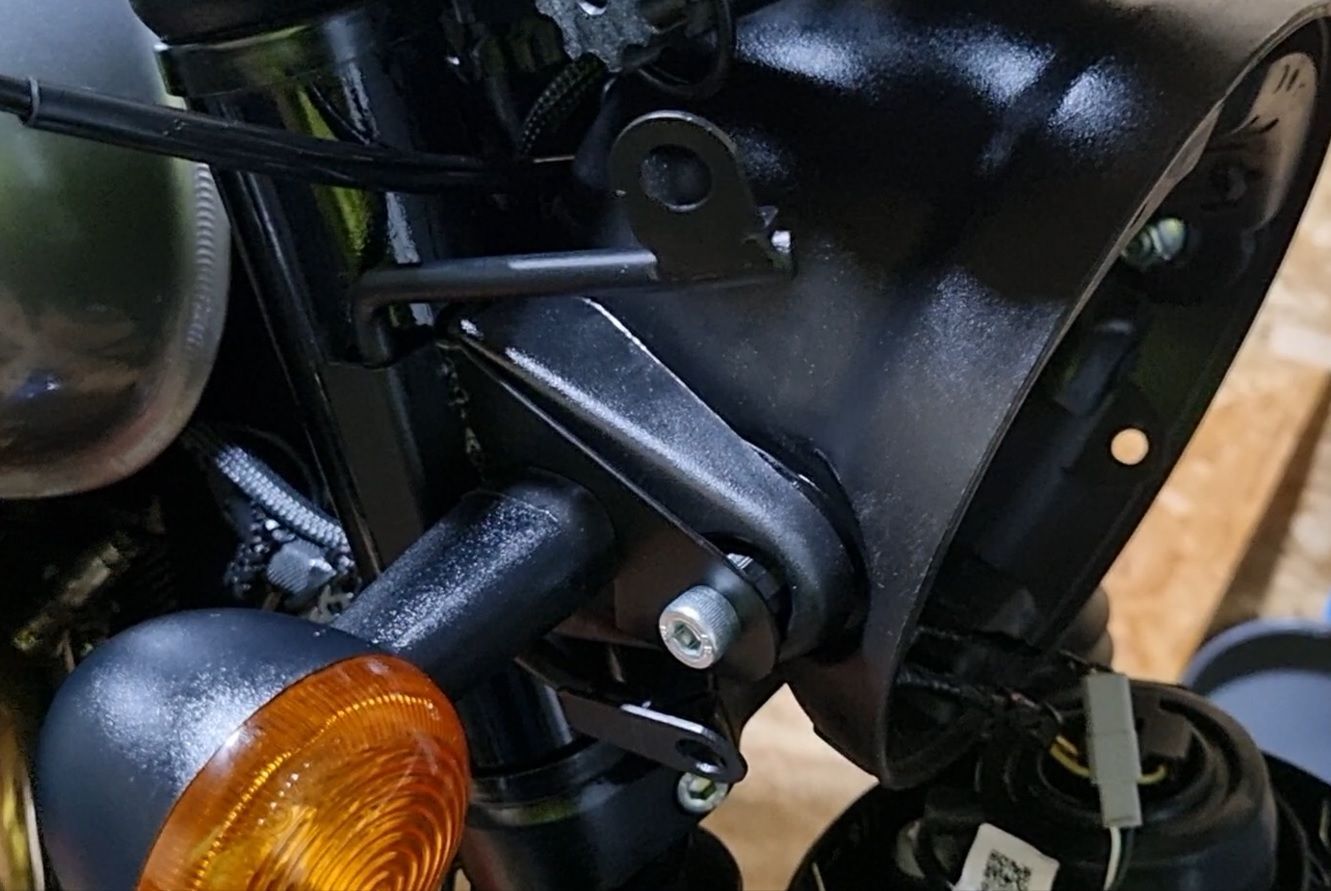
Headlight mounting bolt goes through the front hole, with the spacer between the mounting plate and the original headlight mounting bracket.
Tighten the indicator stem nut and then pivot the indicator and its mounting back so that it can all be bolted up using the longer bolts.
Repeat for the other side!
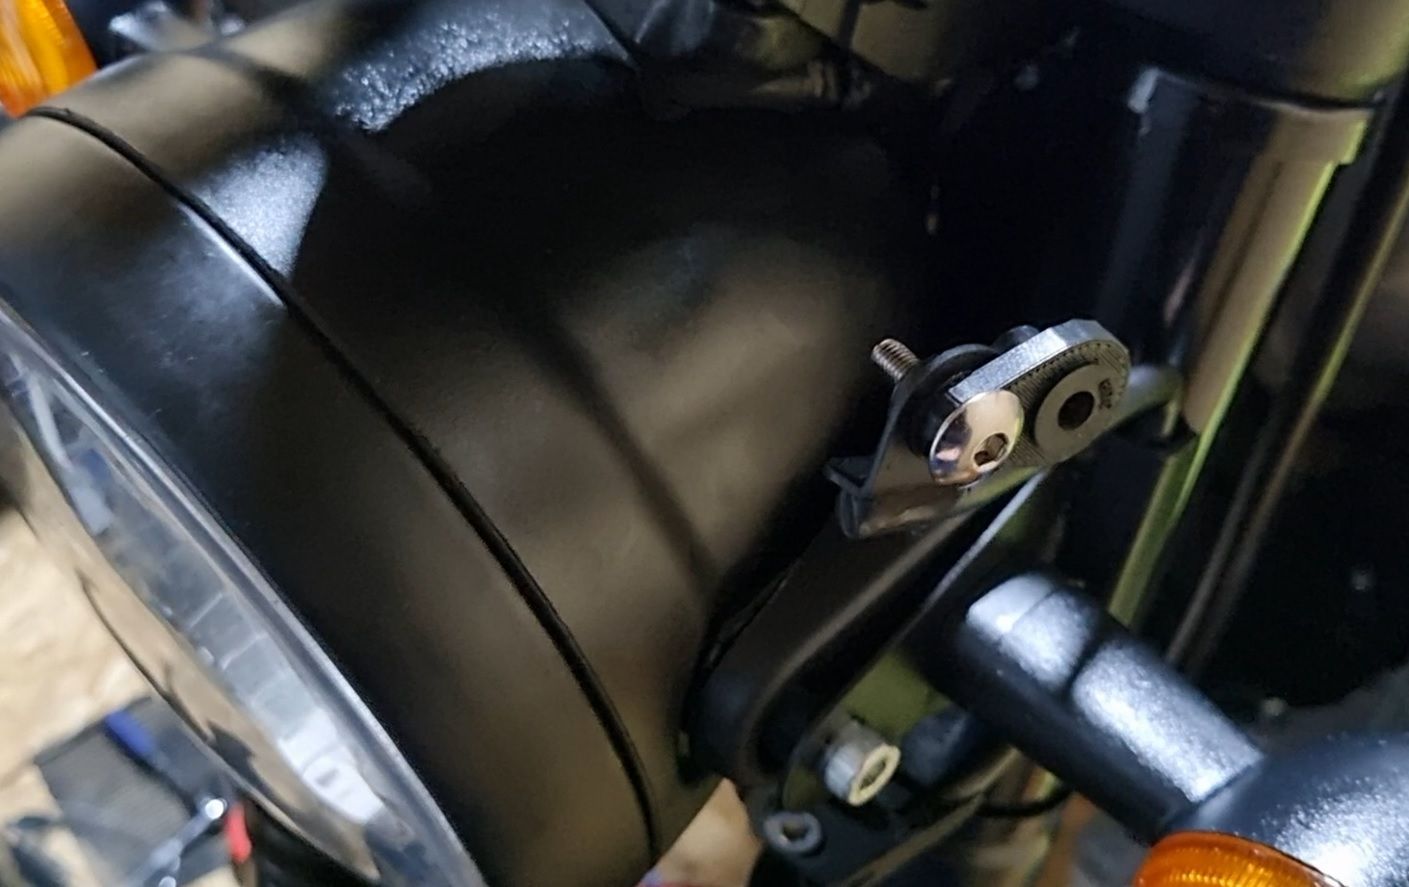
Then you're ready to mount the fairing using the rubber wellnuts that came with the fairing.
Because I wanted to angle the fairing back and out a little (that's my personal preference) I made and installed (using extra wellnuts) a little offset mounting plate.
Offset Mount
STL
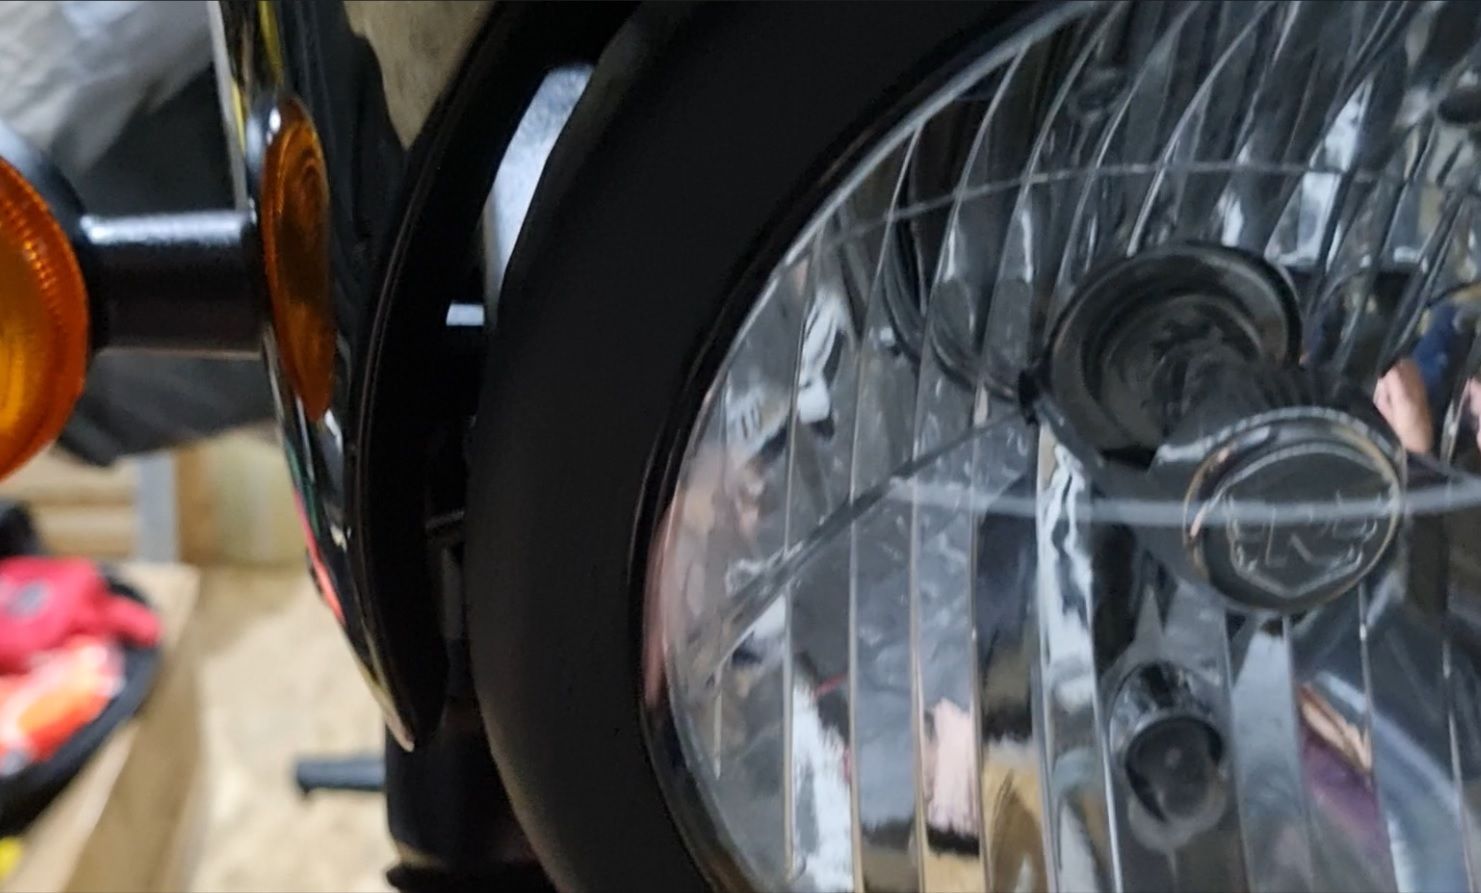
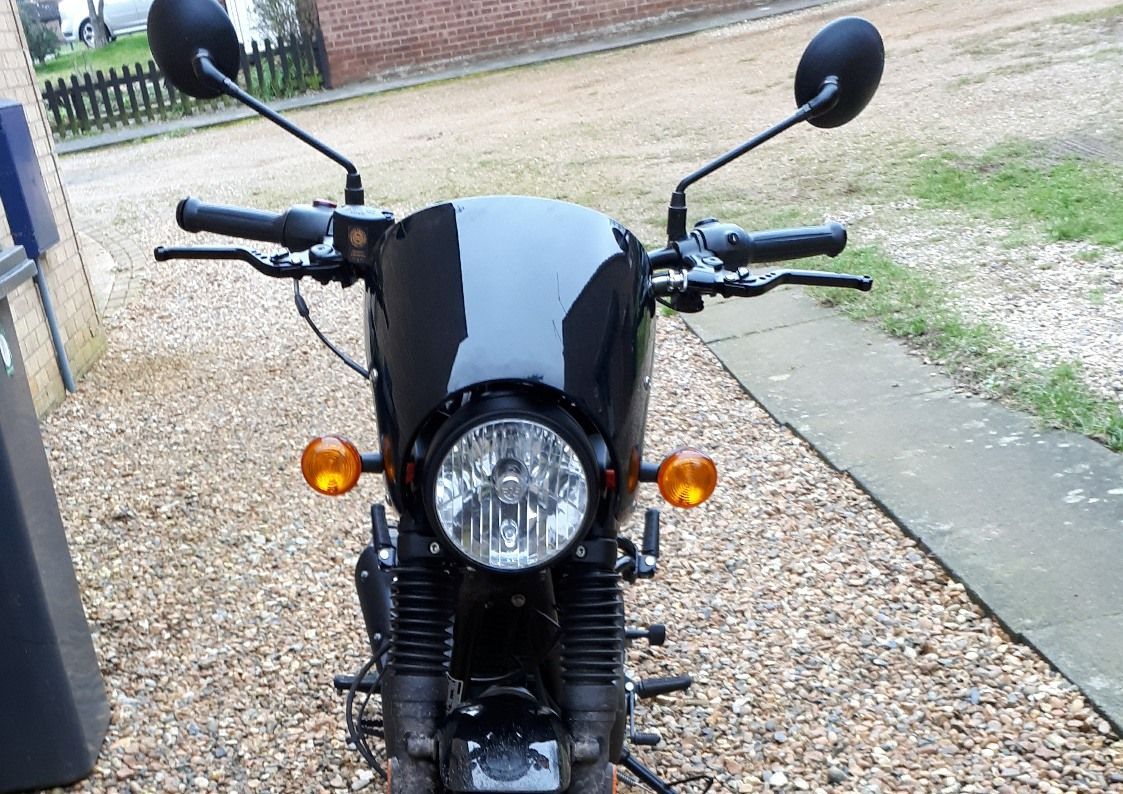
This is the fairing fitted. It doesn't look it on this camera angle, but the gap is pretty consistent all the way around at approx. 15 - 20mm. I'm assuming that the Z900RS headlight is a little bigger than the Hunter's
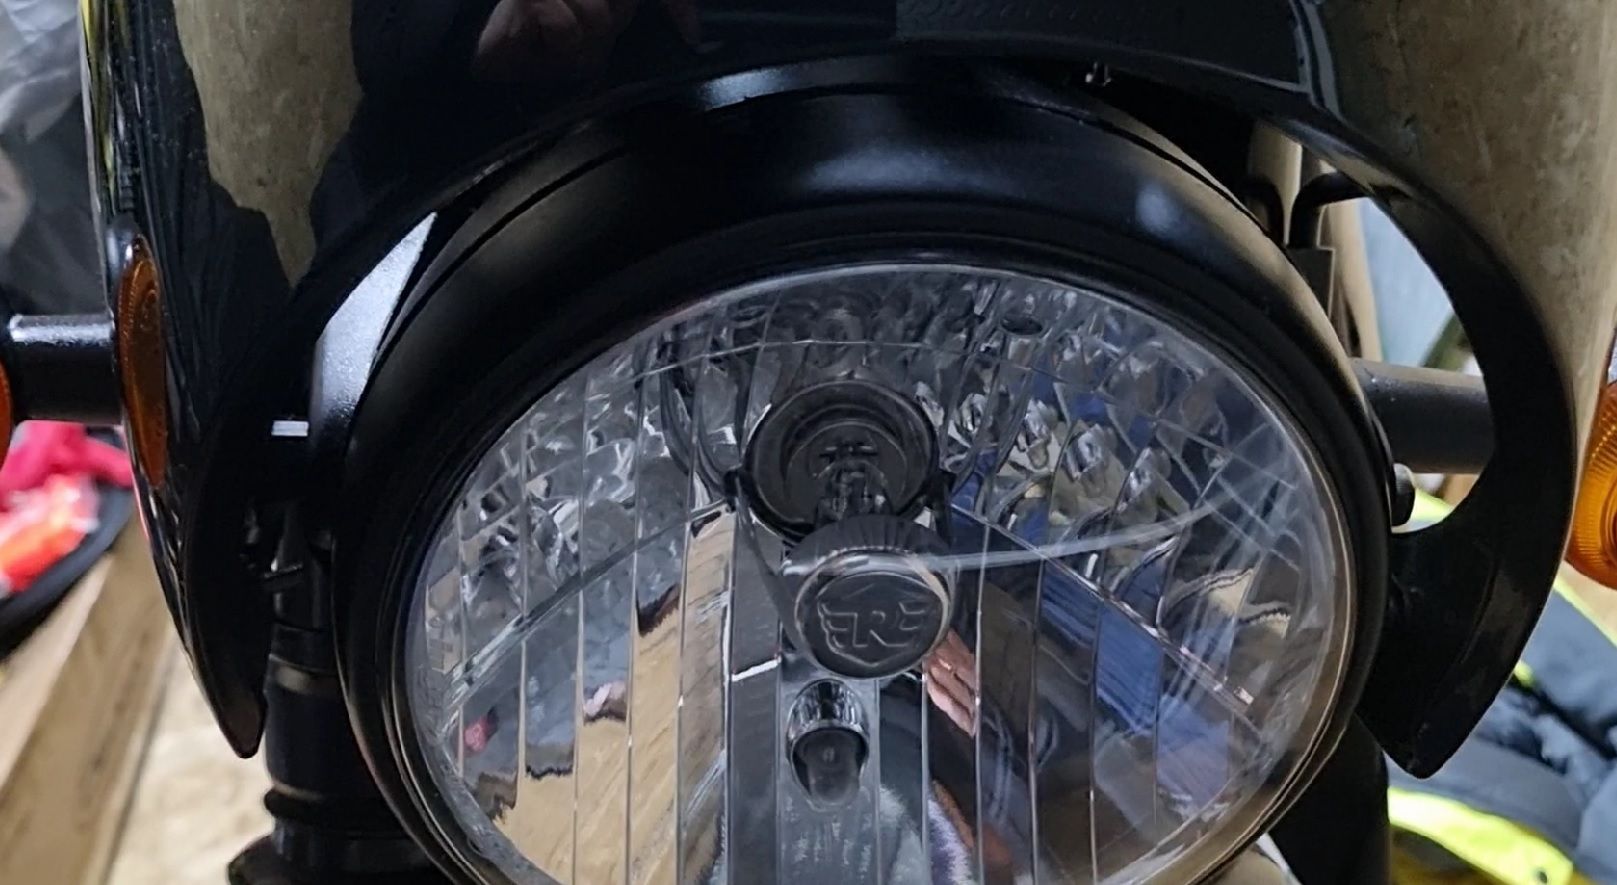
If you want a smaller gap (as I did!) you can make an infill ring to fit over the original headlight to take up some of the gap. Again I 3D printed one which clips over the original and is fastened using a cable tie. This reduces the gap to more like 5mm.
Headlight Infill Ring
STL
And if you're all confused by some of what I've written, hopefully watching this video may help!
Remember, you modify your bike at your own risk, but if you want to give it a go and have more questions or need any bits 3D printed, drop me an email.
Please also note that quite often there's a time gap between me making something and writing or filming the video about it. I'm getting old and my memory is fading, so sometimes errors creep in as I forget exactly what I did at the time! If you come across any glaring ones, please let me know.
3D Printed Mount Version
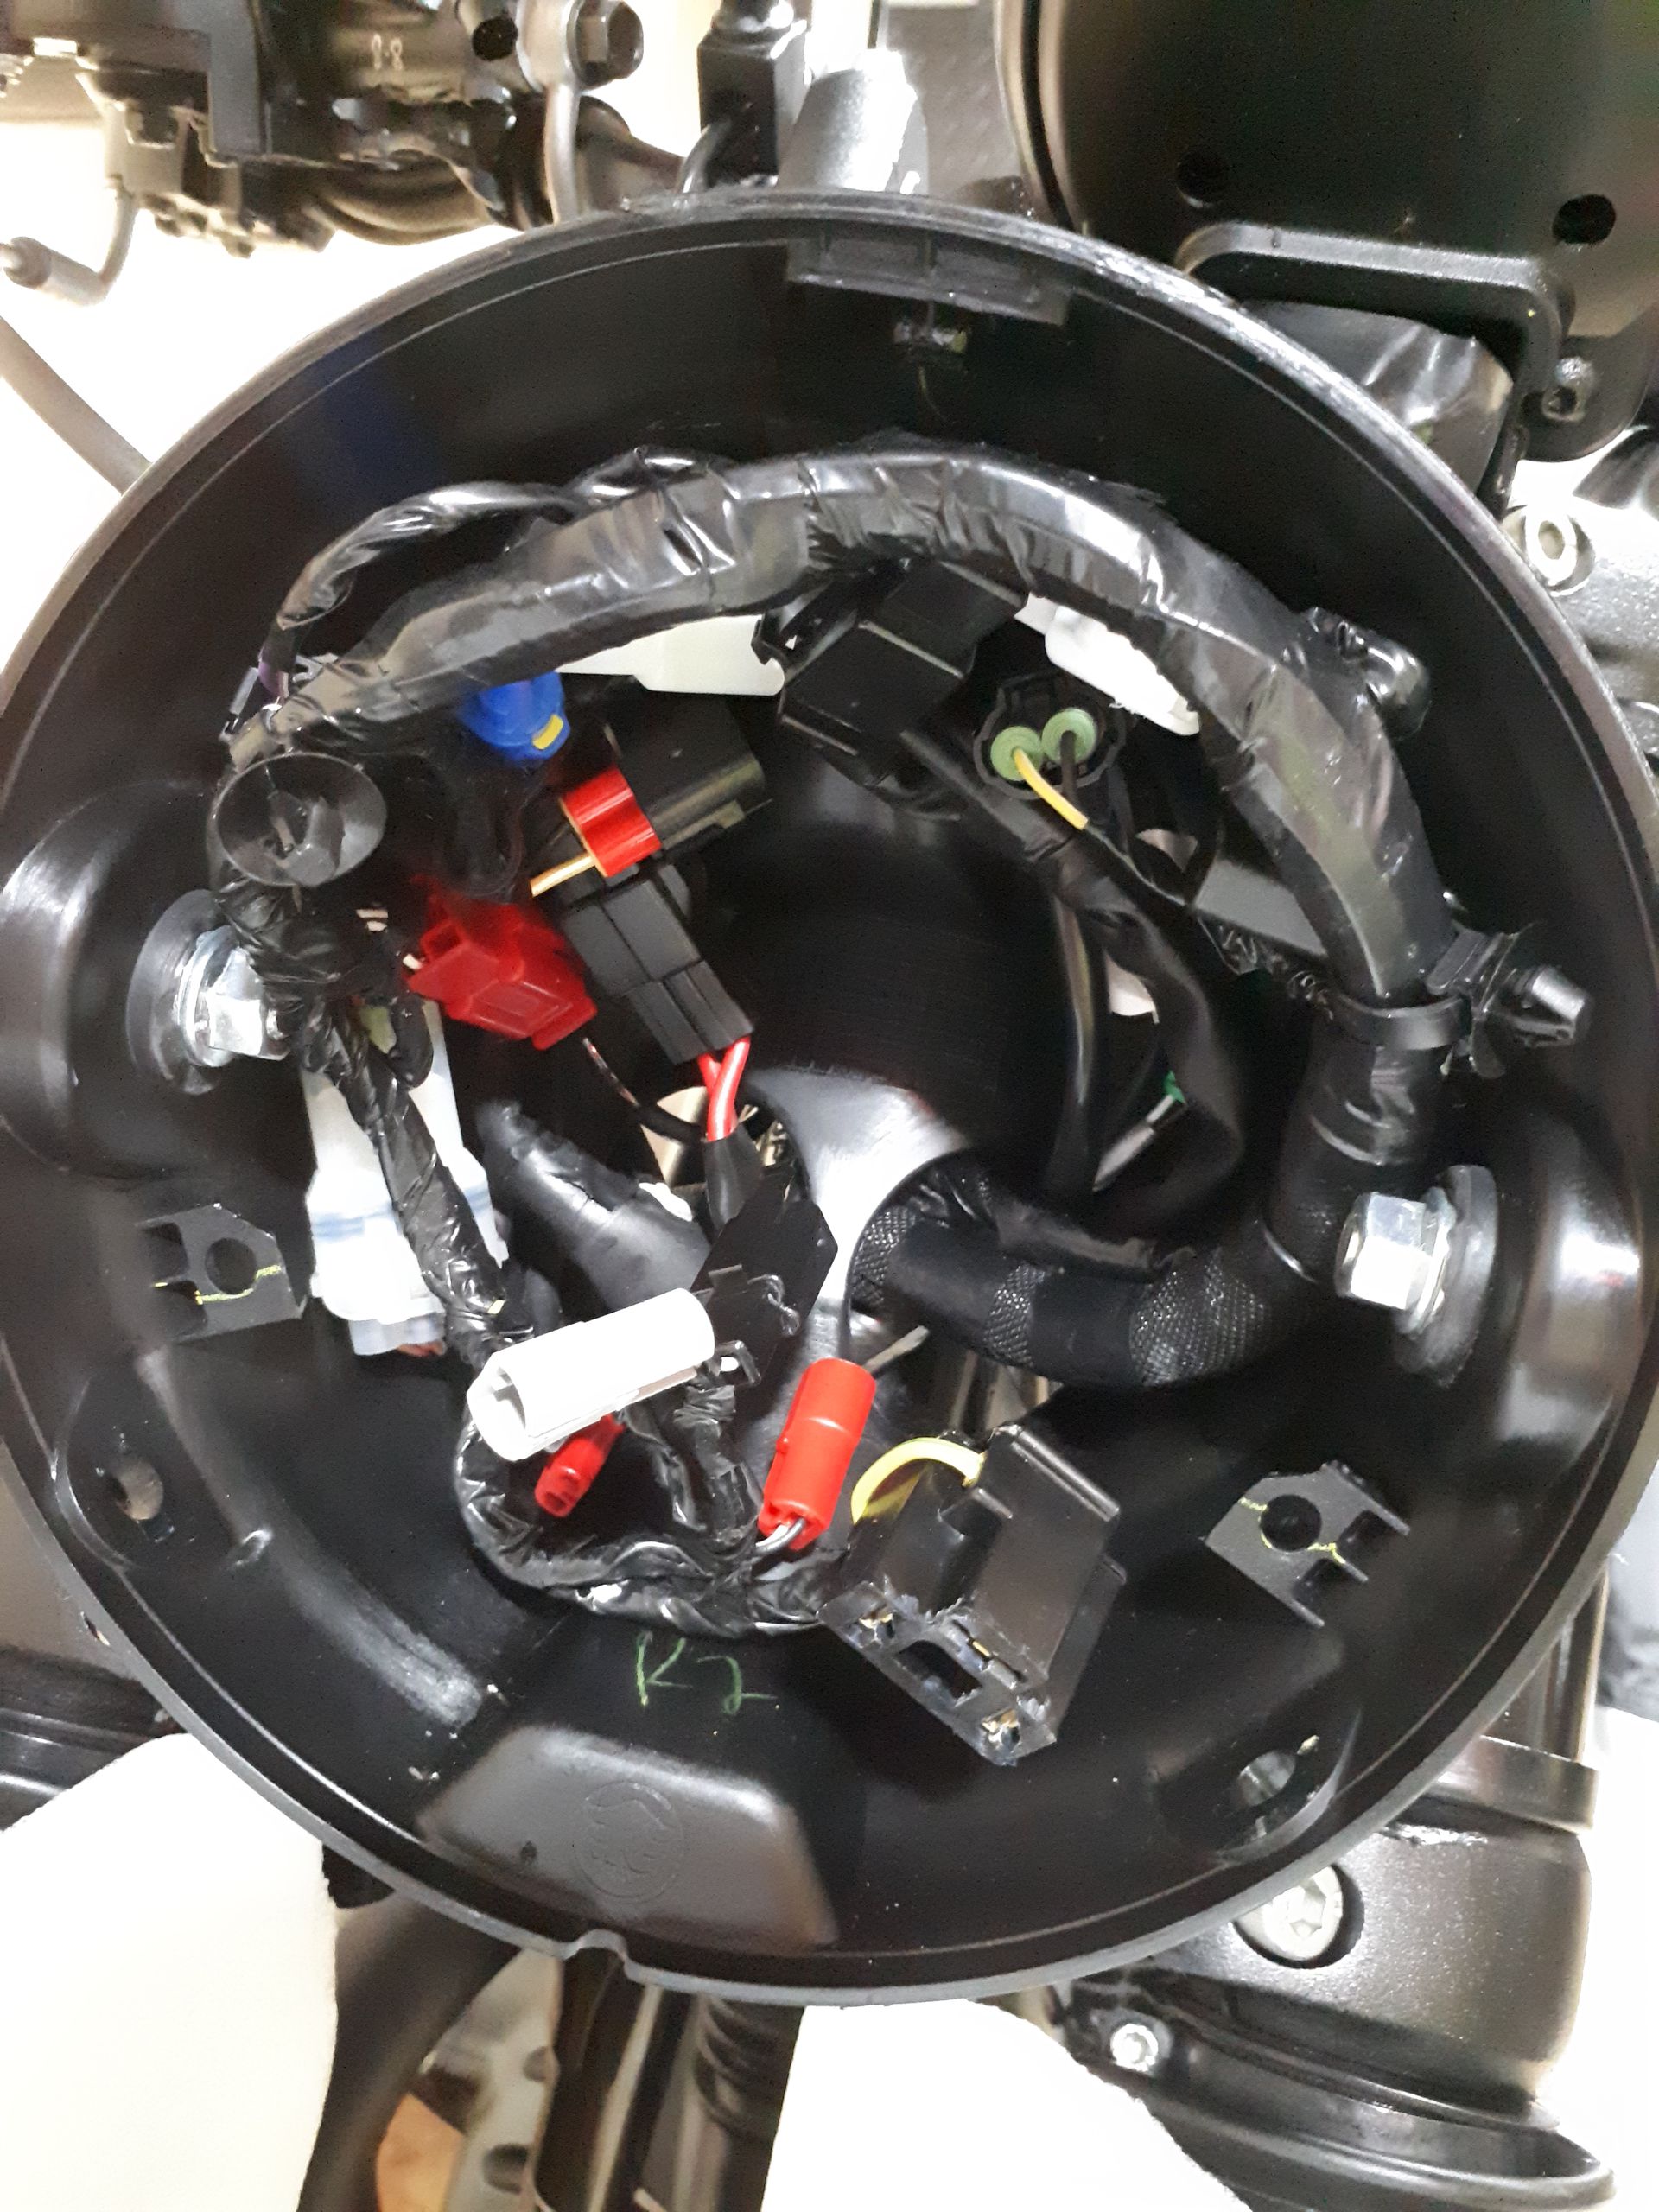
Royal Enfield mount their screen using the headlight and indicator mounting bolts. I was going to go that route but baulked at moving all of that wiring to access the indicator mounting points. Instead, I decided to use the headlight mounting bolts and the handlebars.
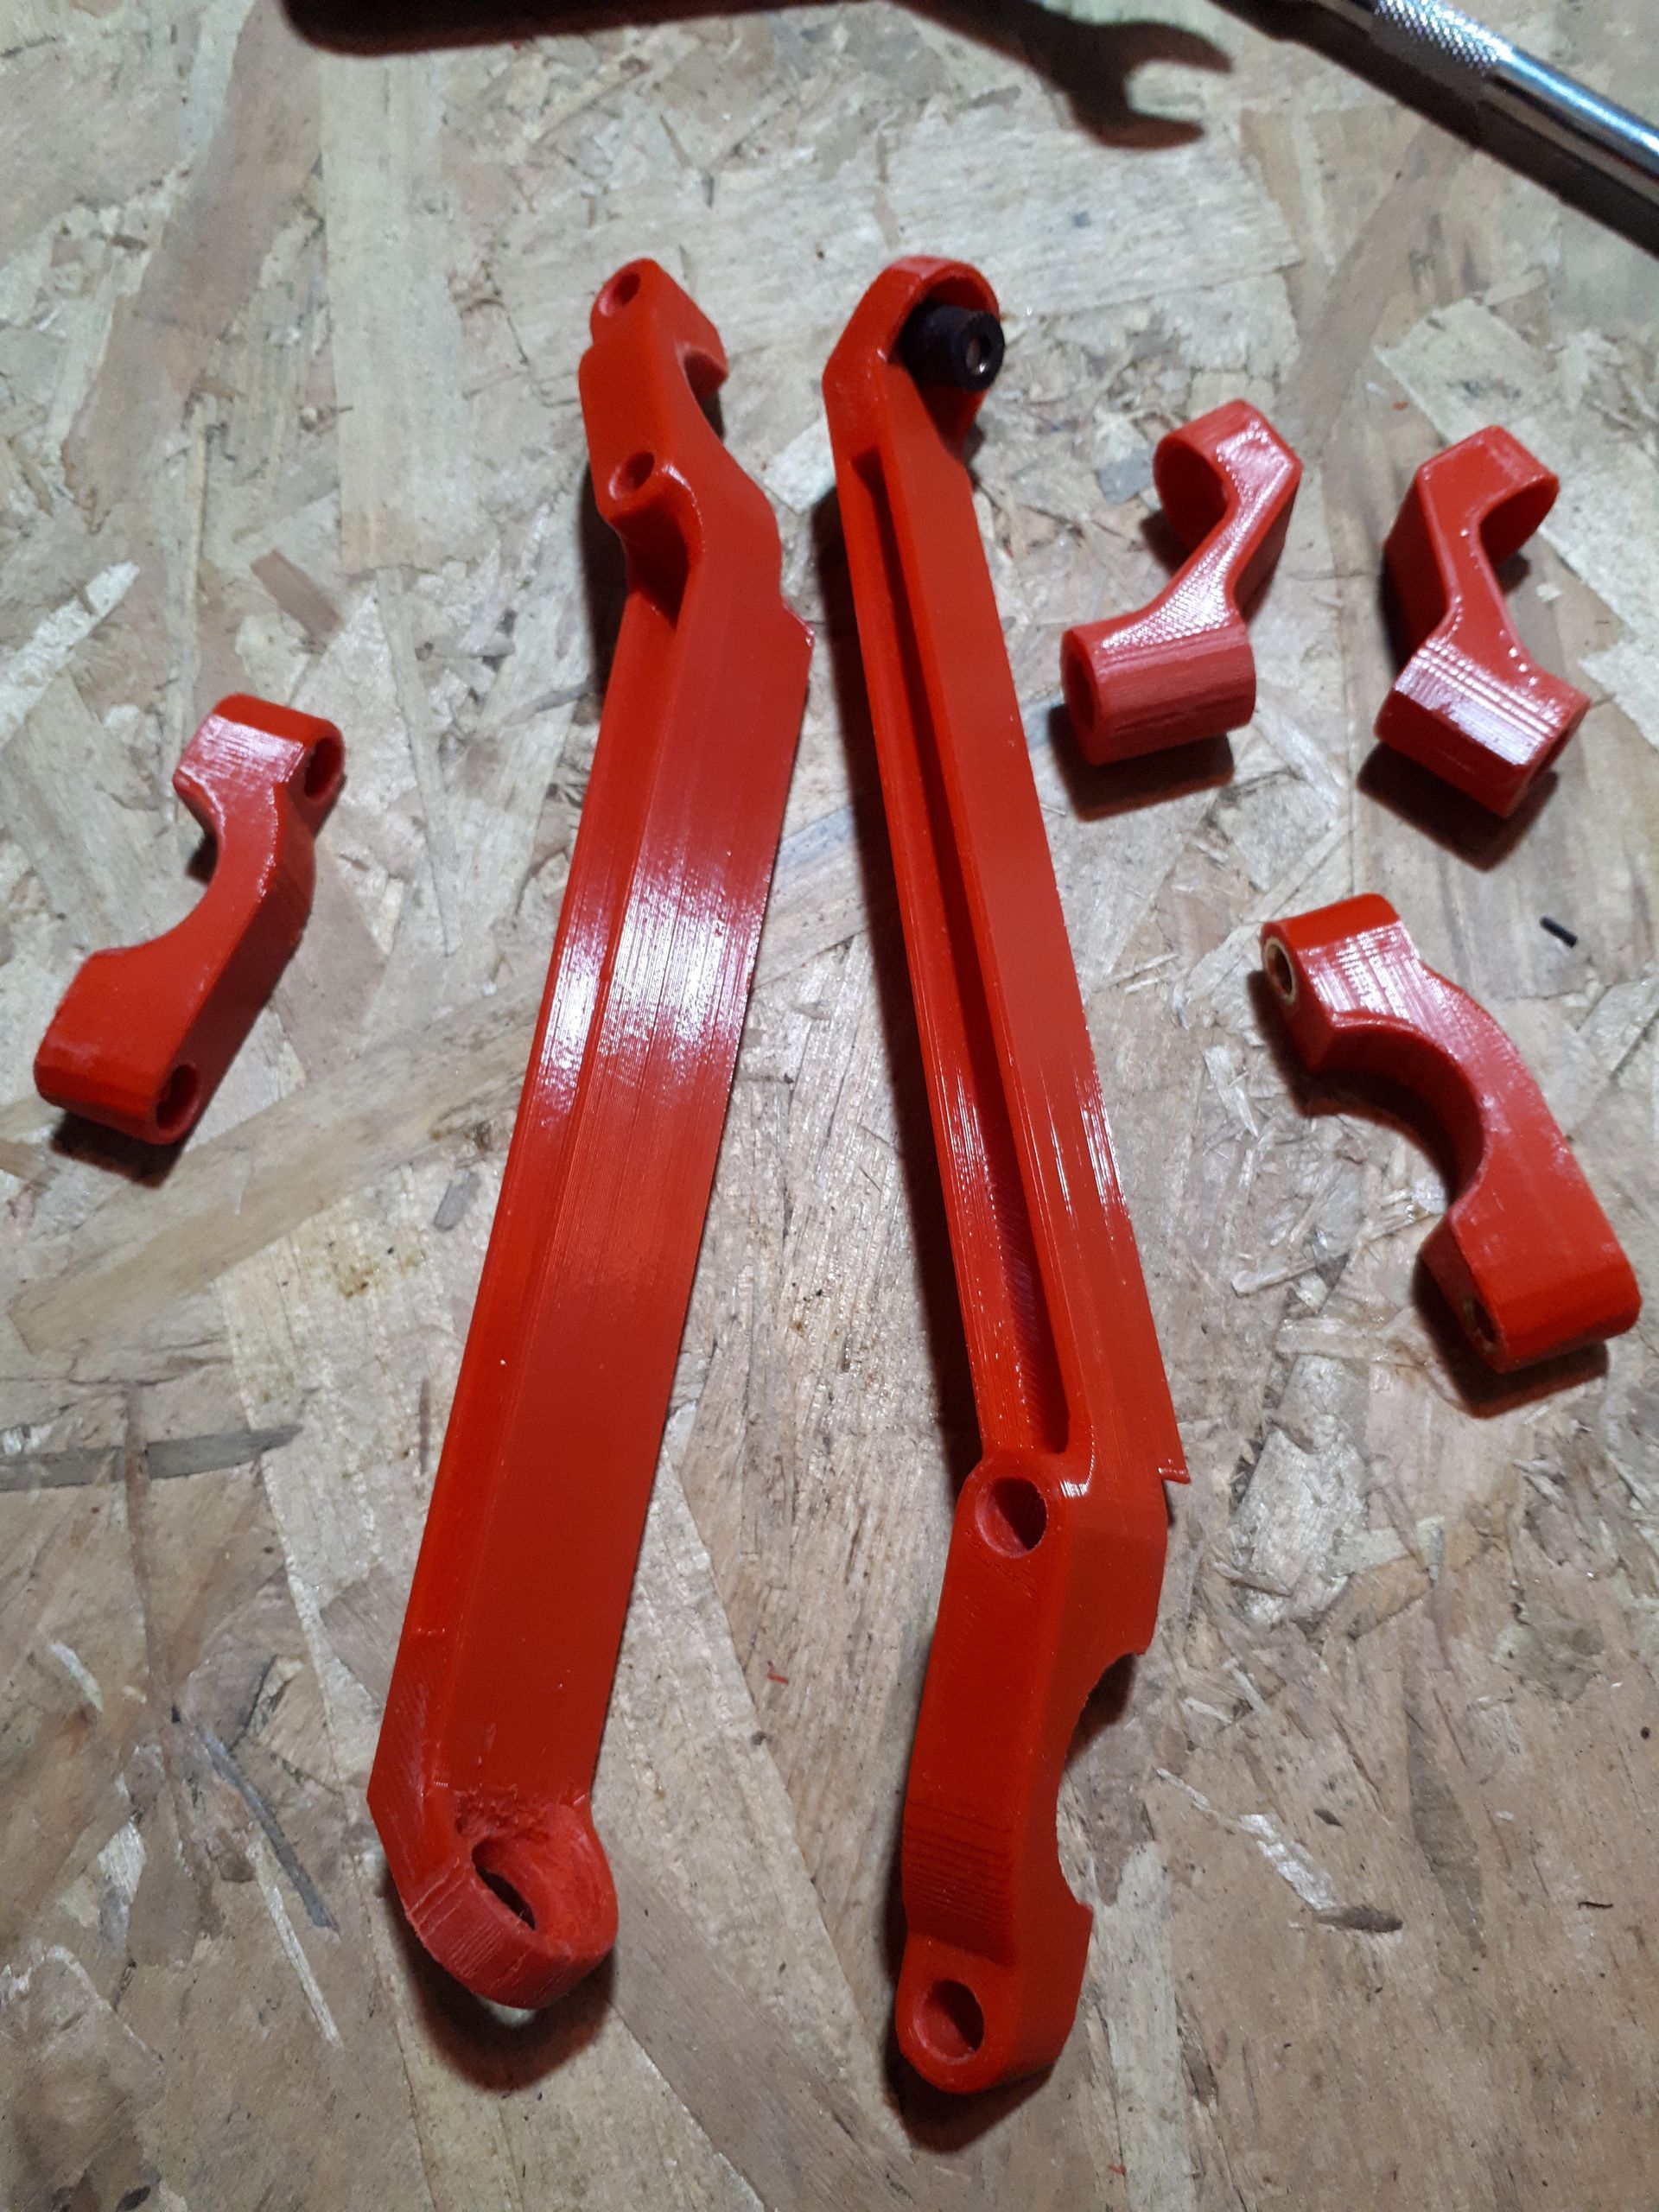
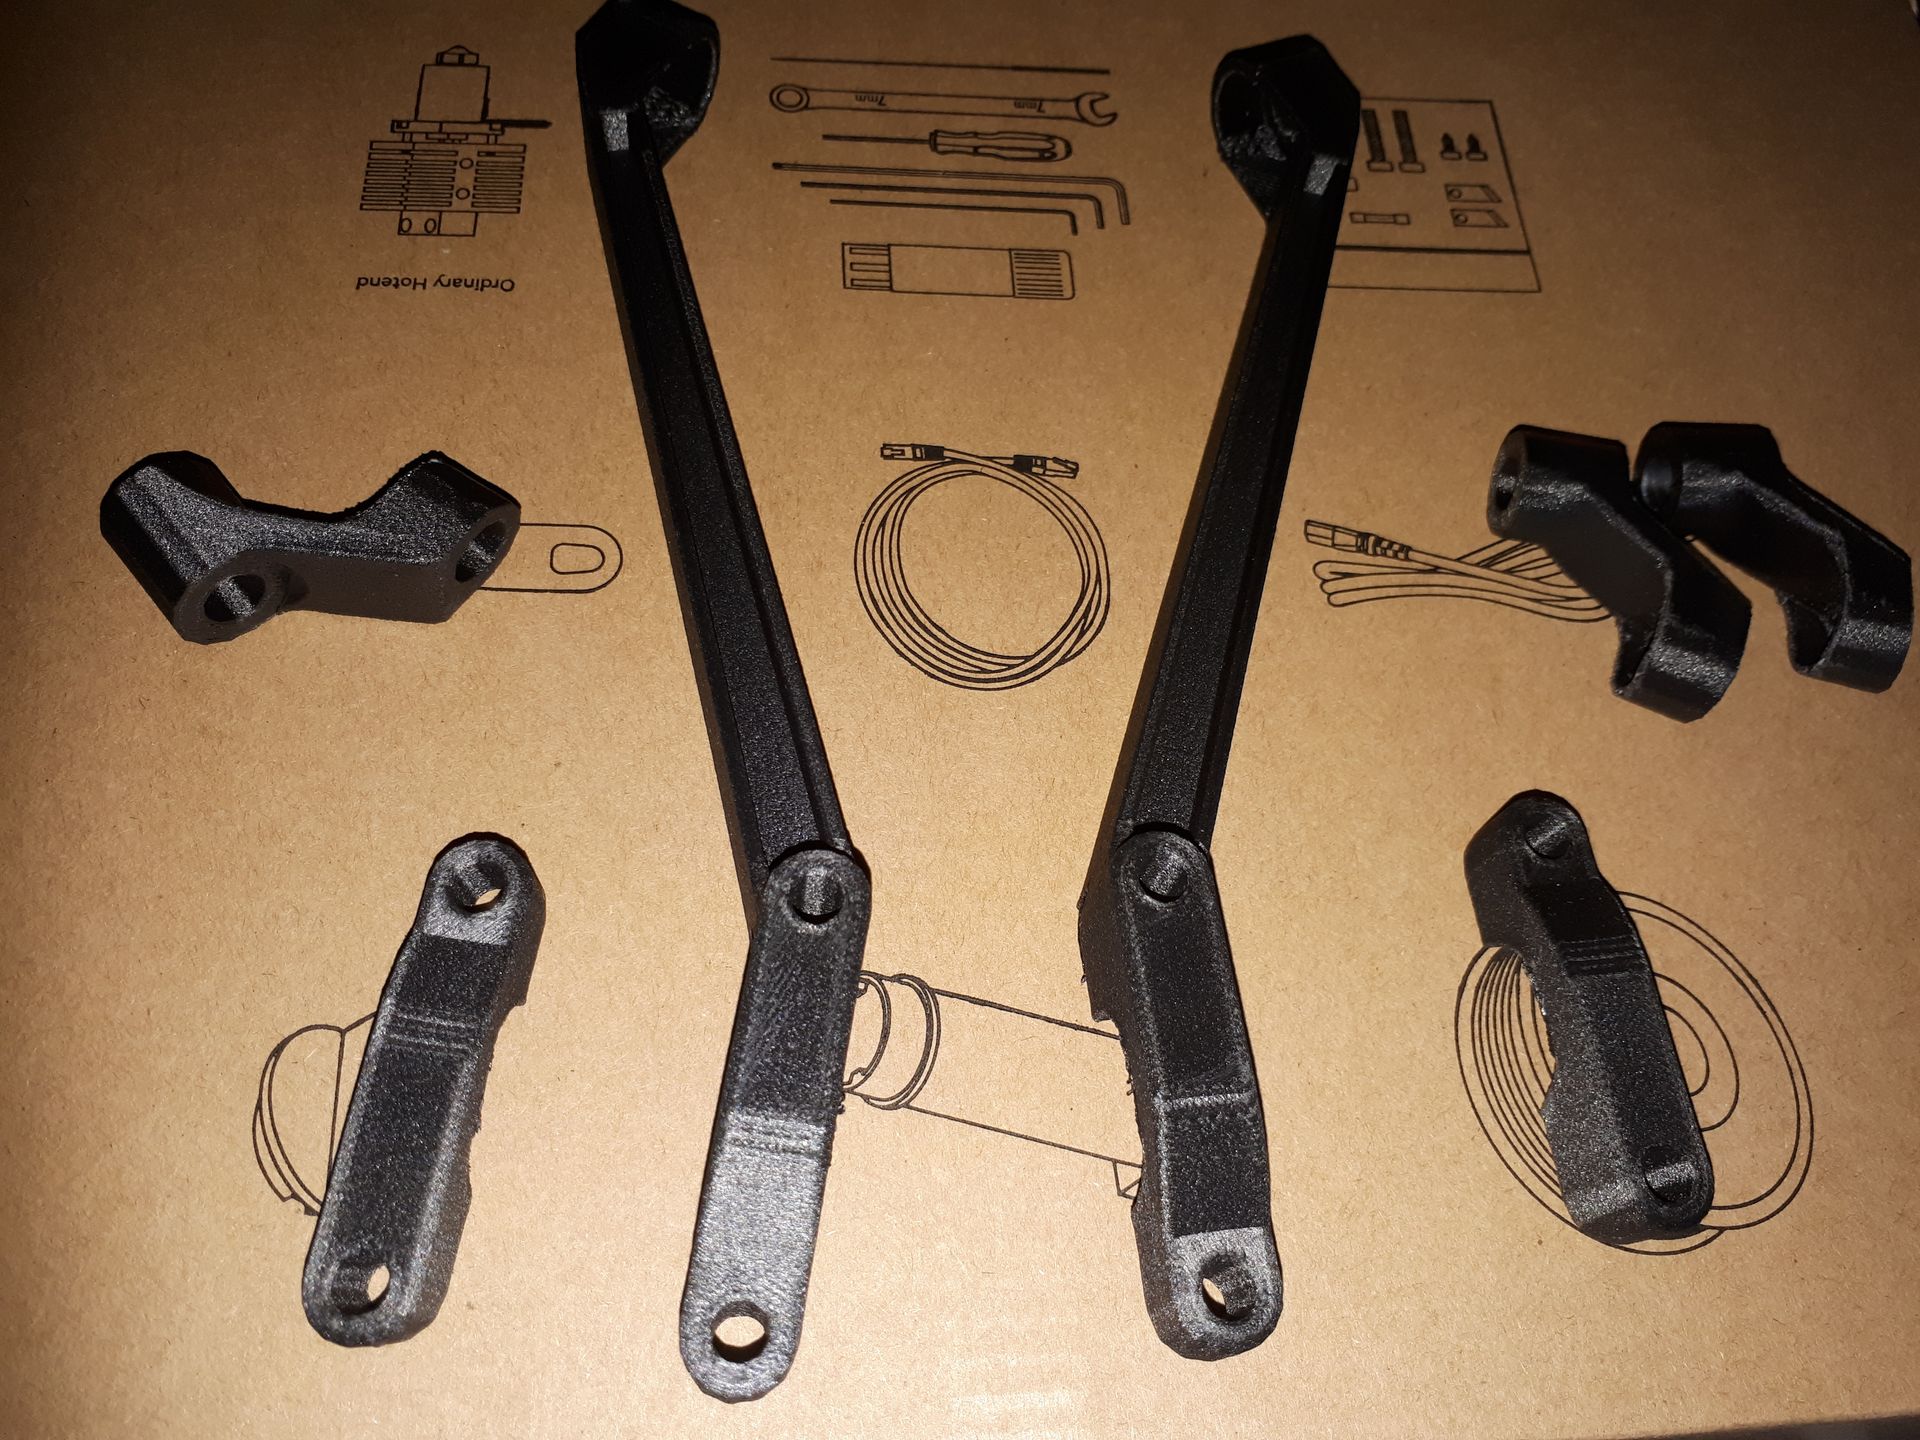
Many hours were then spent with the 3D printer churning out various designs until I finally got some that I was happy with. Here they are, printed in PLA. (In a fetching shade of red because that's all I had to hand!)
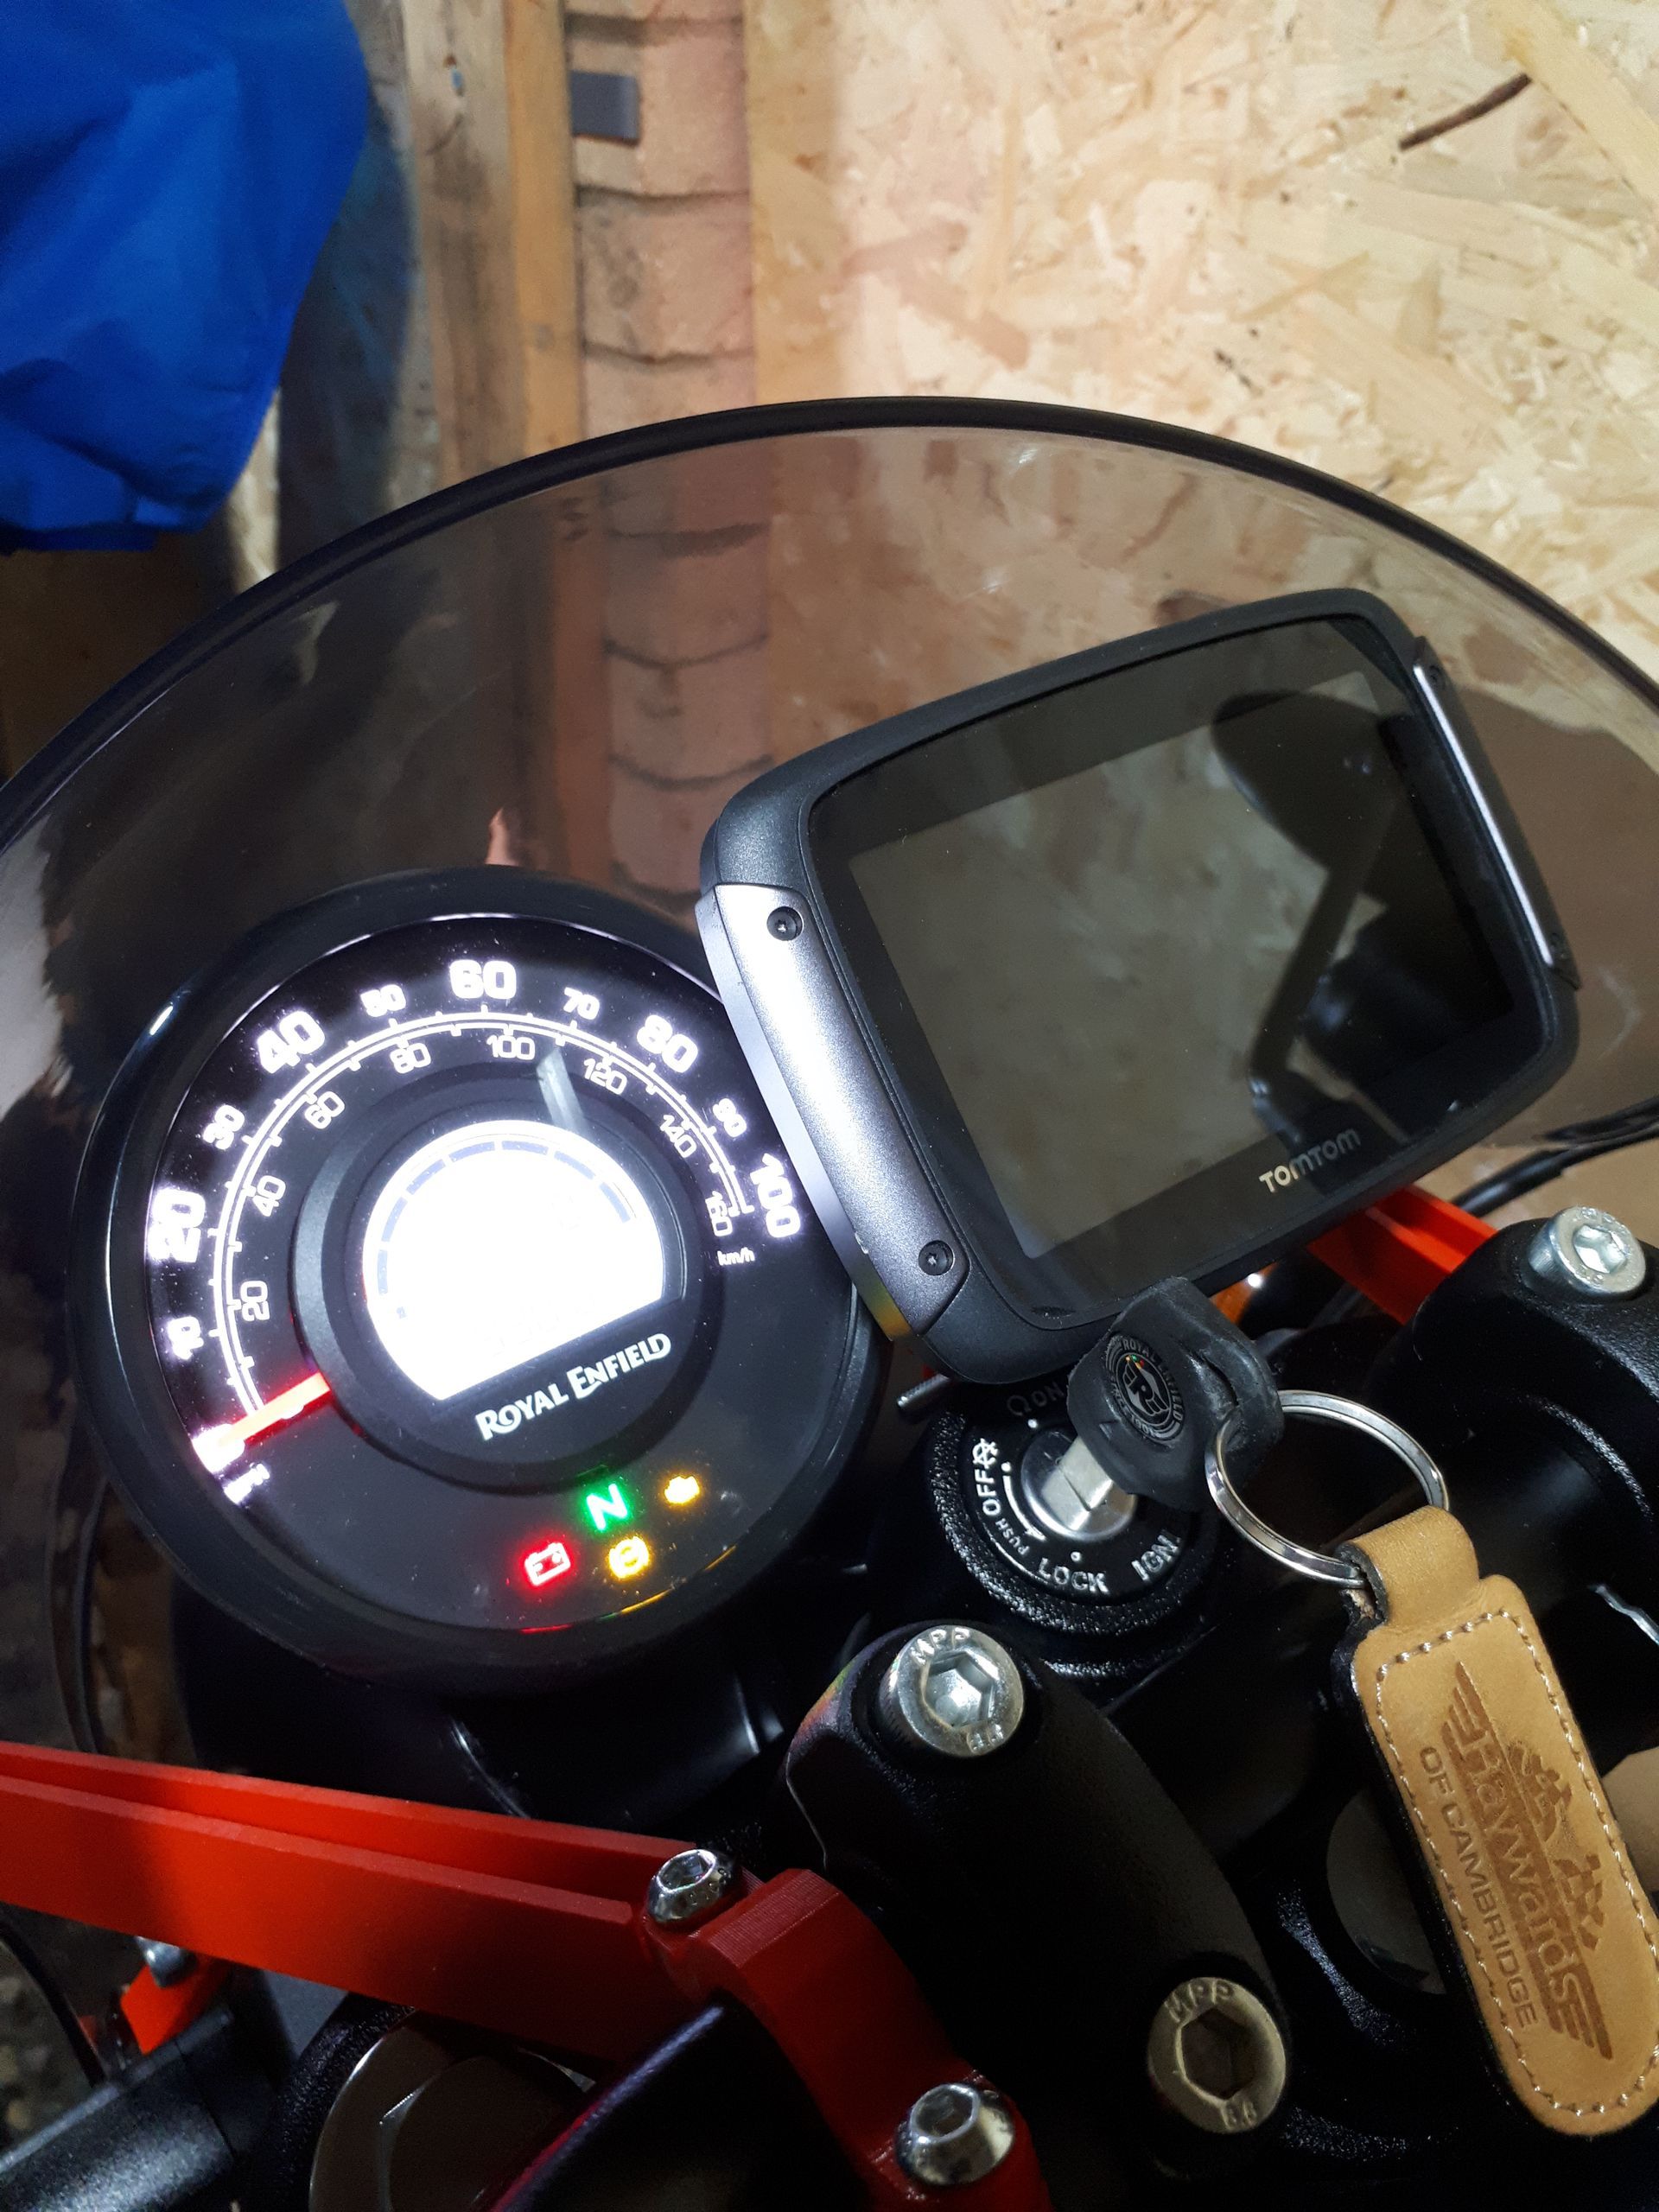
I also wondered, if I could get the Sat Nav mounted too. The answer was yes, kind of... It's a very tight fit!

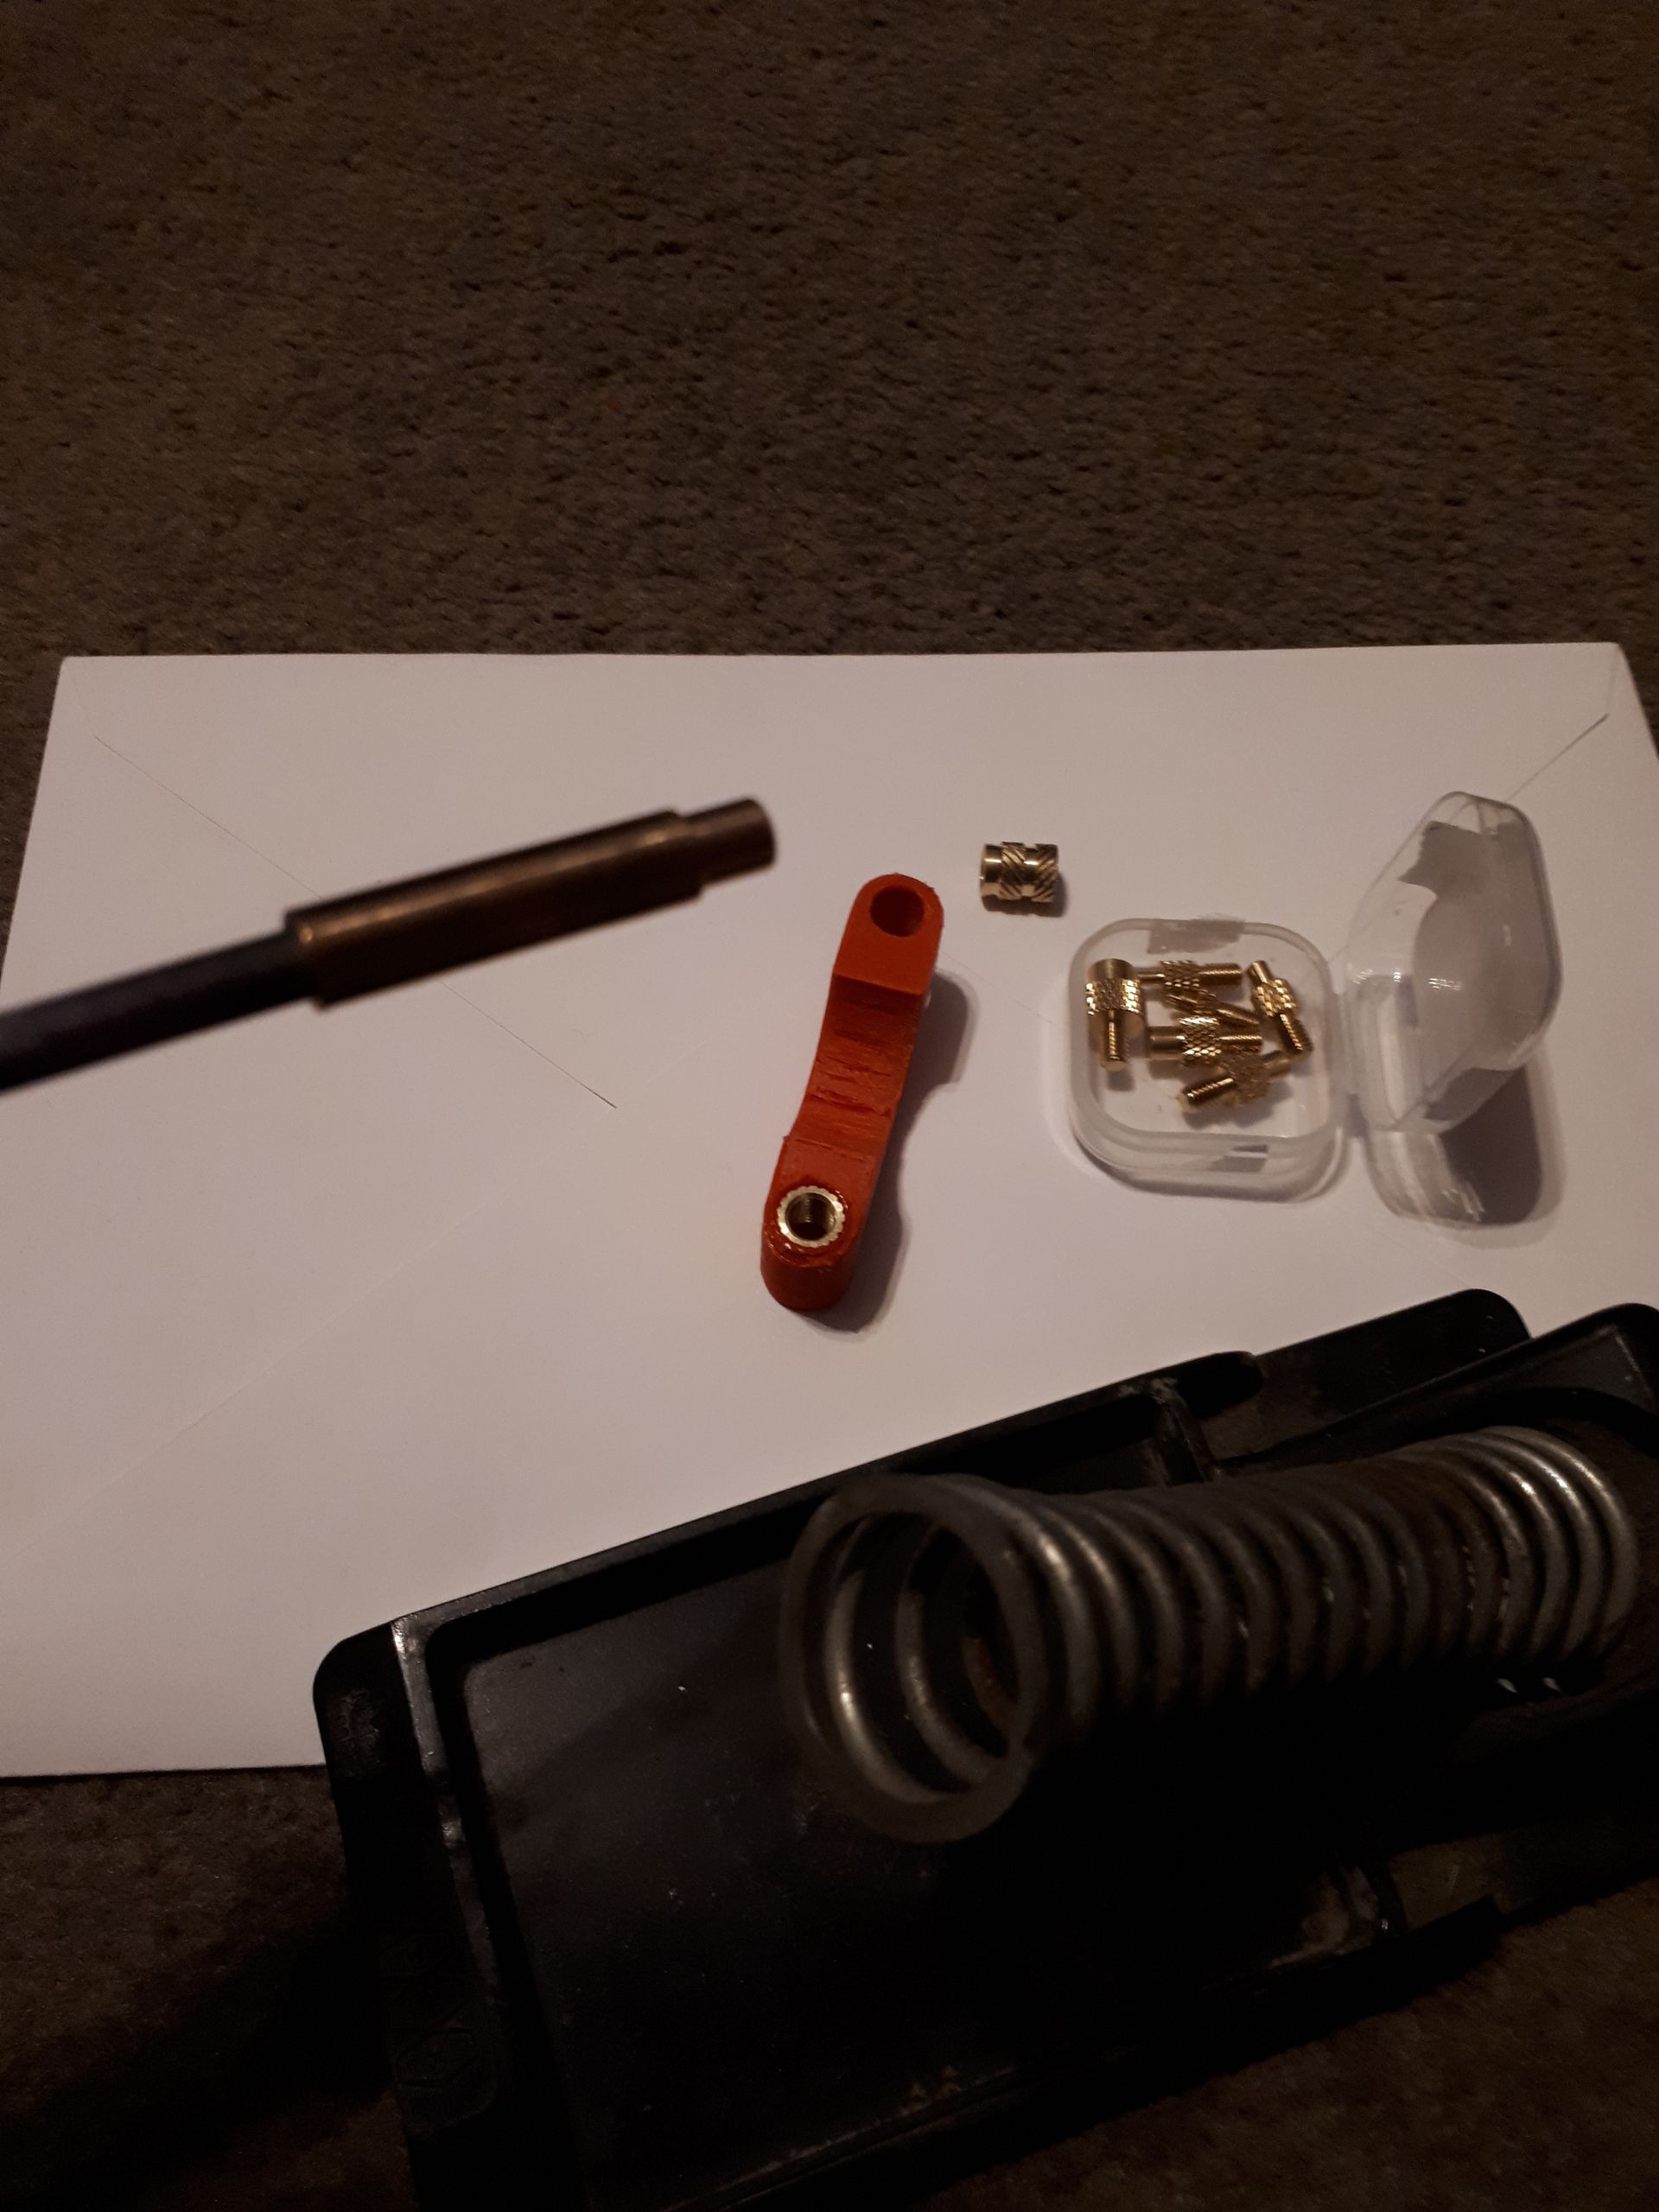
So tight in fact, that the key has had to have a modification so that it can actually turn!
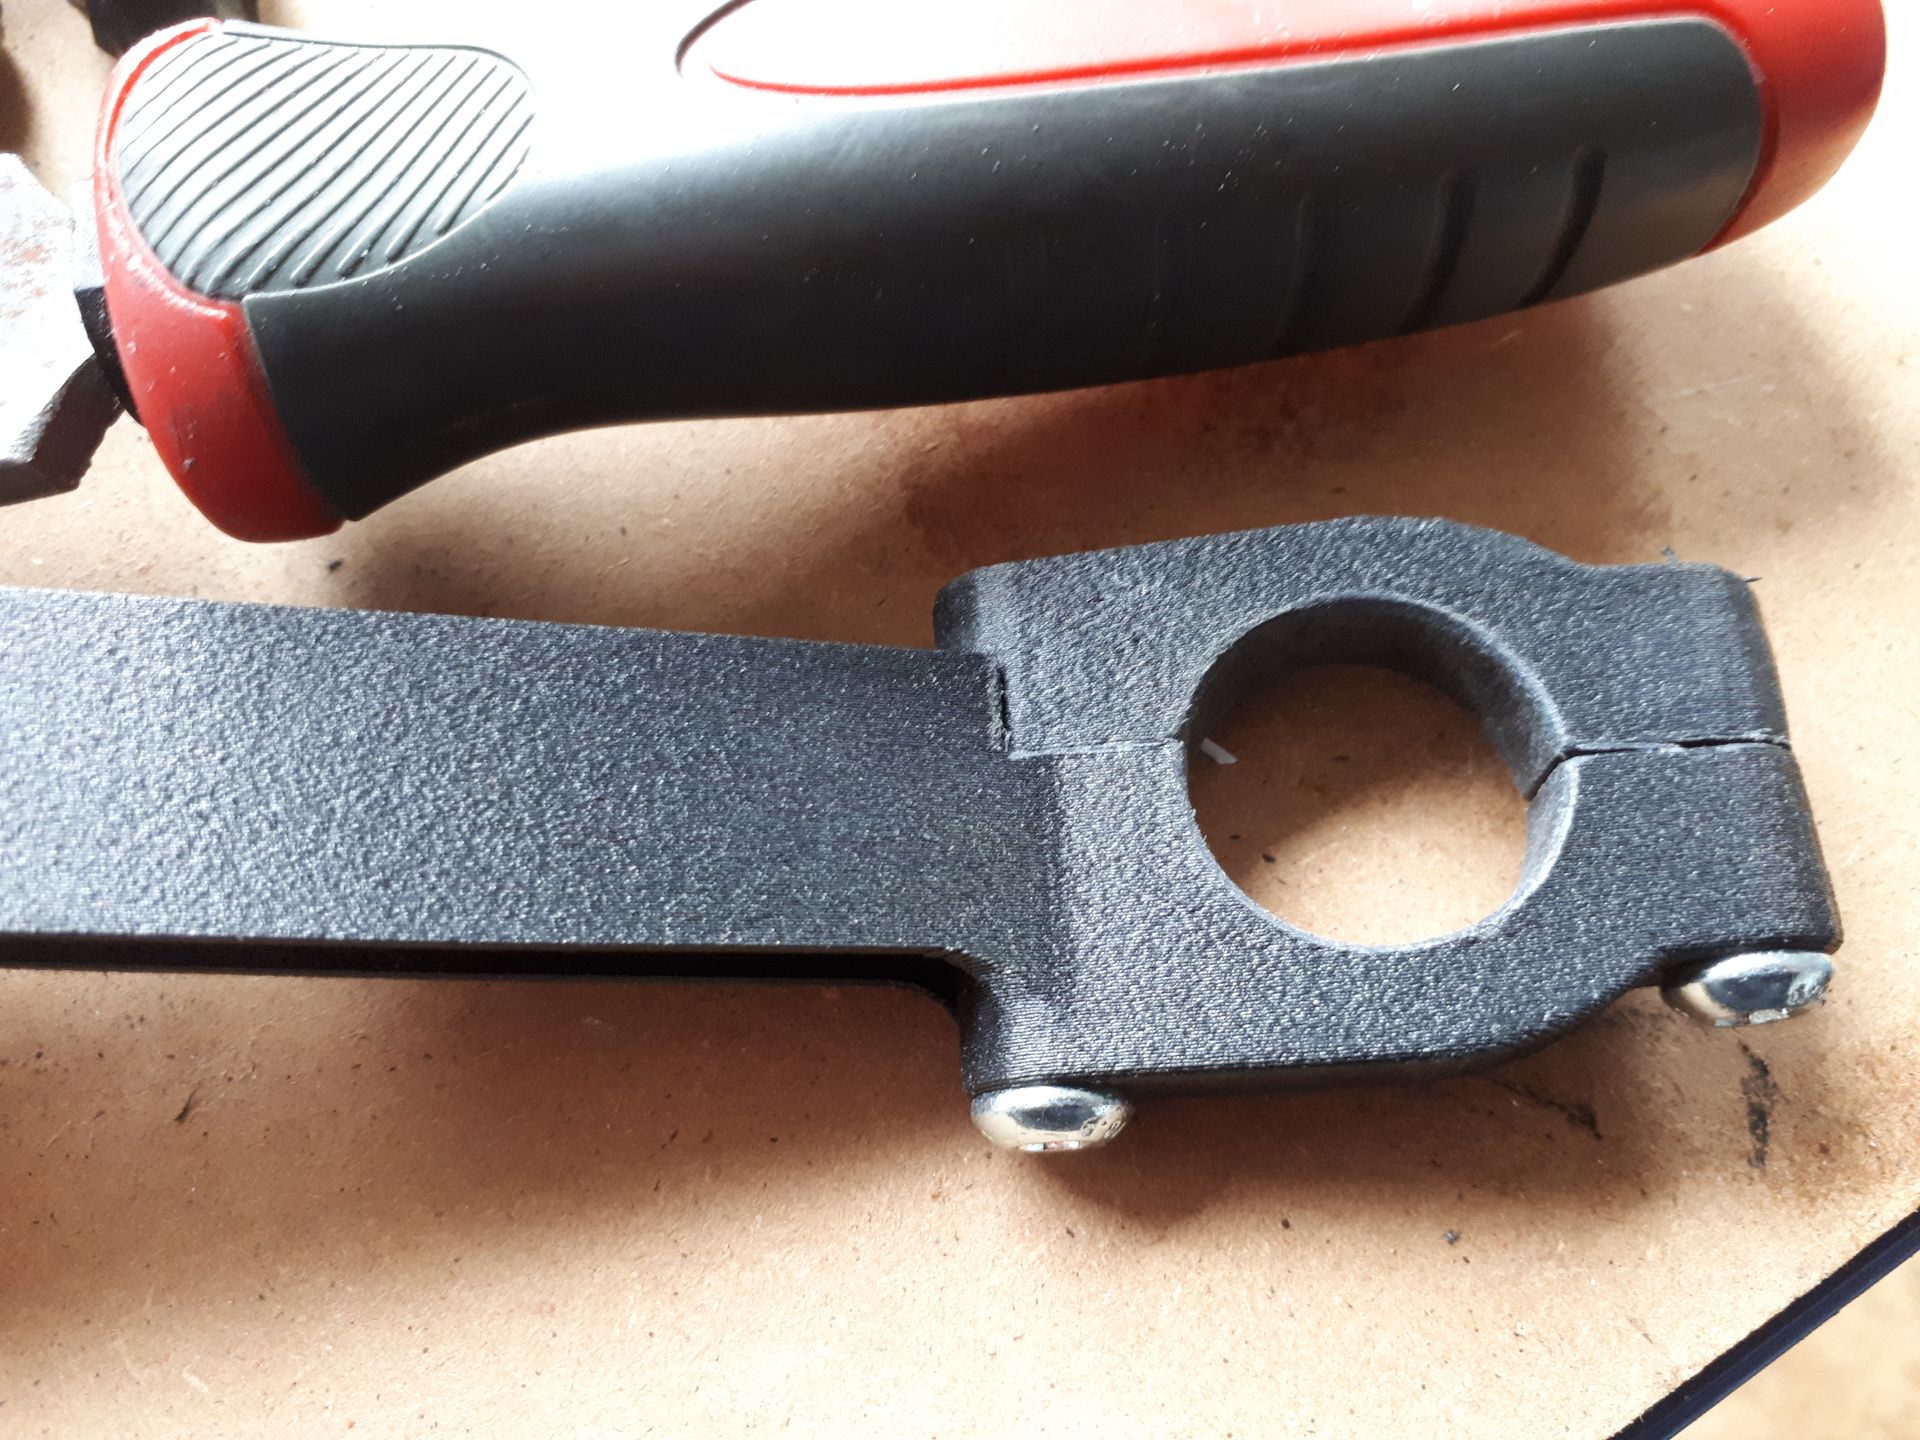
Final mounts were reprinted in a more suitable colour. I've used PET-CF as I've just purchased a fancy new printer that can cope with more exotic materials. I'm not sure that it was the best choice of material. It's more rigid than PLA but it is also more brittle. The handlebar clamps need to be carefully sized (with the aid of a file) so that they are not over stressed when tightened up.
I assume that the handlebars should be 22mm diameter. Mine measure 22.4mm, mostly I presume due to the thick coating of paint. The clamps print out at 22.2mm and then I file to suit. I also tend to drill out the holes to the required size as they're a little tight as printed.
I also fit threaded inserts into the bottom clamps using a specially designed tool fitted to a soldering iron. Alternatively, you could use through bolts with nuts on the bottom
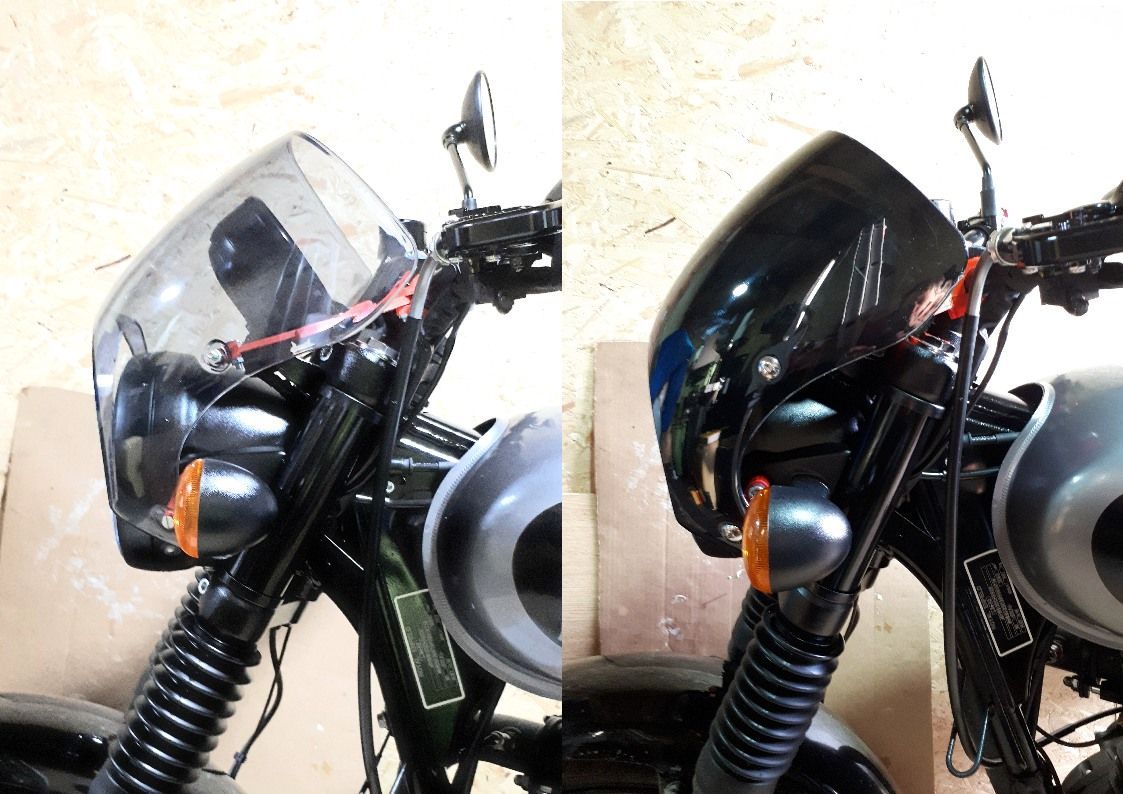
Now the choice is between the light smoke or dark smoke version...
I think I'm going with dark.
I've included the design files for those of you who may want to have a go yourself. Unfortunately I use Solidedge for my drawings which is not a popular CAD package but you may find a viewer online. I've also included pdf versions of the drawings. The STL files can be opened by various packages. Be aware, my Solidedge exports the STL in imperial units, you may have to resize when you import!
You'll see that there are three versions of the bottom mount. They are slightly different lengths to allow adjustment of the gap around the headlight. Also you have to produce a mirror image version of the top clamp and bottom mount as you will need left and right handed versions
For more on fitting the fairing, check out the
2024 blog posts.
