Duck Head Tyre Changer Modification
The full write up for modifying a Sealey Motorcycle Tyre Changer to incorporate a rotating 'duck head' can be read in Issue 20. (Download a copy
HERE).
(And there's now a video about it which you can find
HERE)
But here are some extra pictures and words to give you a little more information and insight into what is involved...
This is the Sealey version of the manual motorcycle tyre changer, but there are other ( read cheaper) similar versions available from the usual online channels. It does a good job of holding the wheel, but I never liked the tyre bar that it came with it. (See original review
HERE)
In a constant crusade to make tyre changing easier, this time I try to add a rotating 'duck head' into the mix.
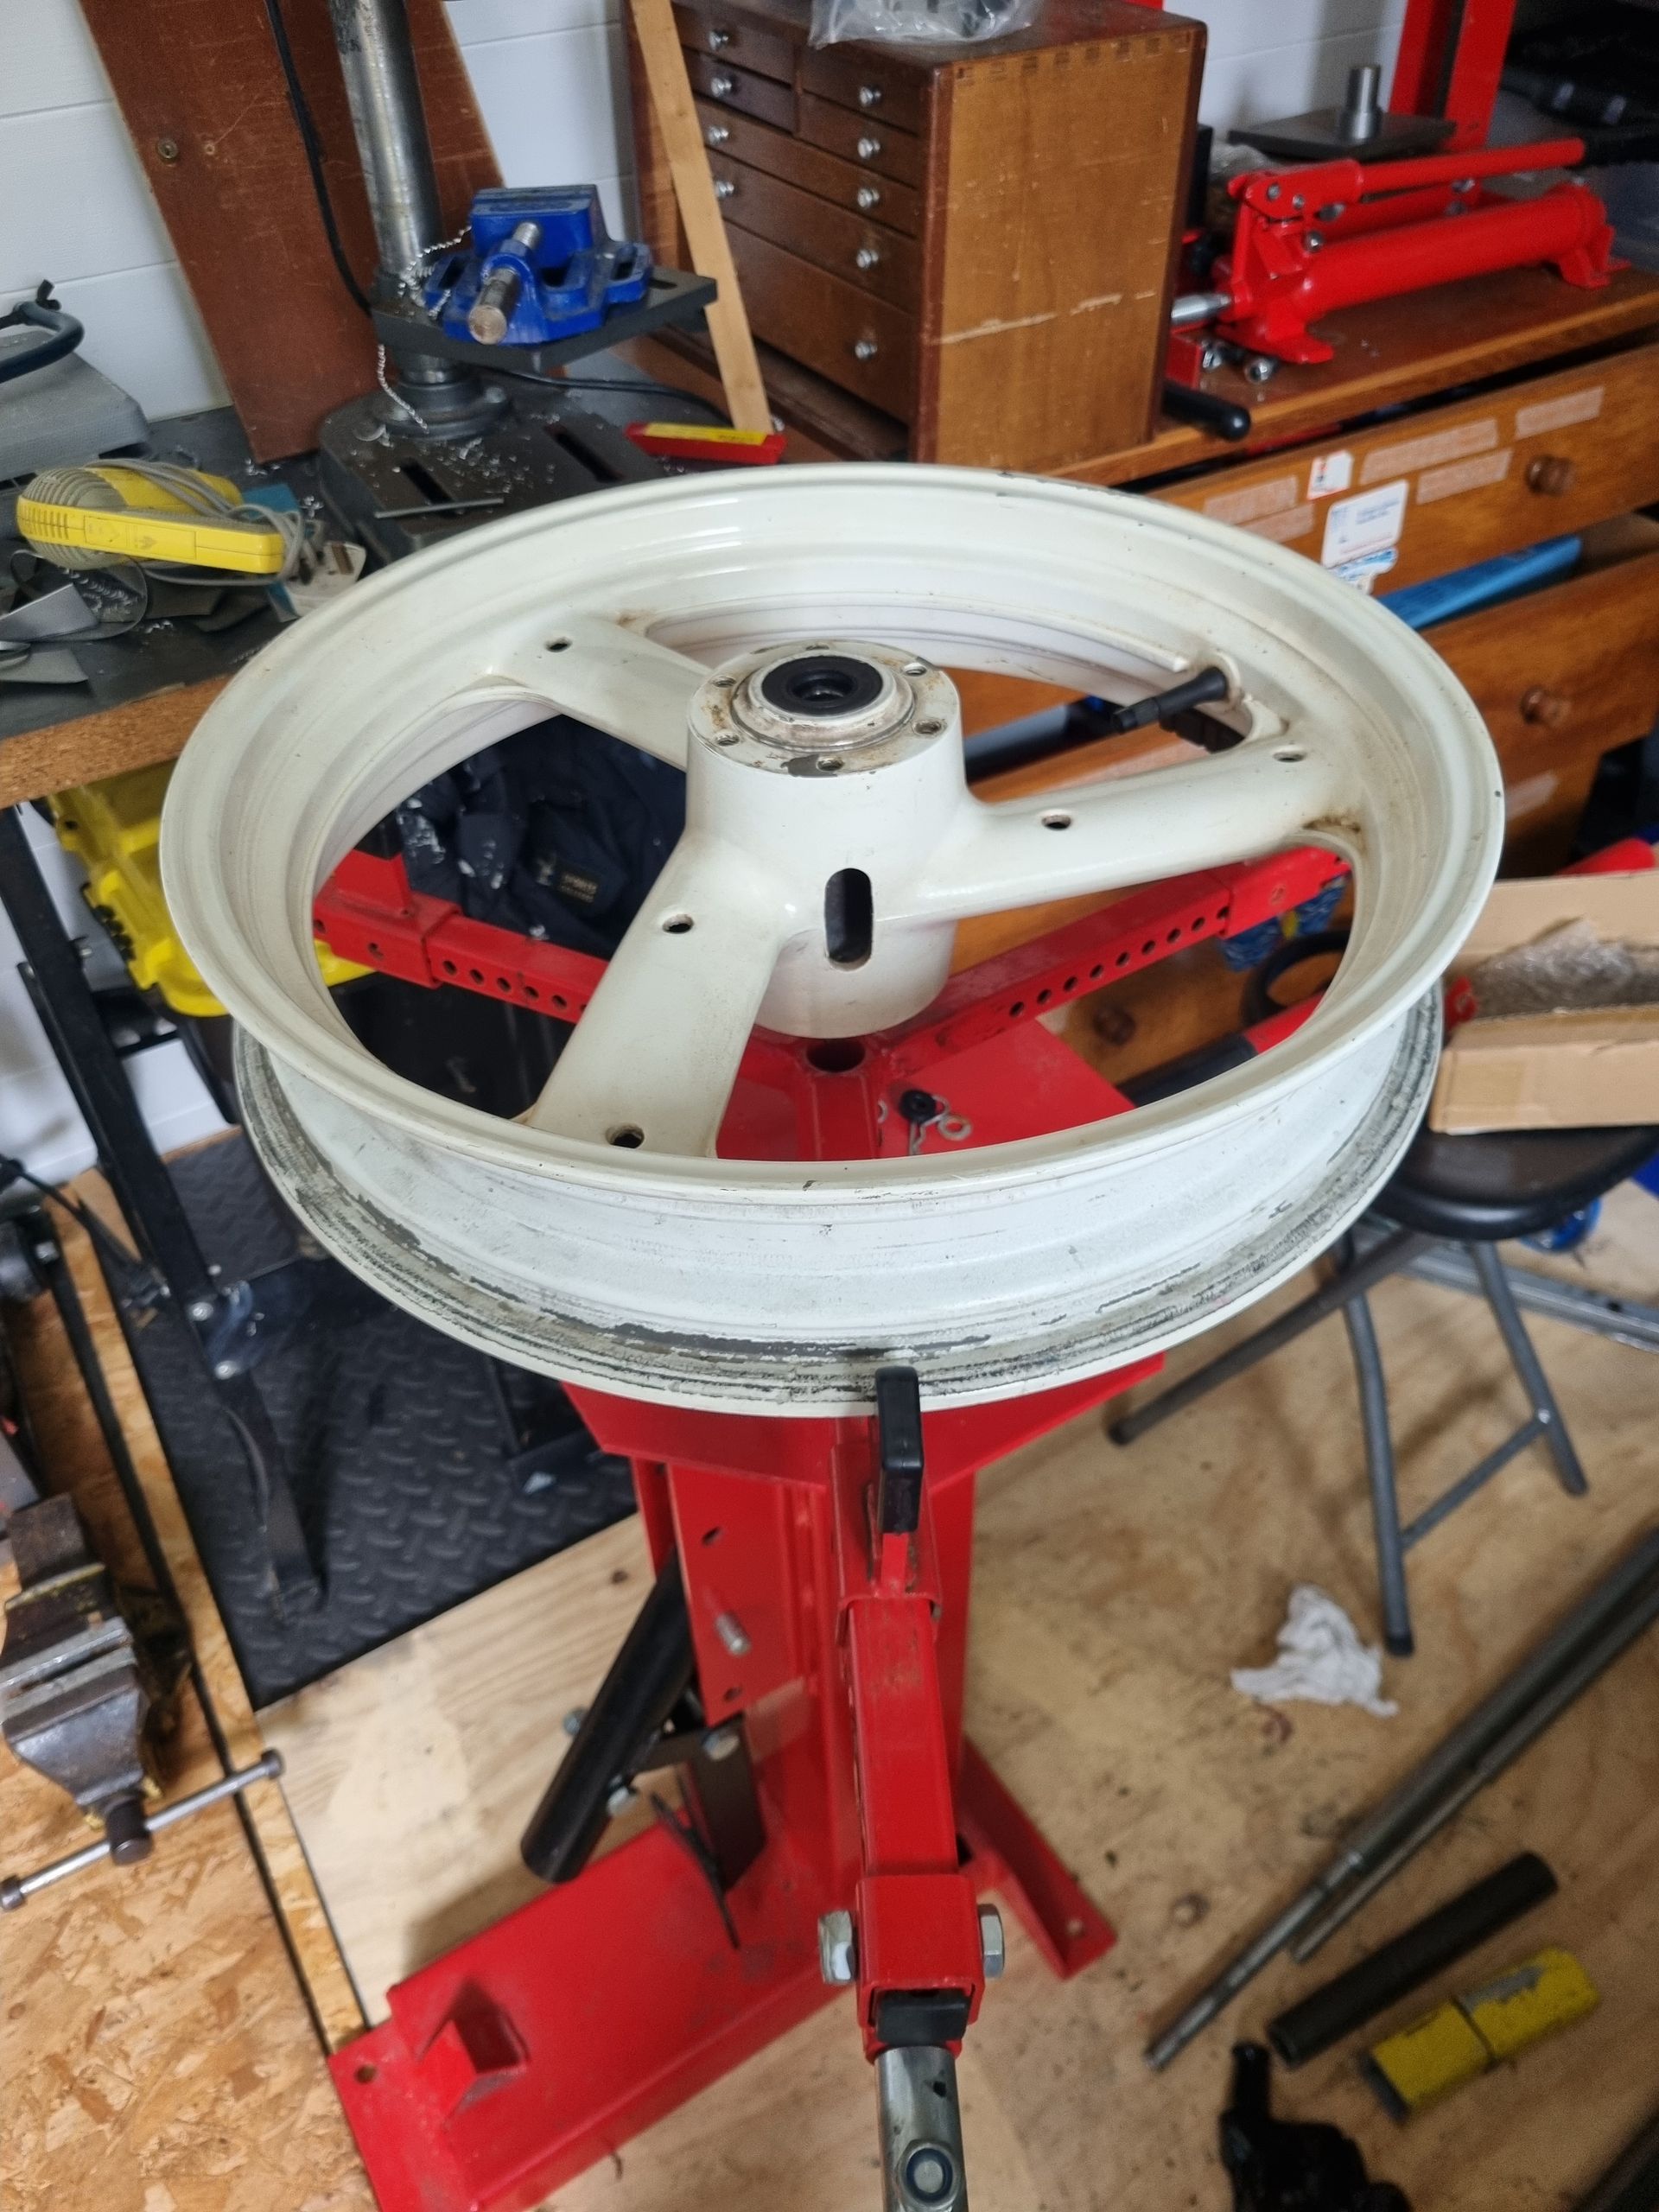
There were no particular dimensions for the materials involved, it was made from bits from the scrap bin apart from the purchased duck head (the black plastic bit) that cost me around £12 from ebay.
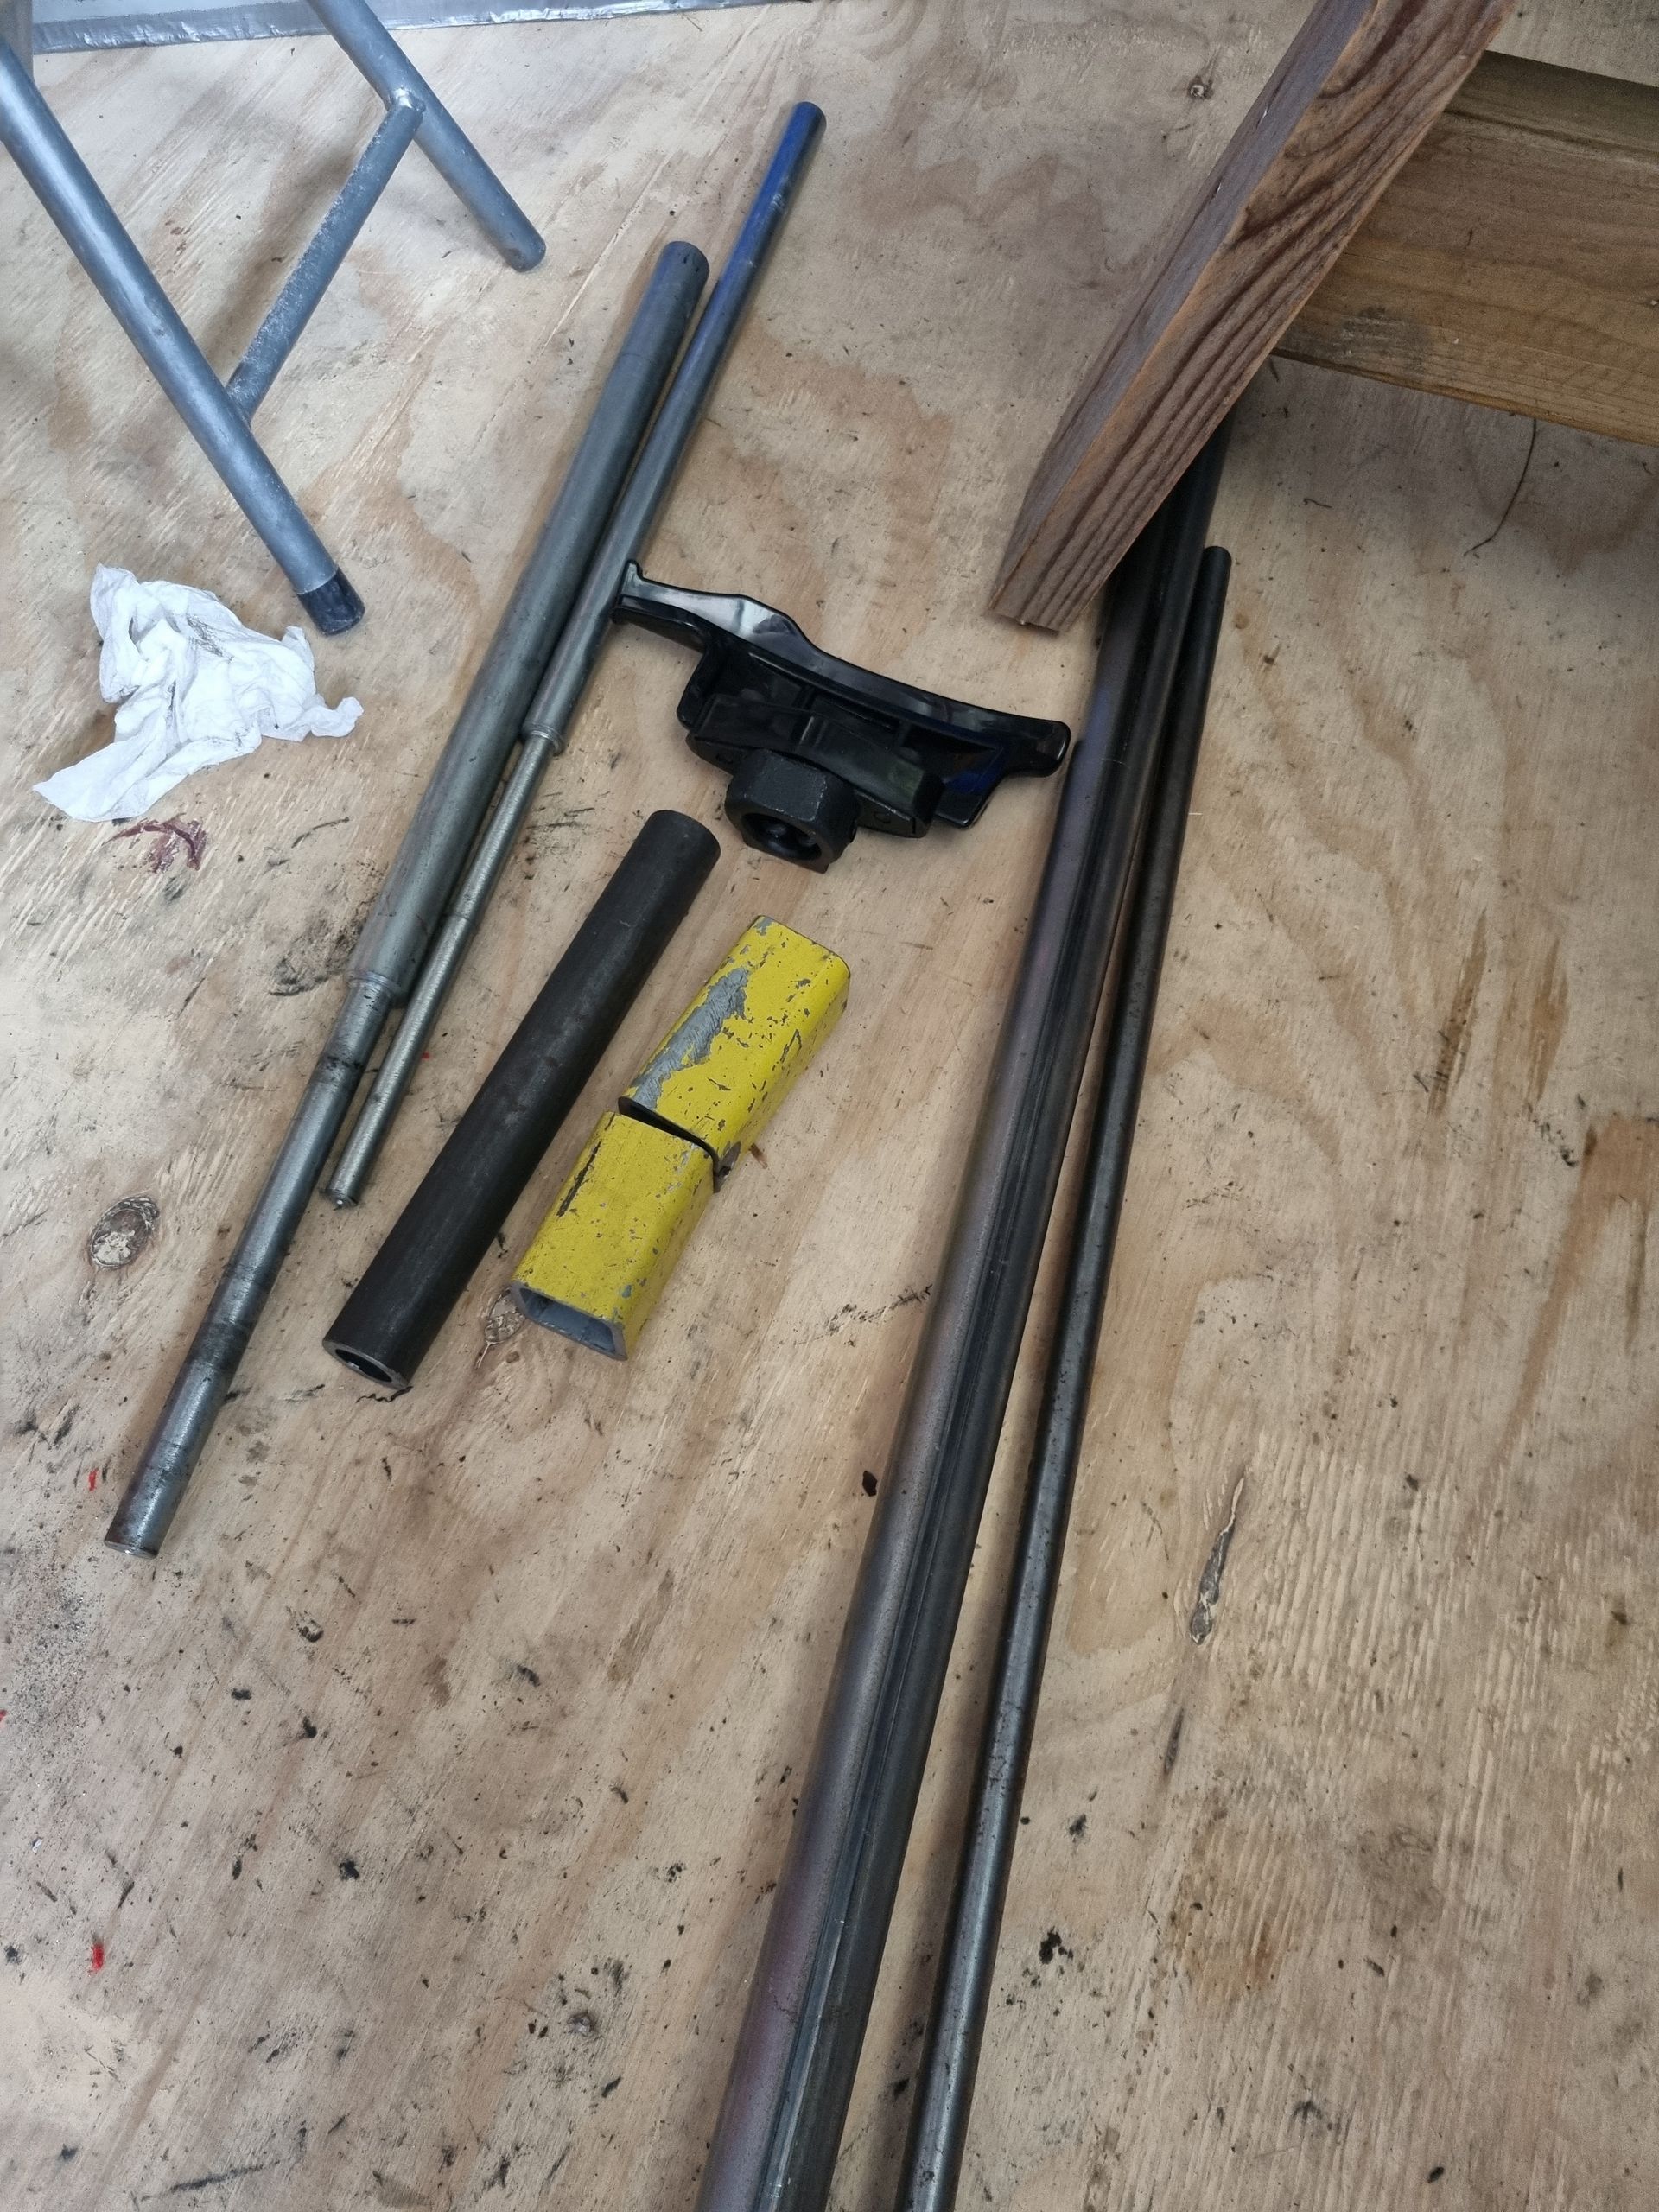
All cut to size, ready for welding together.
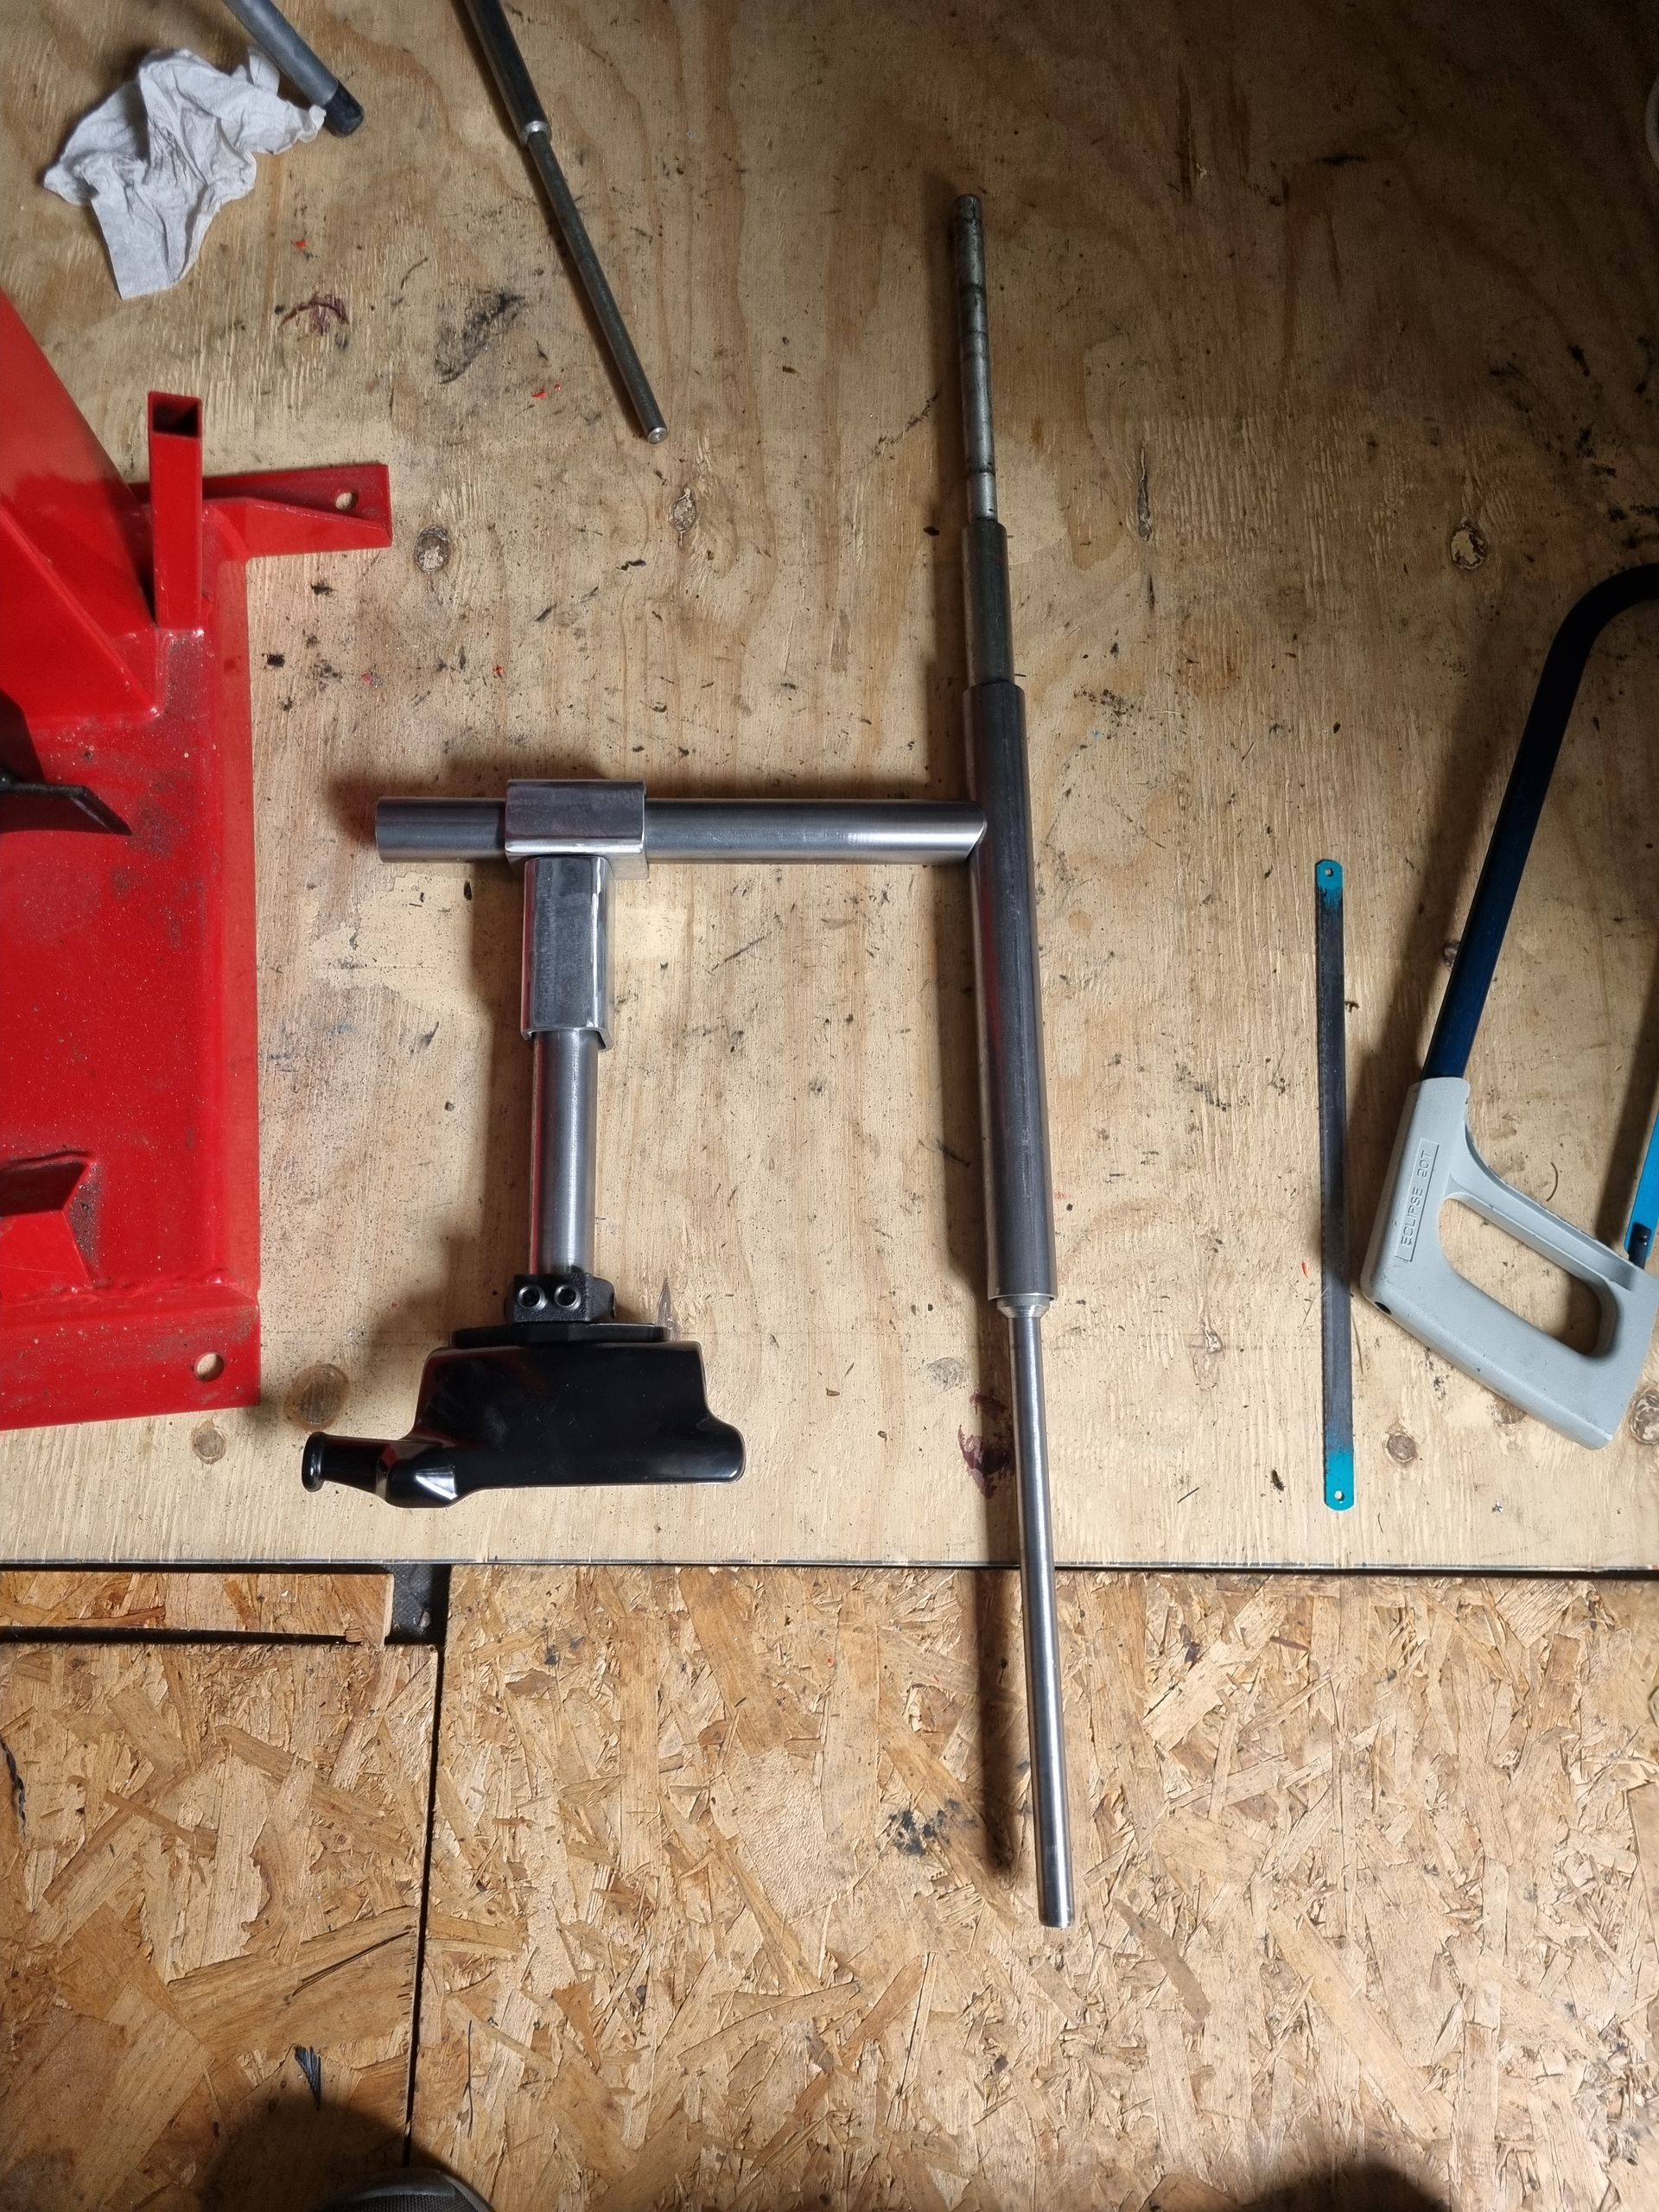
The first iteration...
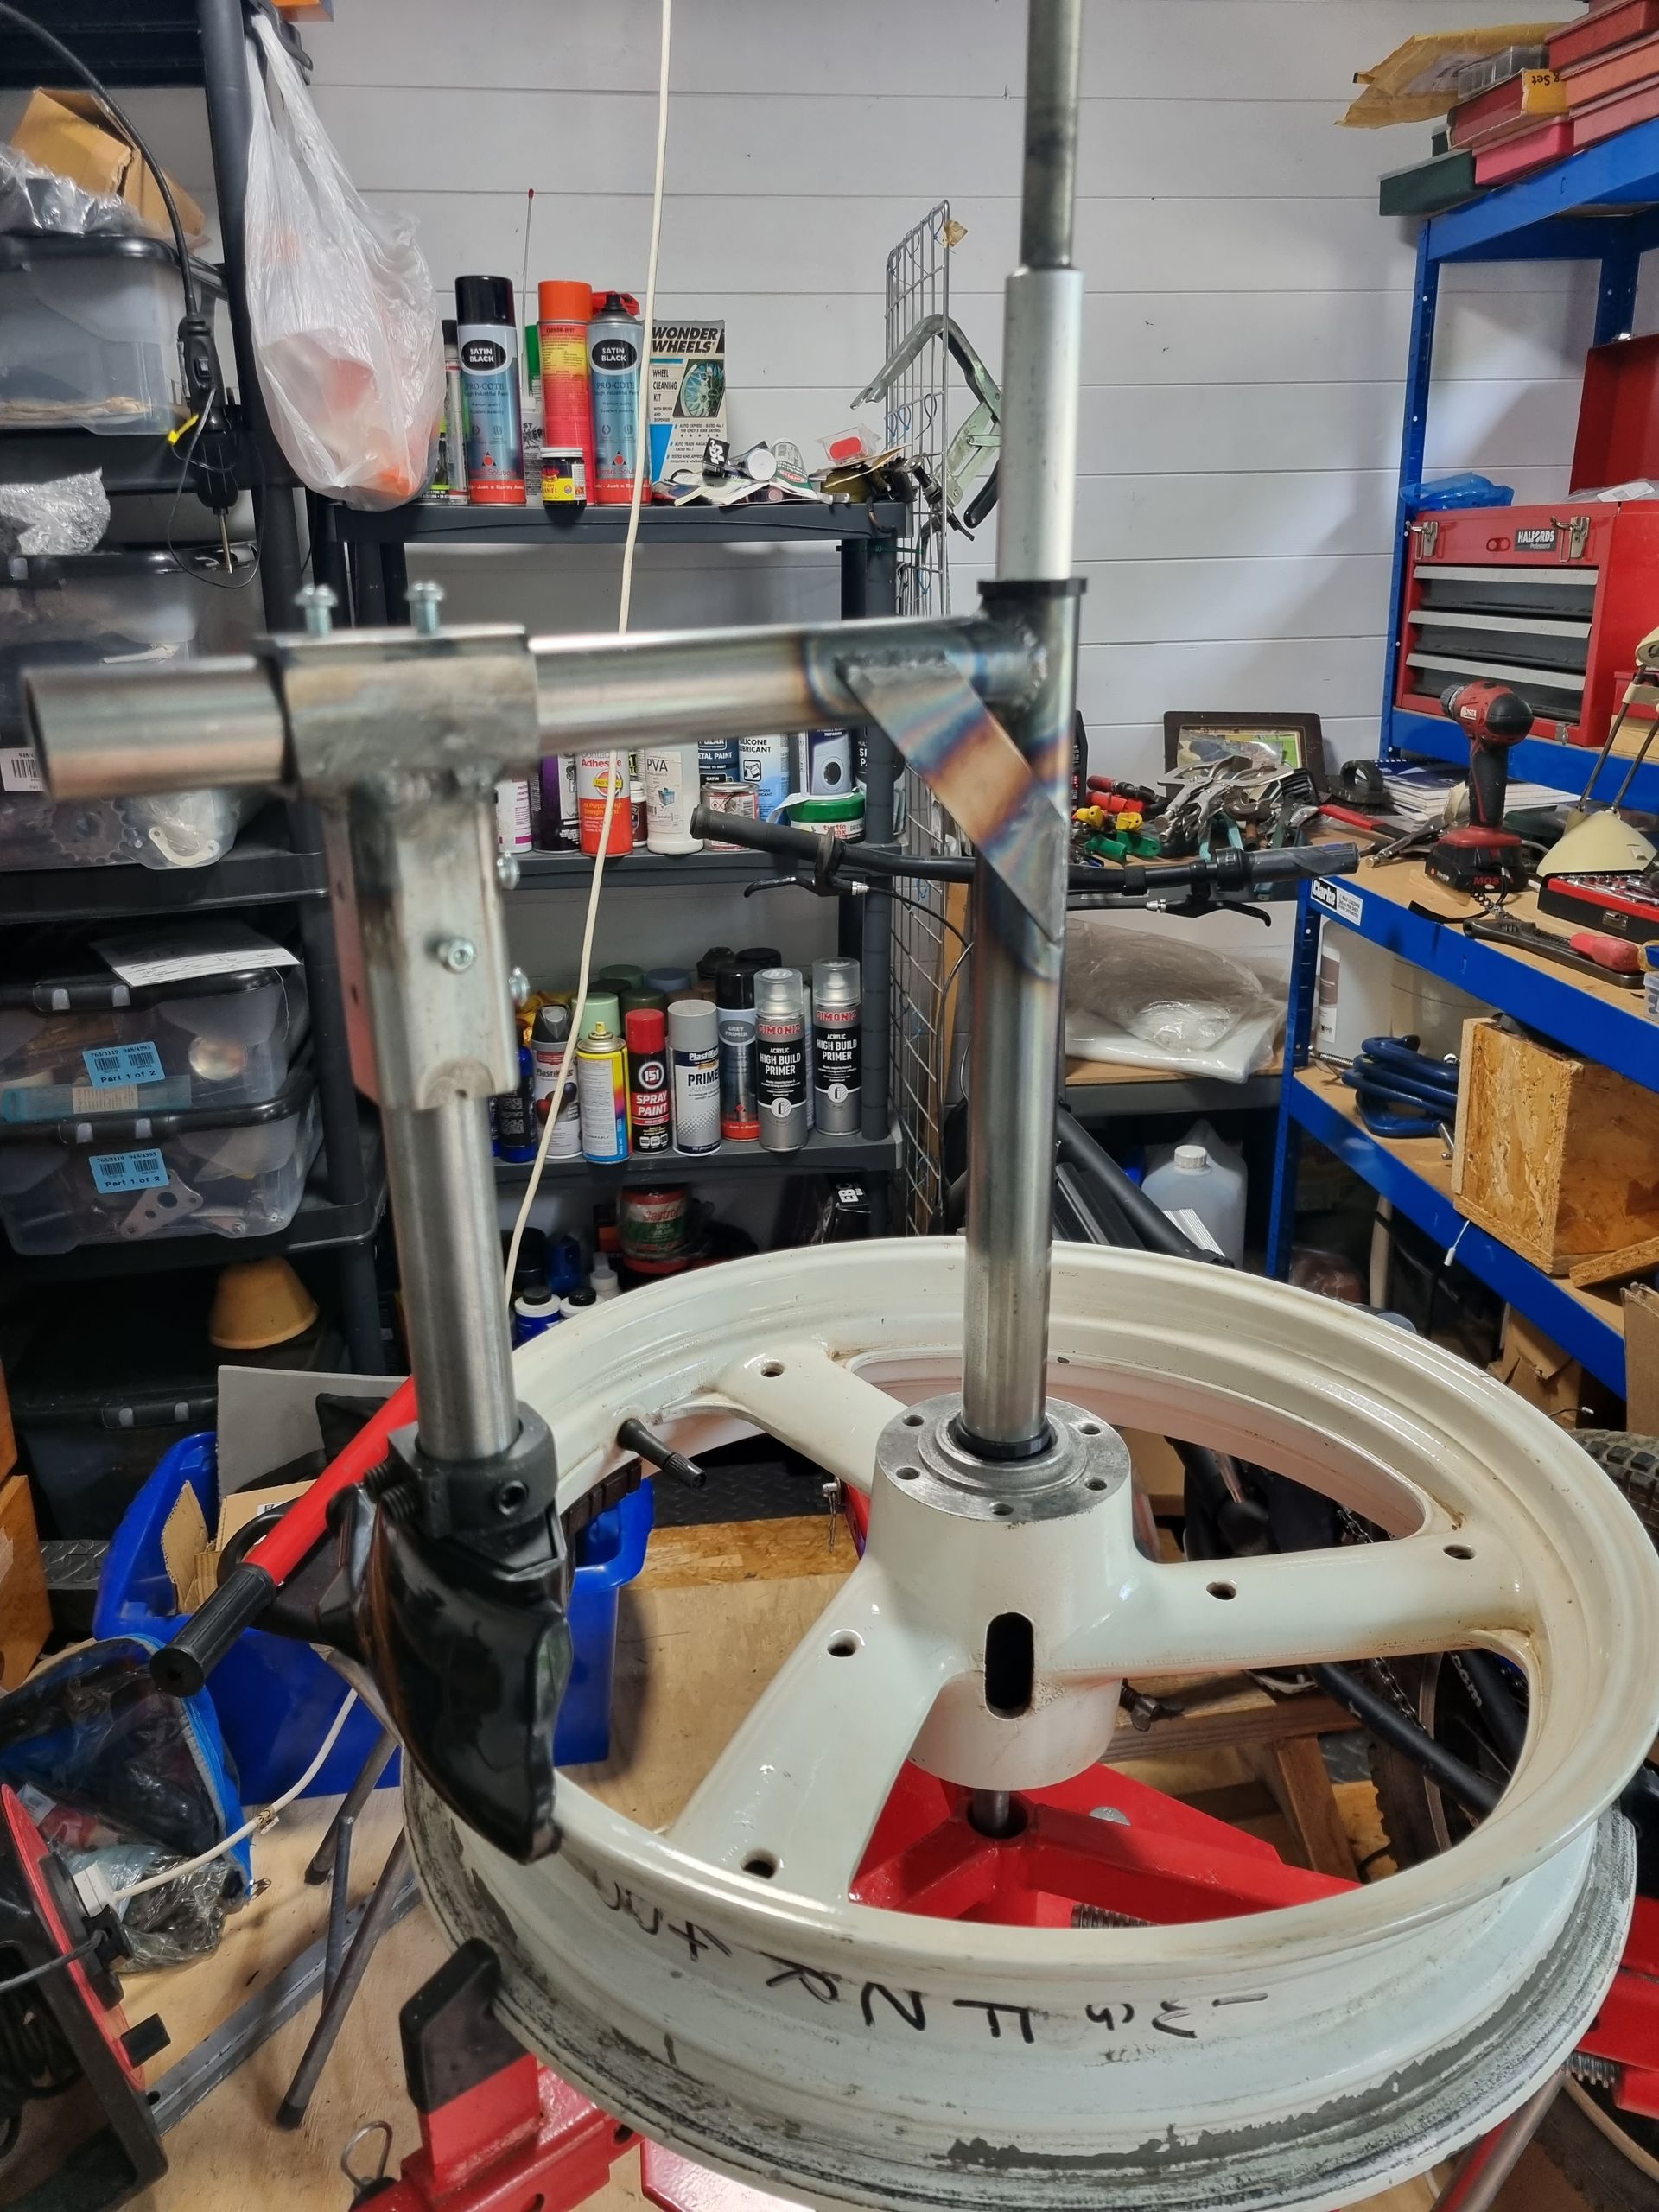
The aim of all that metalwork is to hold this just off the rim and allow it to rotate freely around the rim.
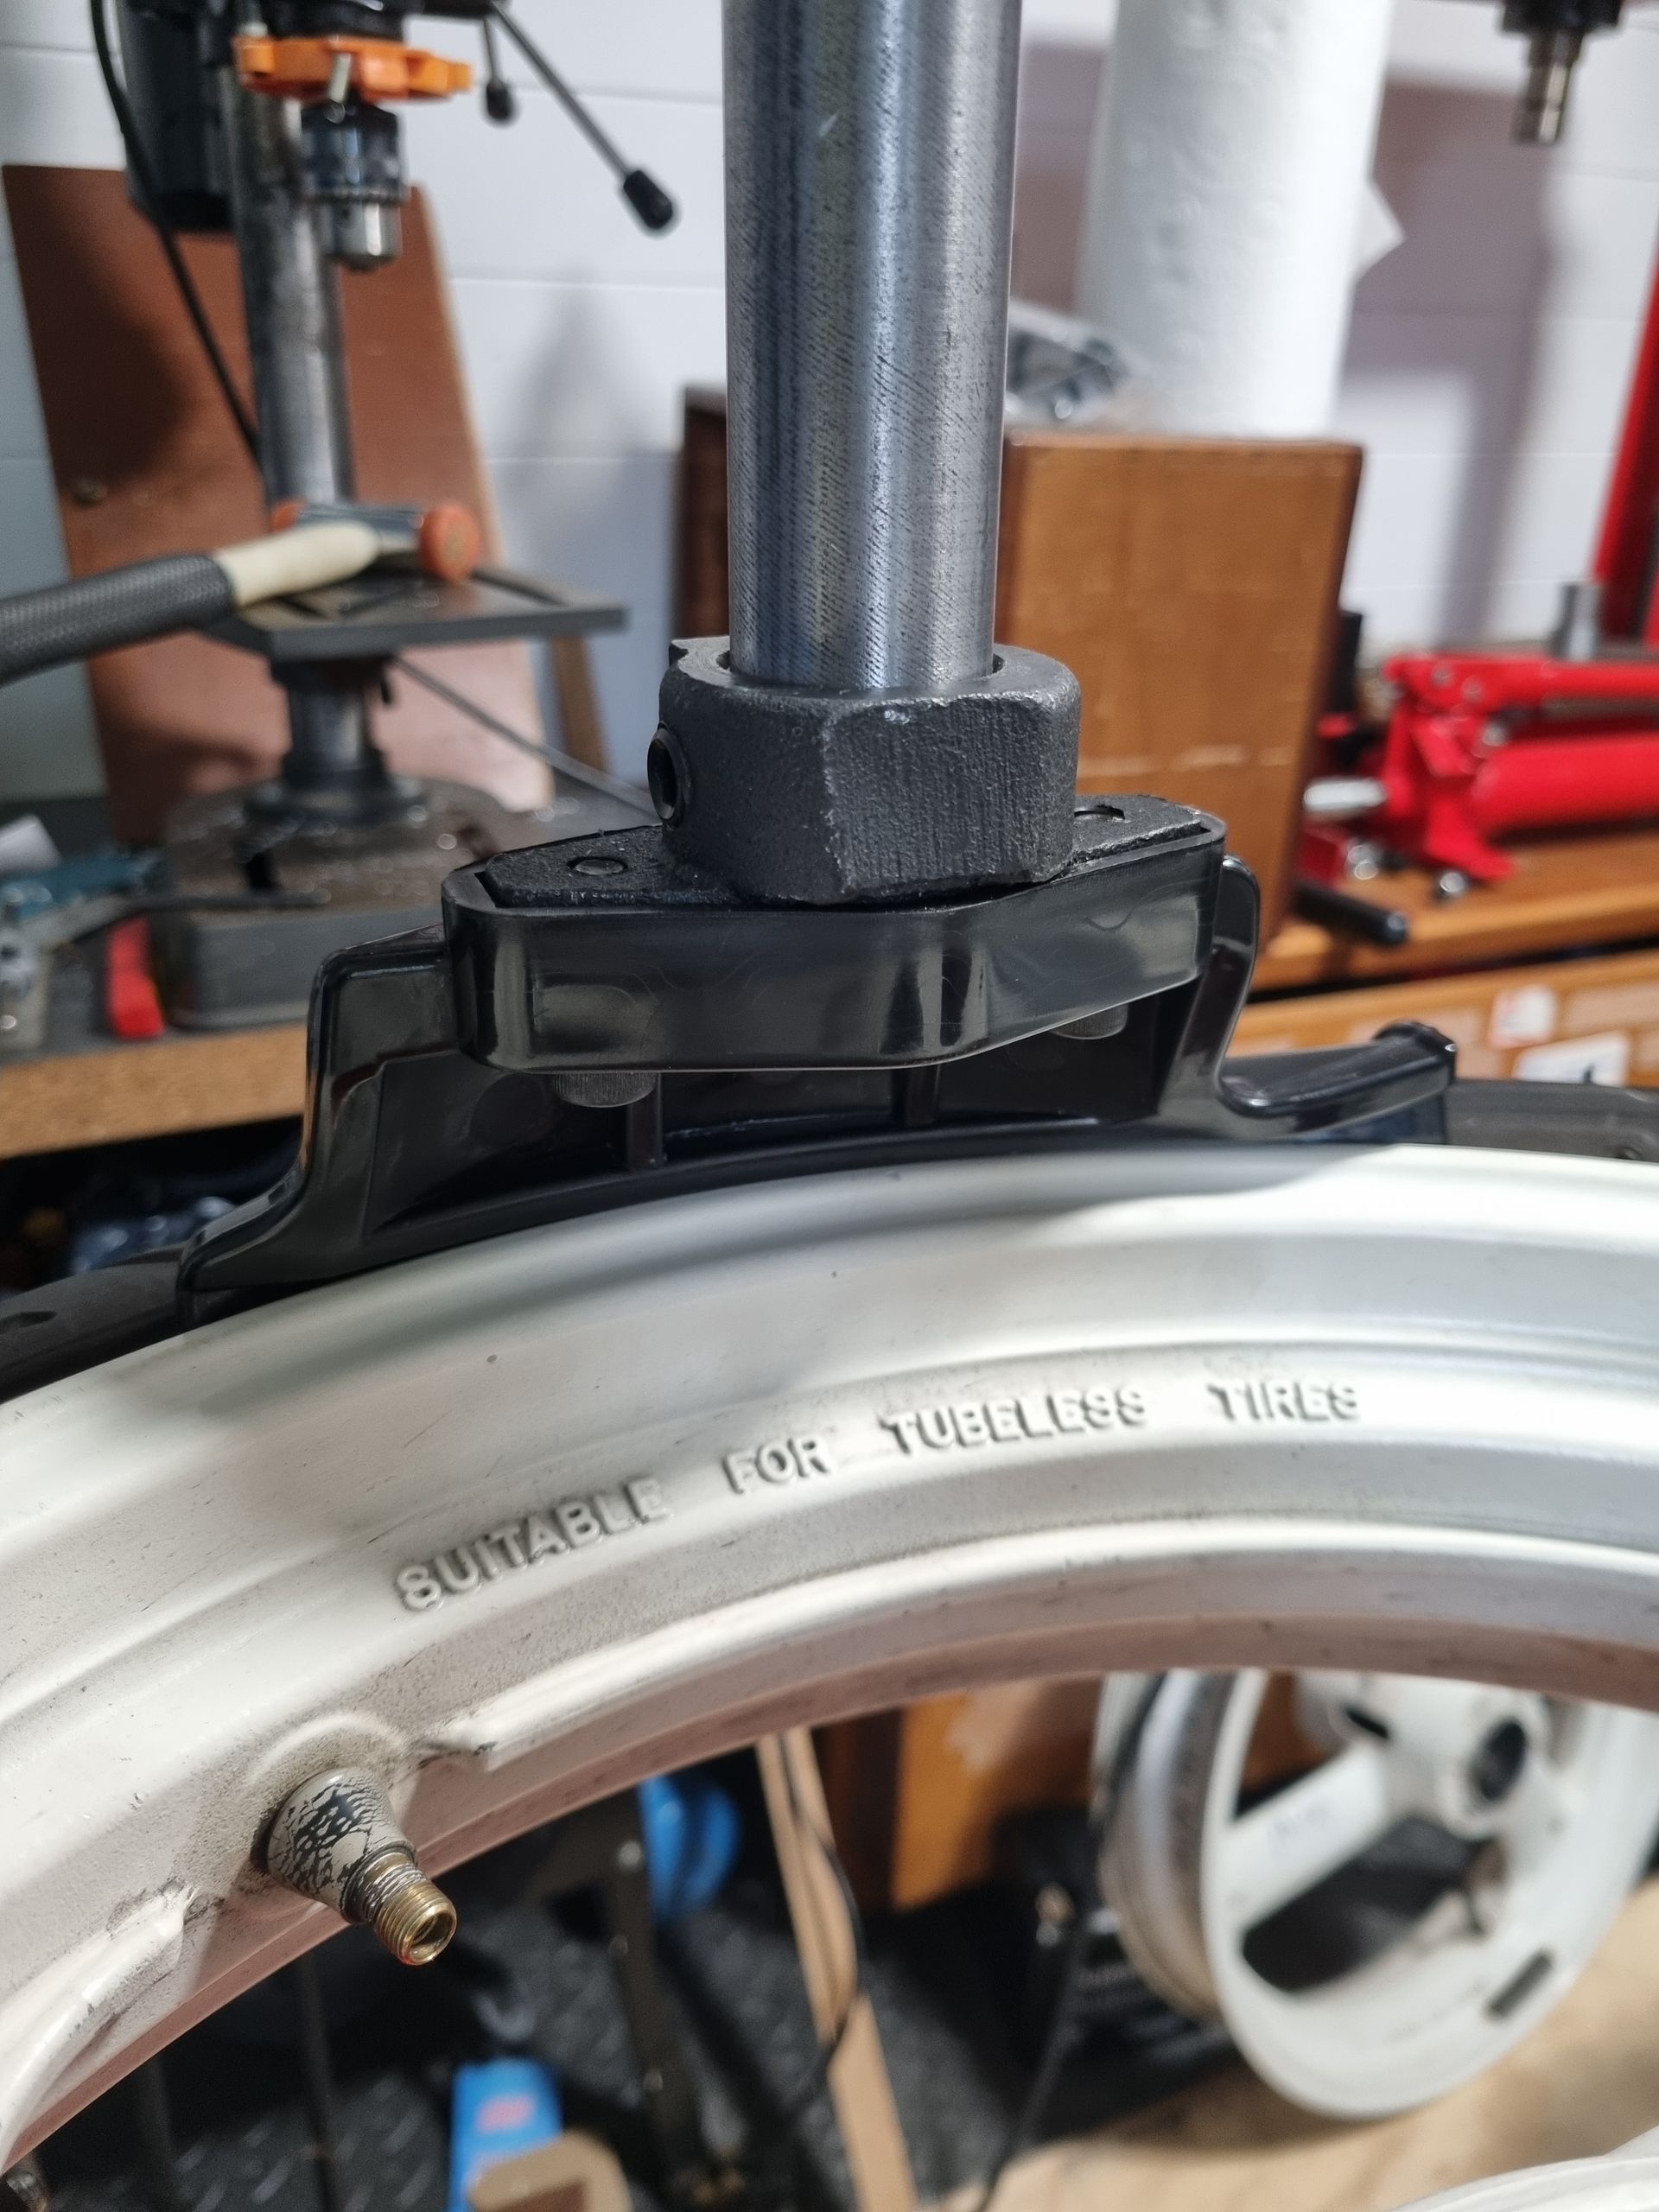
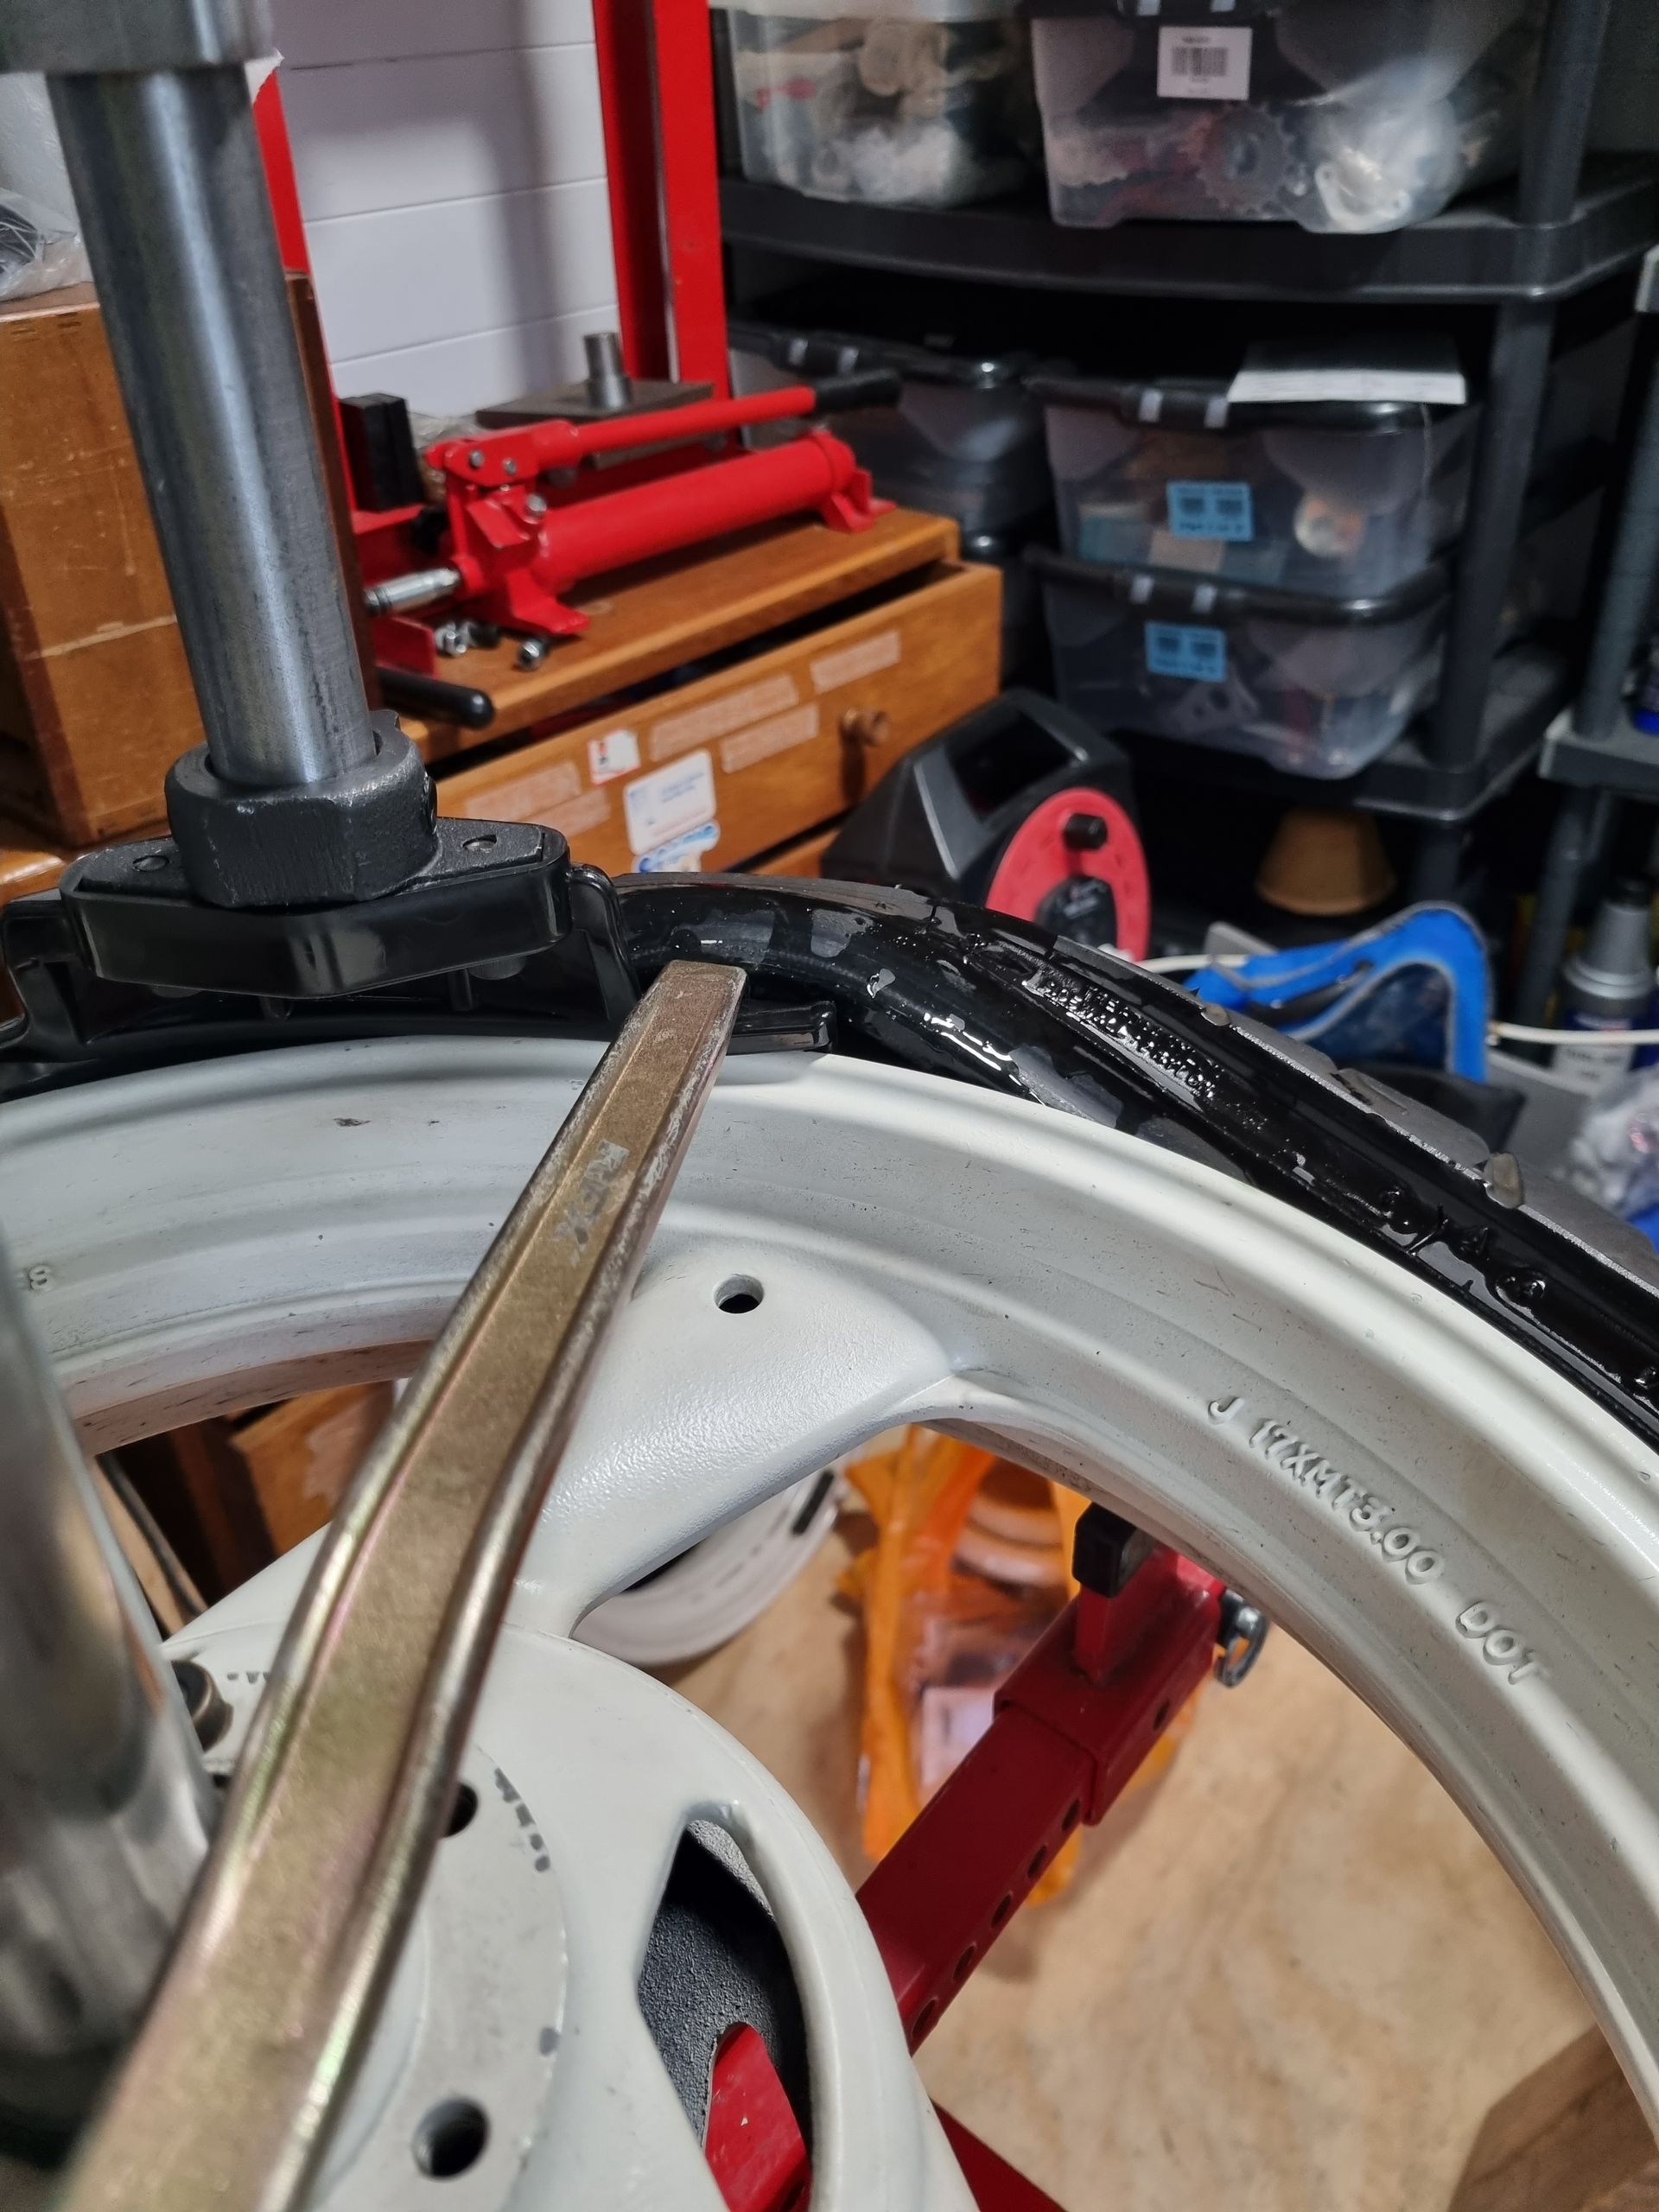
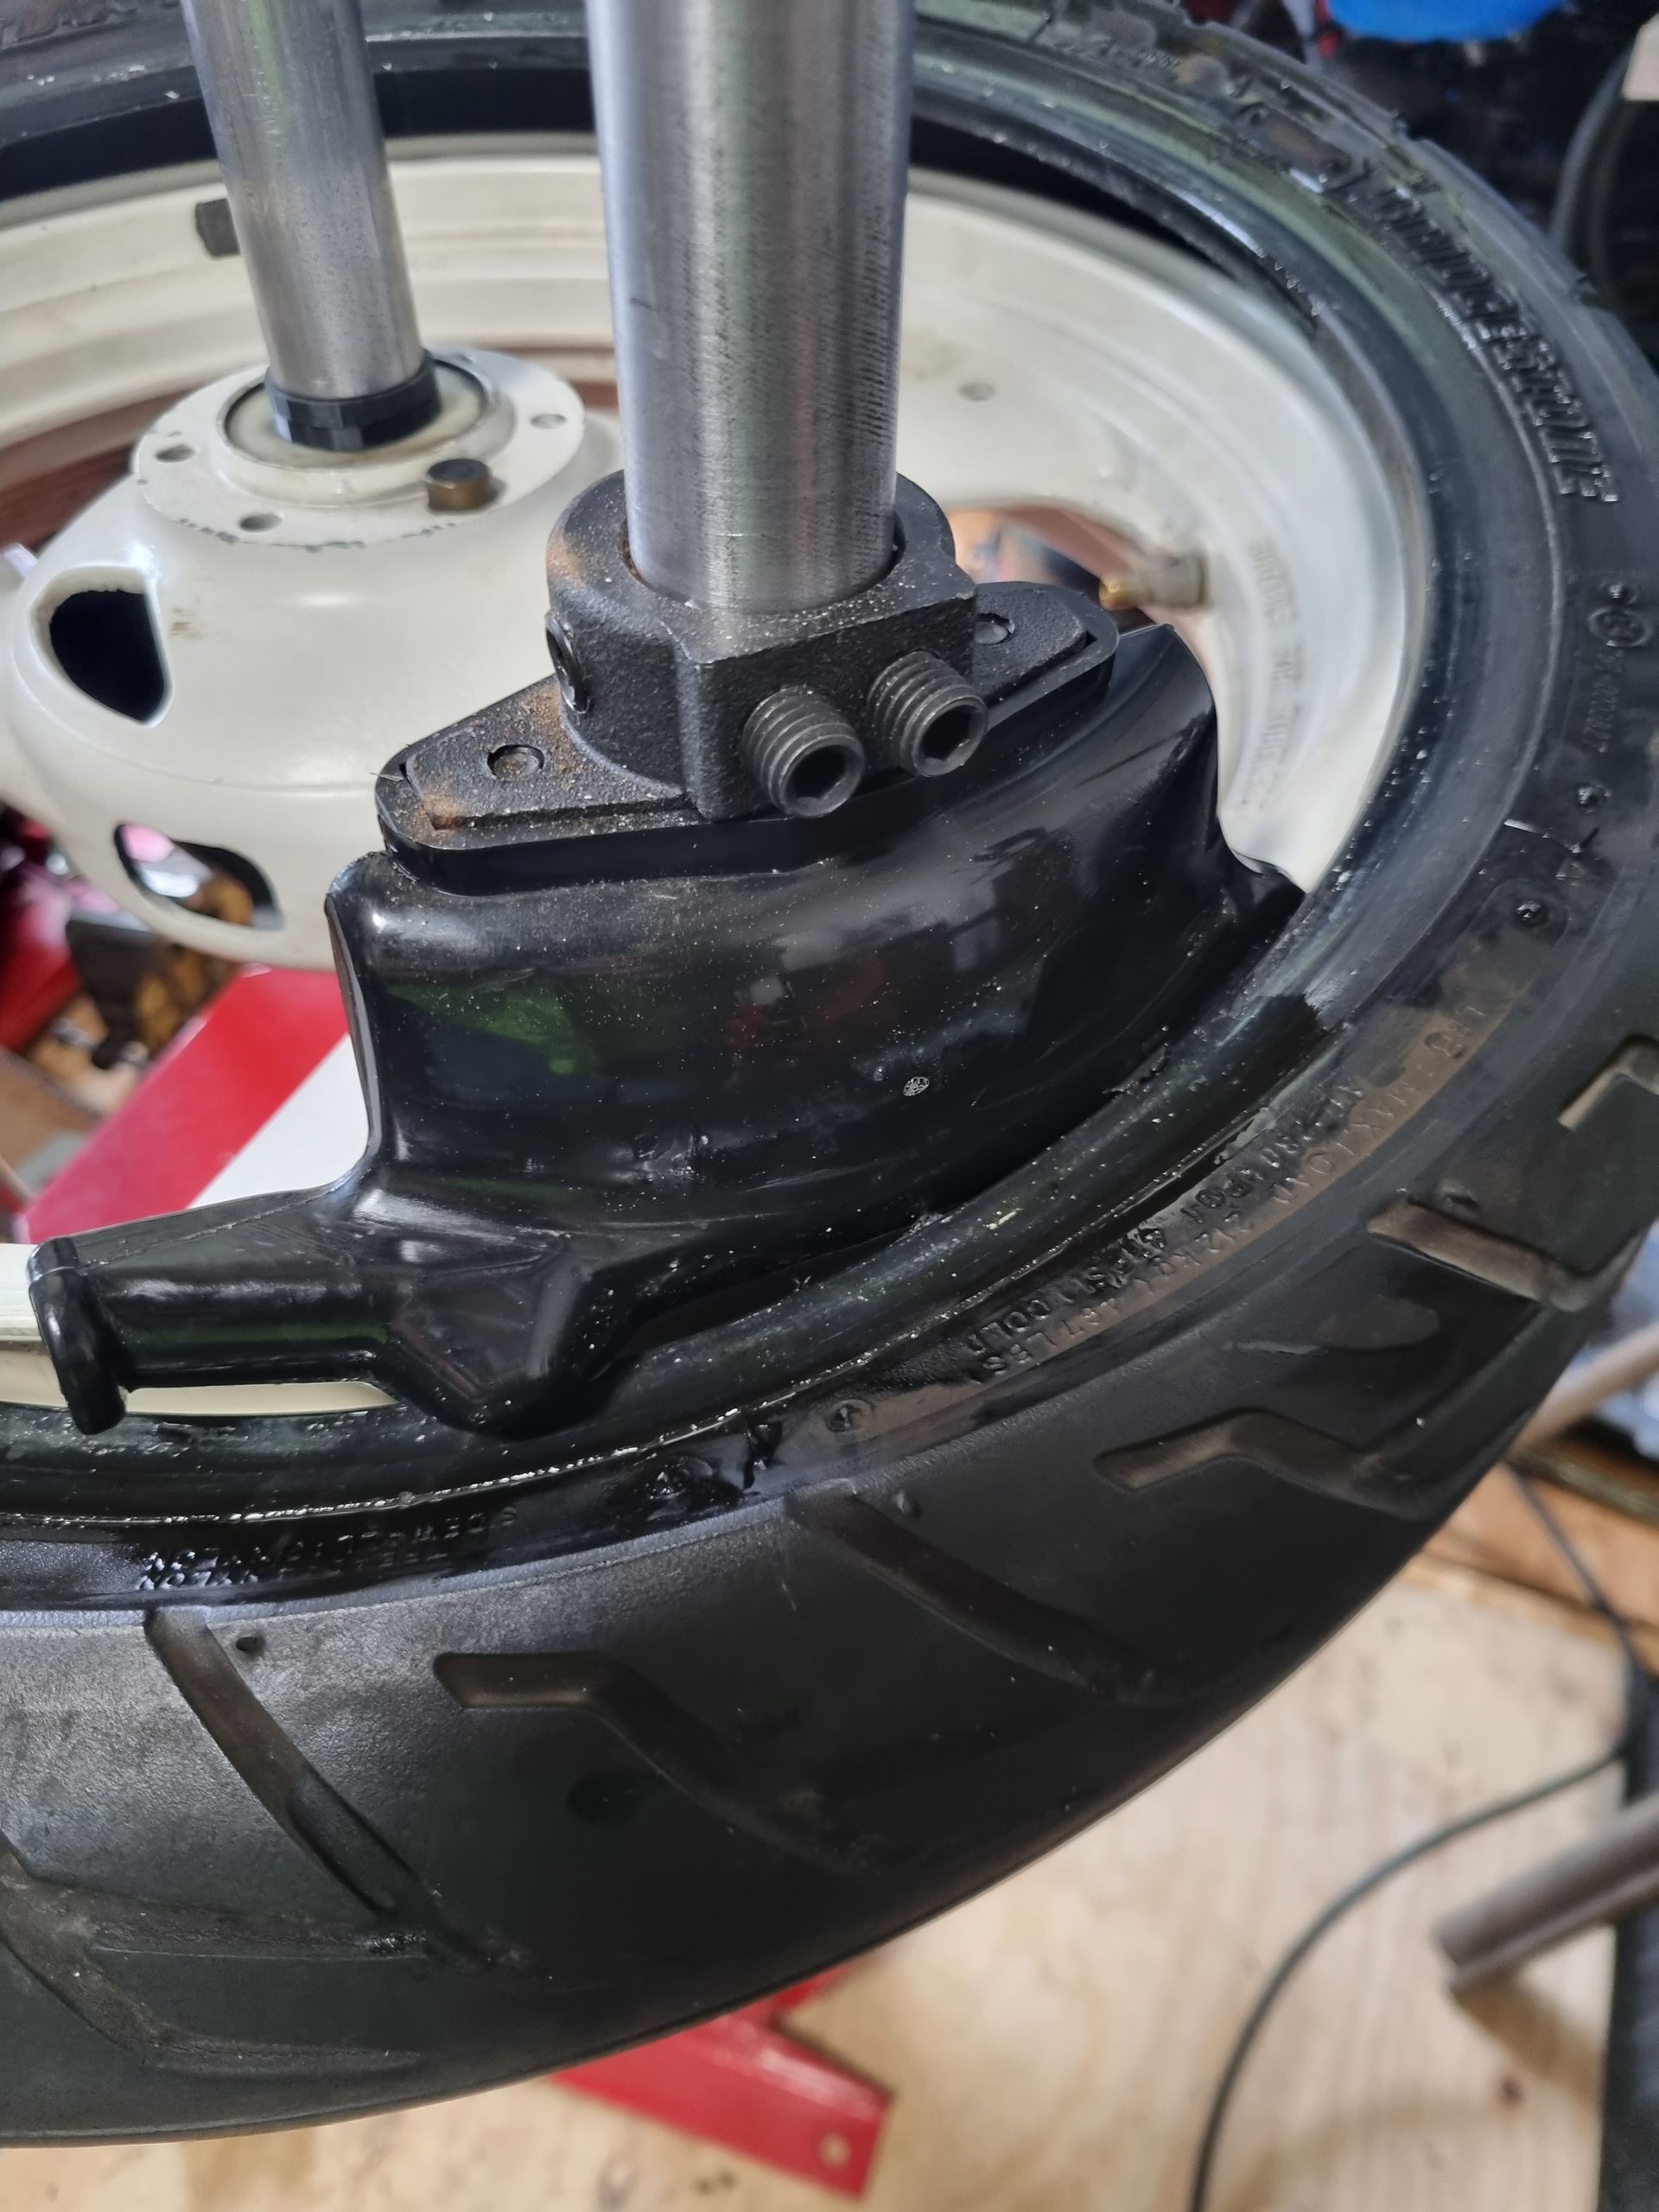
To remove the tyre, lever it over the trailing edge of the head (as shown in the pictures) then simply rotate the arm in an anti-clockwise direction.
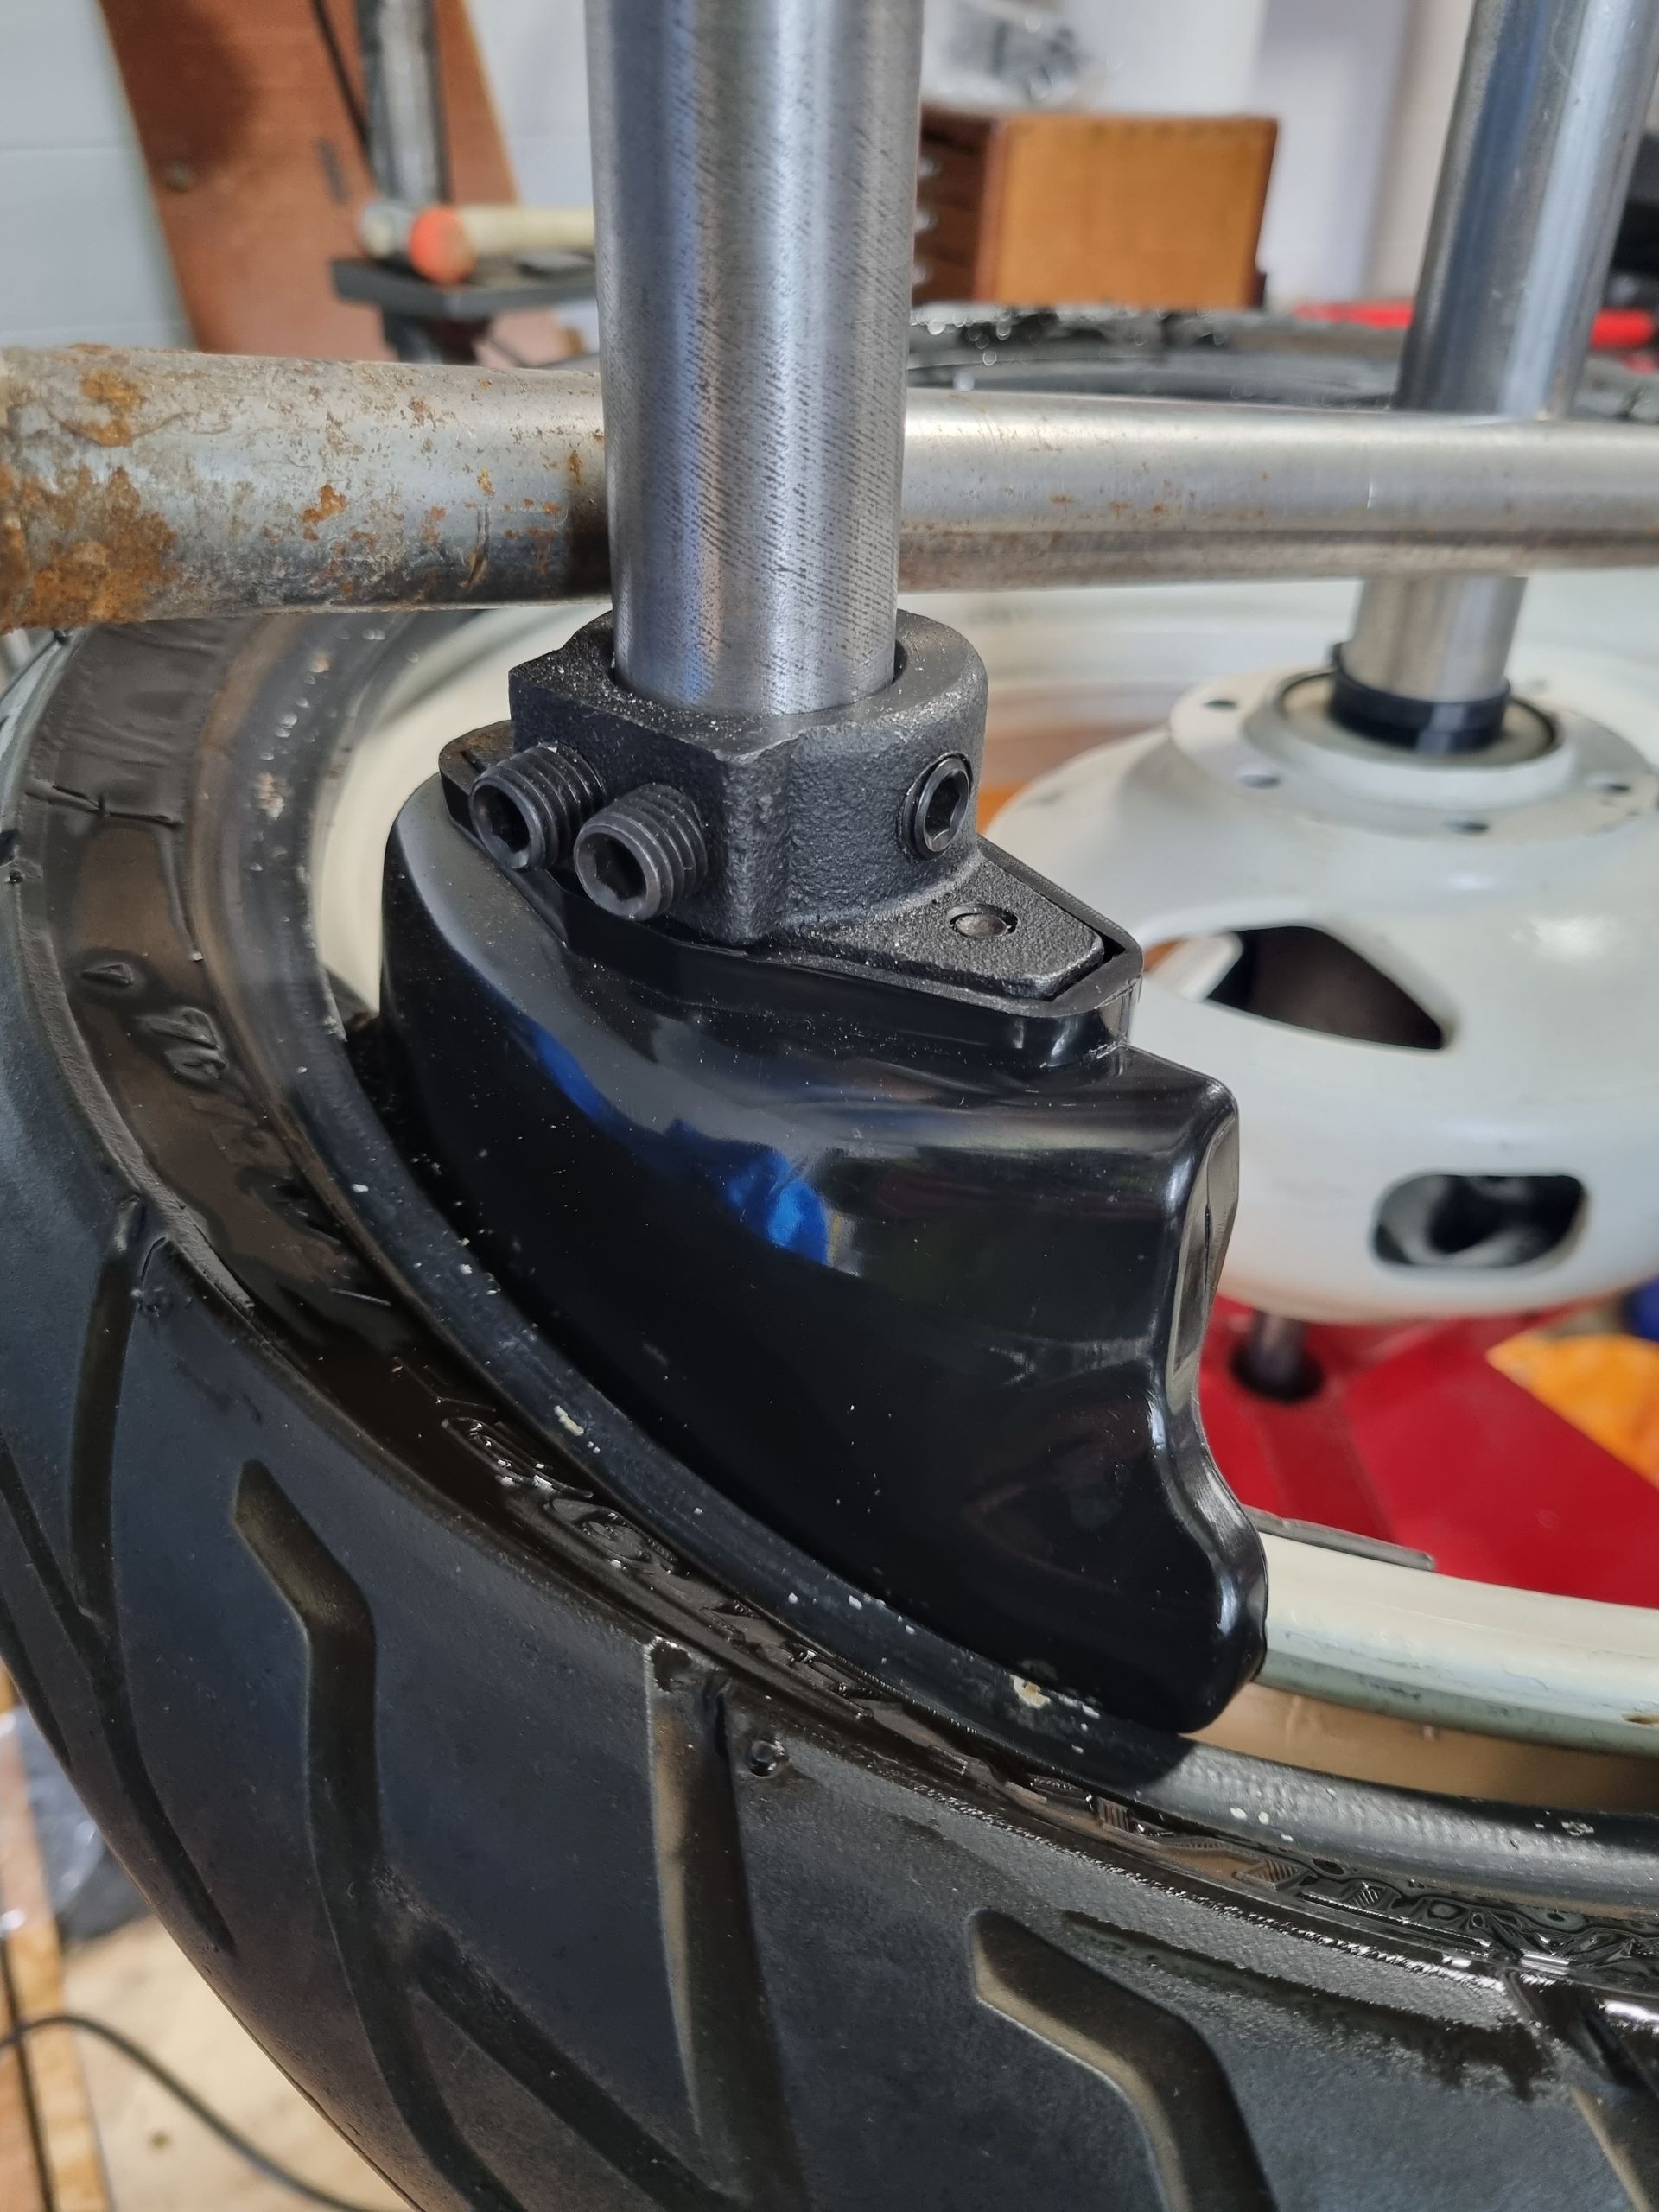
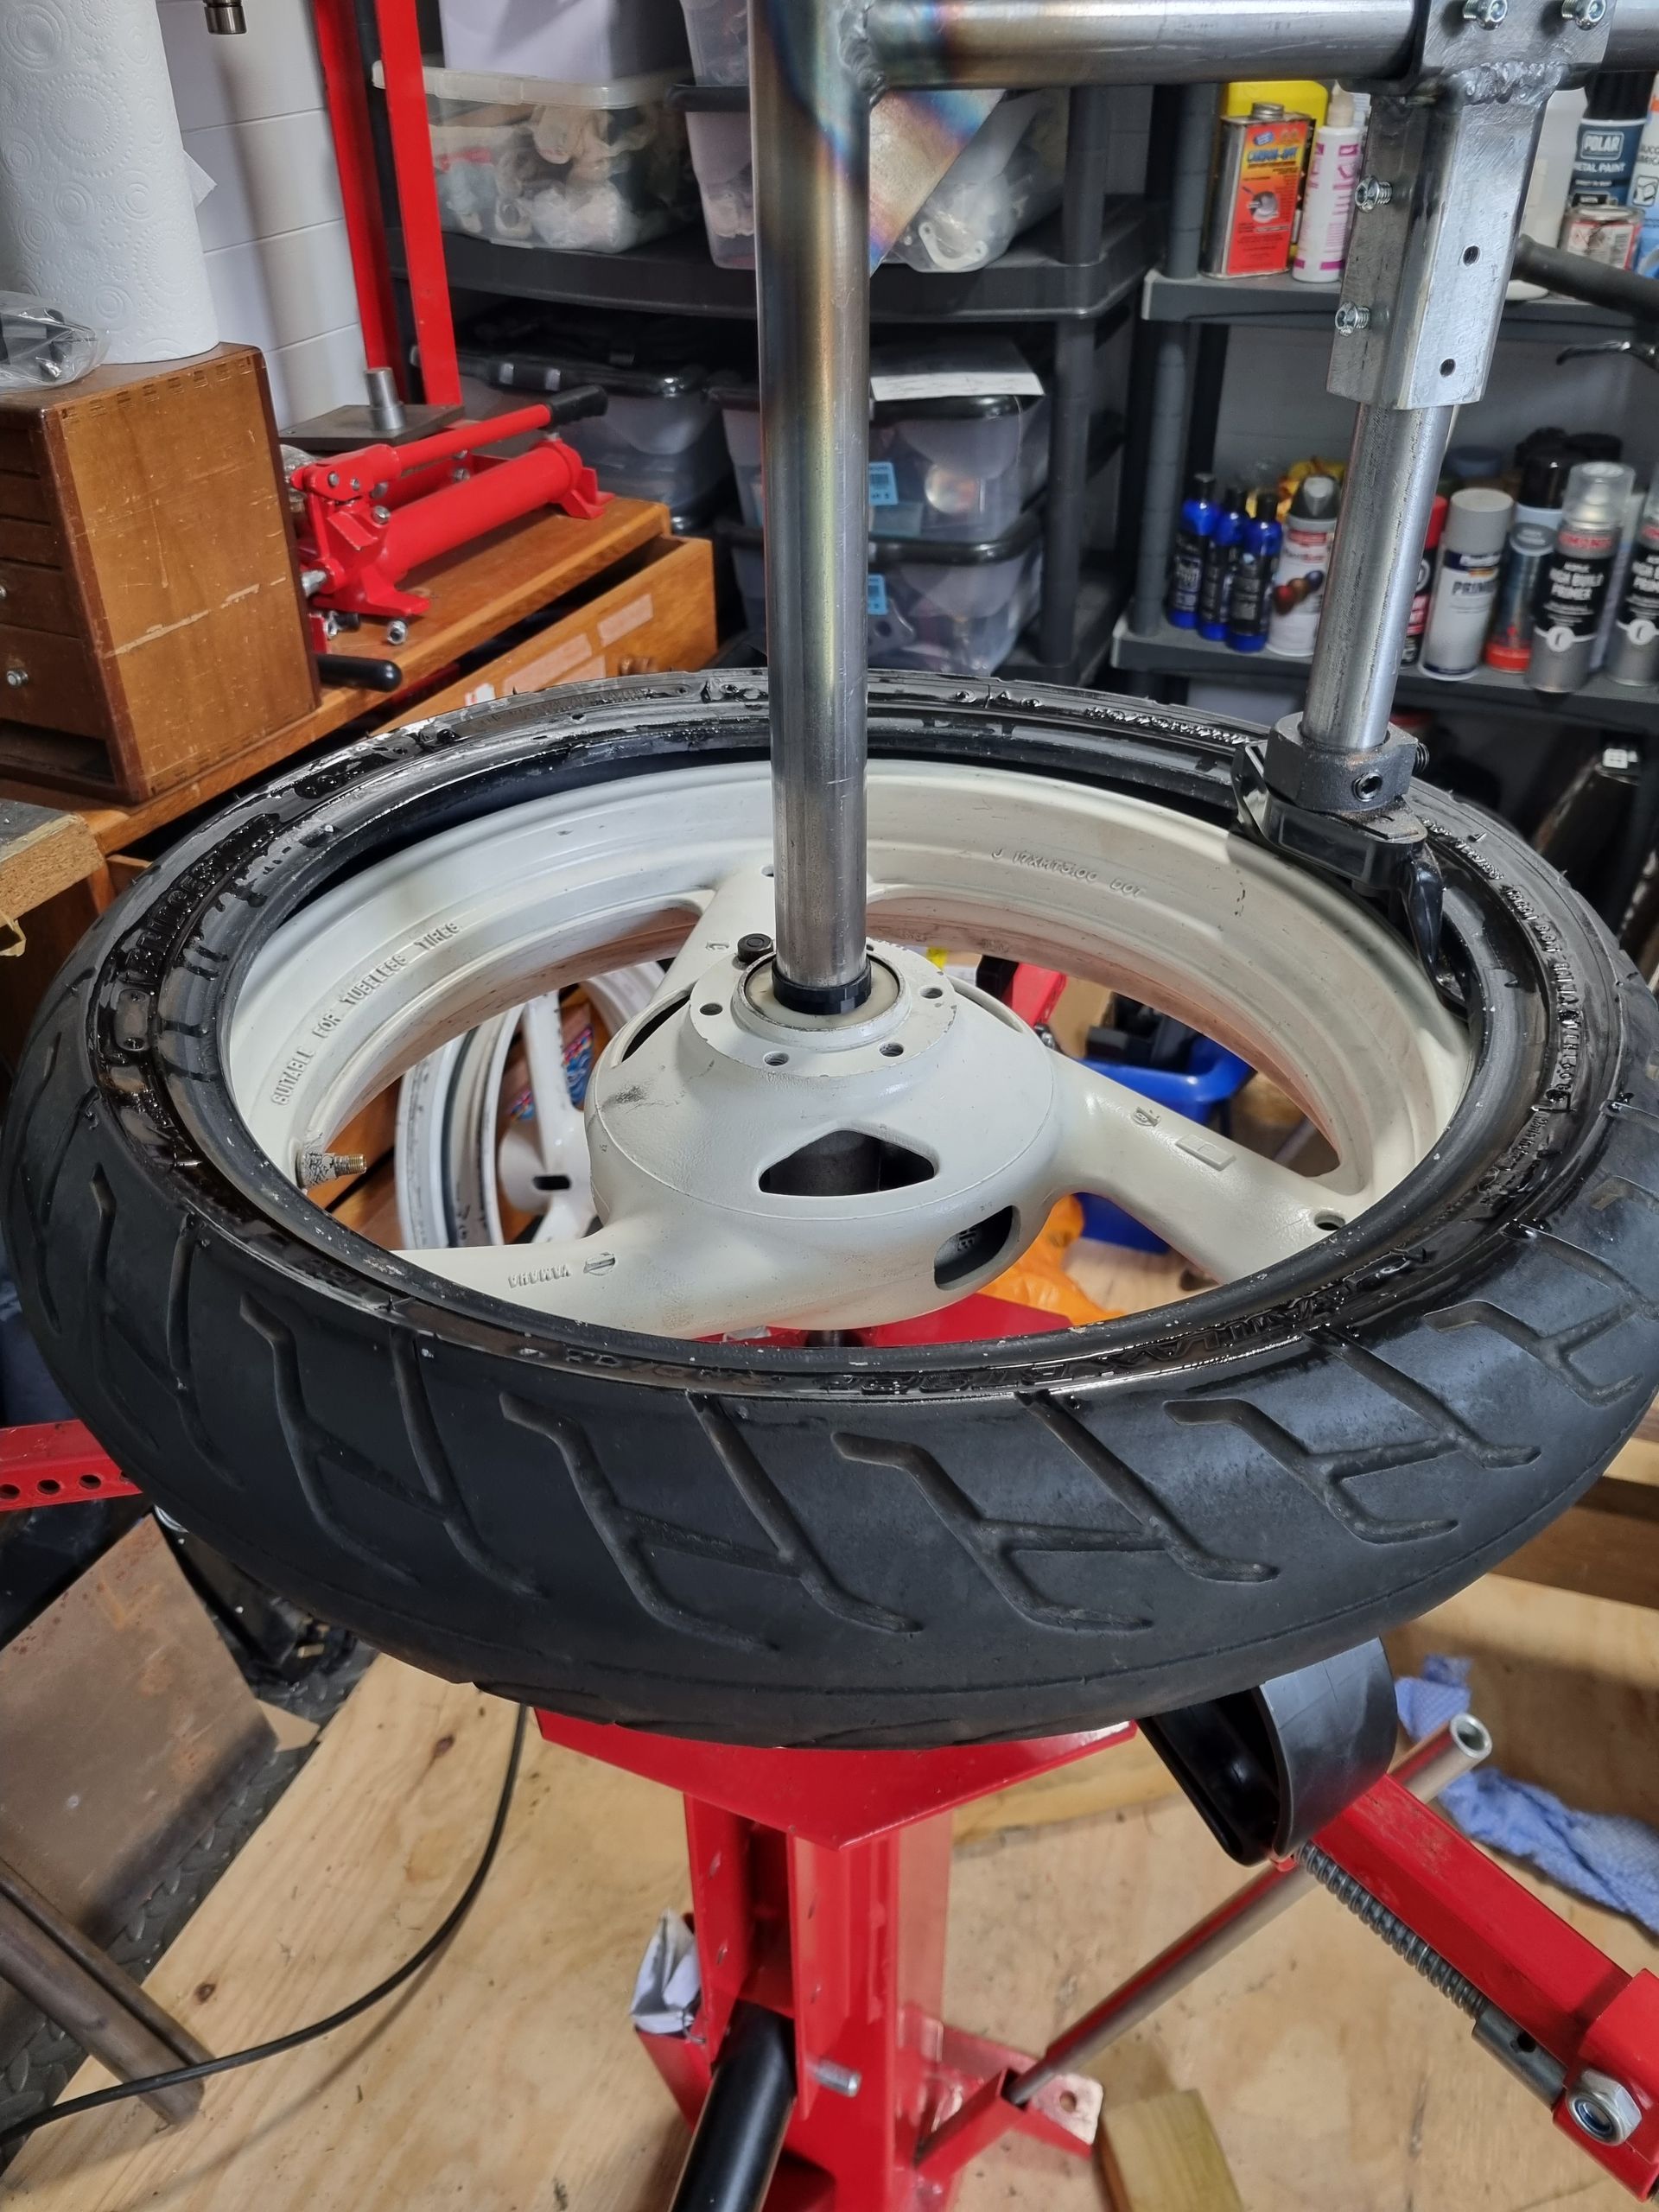
To put a tyre on, the tyre is positioned over the front edge, under the rear (again as shown in the photos) and rotated anticlockwise as before.
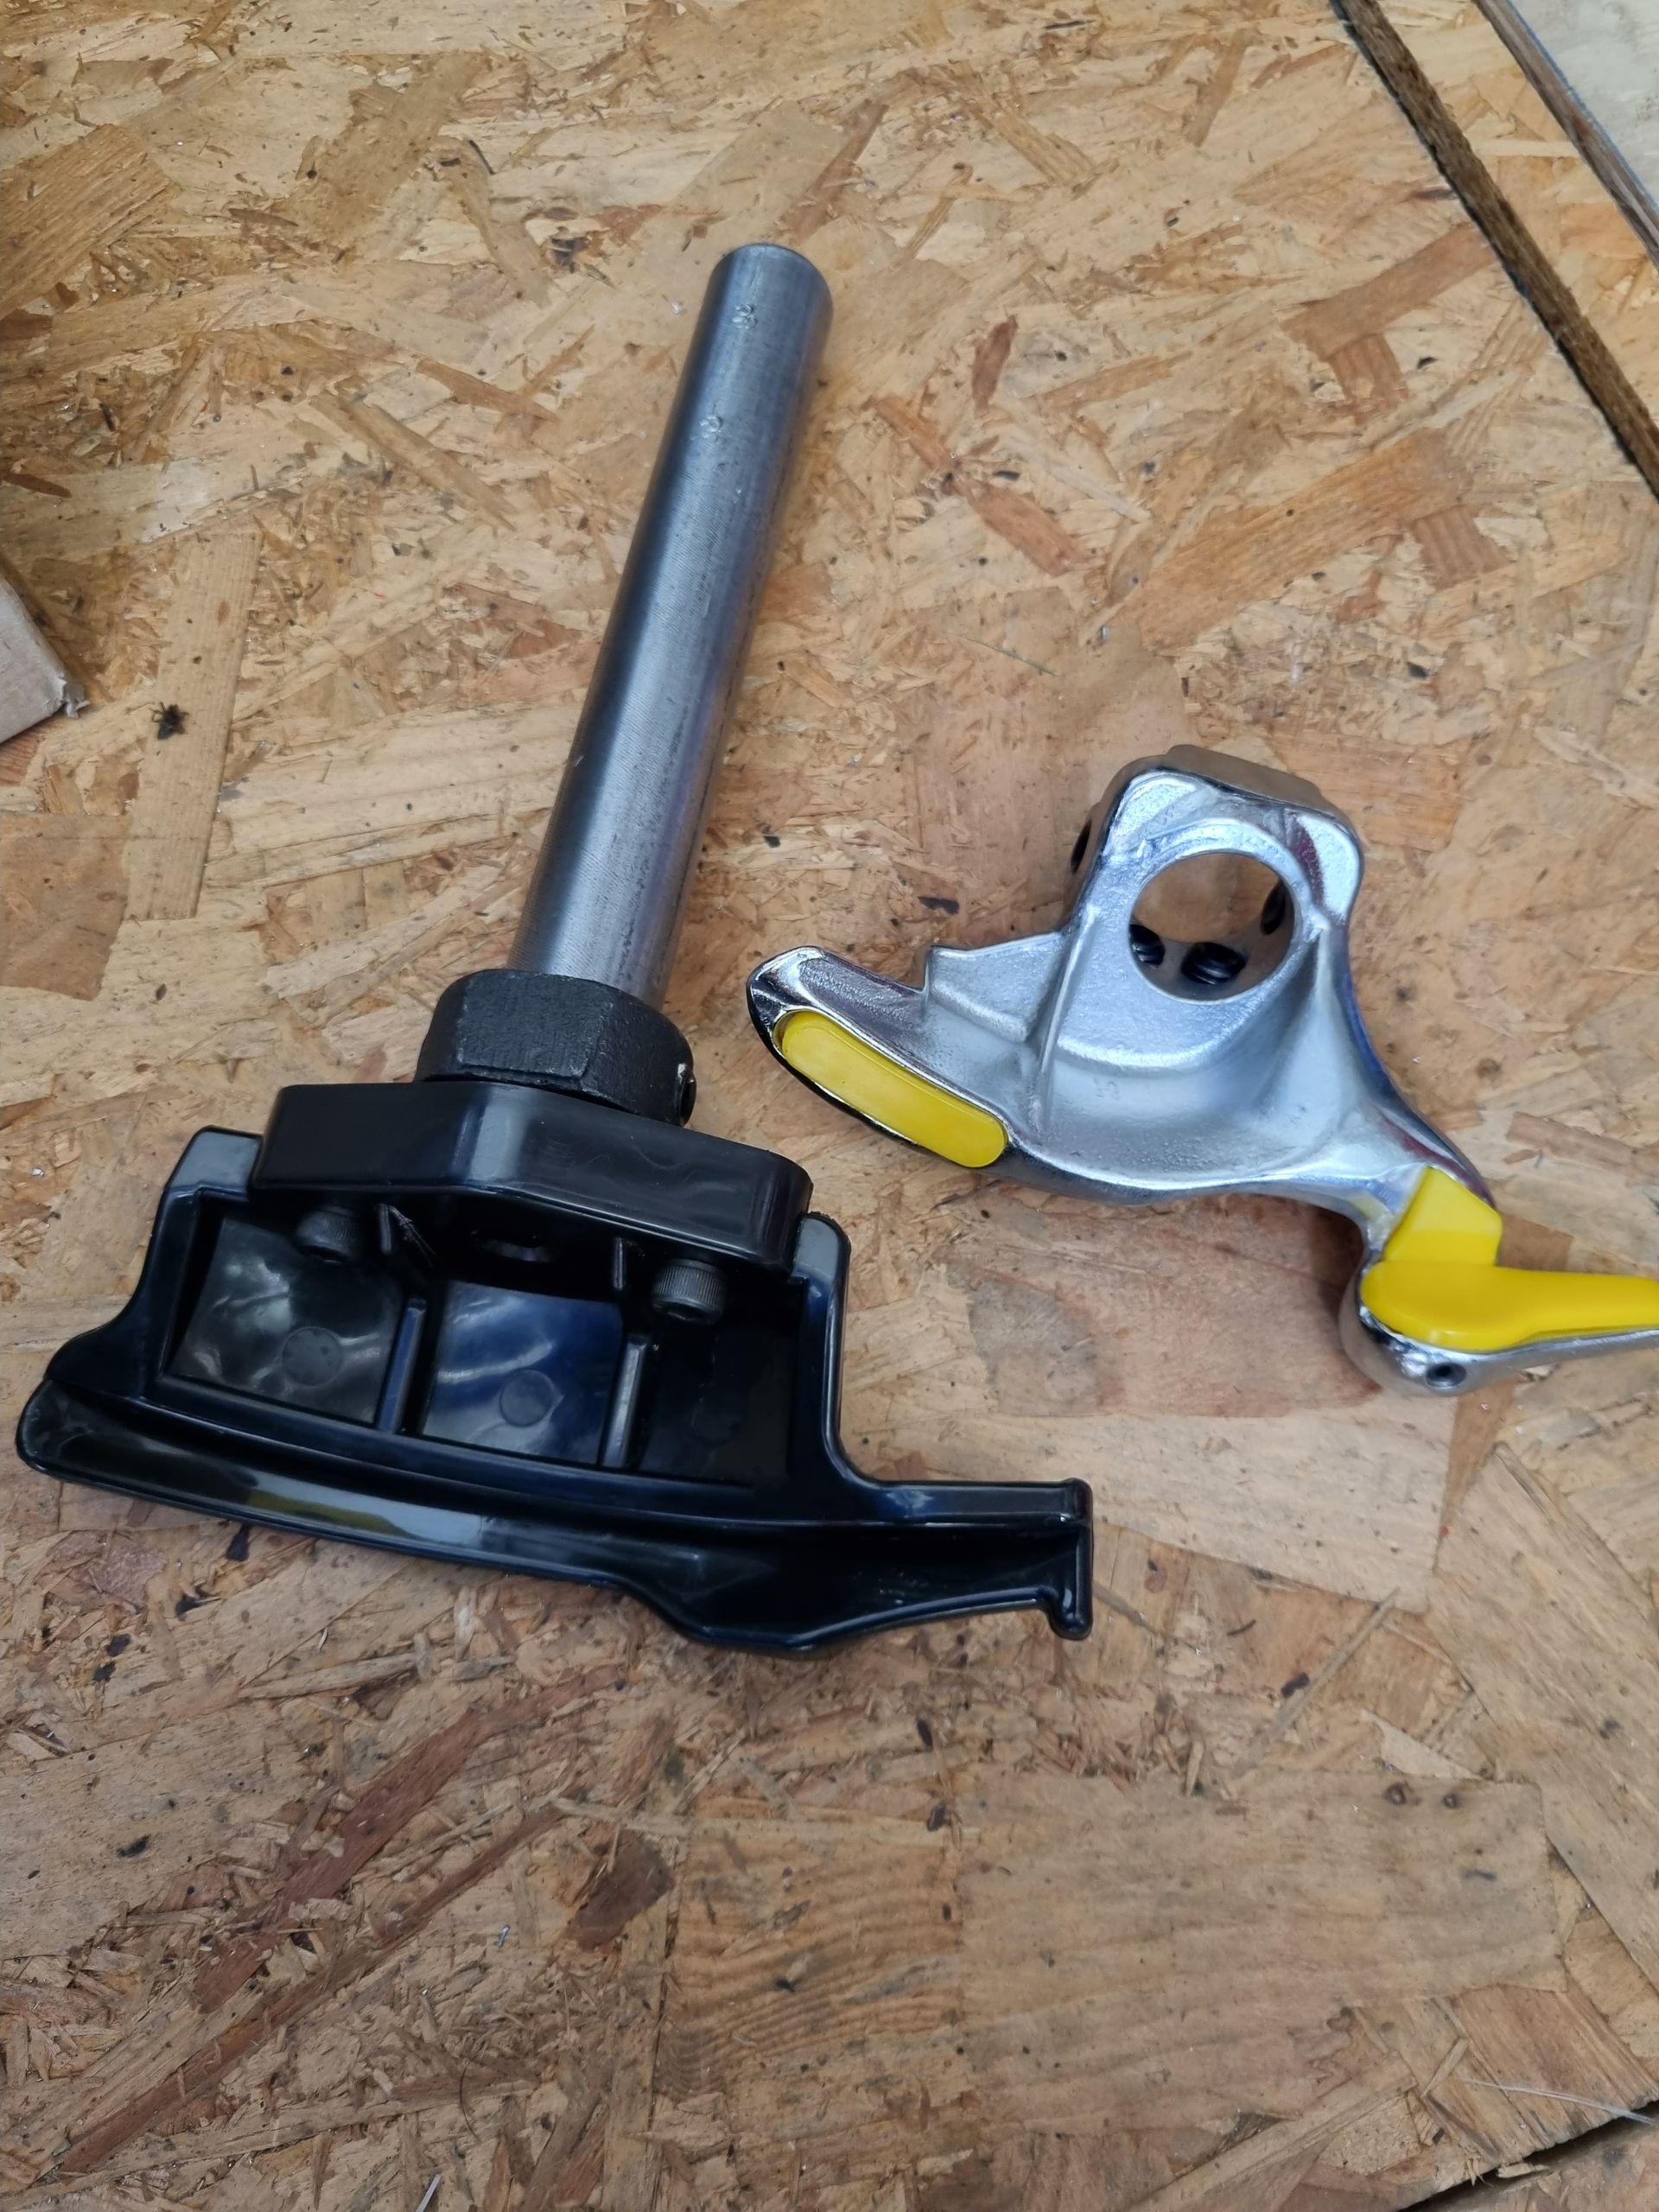
The plastic duck head proved to be bulky and draggy and so was swapped for a stainless steel version, which I much prefer.
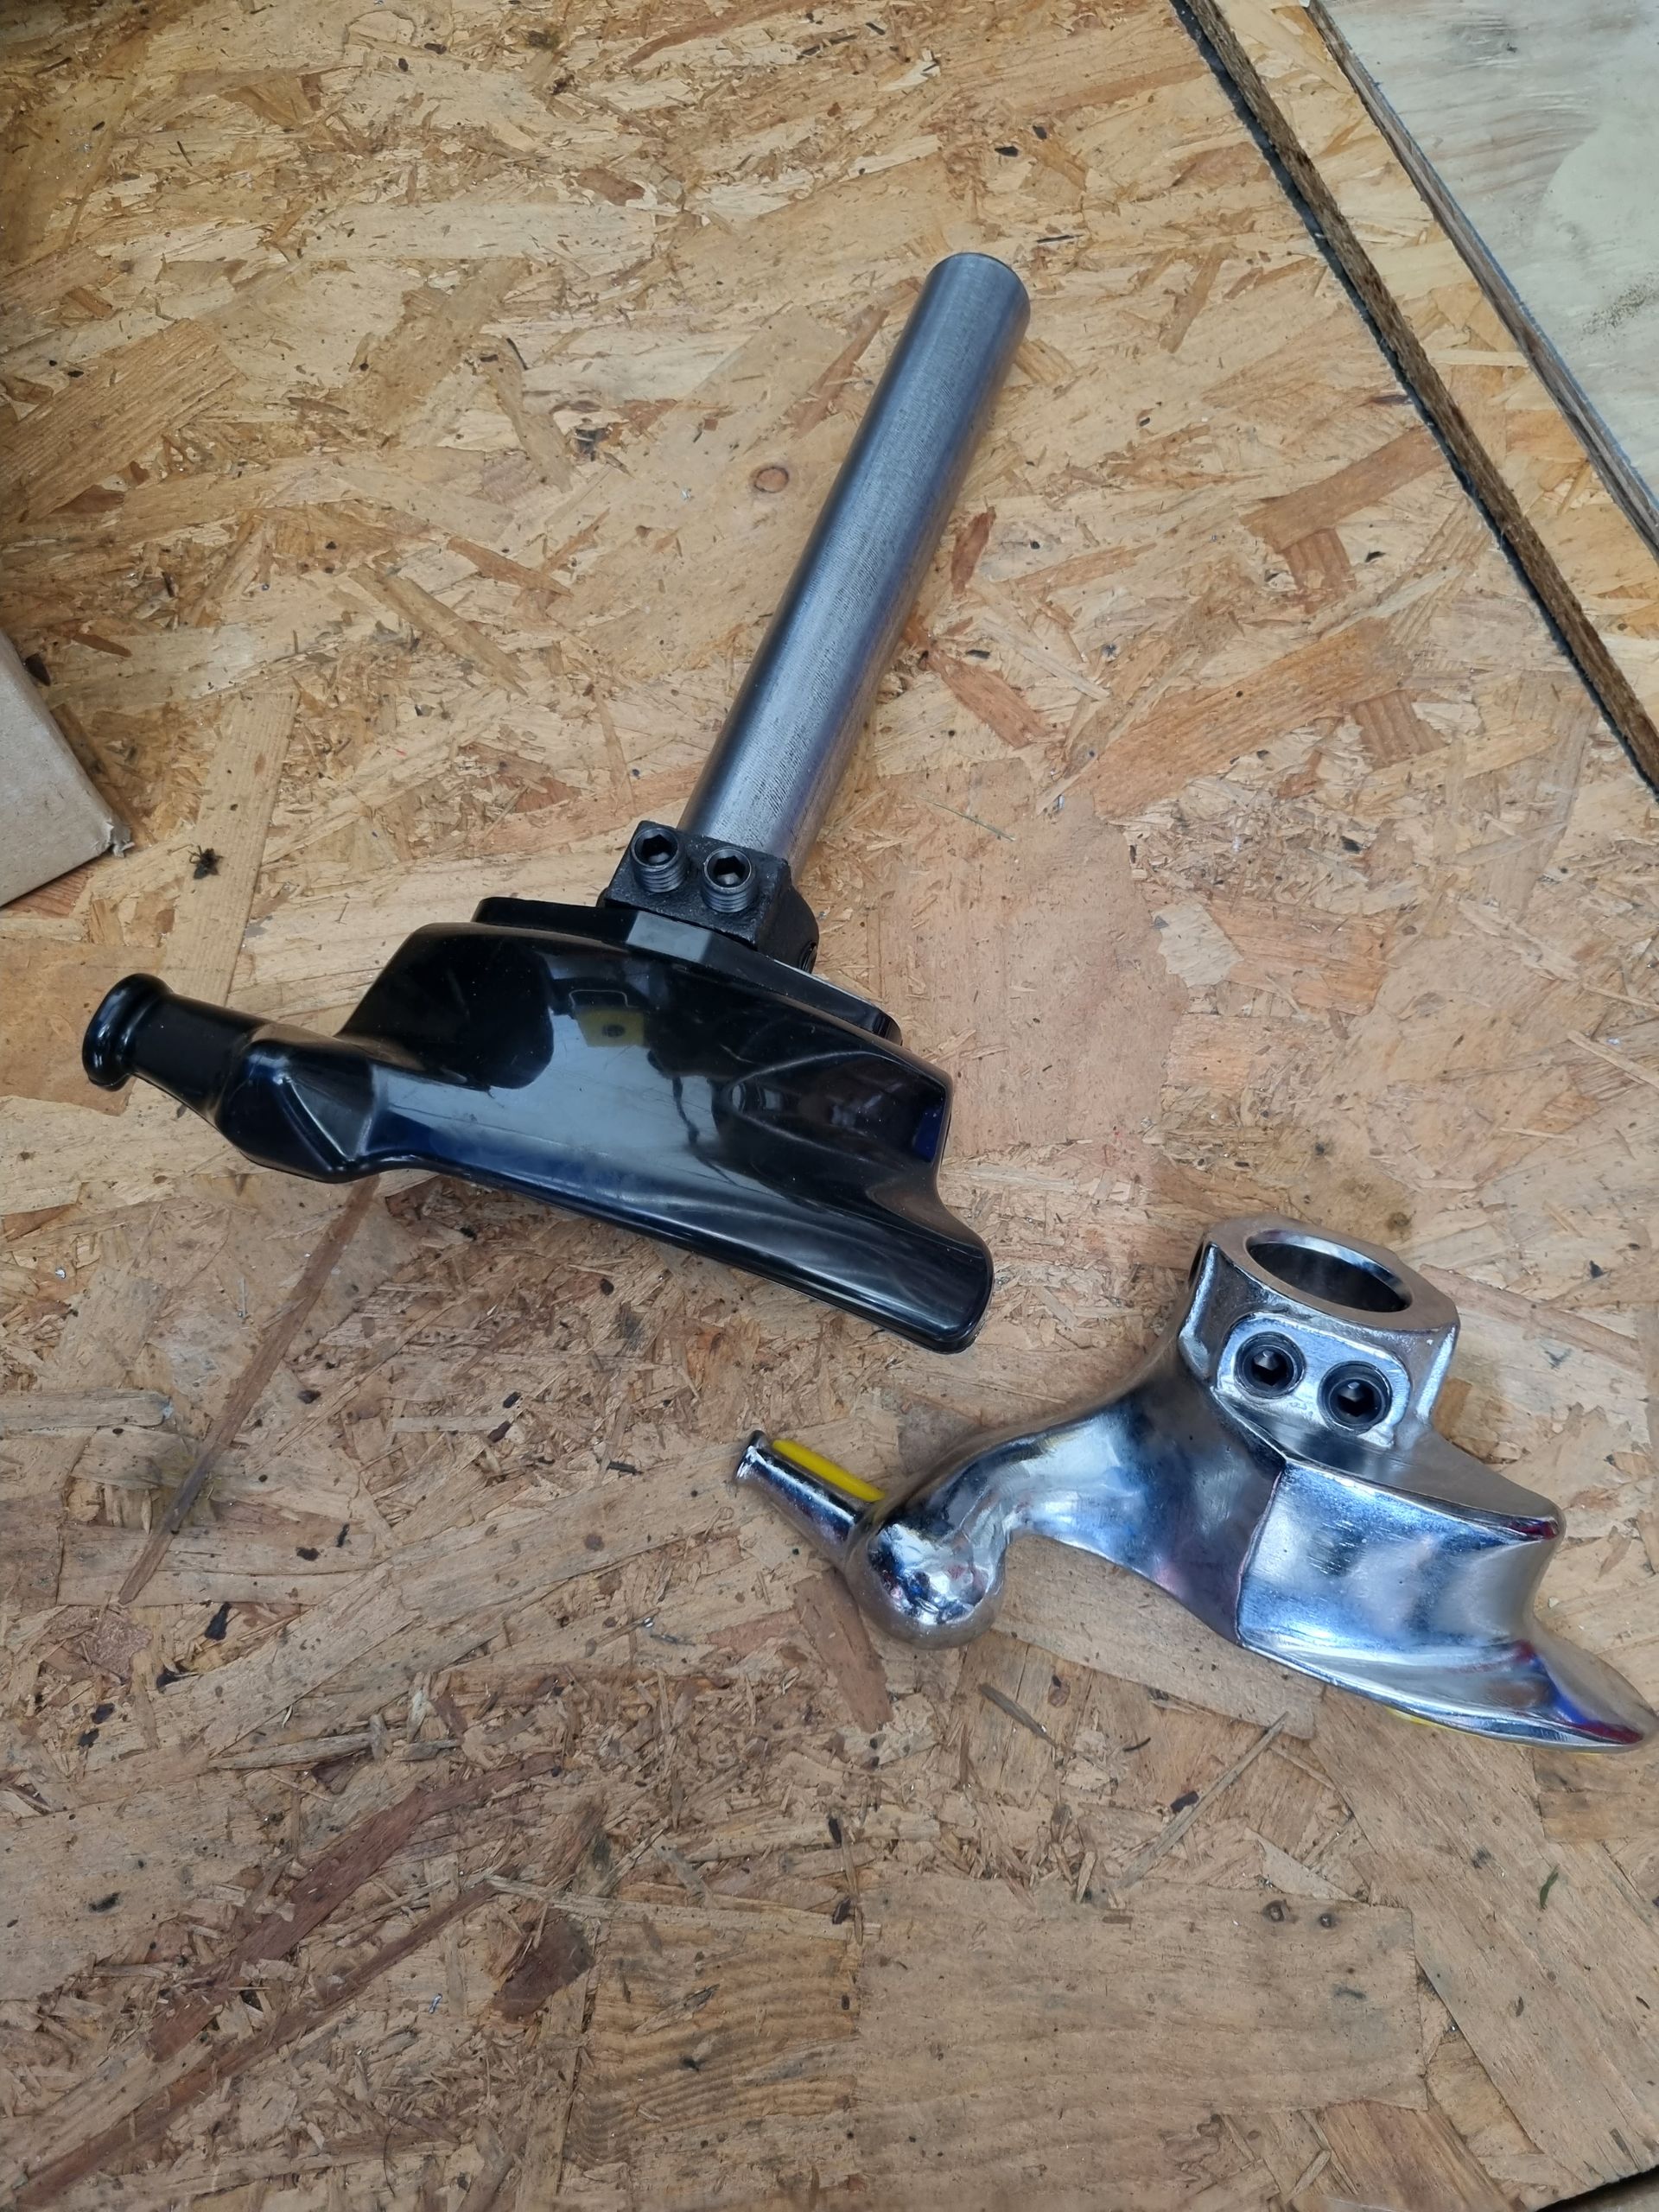
It has plastic inserts to protect the rim.
This is where it needs to be, a couple of mm off the rim, both on top...
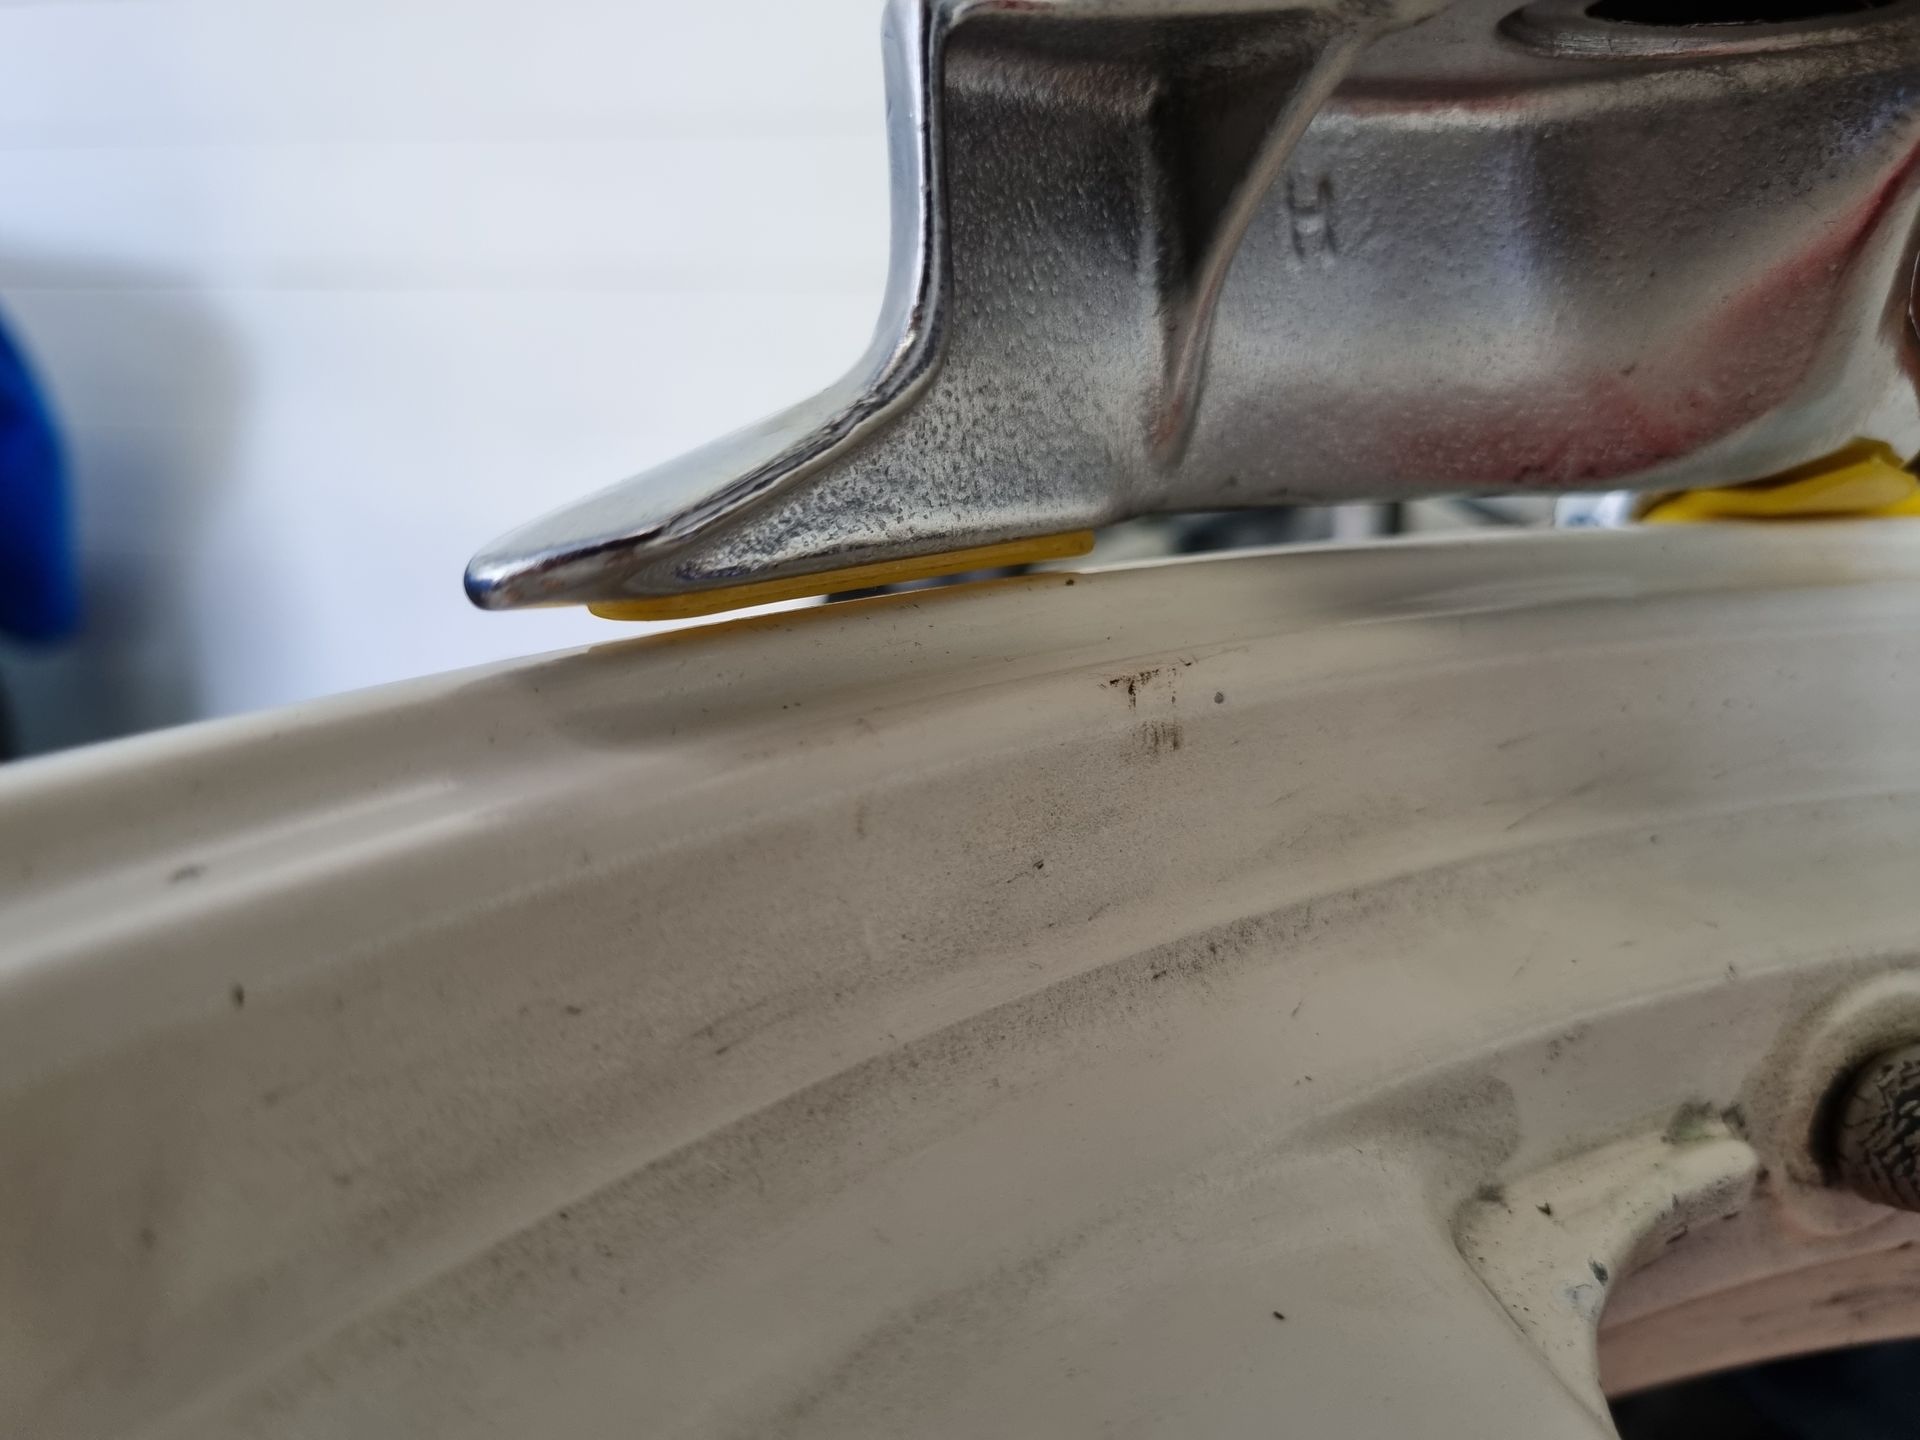
...and the side.
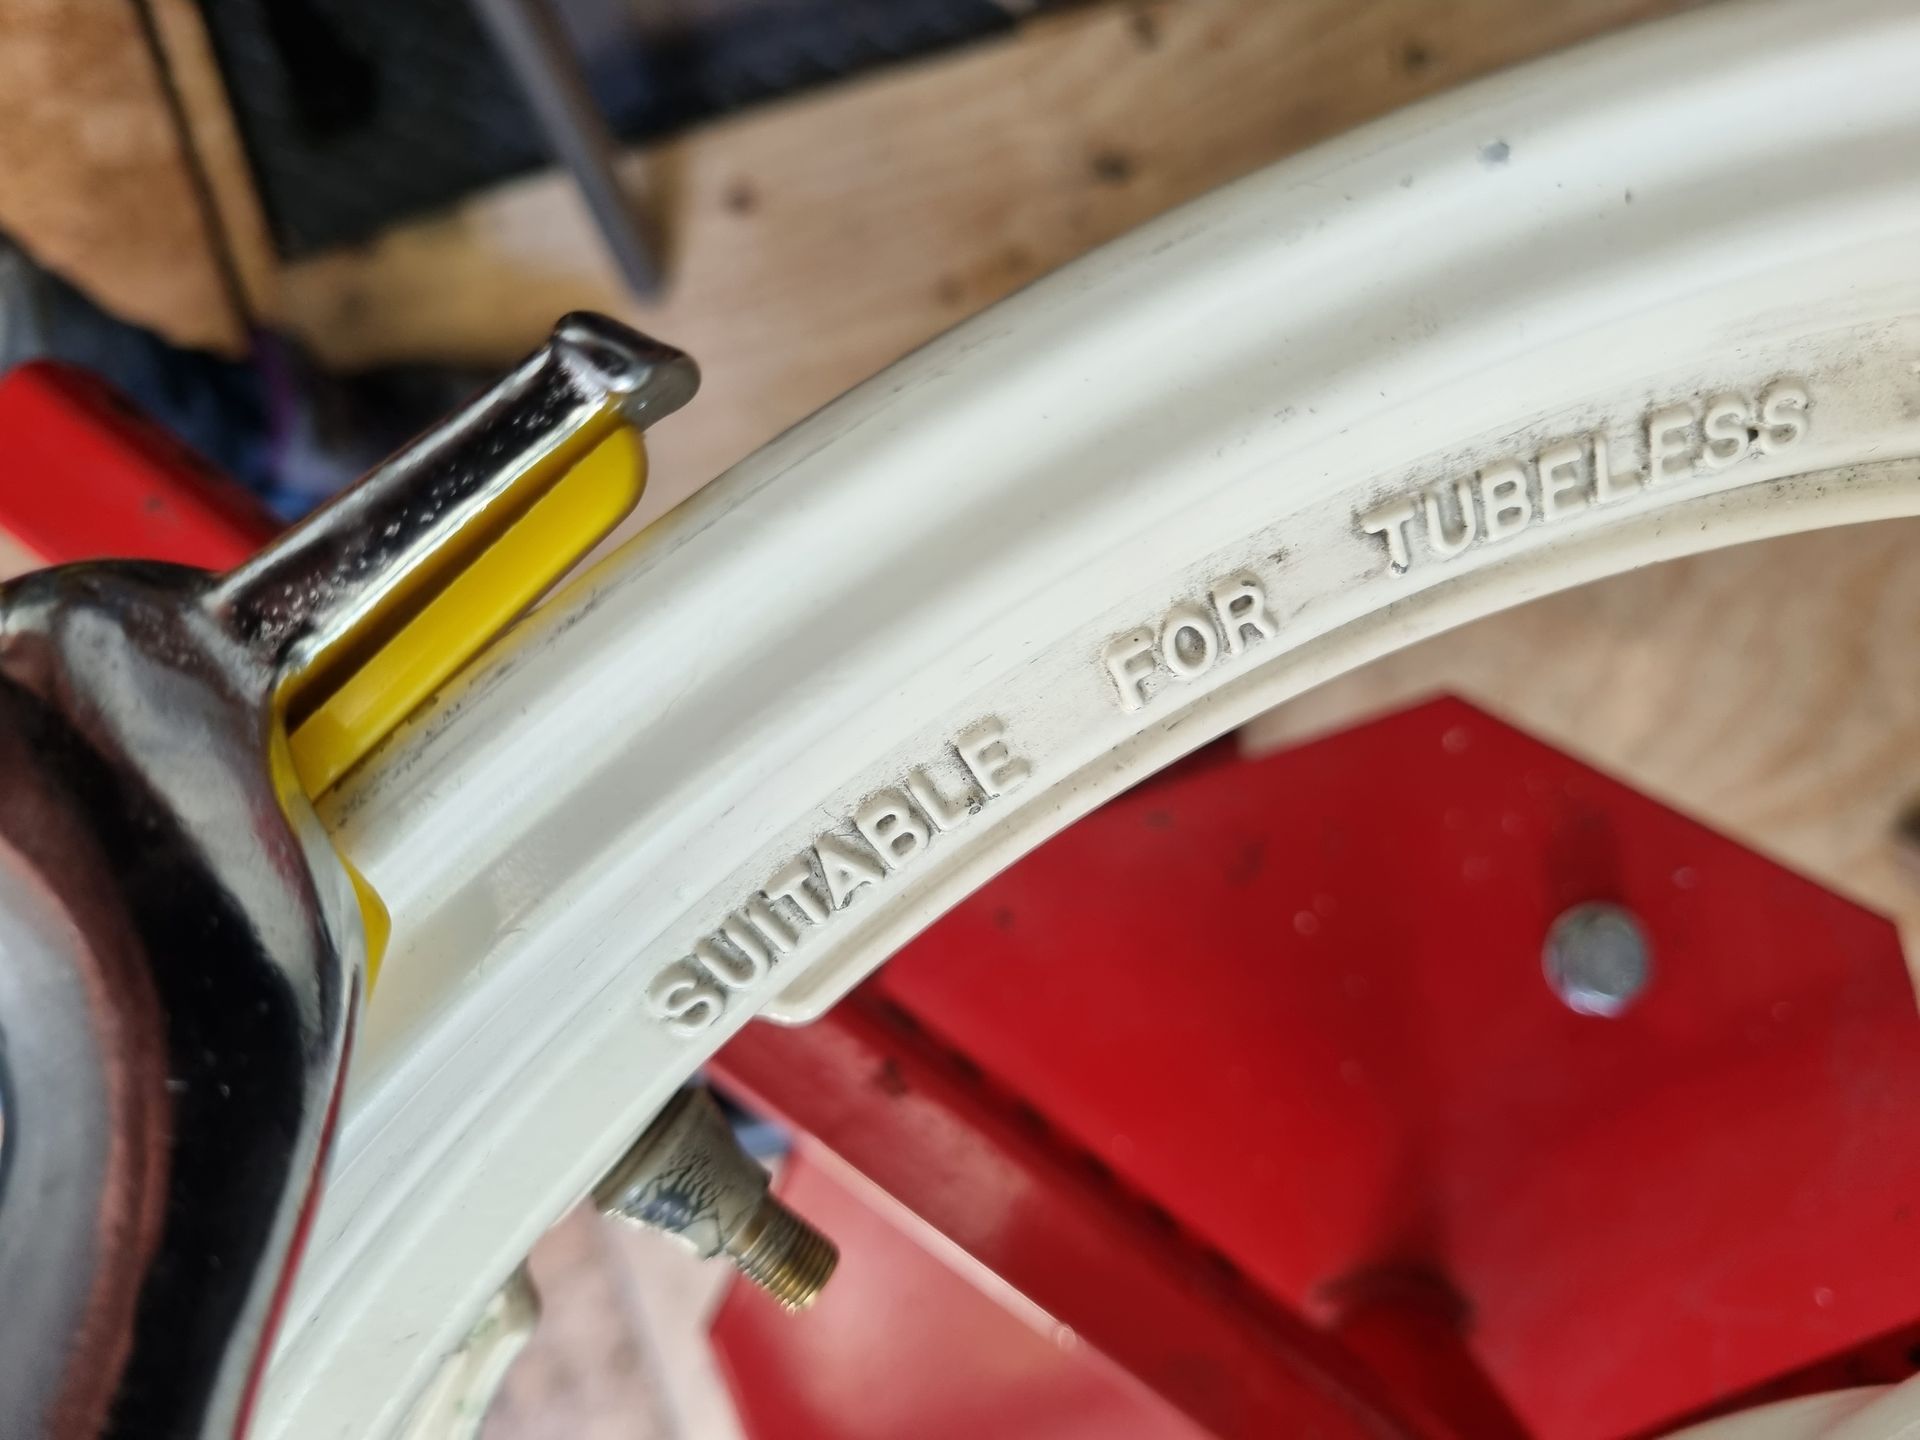
In use it works the same as the black plastic one. Again to take a tyre of, the tyre is levered over the back 'ball'. It goes under the front edge, over the back to take a tyre off.
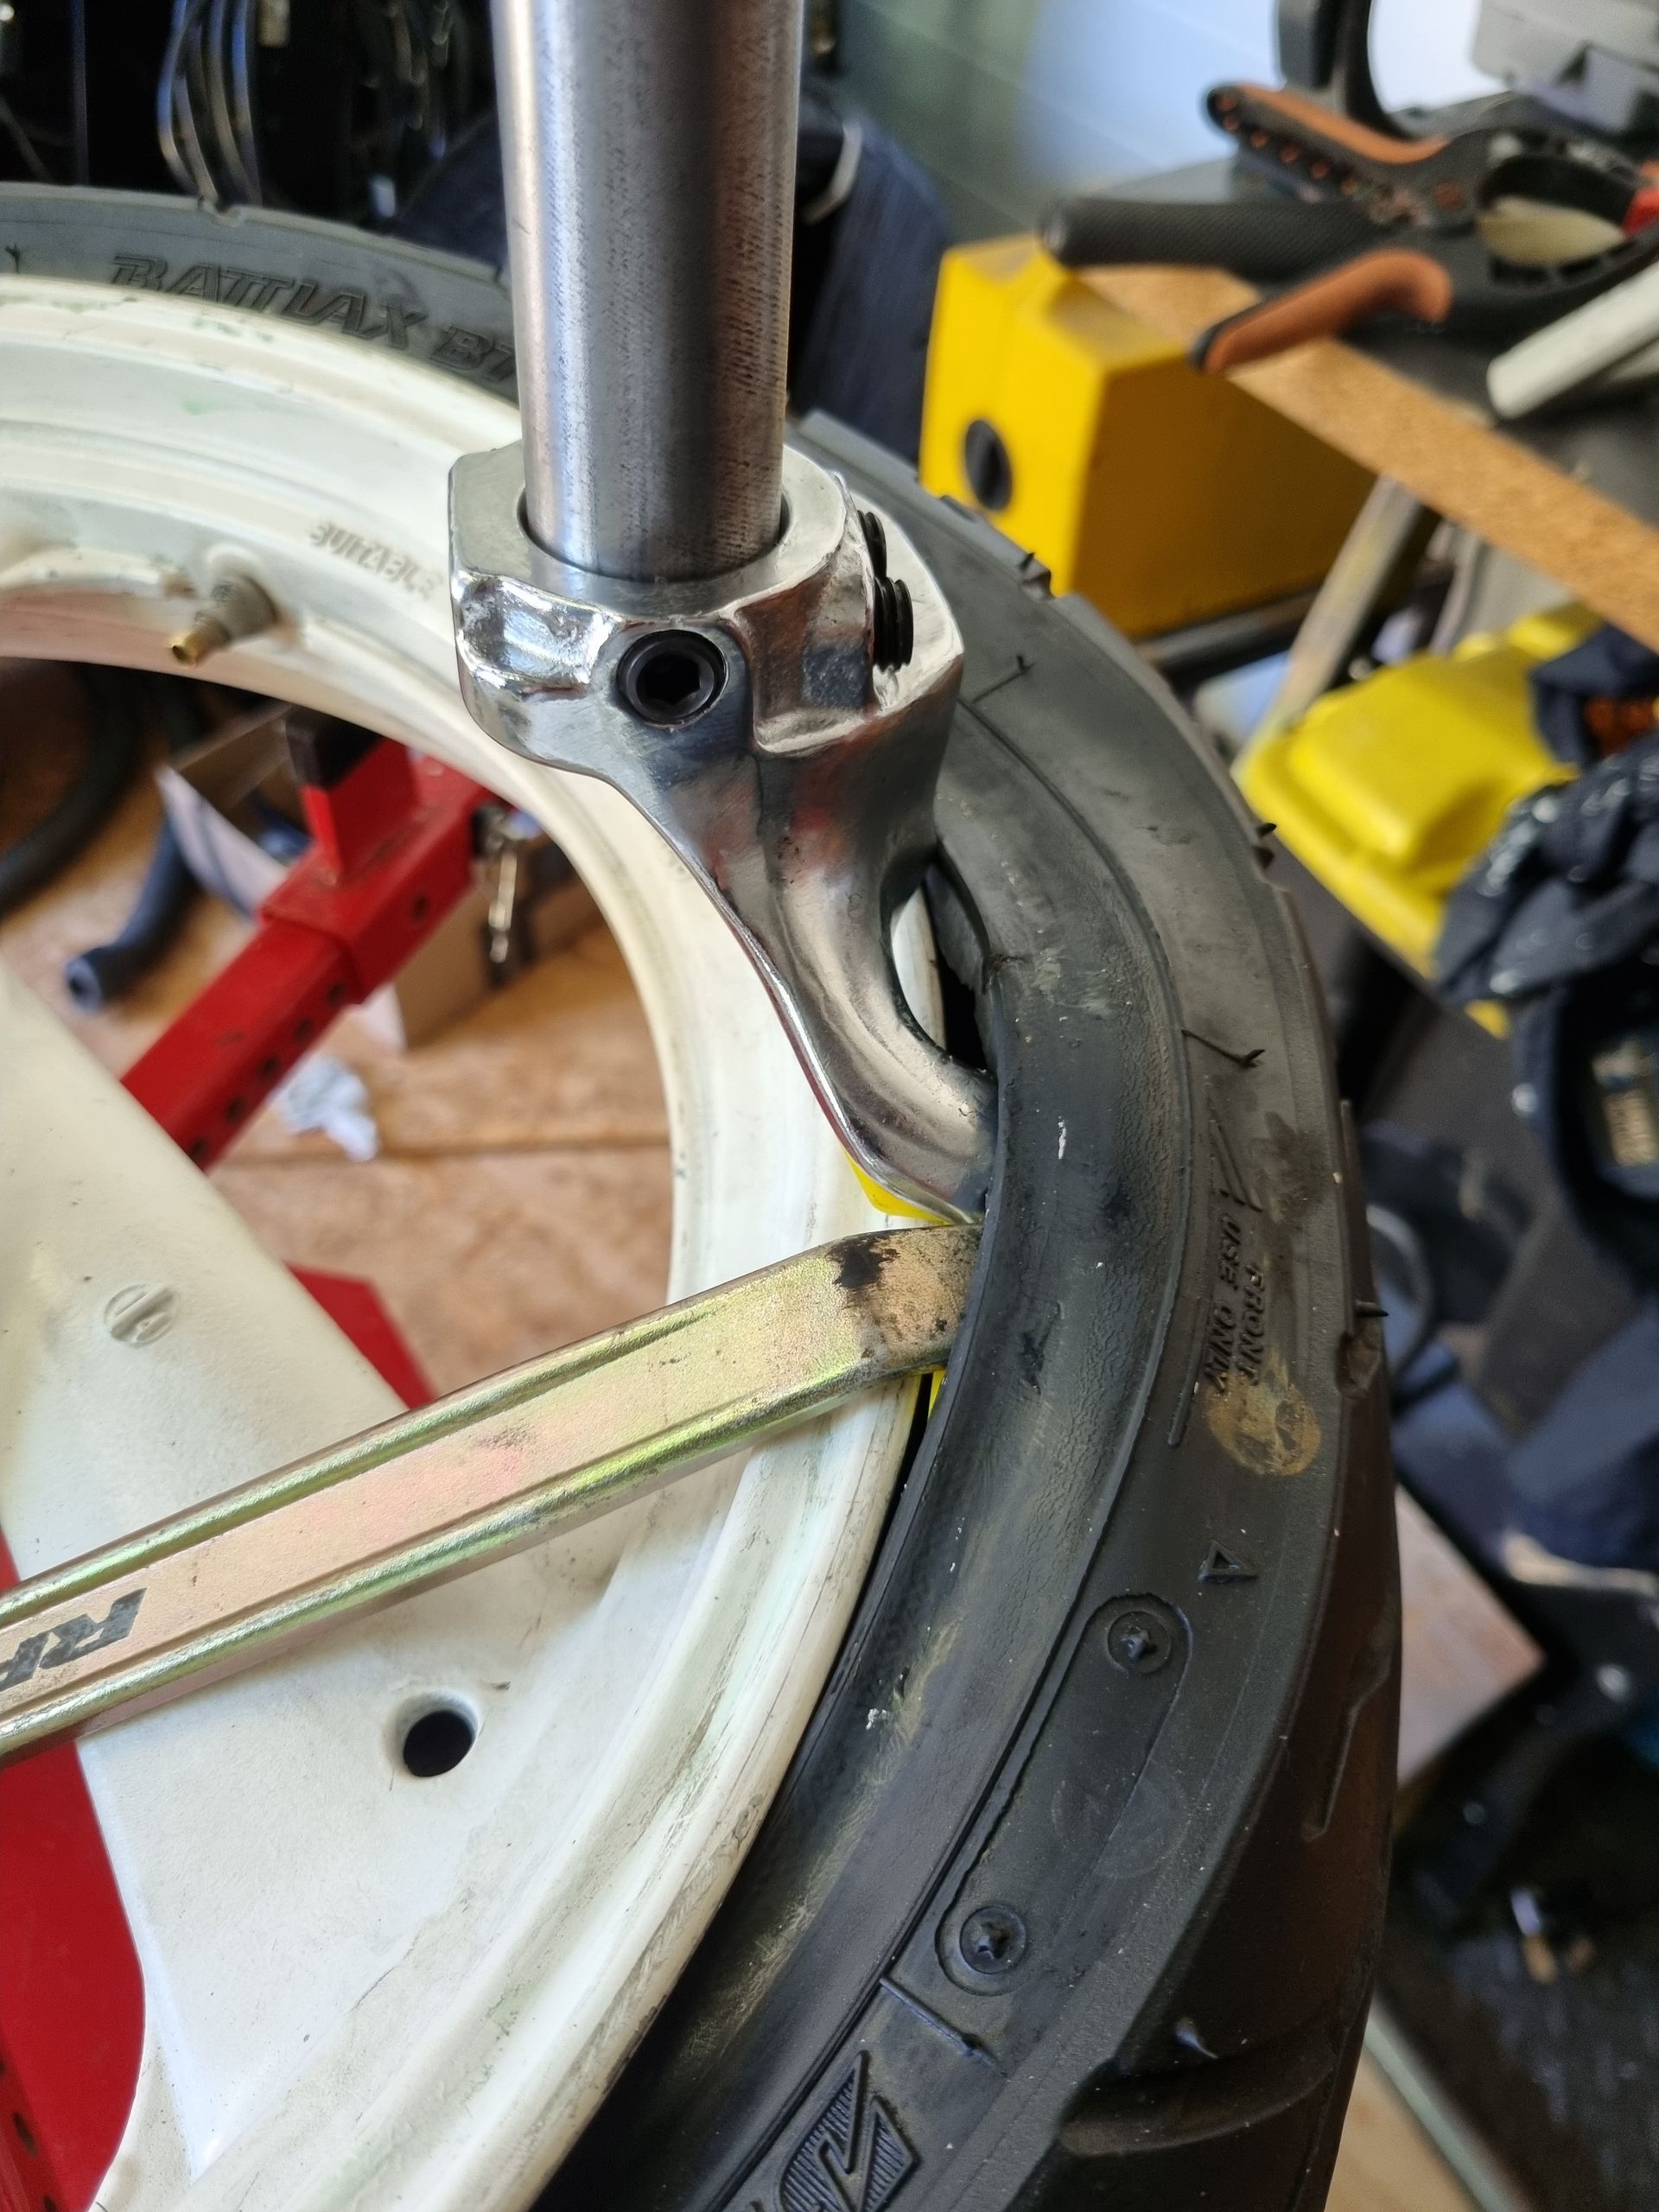
To put the tyre on it's over the front, under the ball at the back.
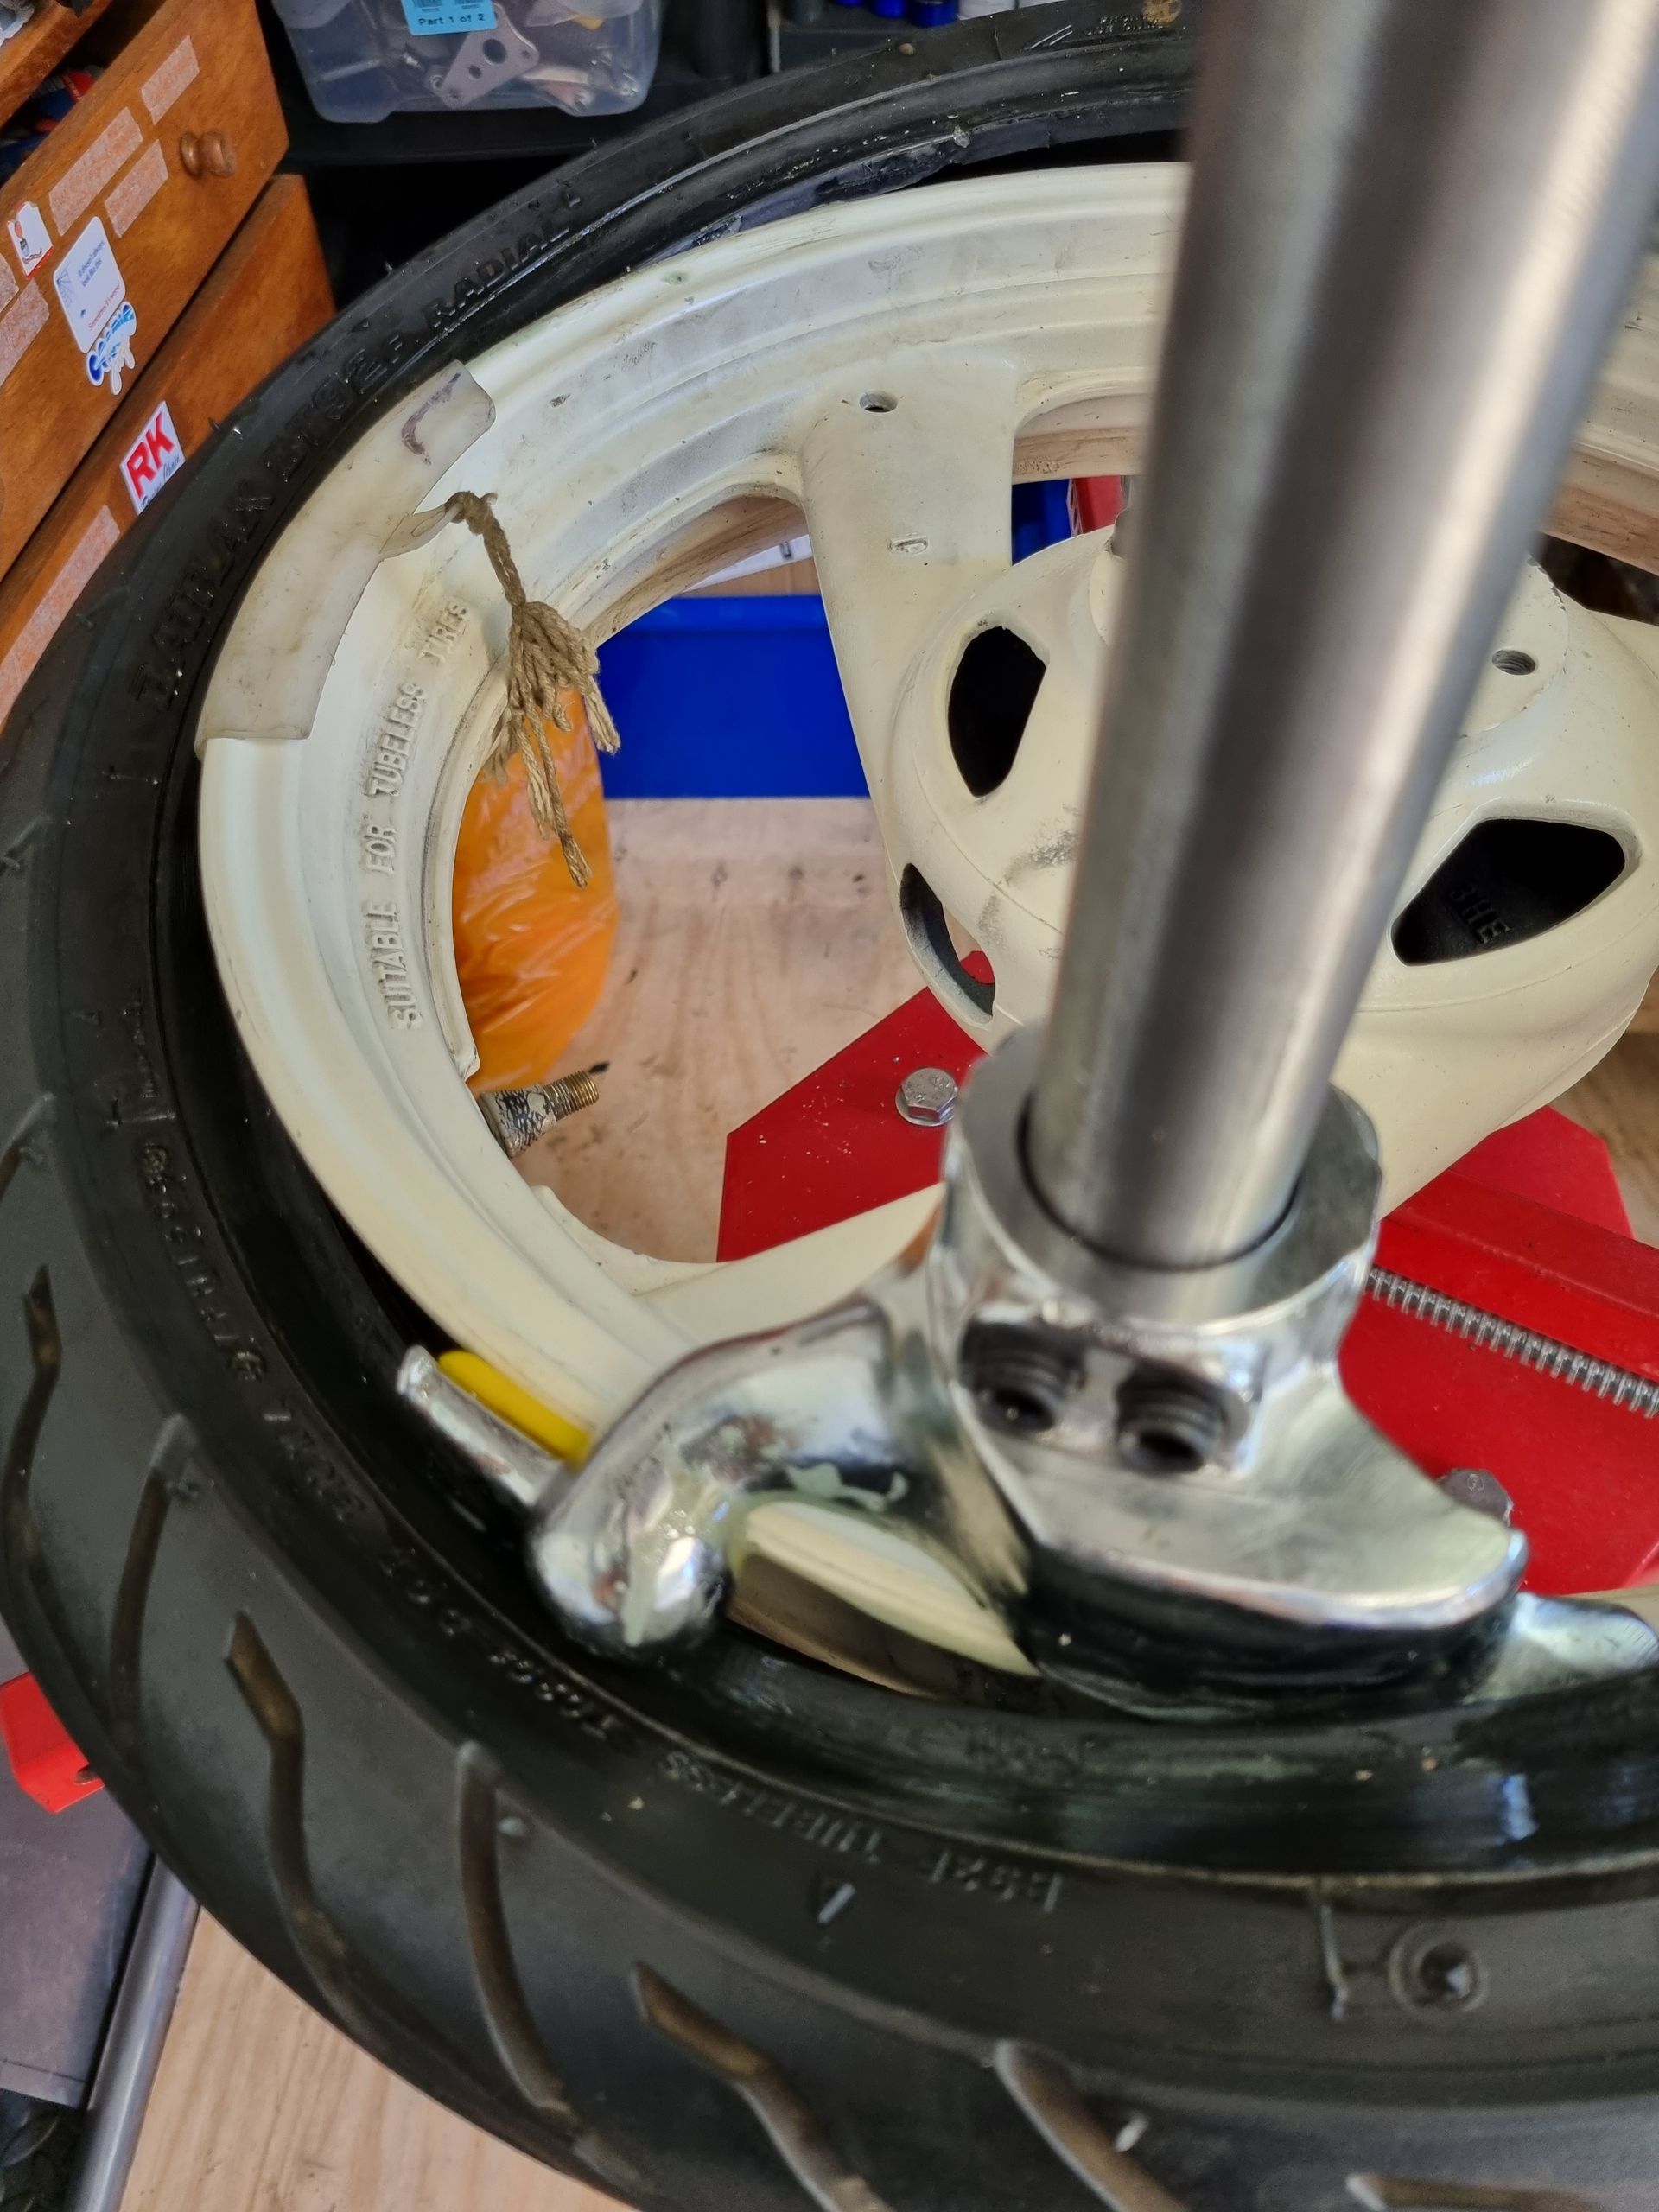
For this to work without causing damage to the paintwork, the duck head needs to not move (twist) when subjected to the forces of tyre removal and mounting. No matter how hard I tightened my adjusting screws things moved...
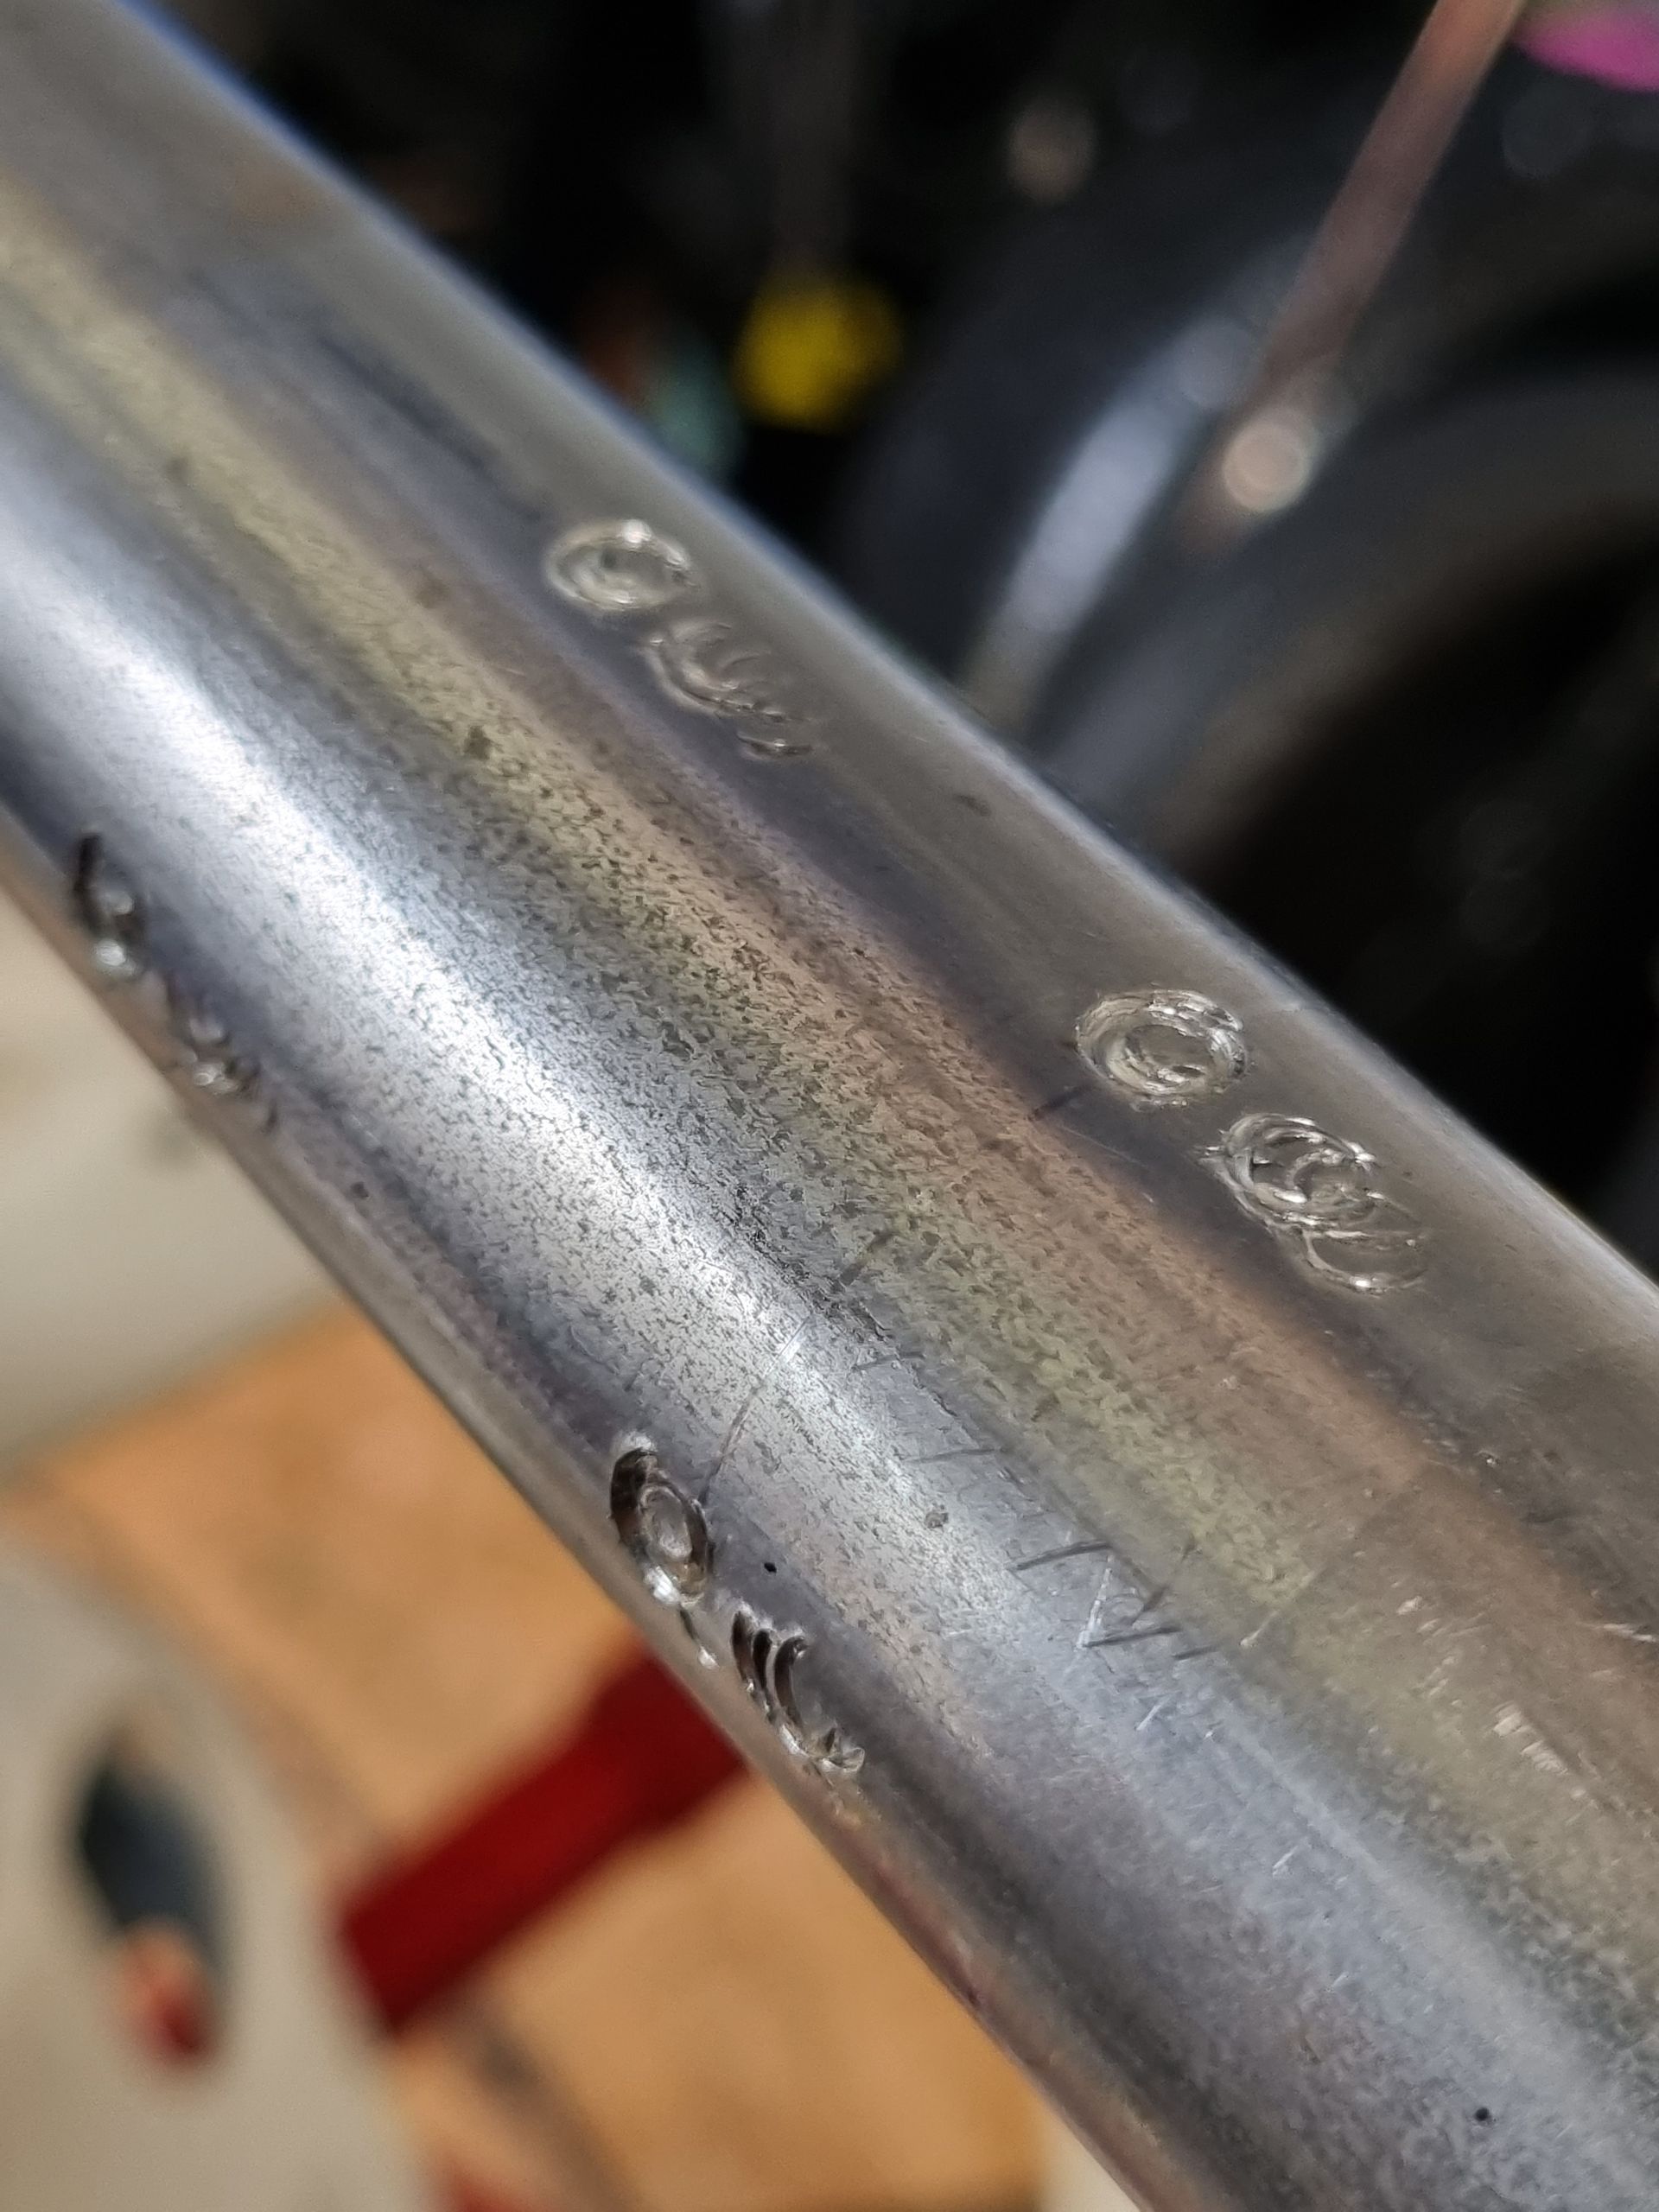
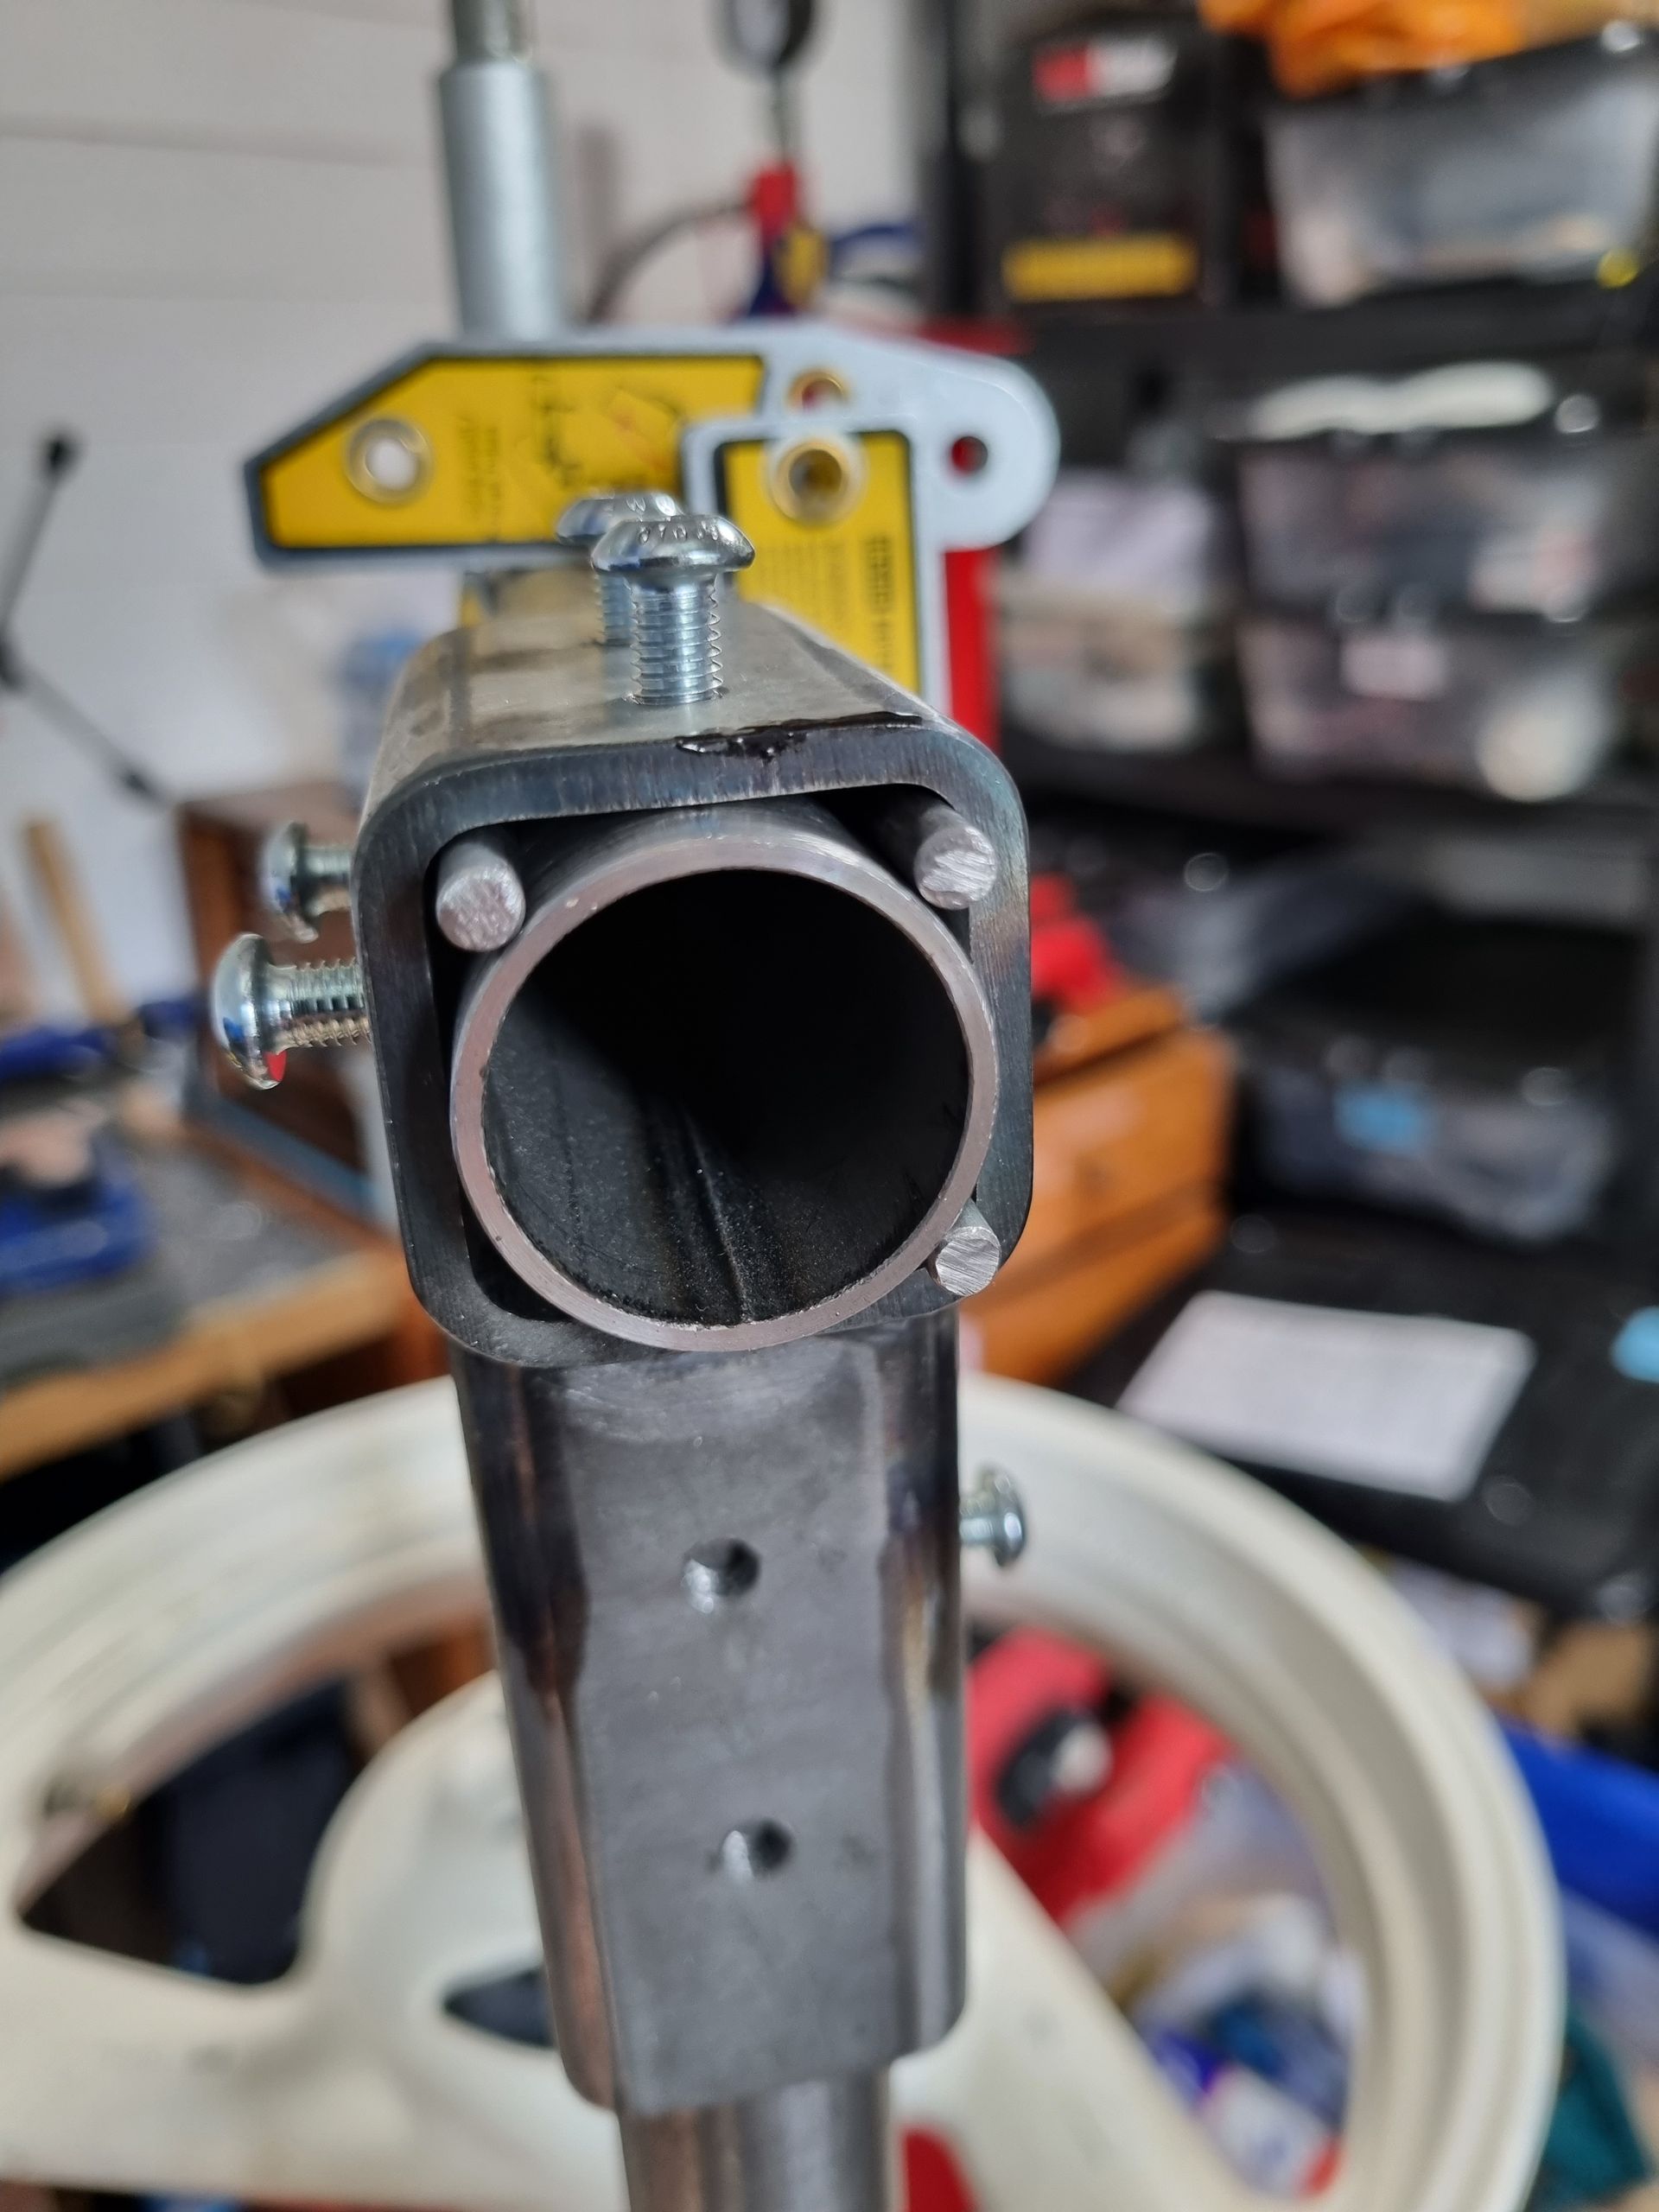
In attempt to stop the twisting, I attempted to square up the round bar by welding on small bars.
That didn't work either...
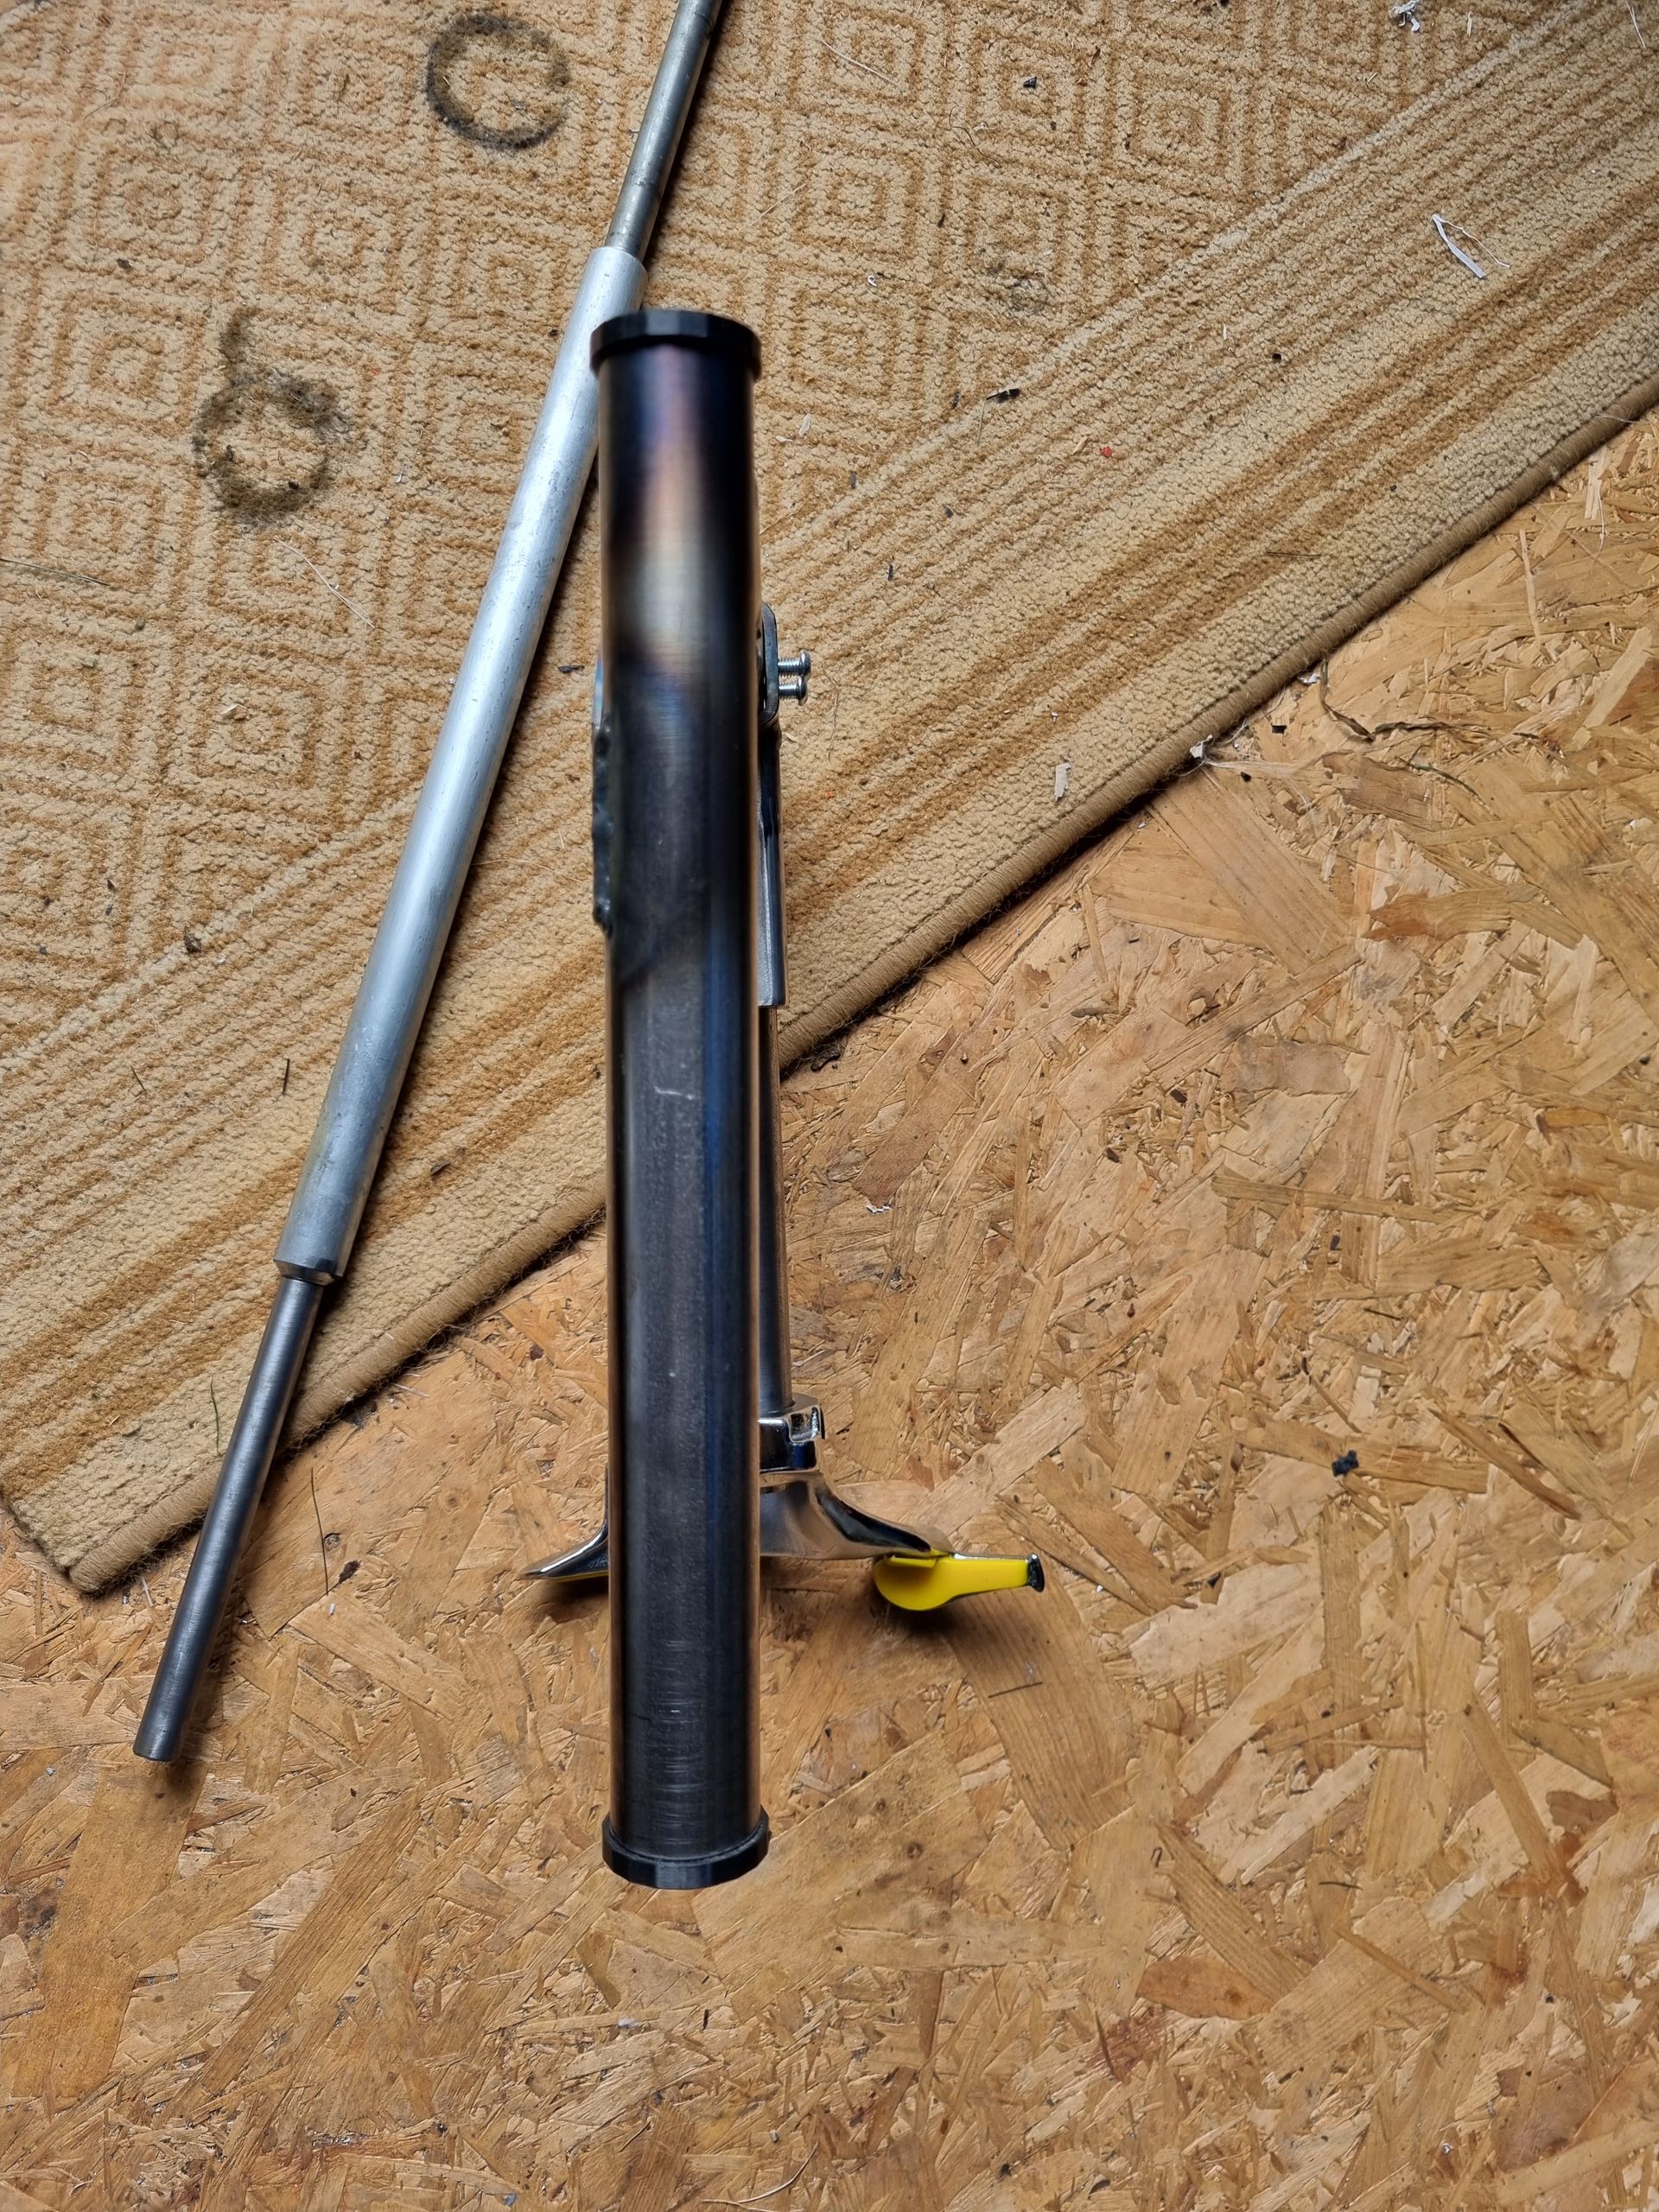
You can see the twist that happens in this photo.
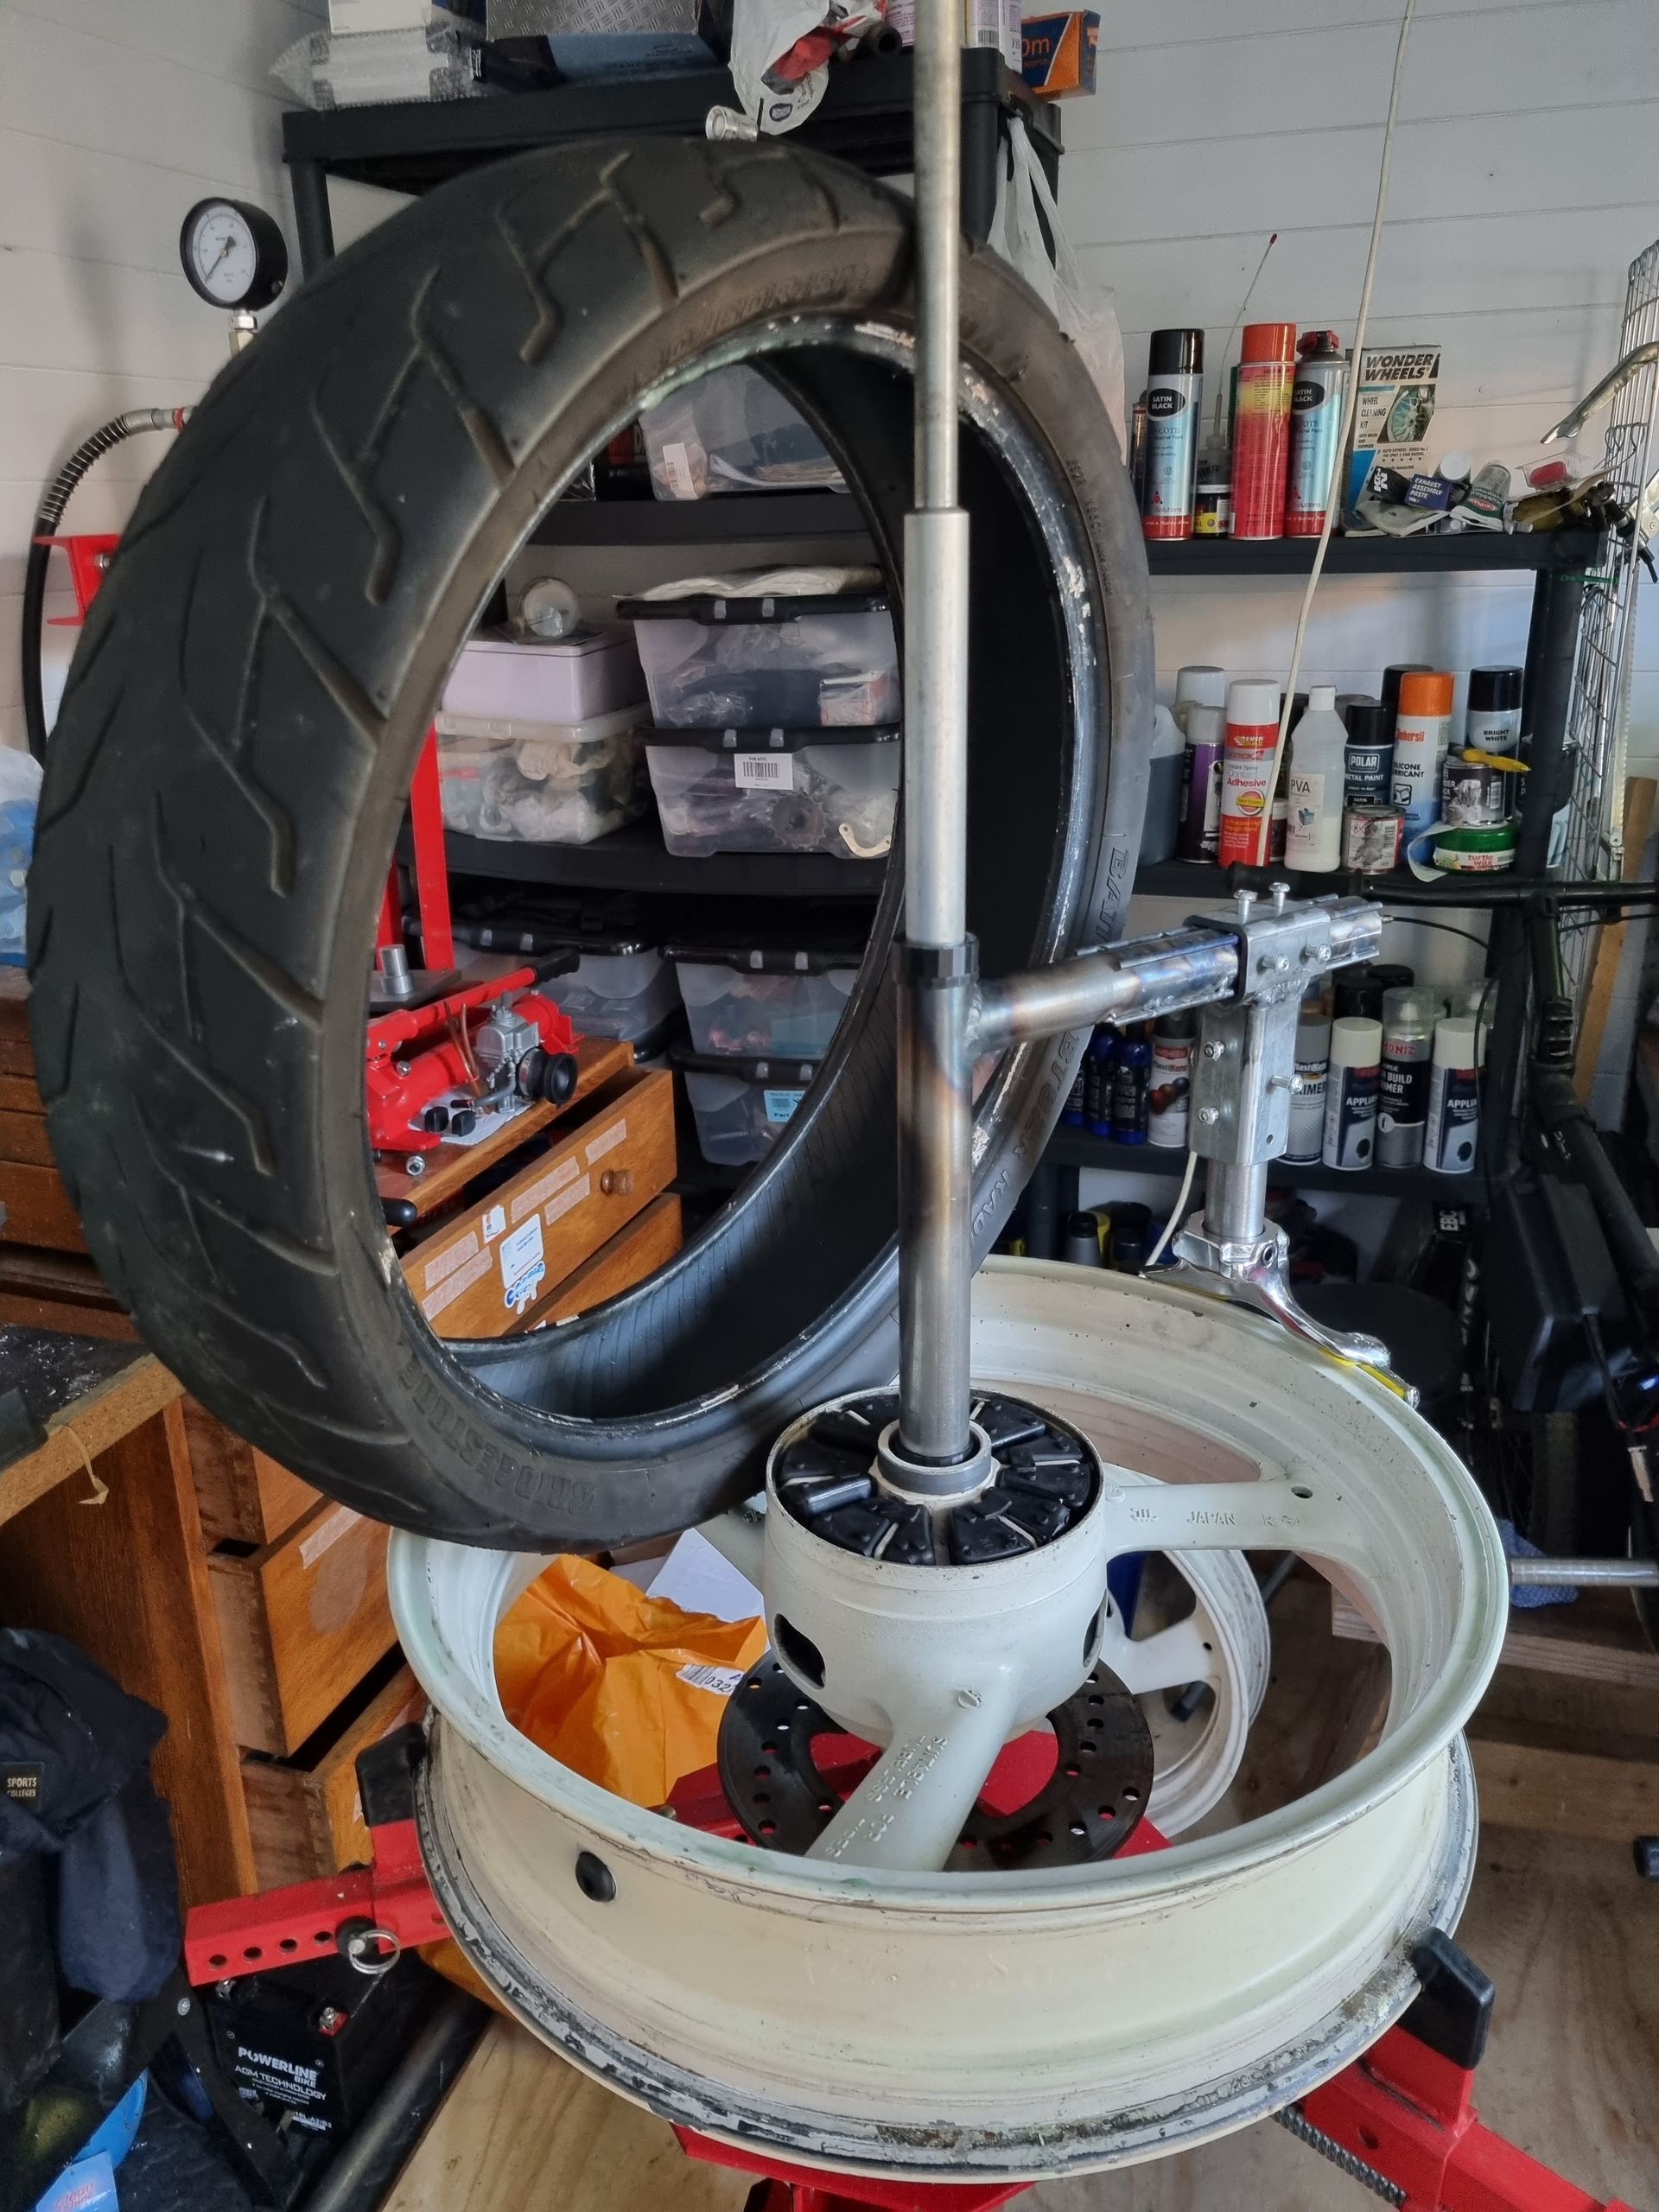
It was finally bought under control by shortening the overall height (and hence the leverage exerted) and by adding even more screws on the sliding adjusters.
When putting tyres on, you need something to stop the tyre from rotating and also something to push the tyre down into the well of the wheel. These are readily available drop centre clamps, but they proved to be too baggy for my motorcycle rims.
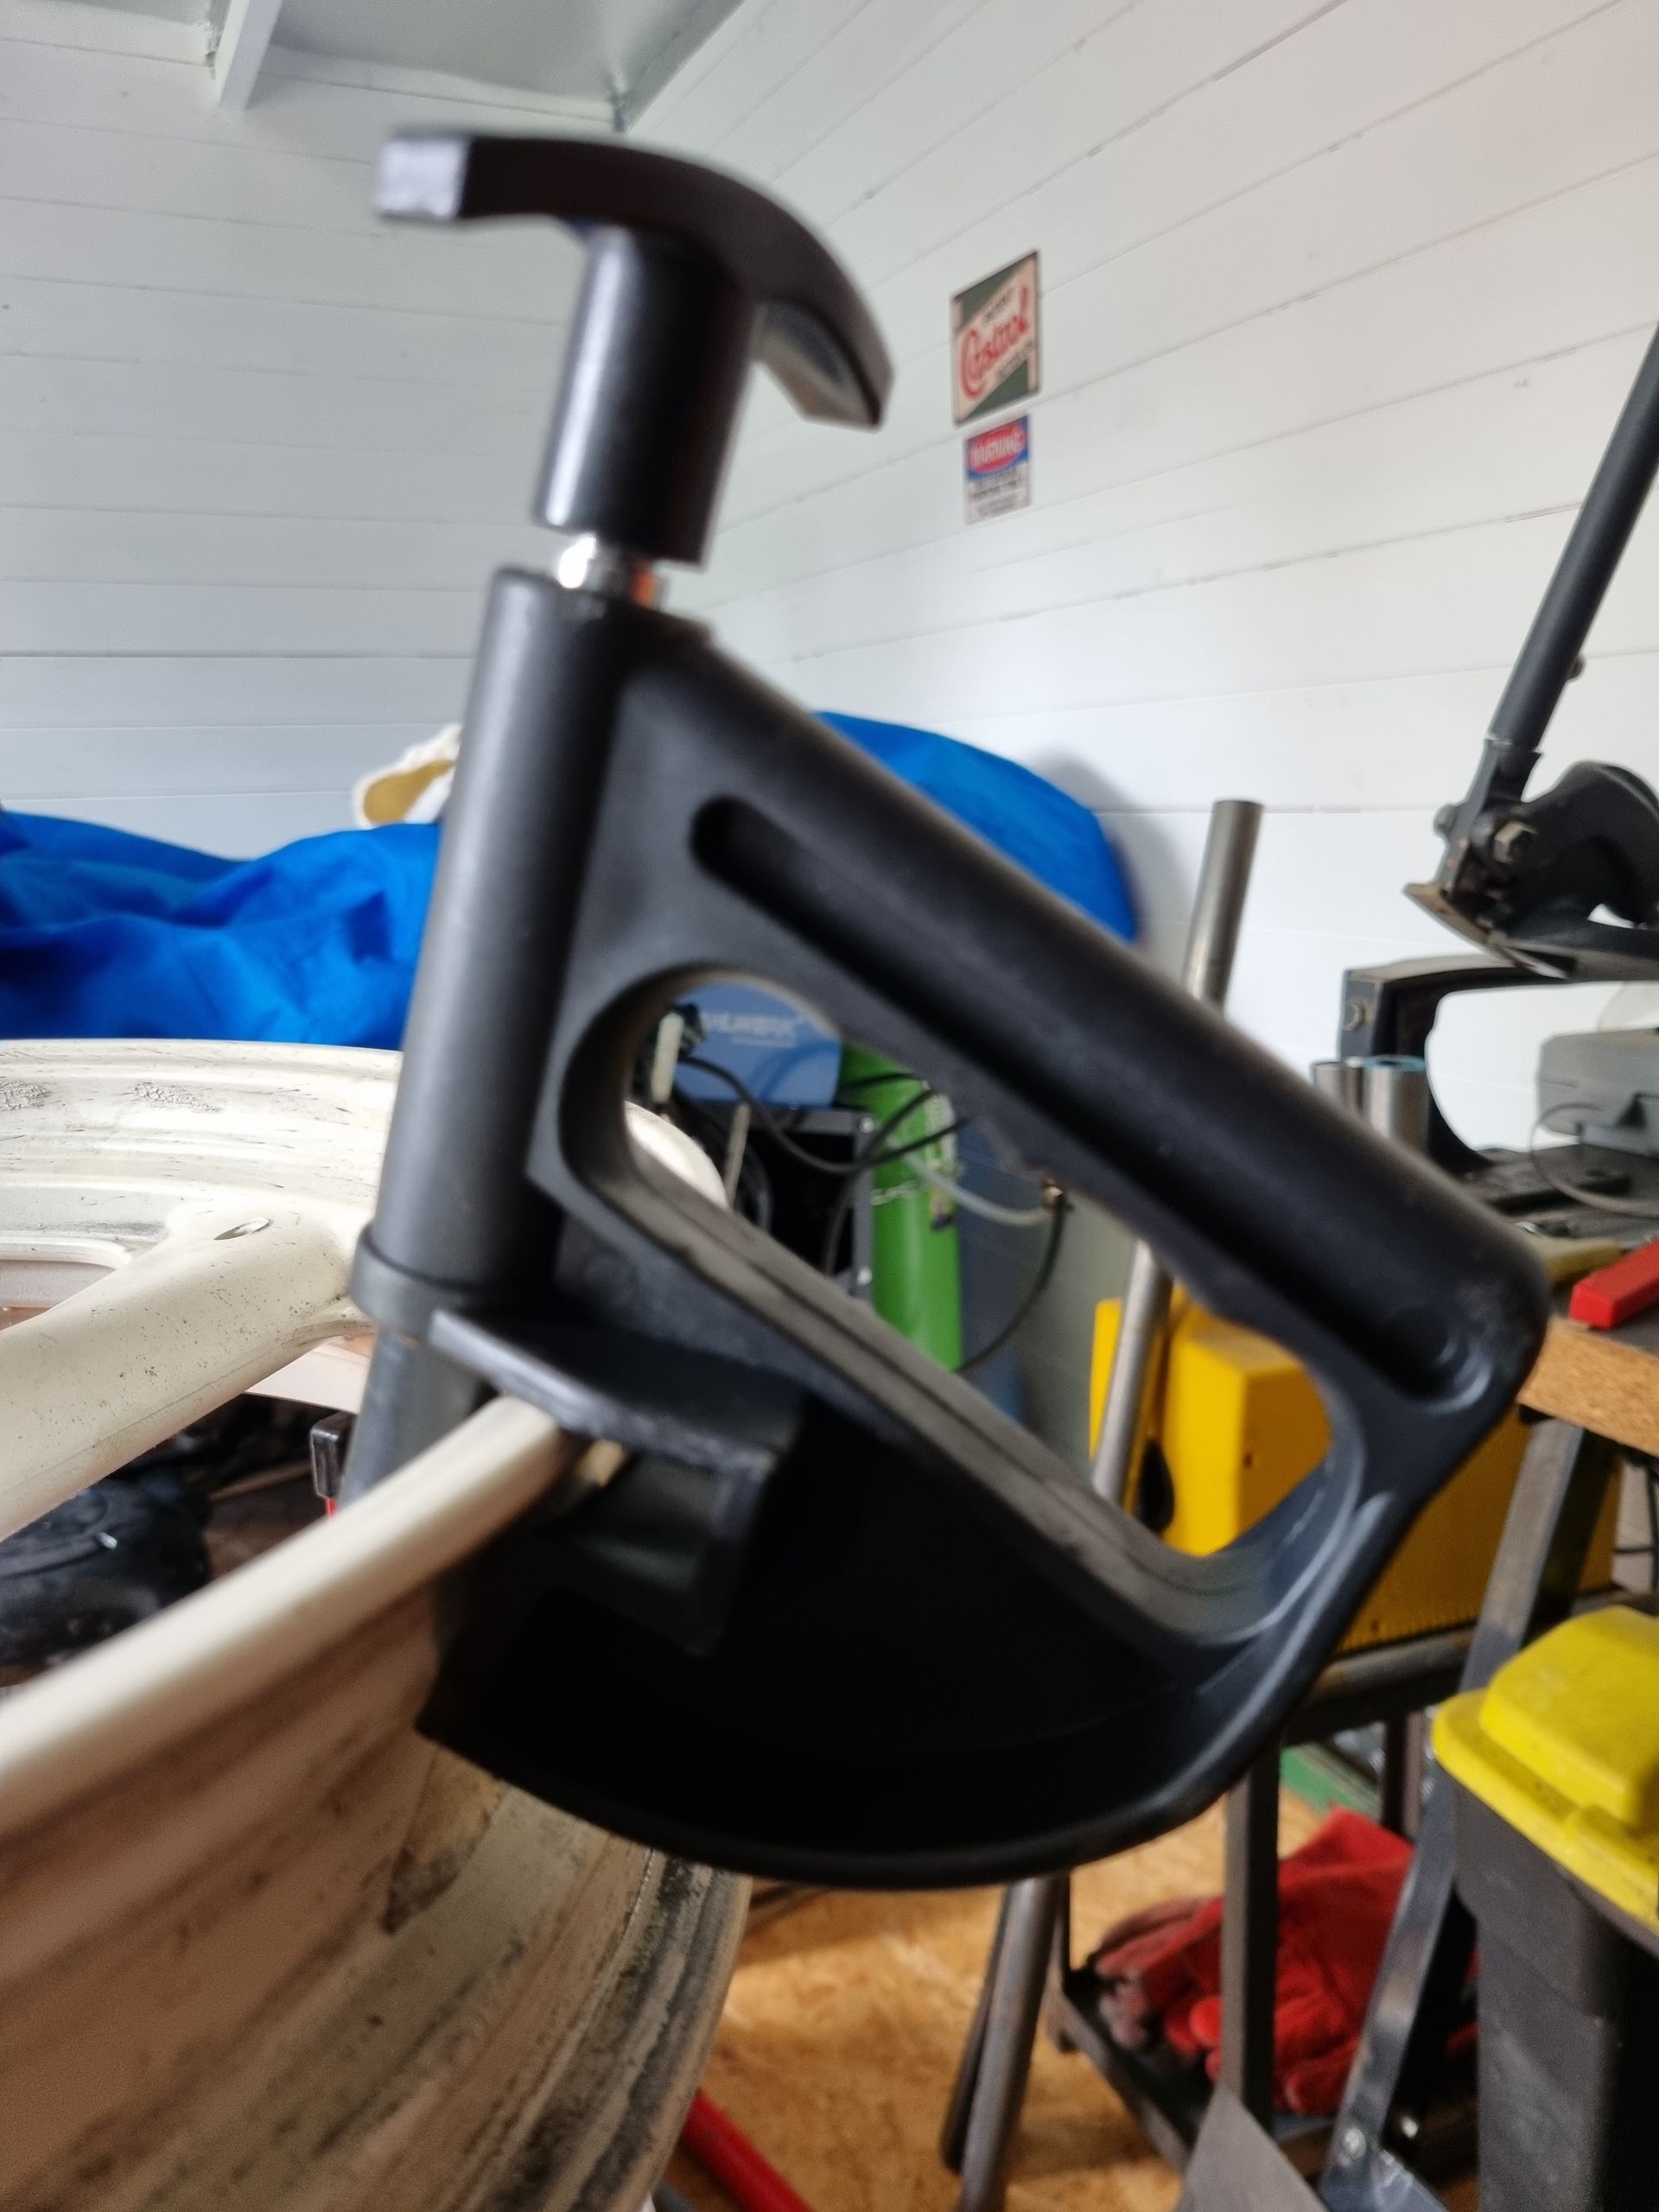
So I 3D printed a modified version. Sadly this one was a little too short under the rim.
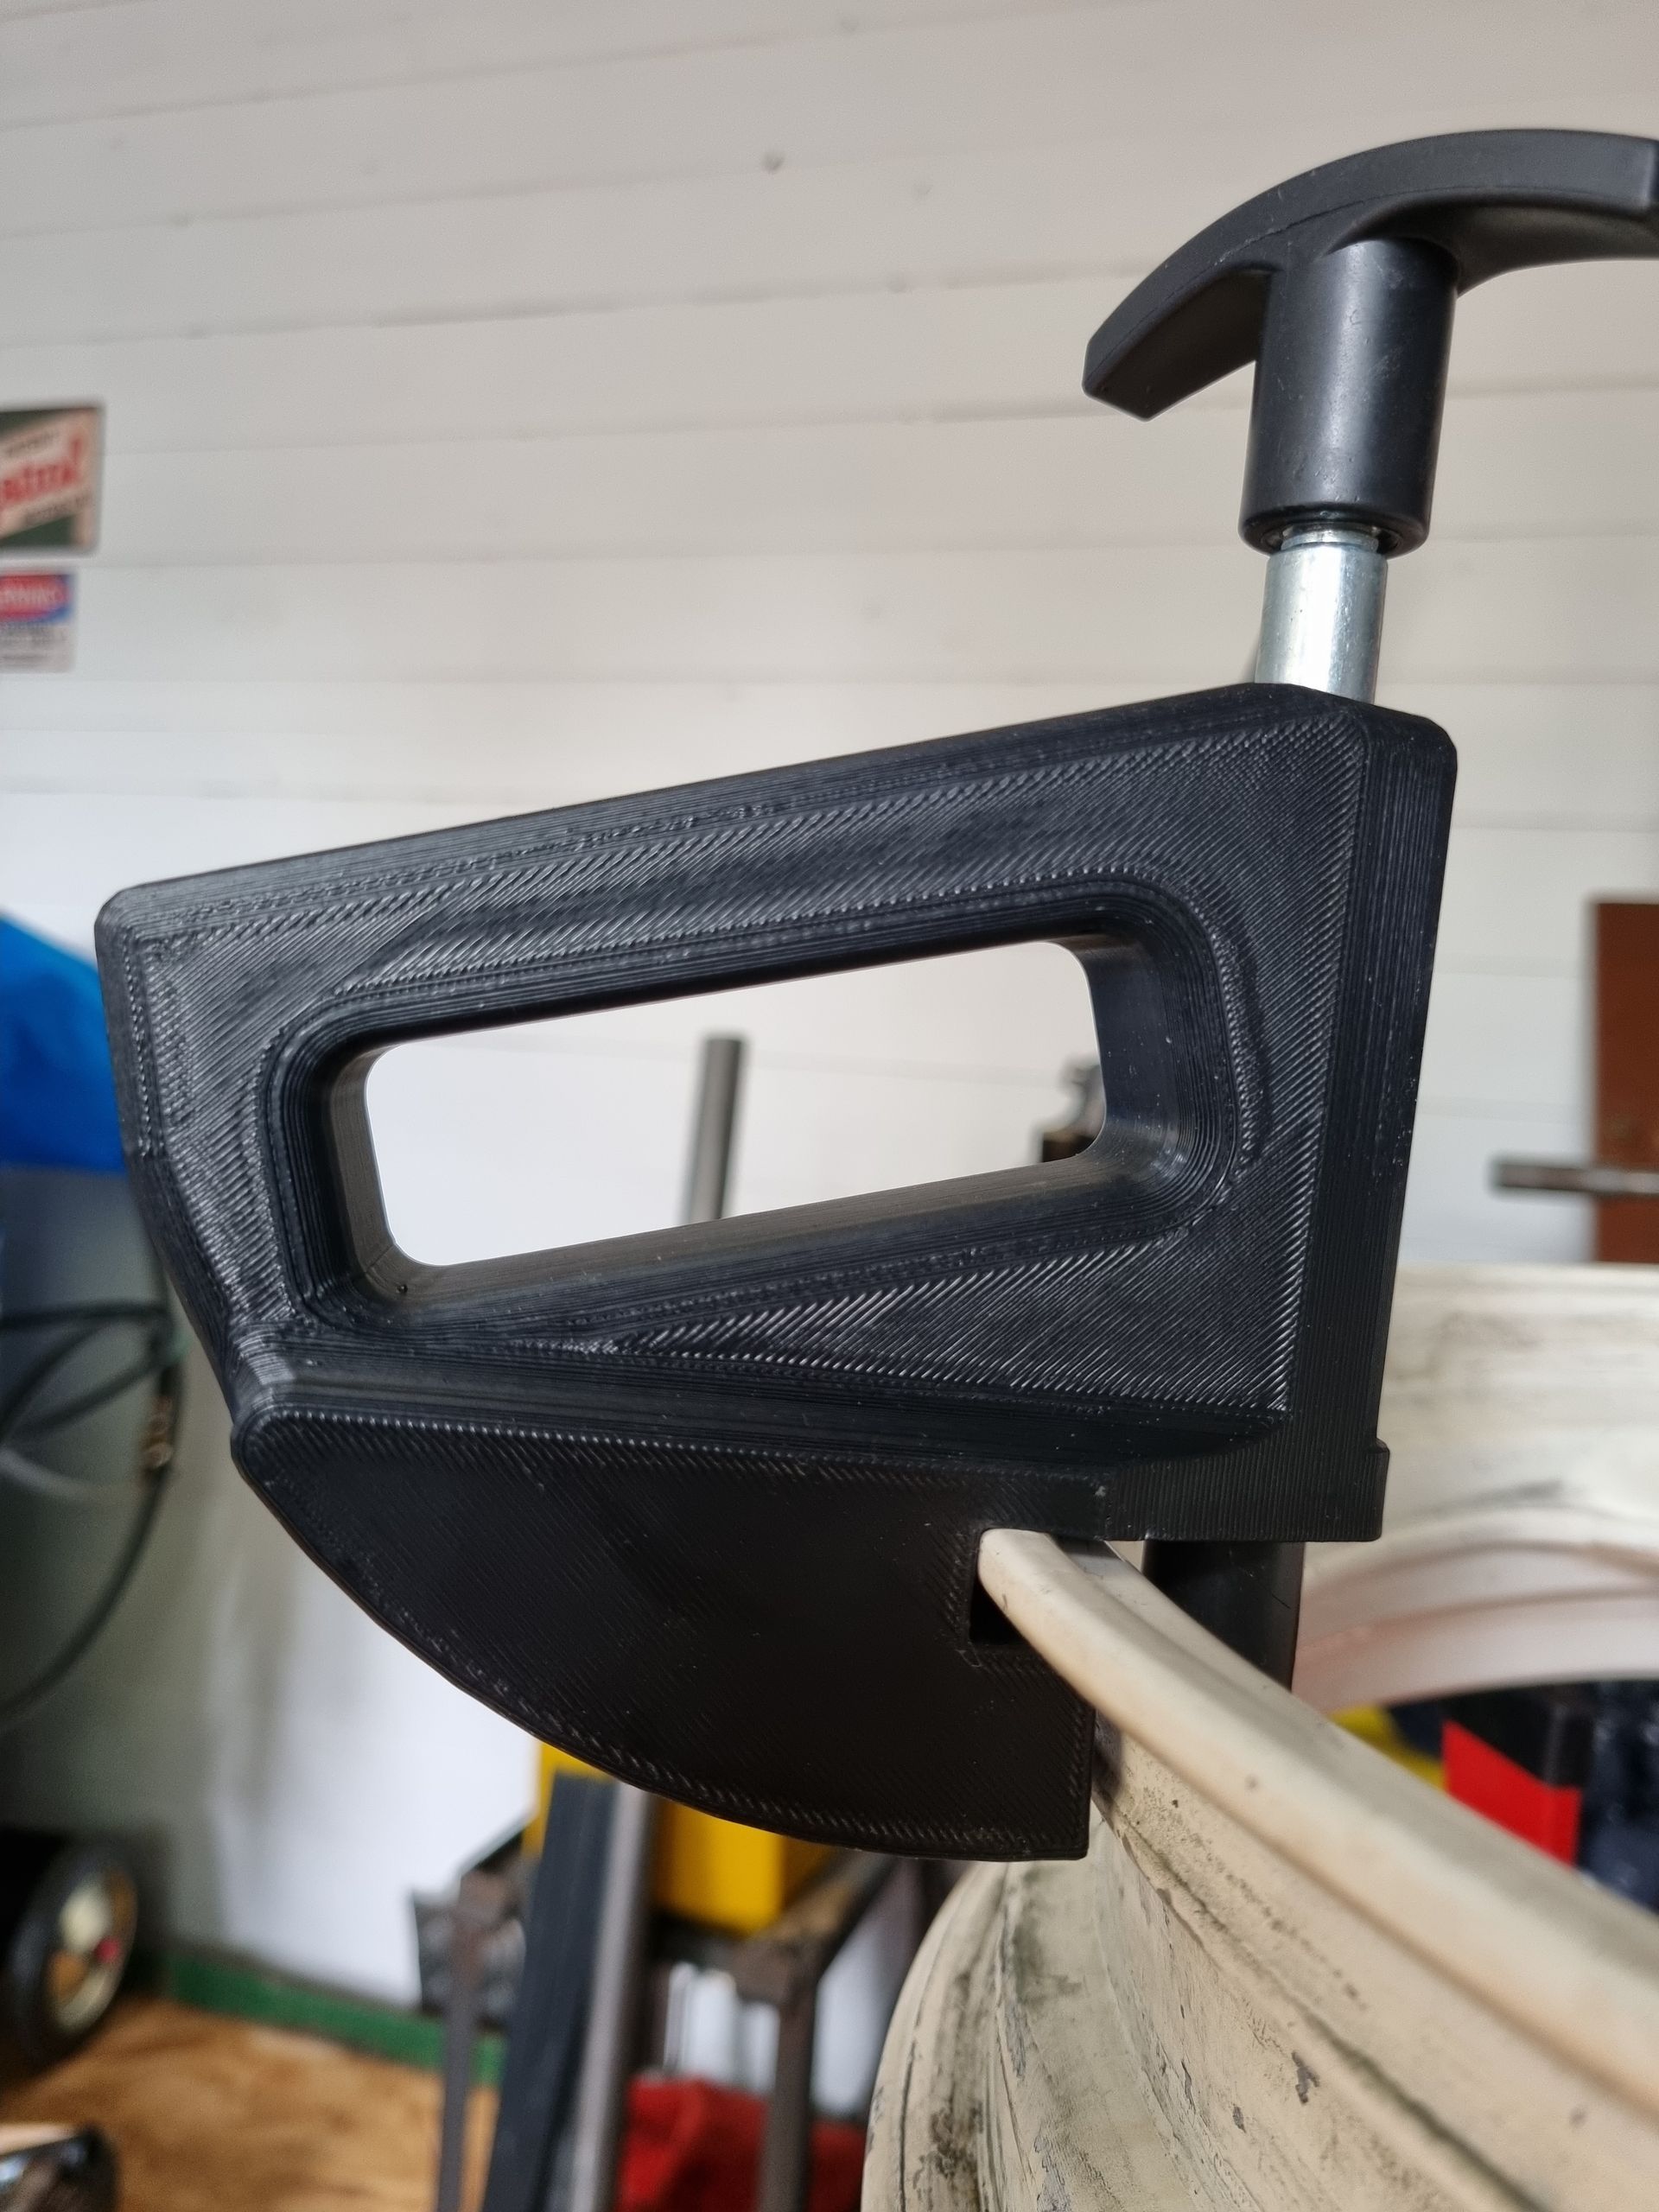
The mark 2 version went the other way and was a little too long but it did successfully help me get the new tyres on. There'll be a mark 3 version along soon no doubt. Until then, STL files for both can be found here:-
MARK 1
MARK 2
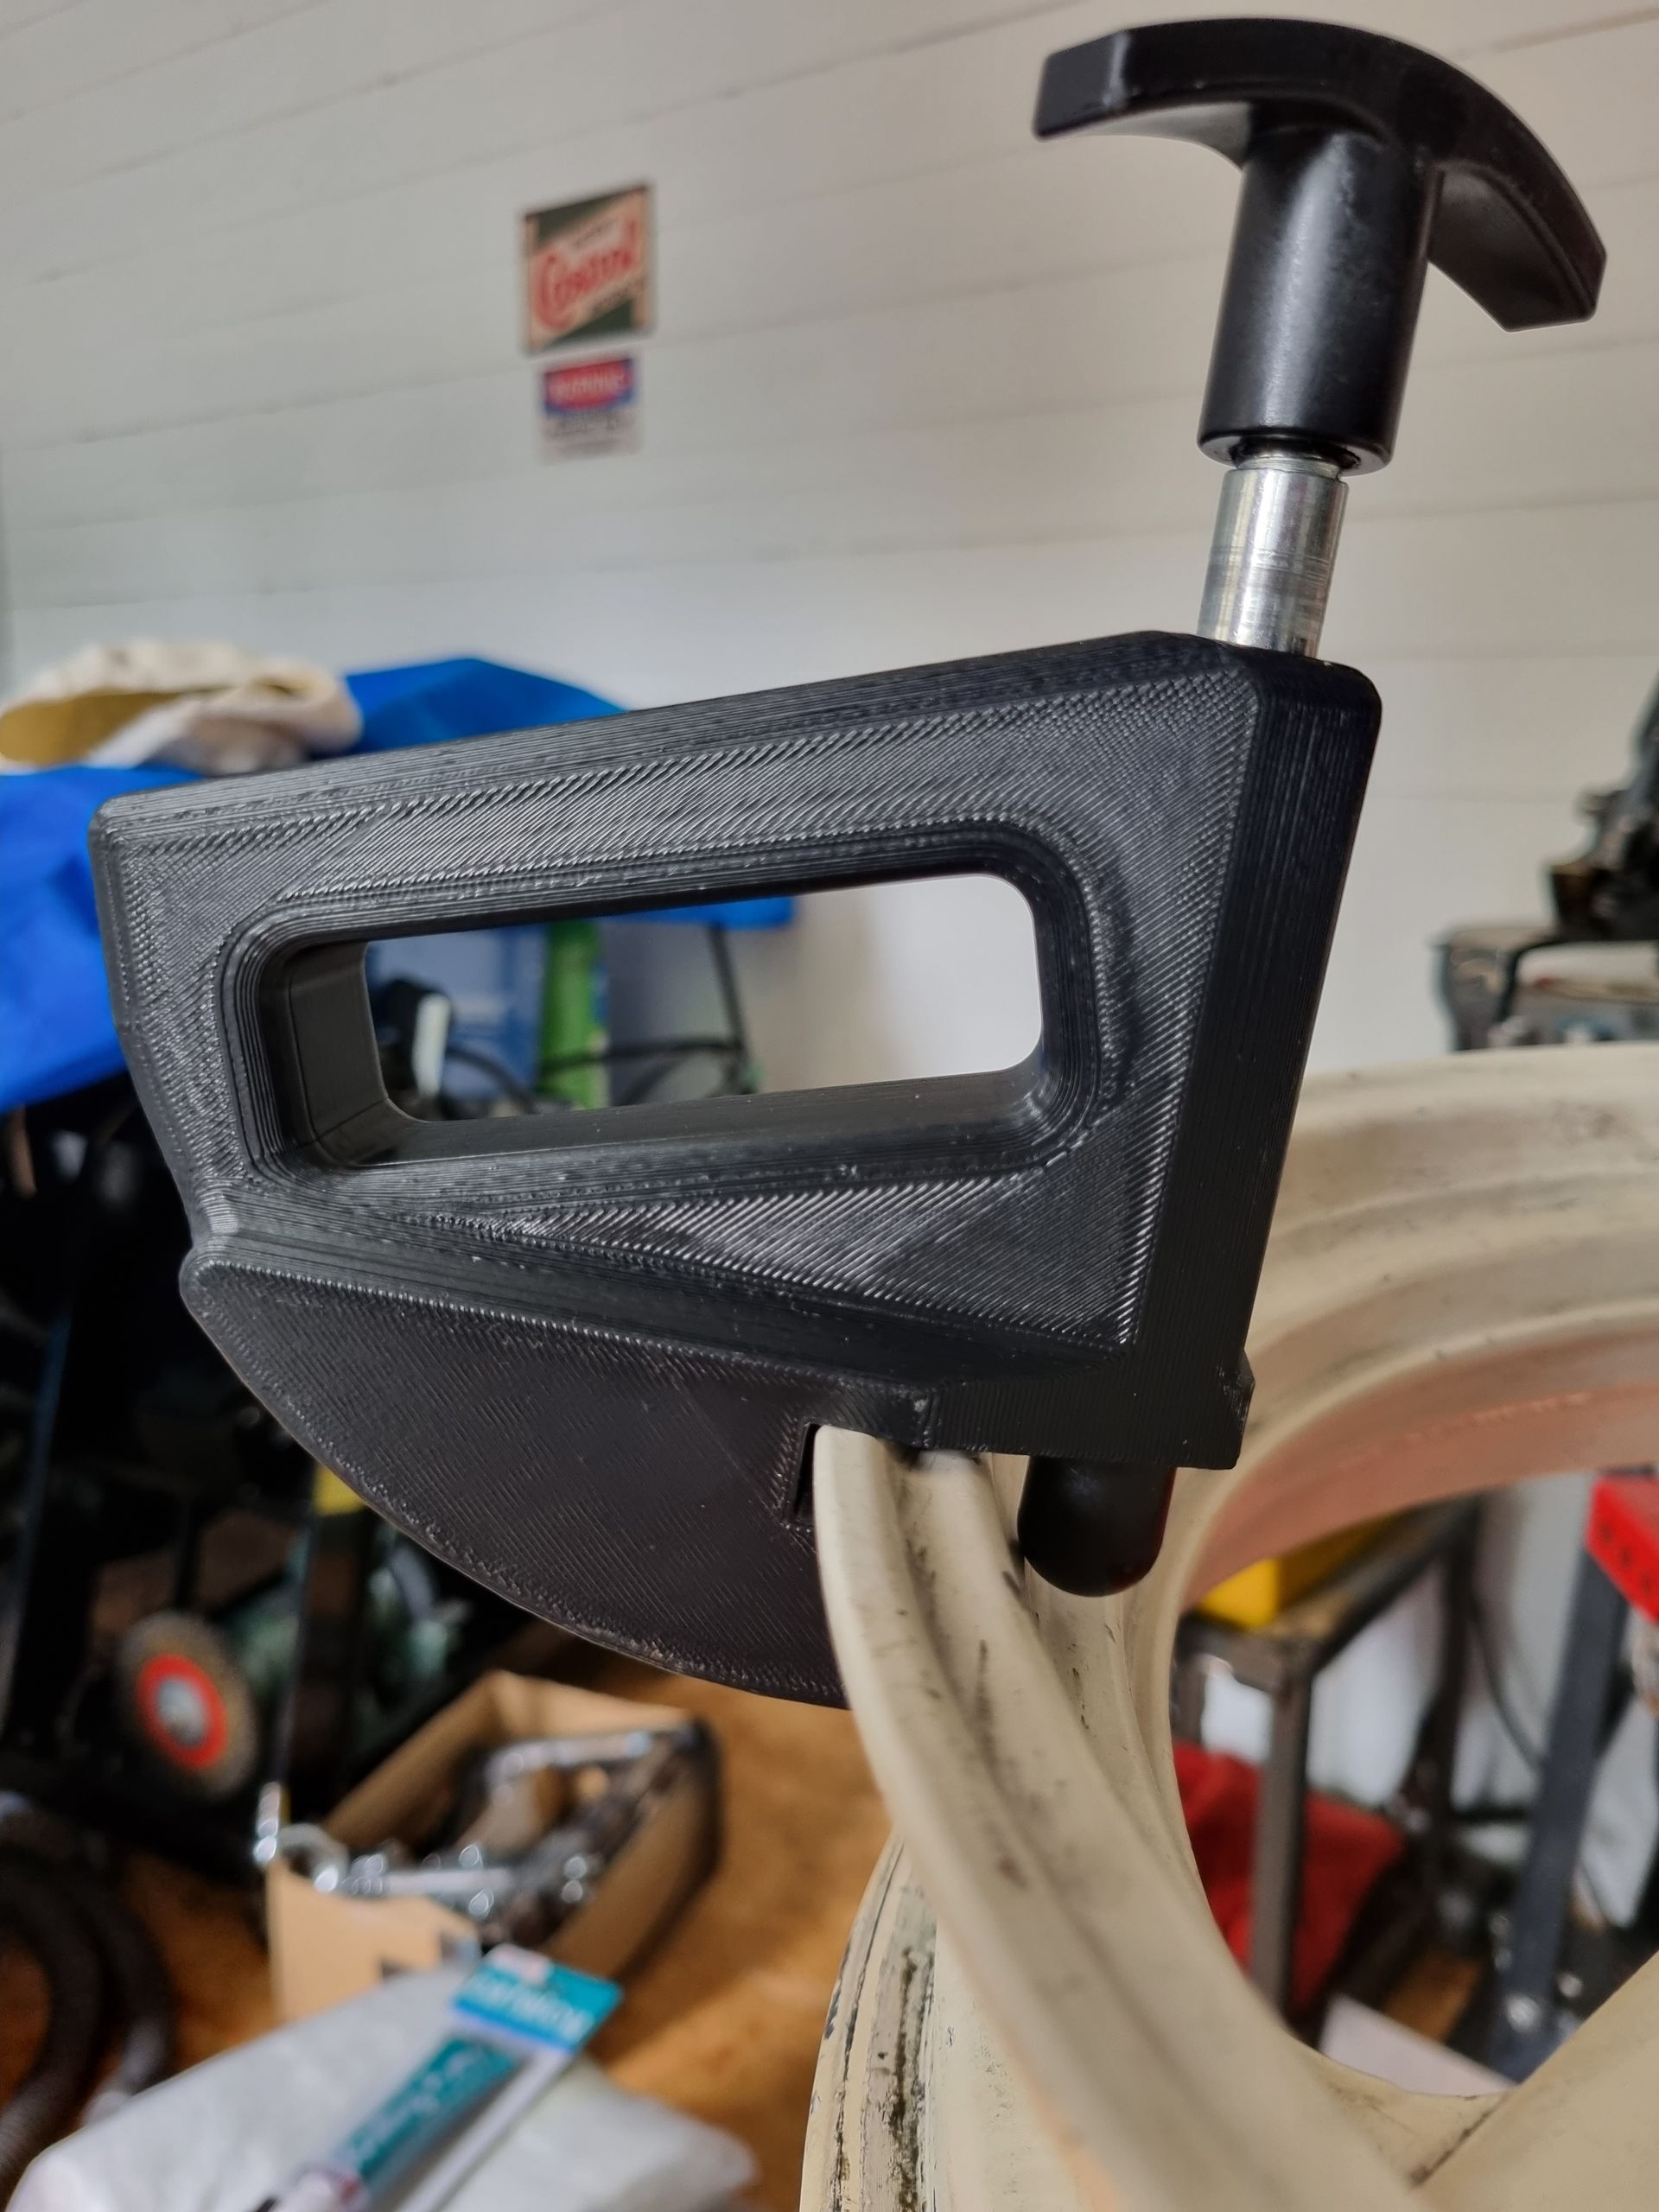
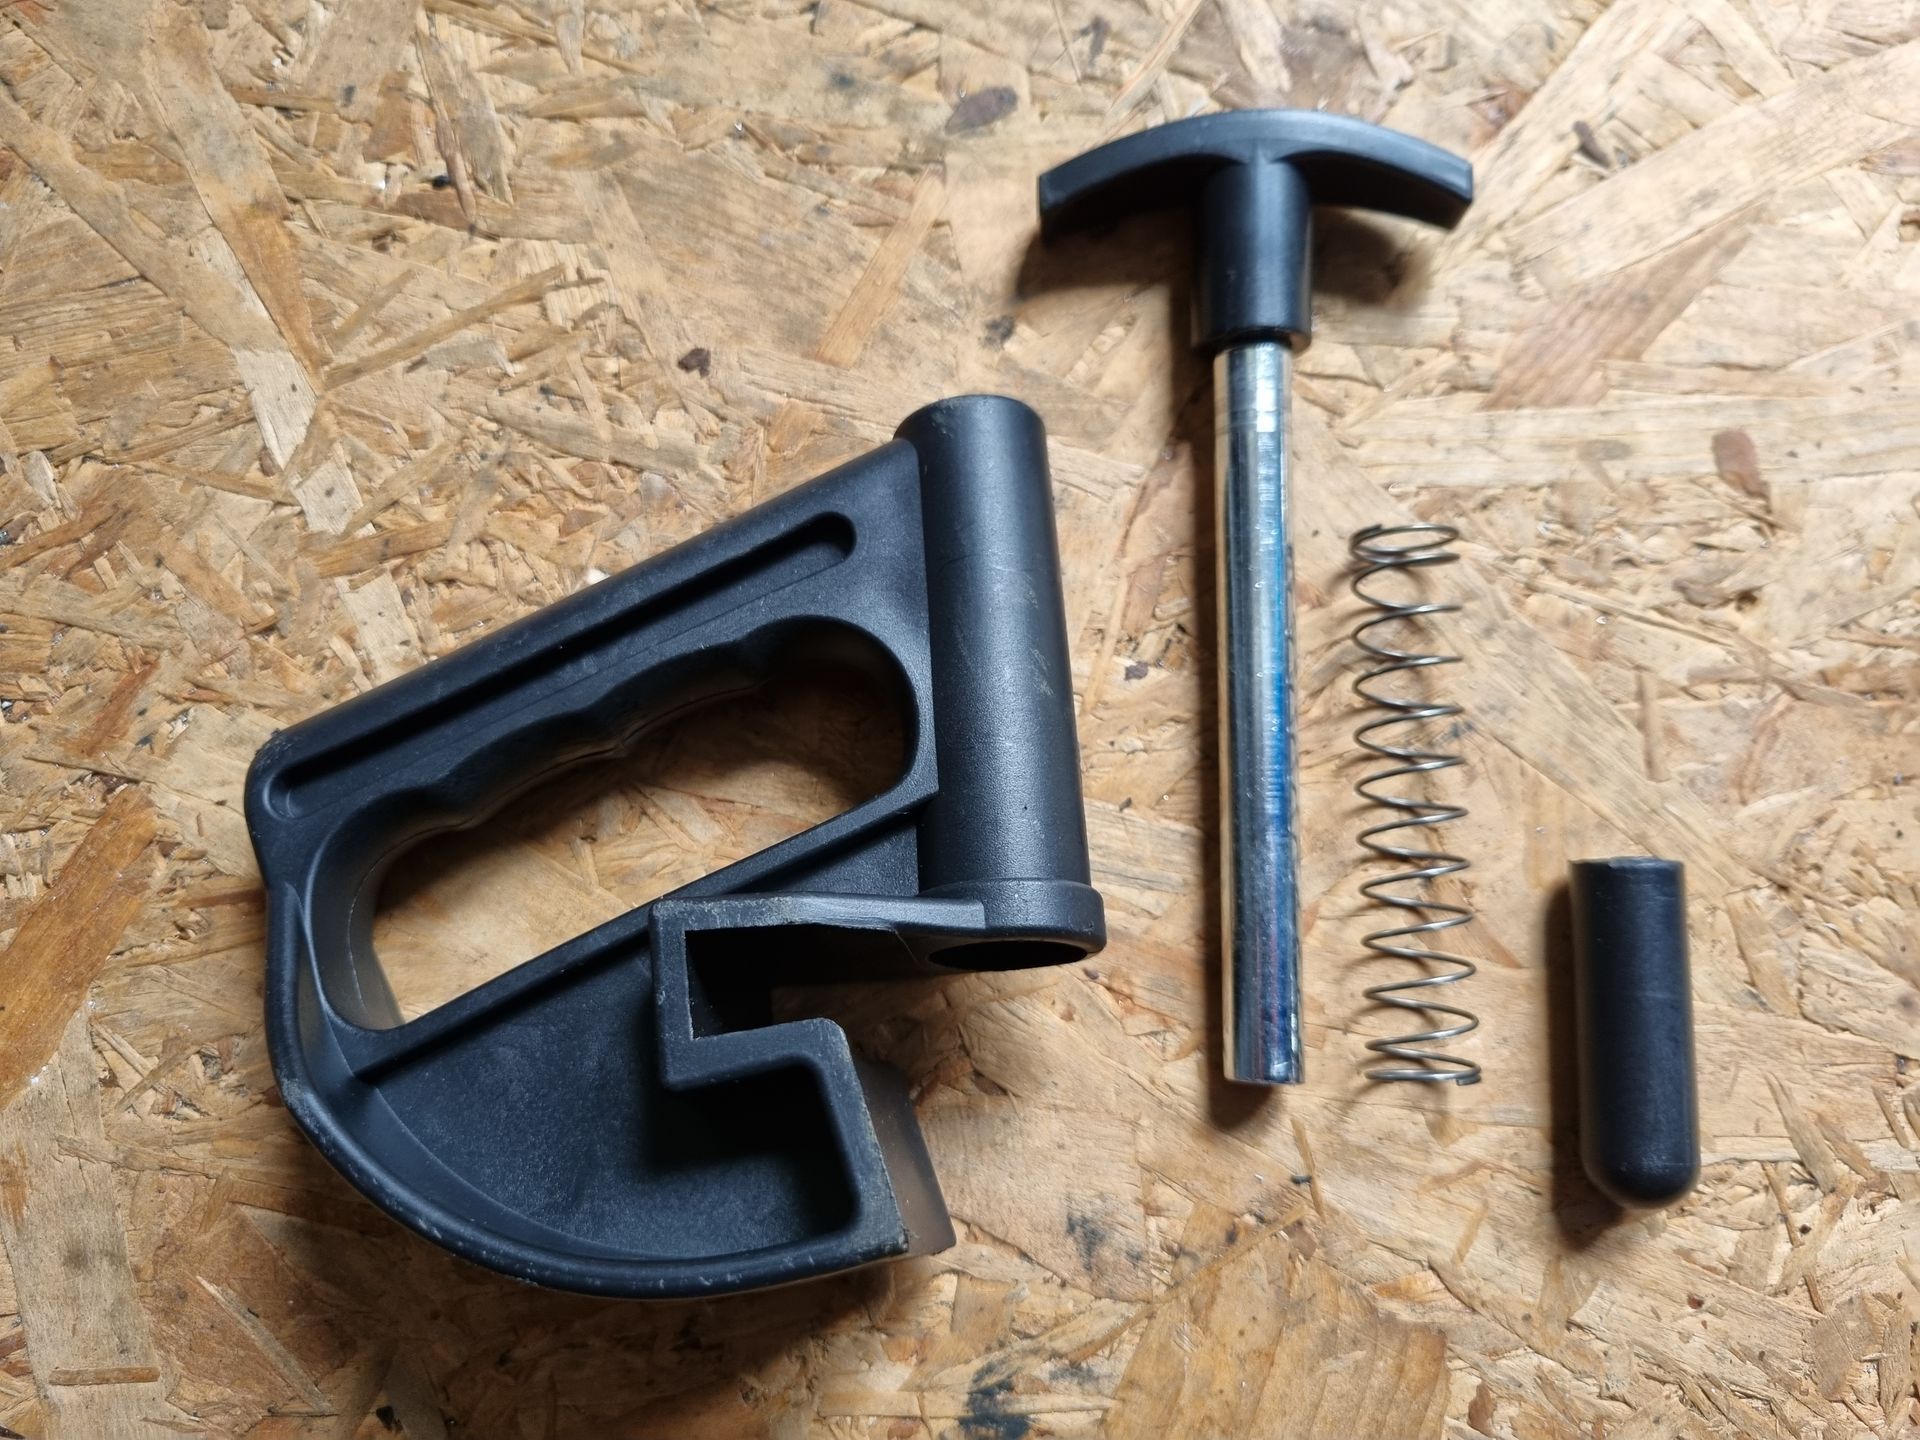
You can reuse the plunger and spring from the purchased ones.
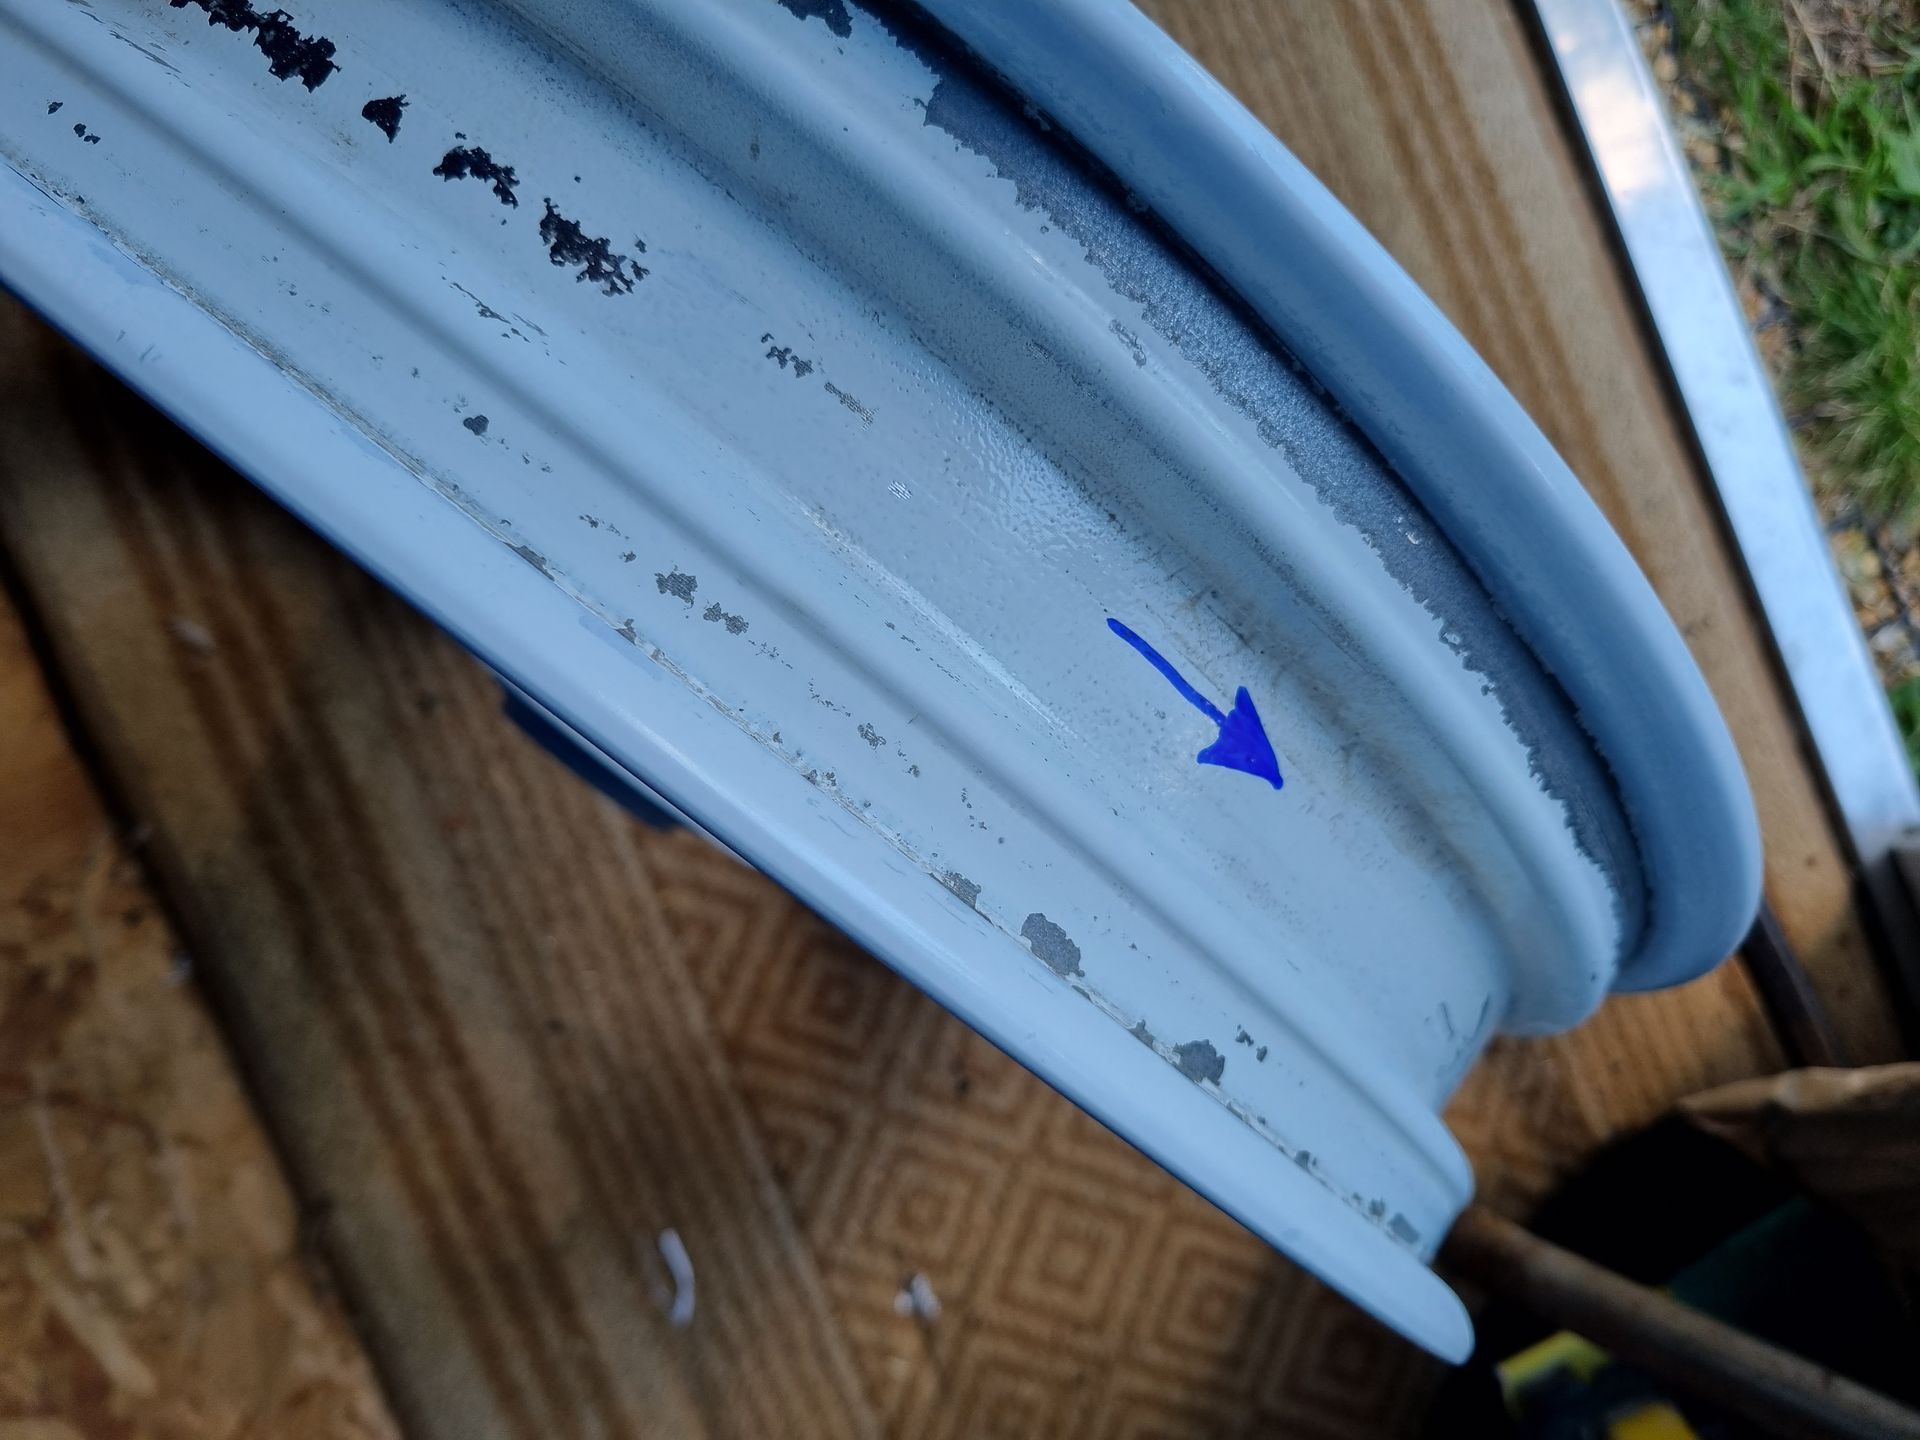
Useful tip 1, make sure wheel and tyre direction match!
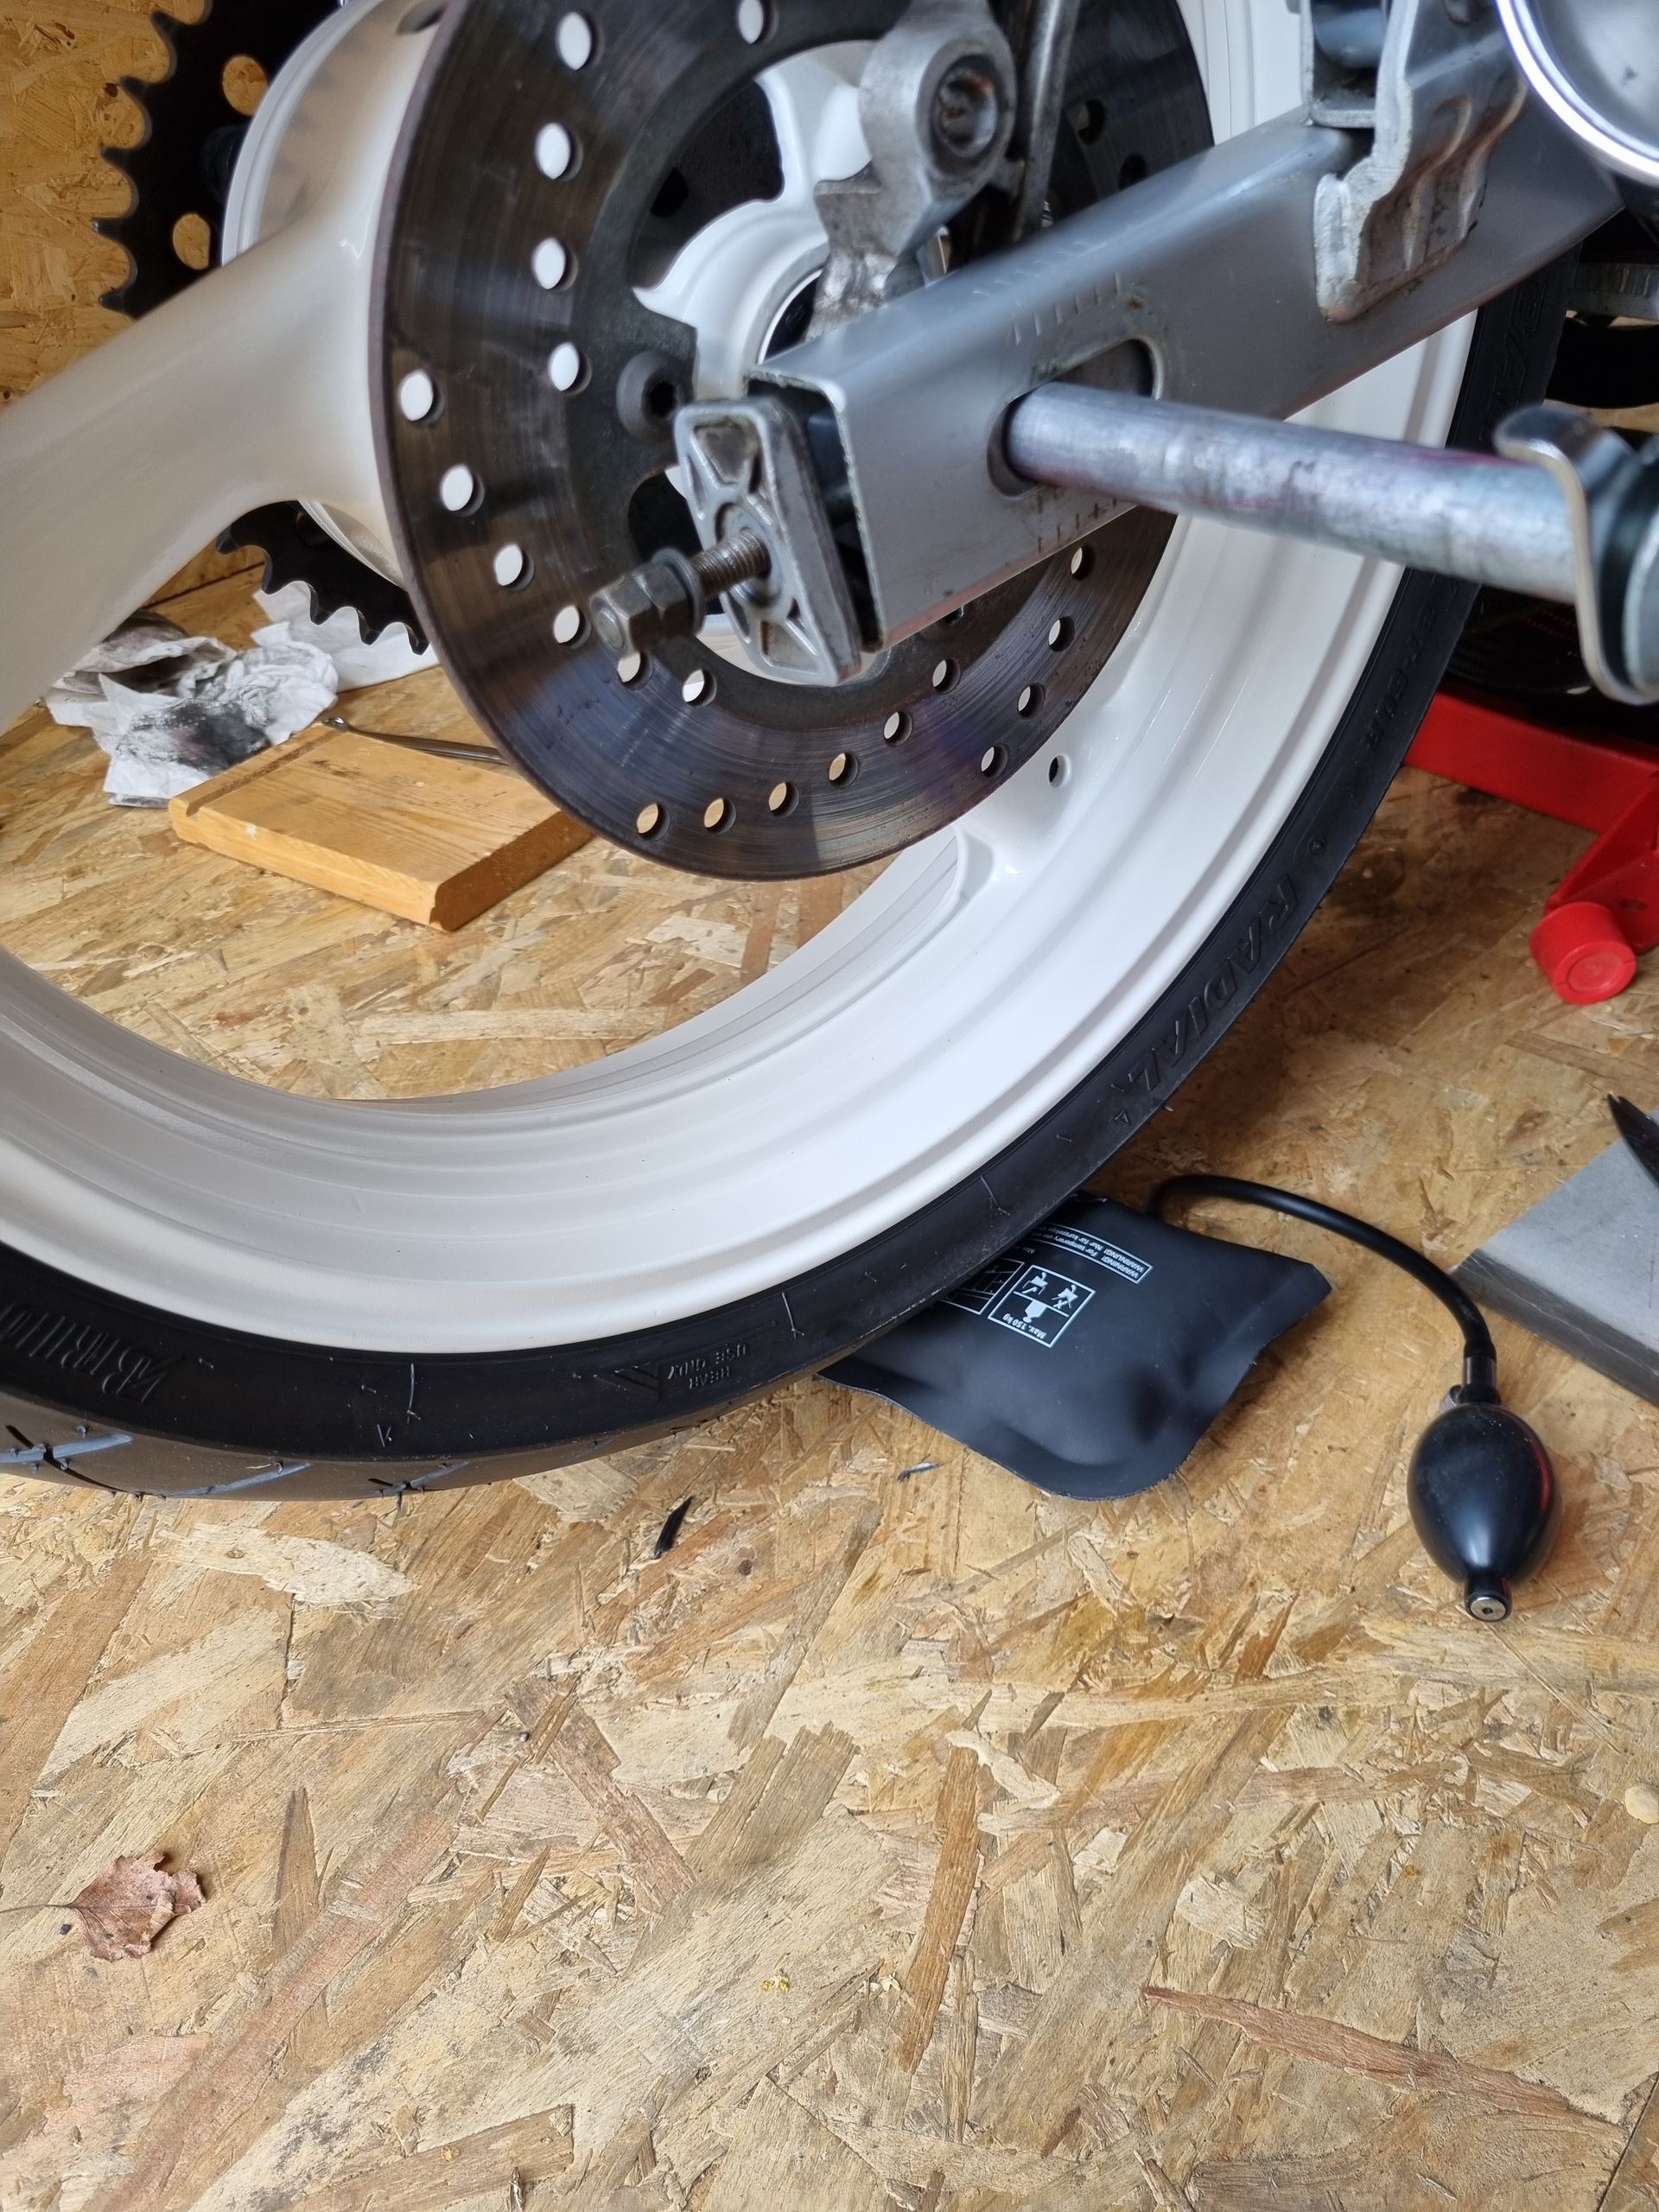
Useful tip 2, these little inflatable lifting bags (designed for fitting doors etc.) are really helpful when it comes to putting your wheels back in.
