Monday Articles April 2020
Yet more mould making this week. This time it's the air box to carb boot. Lots of angular faces and radii to deal with here, which has made determining how to section it up quite interesting. This mould is also going to be thinner than I usually make them as I think it may be difficult to remove if it is too rigid.
This is the first section, all marked out using the moulding wax, polished and ready for gel-coat.
This is the first section, all marked out using the moulding wax, polished and ready for gel-coat.

Gel-coat applied...
Chopped strand mat added. This has had two layers of surface tissue an two layers of 450gsm mat.

Edges trimmed, ready for the next section.
Another moulding wax barrier added, some more layers of polish added and it's ready for gel-coating the next section.
Gel-coat added, by next week, this section will be complete and hopefully the other two sections as well.
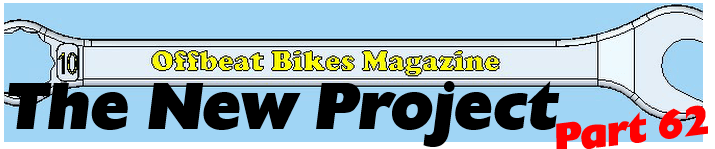
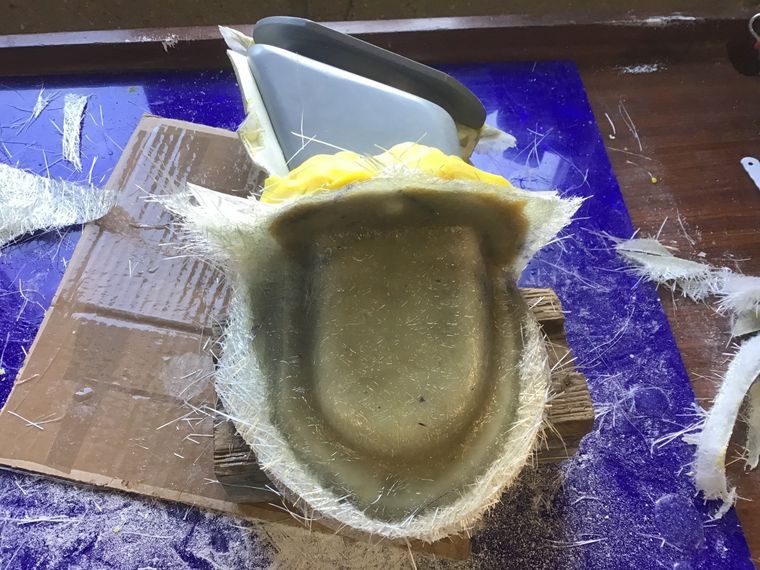
Next week has arrived, the second section has been laid up and the yellow wax barrier for the third section added.
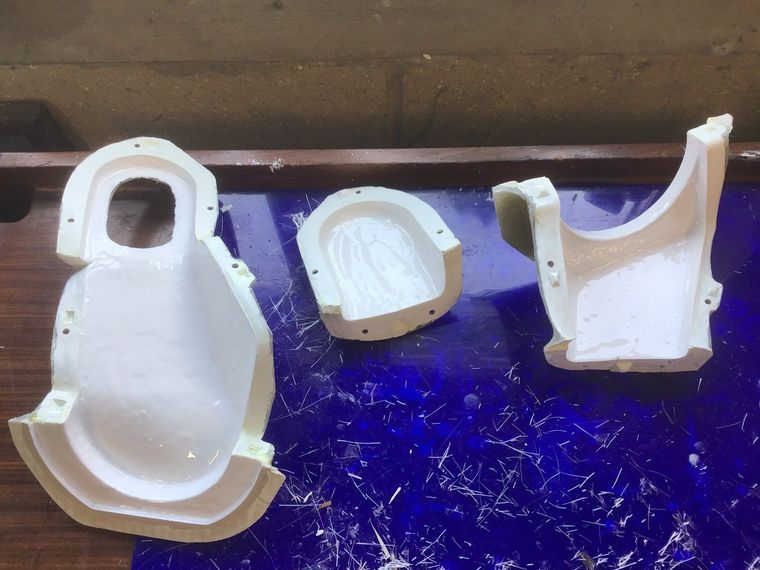
Third section done. At this stage I decided to make the mould a five, rather than a four piece mould. (Given then shape of the last section, I wasn't sure how easily it would come off, so I decided to split it.)
Here's a picture of that final section, now split in half with yet another wax barrier.
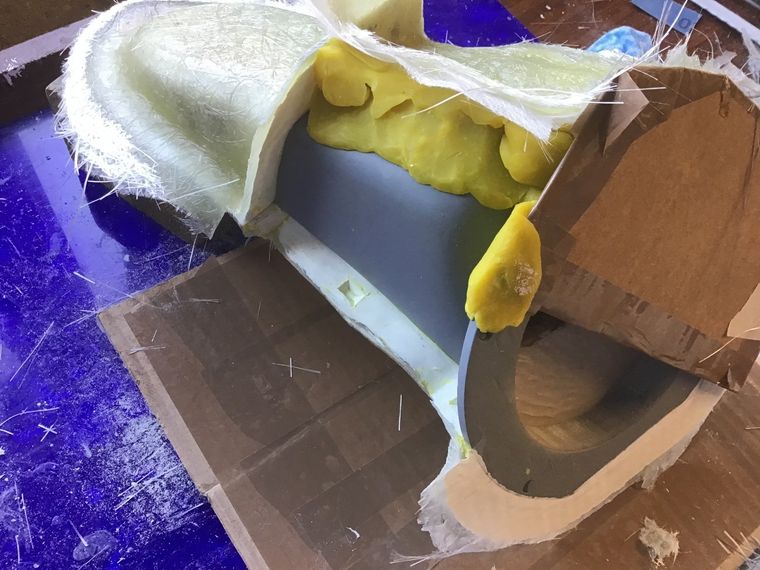
And the final section all done. Just need to give it ample time to cure, and then it's time to see if it'll come off the pattern.
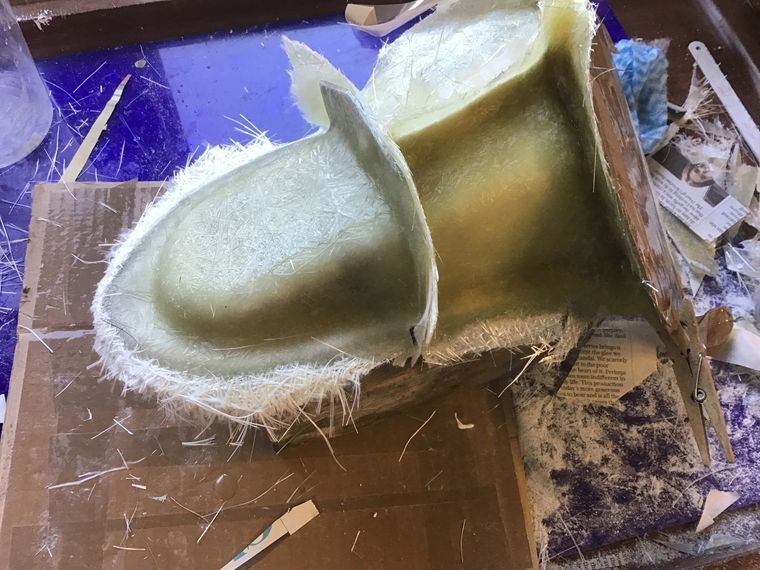
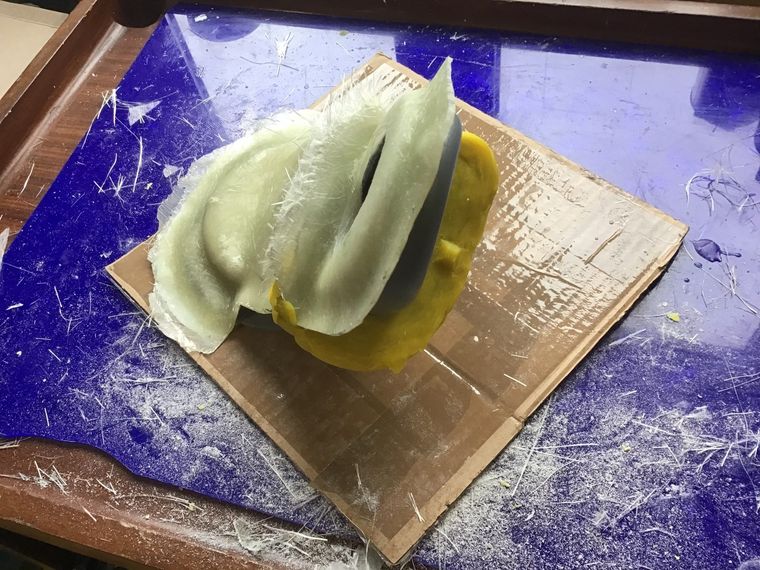
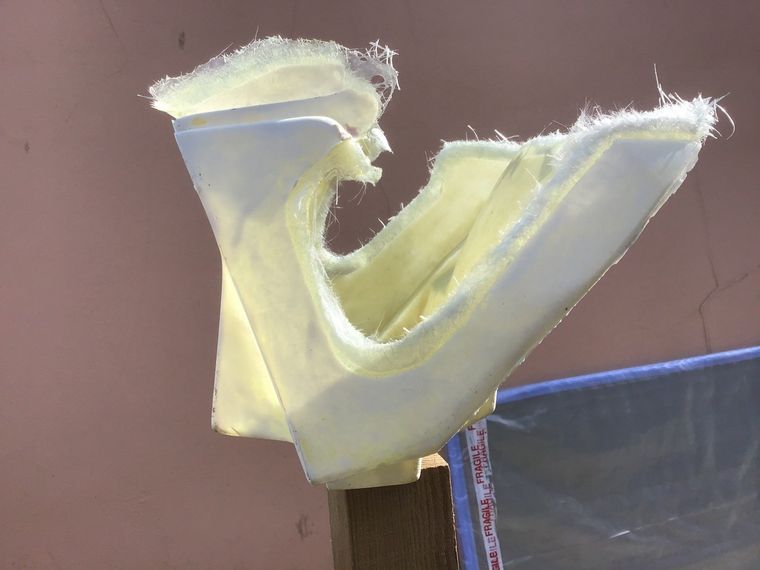
It's off. Surprisingly, this came off without much of a struggle - and the pattern is still in one piece! There's some cleaning and a little filling to do, but it's not bad at all.
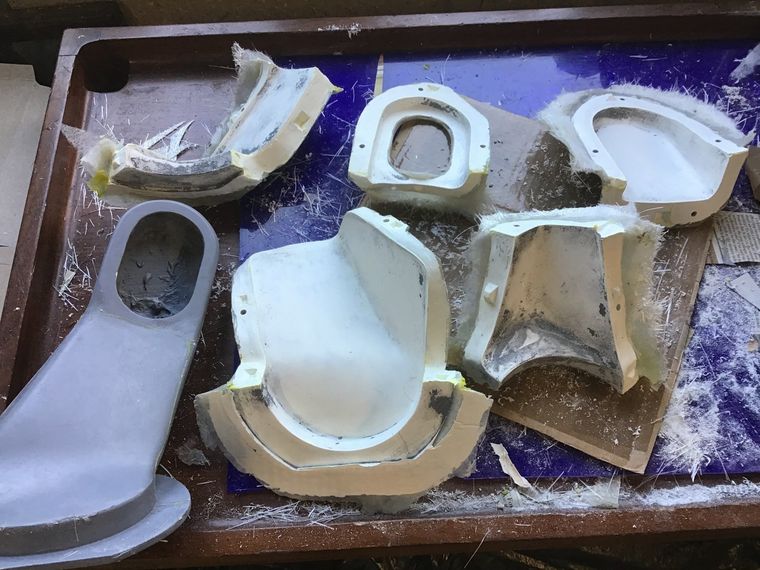
A few minutes with the angle grinder has tidied up the edges.
Finished mould bolted back together. Due to the awkward shape, I don't think I'll be able to lay this up as a one piece moulding. It'll have to be made in two parts and then joined - but that's something to think about for another day.
I’ve taken a break from fibreglass this week to progress another ongoing project - a Moto Morini Corsarino.
What started as a simple ‘Take the front wheel off to see why the front brake is so dreadful’ has now turned into ‘There’s a bit of play in those forks and the tyre’s perished. Might as well clean up the rim and spokes, fit new wheel bearings, rim tape, tube and a tyre. Then have a look at the fork bushes, and oh look, one of the fork springs is broken. And, as you’ve got this far, you might as well check the steering head bearings as well’. I haven’t actually looked at the brake yet…
You can read more about this project HERE.
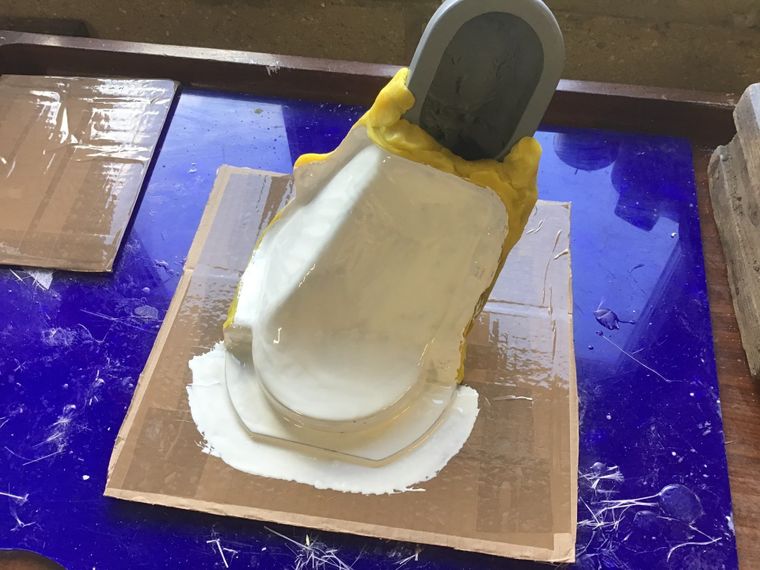
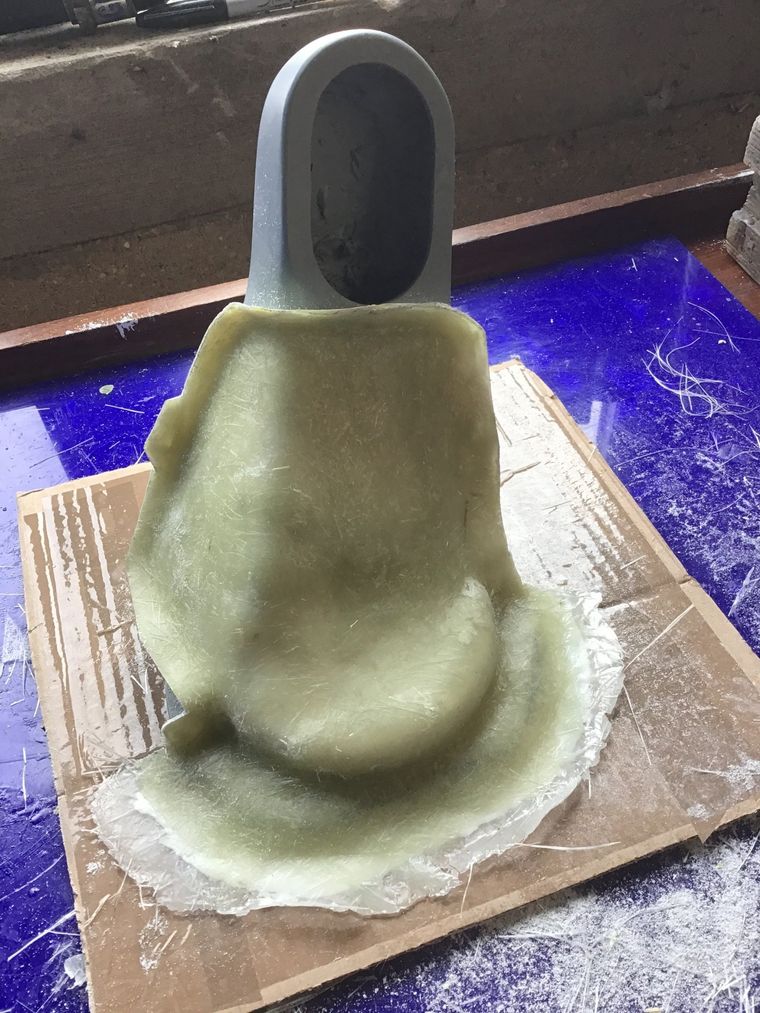
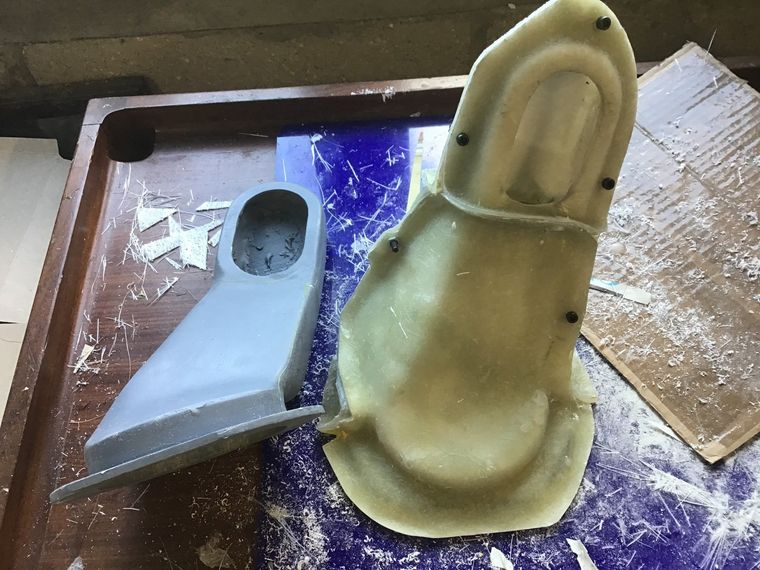
Back to fibreglass work this week, starting with the air box. With the mould bolted together and suitably polished with release wax, it was laid up using a surface tissue layer and two 450gsm chopped strand mat layers, plus some overlapping reinforcing strips at the corners.
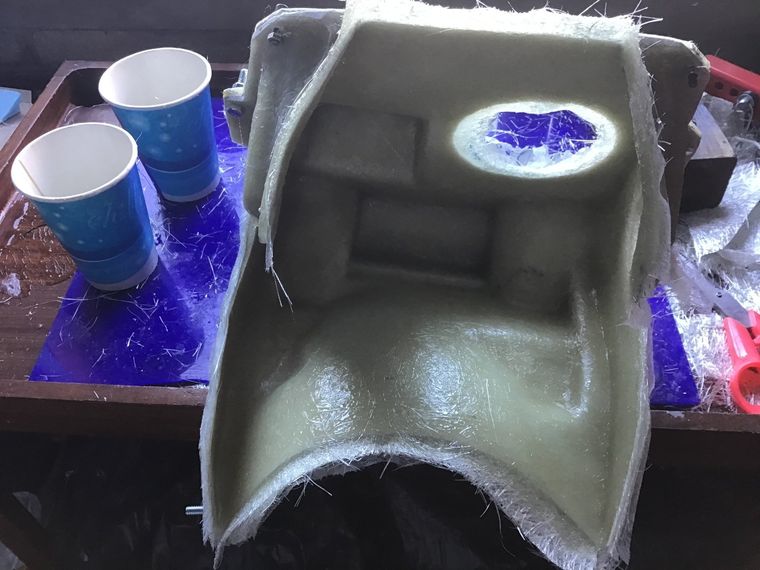
I must have done a good job with the wax this time as this came out of the mould with very little fuss. There are (as usual for me) a couple of areas that need a little extra attention, but mostly, it's all good. It needs trimming, and as the side panels will mount to the air box, some reinforcing strips will be added when the location of any mountings has been finalised.
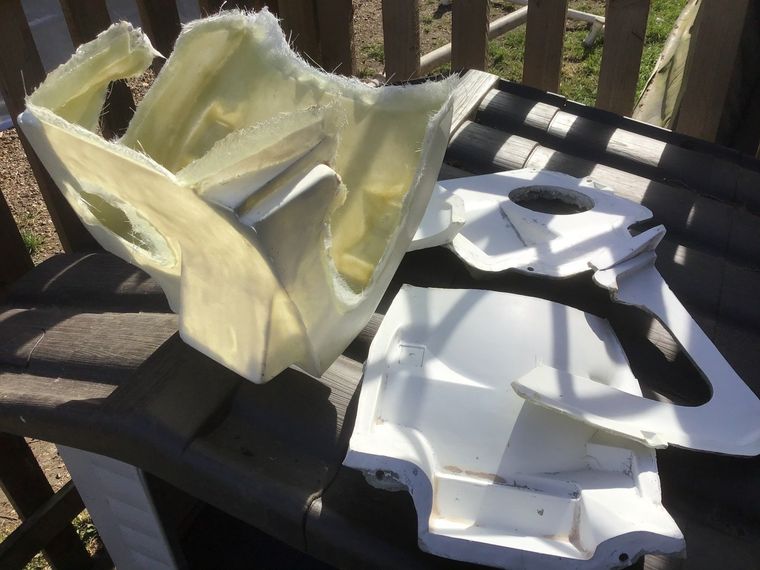
Another view of the air box, basking in the April sunshine.
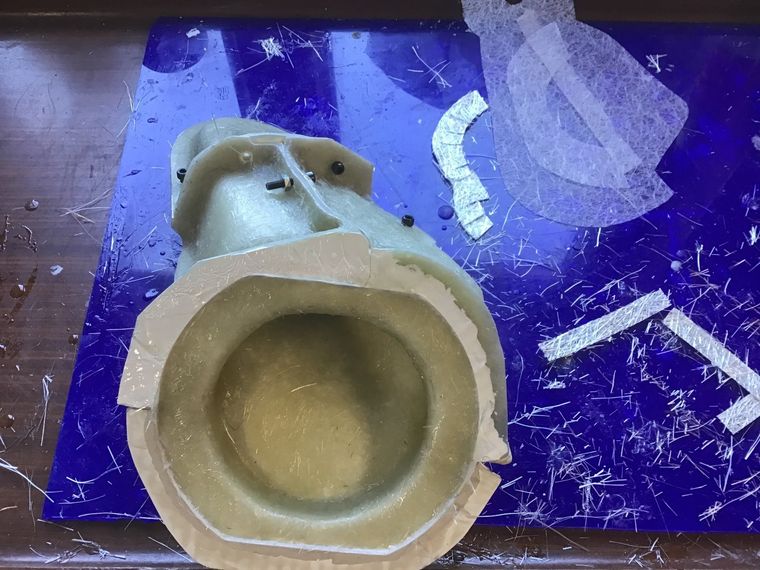
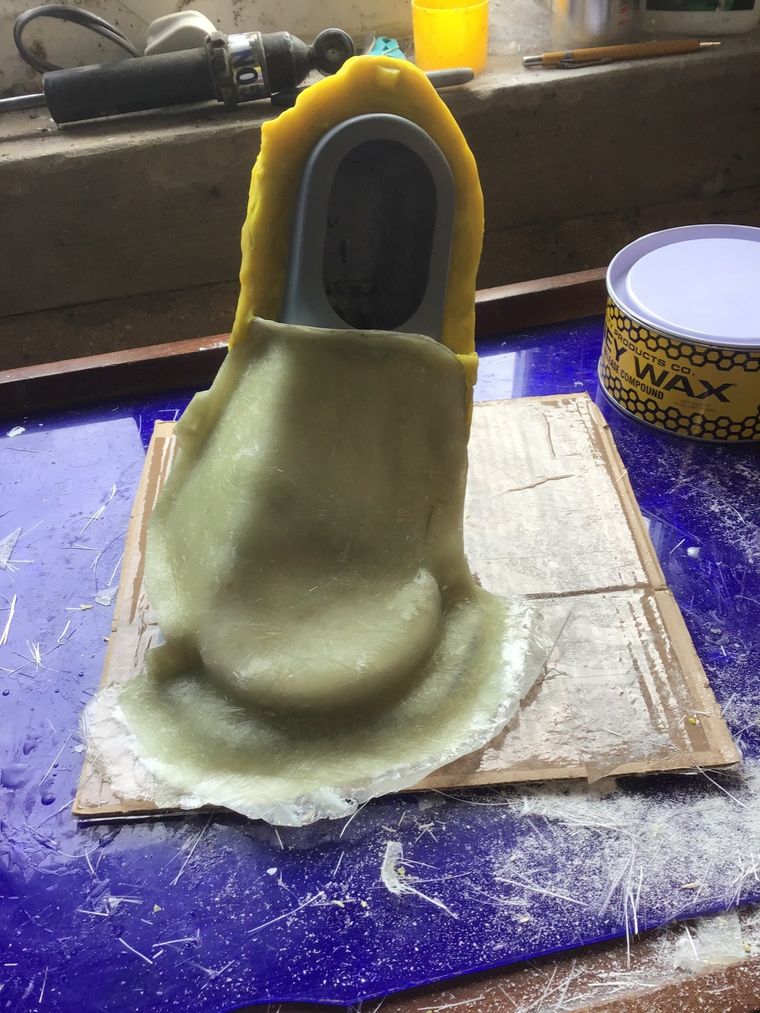
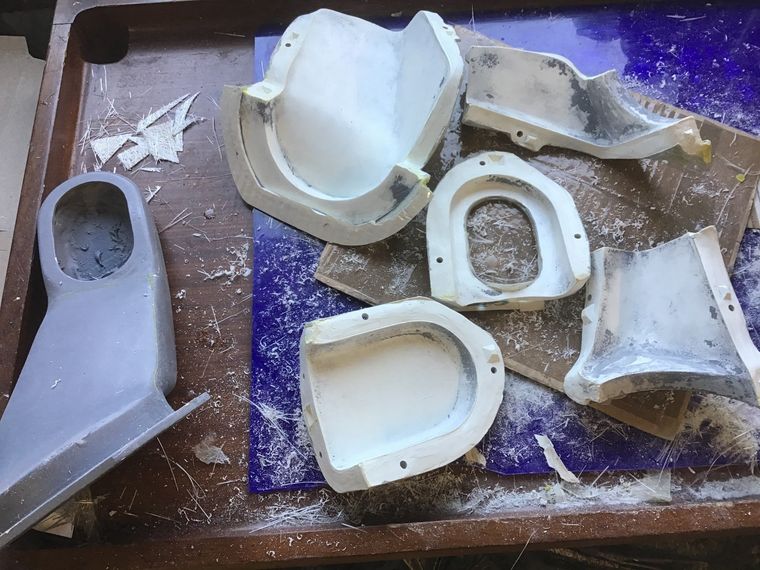
Making the paper templates for the chopped strand mat is quite time consuming, doubly so for the air boot as this is going to be moulded in 3 parts and then joined. (The size / shape of the air boot means that it can't be moulded as a complete unit.) The mat has to be cut accurately as it needs to fit snugly in the mould, ideally a little short of the mating faces, so that complete mould can then be bolted back together and the three parts joined using extra strips of fibreglass.
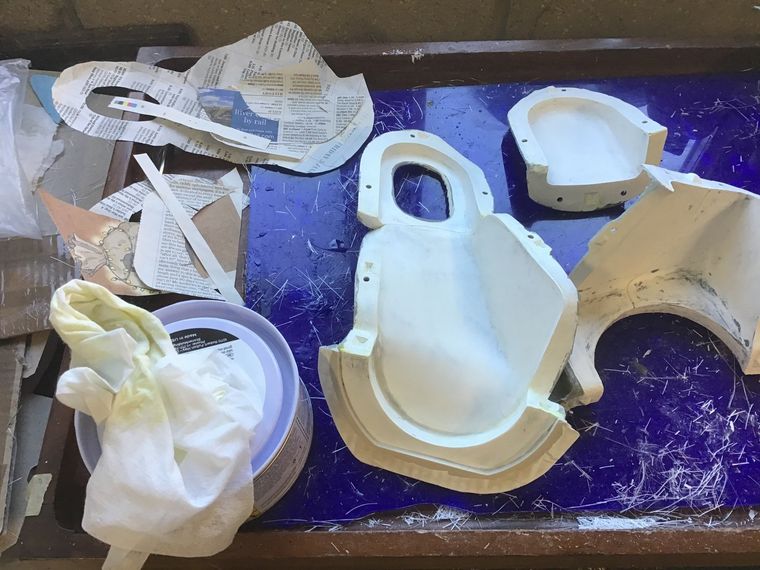
Gel-coat neatly applied to the three parts of the mould. This is where it started to go wrong as I eventually realised (after waiting for some time) that I'd forgotten to add the catalyst to the gel-coat! I now had two options:-
i) Clean off the gel-coat and start again
or
ii) Slap the chopped strand mat on top and hope that the catalysed resin 'might' at least partially cure the gel-coat
ii) Slap the chopped strand mat on top and hope that the catalysed resin 'might' at least partially cure the gel-coat
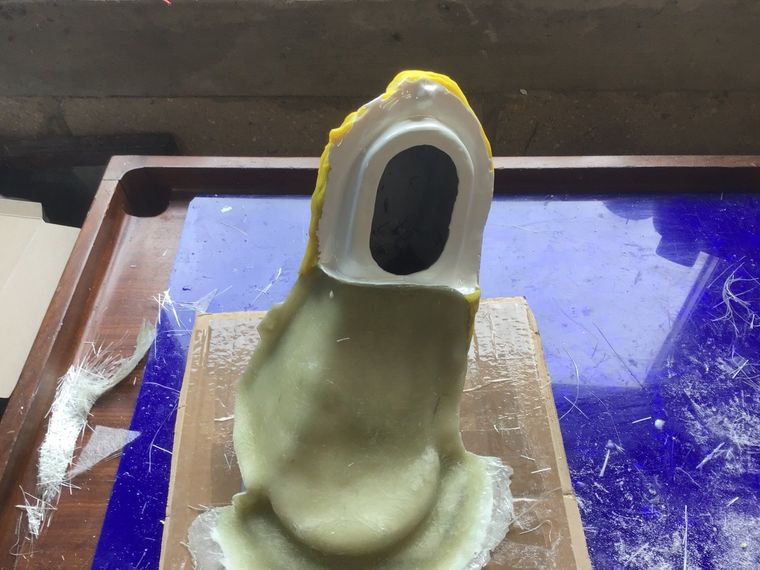
As you can see from the picture below, I went for option 2. I'll tell you how it worked out next week..
(Forgetting the catalyst wasn't the only thing I forgot. You see those pieces of surface tissue on the right, they should have been in the mould as well. Never mind, I may well be making this again!)
(Forgetting the catalyst wasn't the only thing I forgot. You see those pieces of surface tissue on the right, they should have been in the mould as well. Never mind, I may well be making this again!)