Workshop Blog April 2023
April is gone, May is here, we’re nearly half way through the year!
All this time has been and gone, but I still haven’t got this project done.
Anyway, enough poetry, this is what I have managed to do to the bikes this month. This month’s photos are dreadful, sorry. I must try and do better…
Oh heavens, I’ve actually managed to make the bezel and it kinda looks okay!
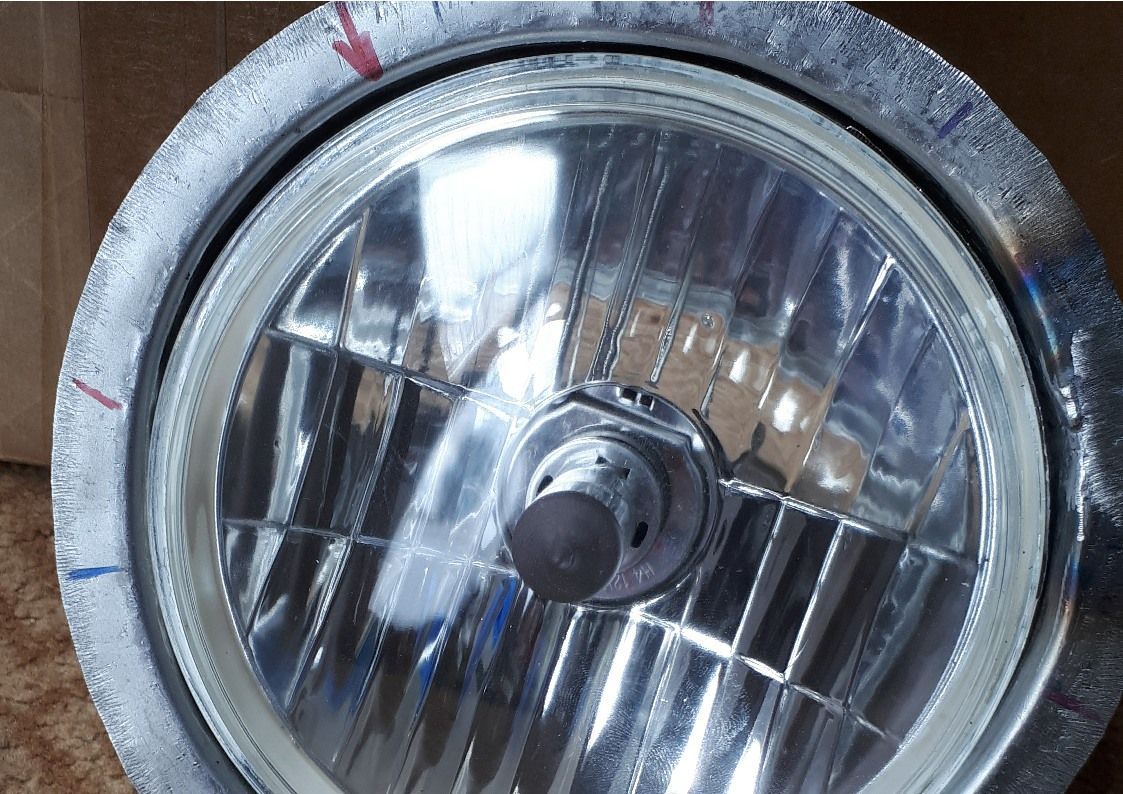
So after manipulating the world’s most tortured piece of metal some more (shrink, stretch, hit with hammer, repeat randomly in the hope it’ll magically become perfectly round etc.) I took the plunge and welded up the ring (had to add a little bit as I’d trimmed it too short - duh!). It still wasn’t terribly round, as you can see in the first picture, so I tortured it a little more (the headlight’s in the wrong way round for testing purposes as it won’t fit properly until the inner flange is trimmed) until I’d got it as good as I was ever going to manage.
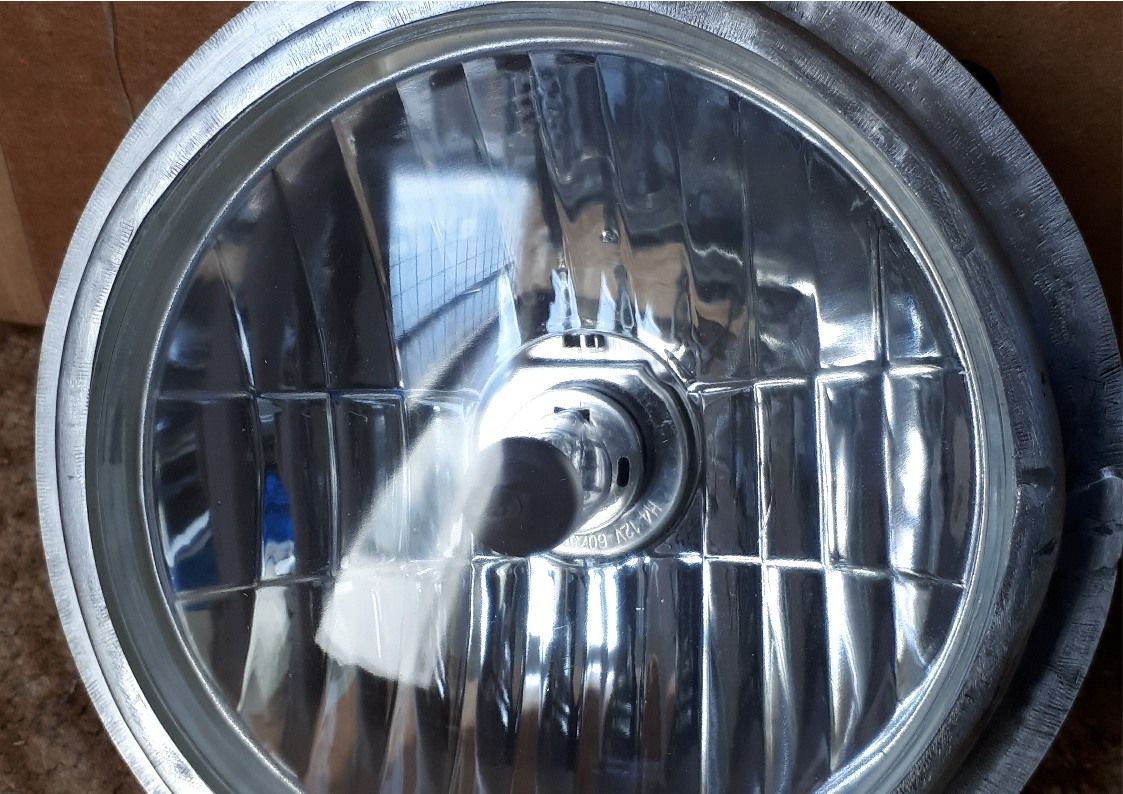
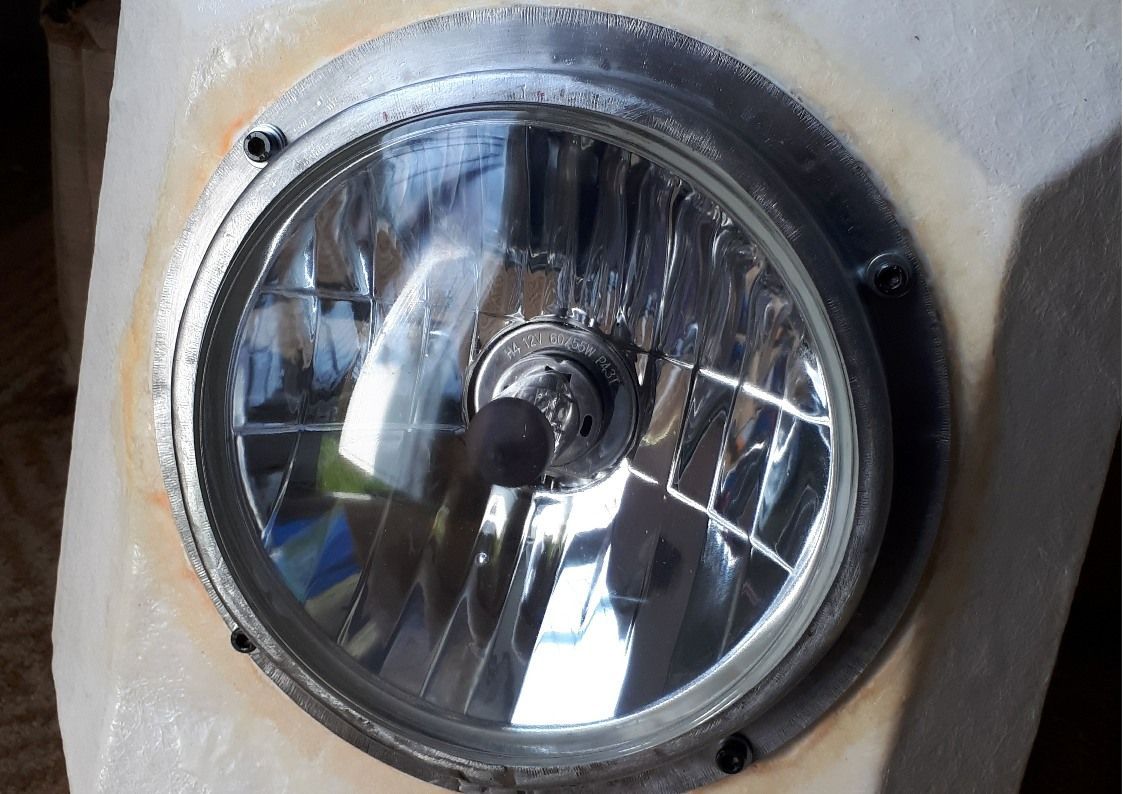
Now it was time to trim the inner and outer flanges to size and try to fit the headlight in the correct way round - and it’s turned out not too bad (second picture). I’m not pretending that it’s perfect, and many a seasoned metalworker would be having nightmares if they saw it, but I’m actually quite pleased. I was intending to make a grill to go over the headlight - not really to protect the light, more because I thought it could help disguise the imperfections in my fabricated bezel, but it may not be necessary. It looks okay mounted on the front cowl (picture 3).
But that’s not the only bit of project bike I’ve managed, as I’ve started having a redesign of the ugly indicators.
I bought some TPU material for the 3D printer. This is, for want of a better description, rubbery. While I’m quite used to the 3D printer being able to print with a rigid material, the fact that it can also print rubbery stuff is a little freaky. (It’s a fairly hard rubber, but there’s some flex in it and it’s tough, it’ll withstand some fairly severe pulling forces.)
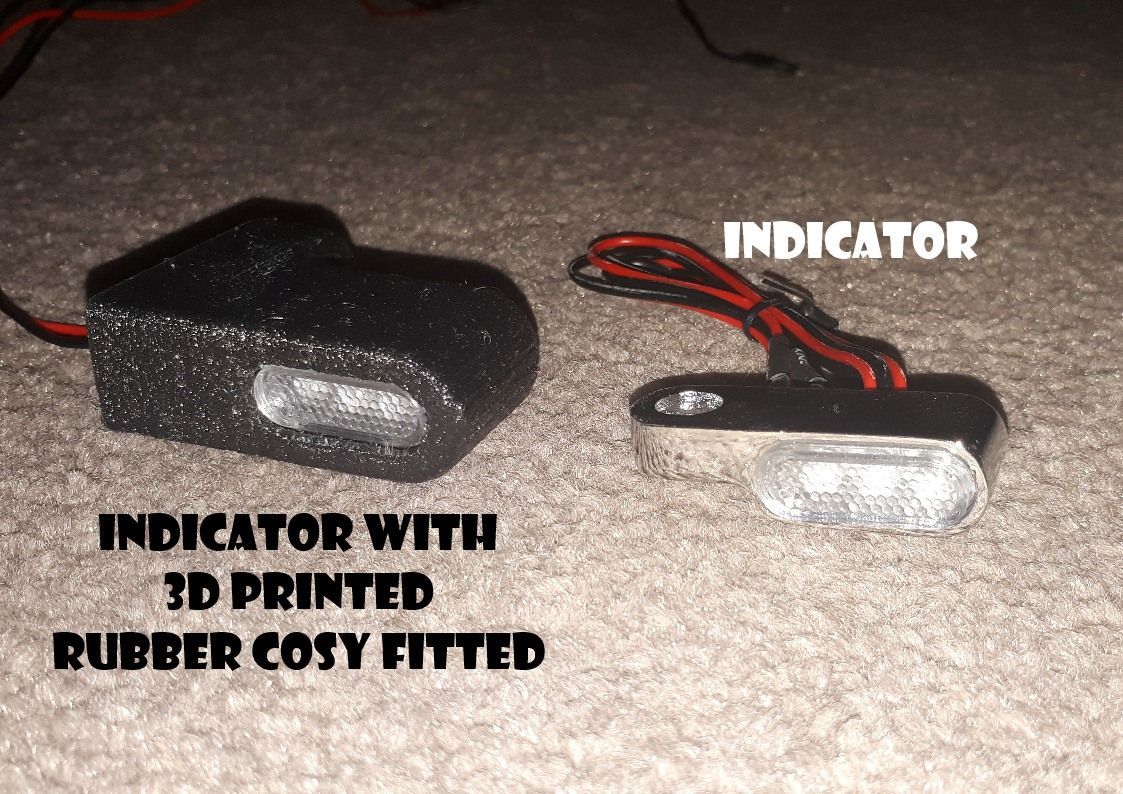
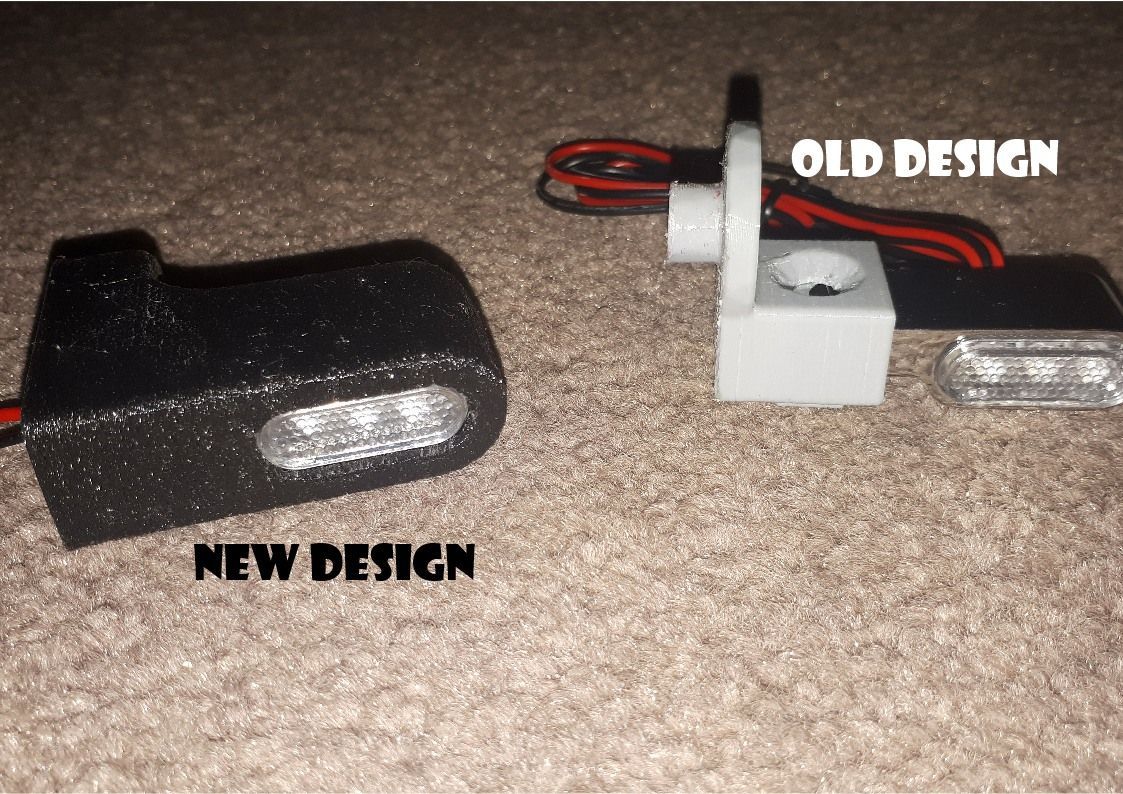
I used this to print what can only be described as a rubber cosy to go over the aluminium indicators. Took a couple of attempts to get the fit exactly right, and I may yet tweak the design (and print it using finer settings) but I think I like these much better than the original indicator mounts.
The rest of my precious tinkering time this month has been spent sorting out misbehaving motorcycles.
The original IbiiS (see
HERE if you haven’t already met it) was due to have one more trip out before becoming an ornament in the living room. Checked it over the week before, everything seemed okay, started and ran nicely. Come the big day, pulled it out of the garage and pressed the starter - nothing. I had some time in hand, so I connected it up to the battery charger for a while, but still nothing. Hurriedly stuff it back in the garage and haul out the SRX, praying that this won’t require too many kicks to burst into life. Thankfully second kick and we were away.
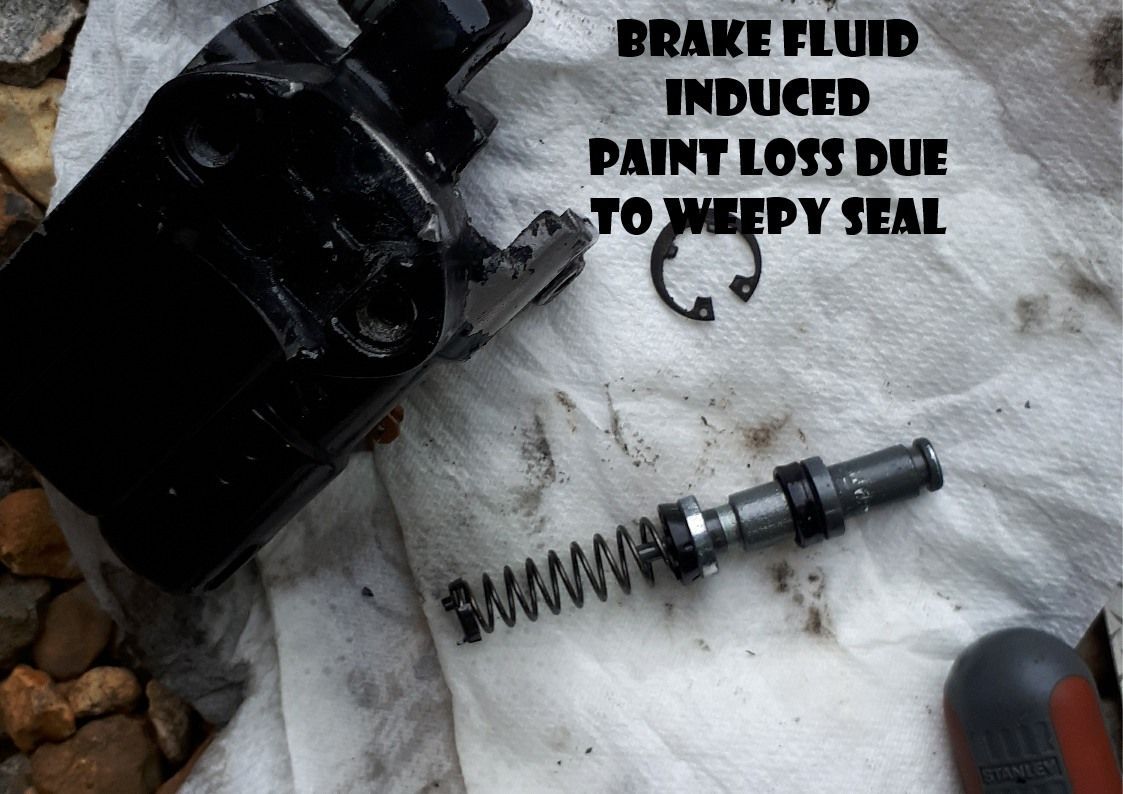
Did notice, however, that the front master cylinder had a little weep. Goody, something else to fix along with the recalcitrant IbiiS!
Whipped the master cylinder off the SRX on my return home assuming that I’d be able to get an aftermarket rebuild kit for £20 or so, but no. This SRX, being a grey import uses a 14mm bore master cylinder. The only kit I could find was an OE Yamaha one at the best part of £80. Well that wasn’t happening.
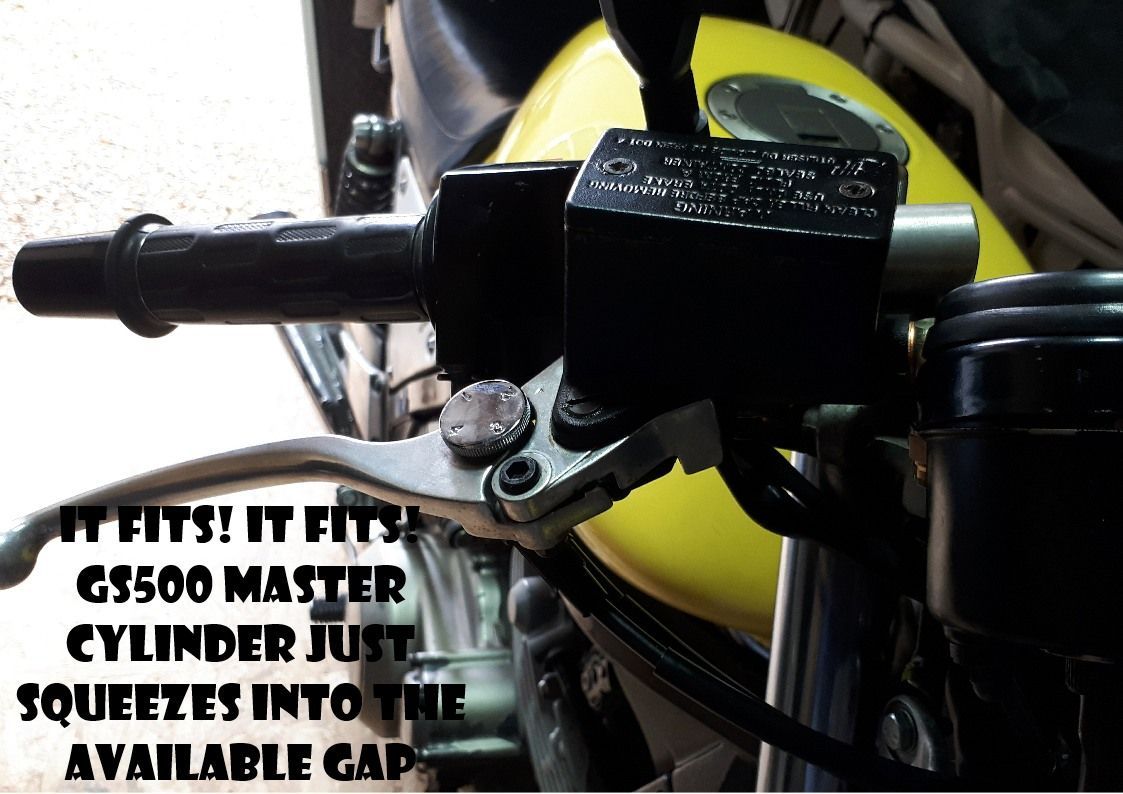
Did a bit of research on master cylinder bores and their effects on brake operation and decided that it might be interesting to test the 1/2” bore master cylinder from the recently retired GS500, so I did. It fits! It’s a little tight and needed a light tickle with the die grinder on the handlebar clamp to get it fitting nicely, but it’s on, and I like it.
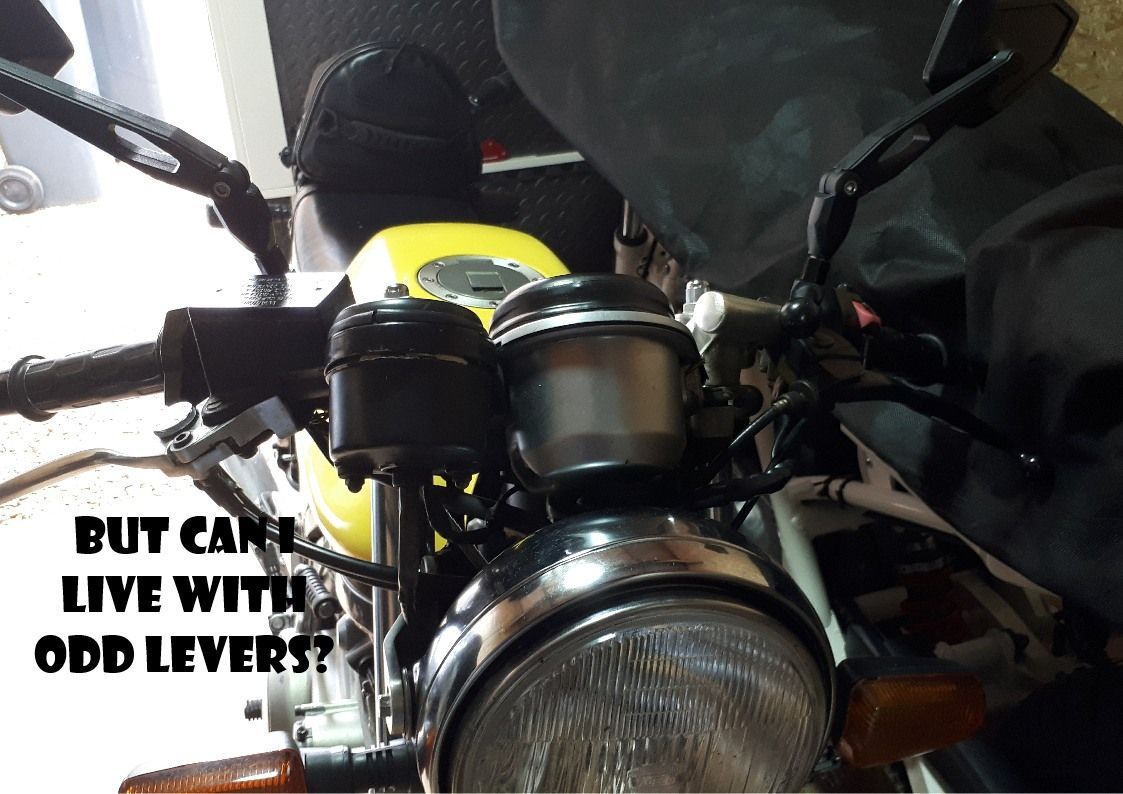
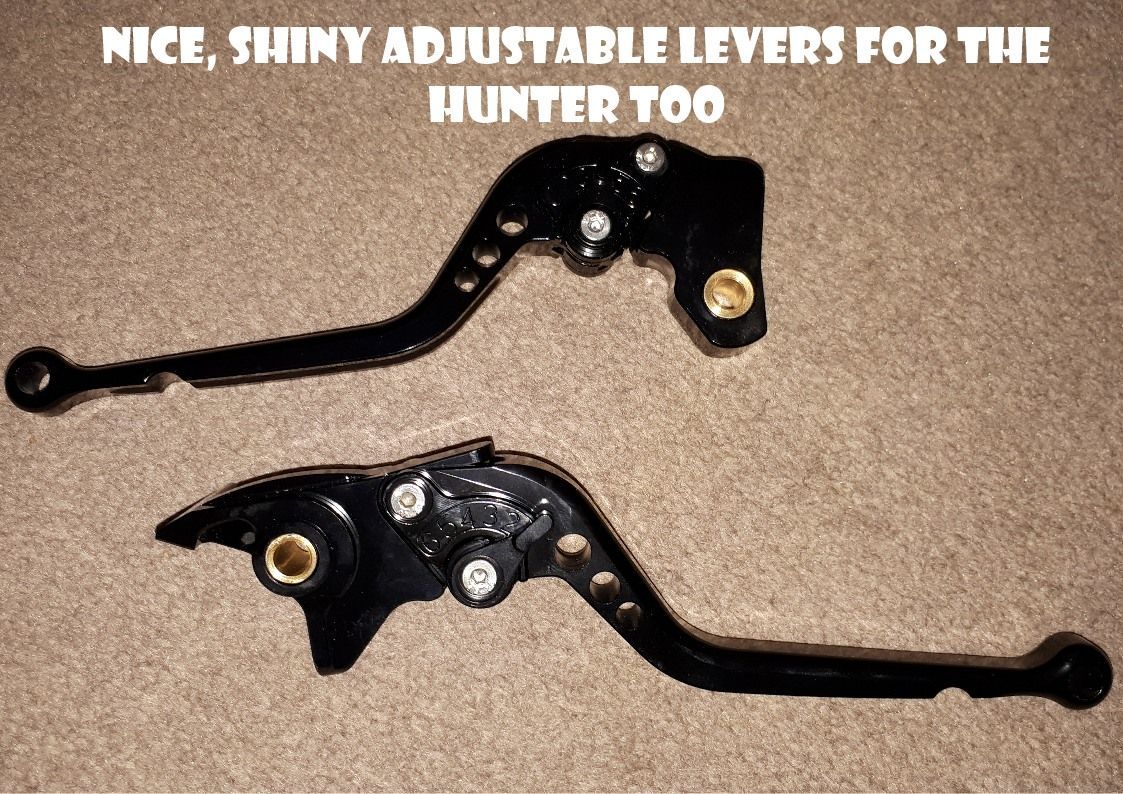
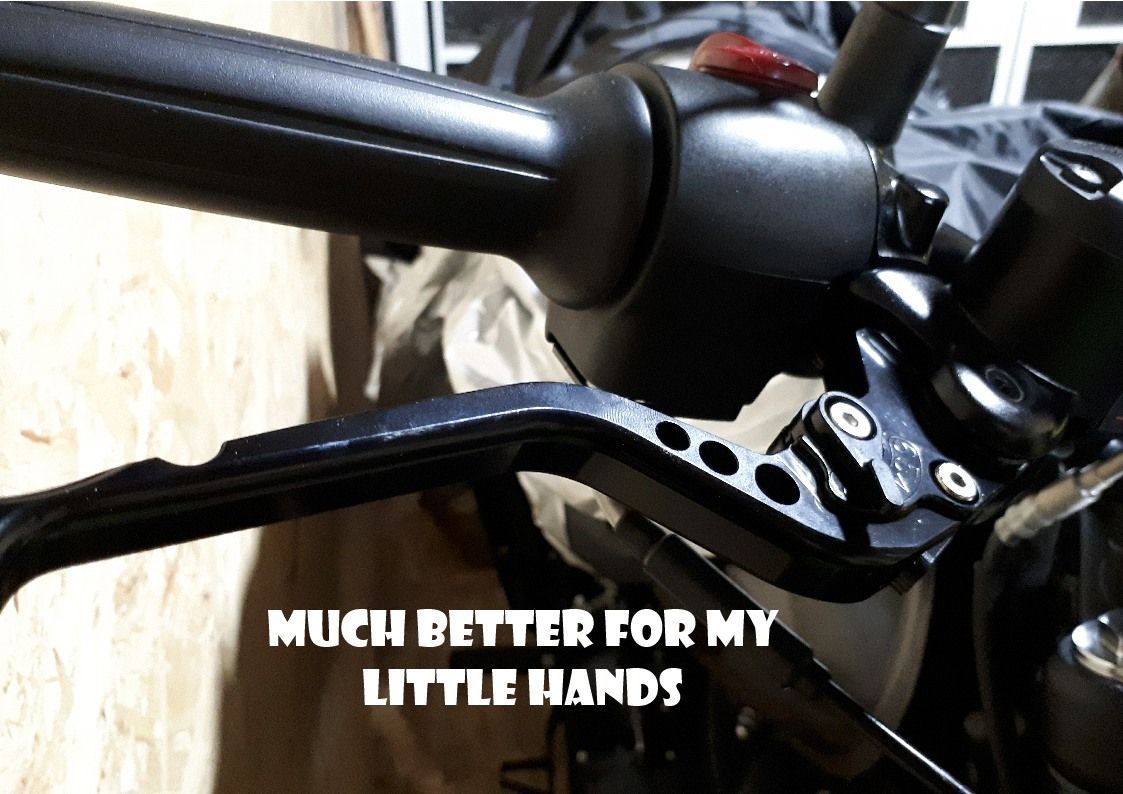
The brakes before felt a little wooden. Now there’s much more feel at the lever, and that lever is also adjustable to better suit my tiny hands. Unfortunately, due to thread differences, I also had to swap my nice chrome mirrors for the black plastic ones that the Suzuki wore, but it’s a small price to pay for improved braking feel at no cost to me. Now I just have to decide if I can live with having a silver brake lever and a black clutch lever…Just so it didn’t feel left out, the Hunter got his levers replaced with some adjustable ones. Much better for my tinky winky hands.
And finally… the IbiiS got a replacement battery (the one that was removed from the old GS) and has now had its final journey. It managed to make it to Krazy Horse, just two weeks later than originally planned. Now I just have to work out how to get it into the house…
