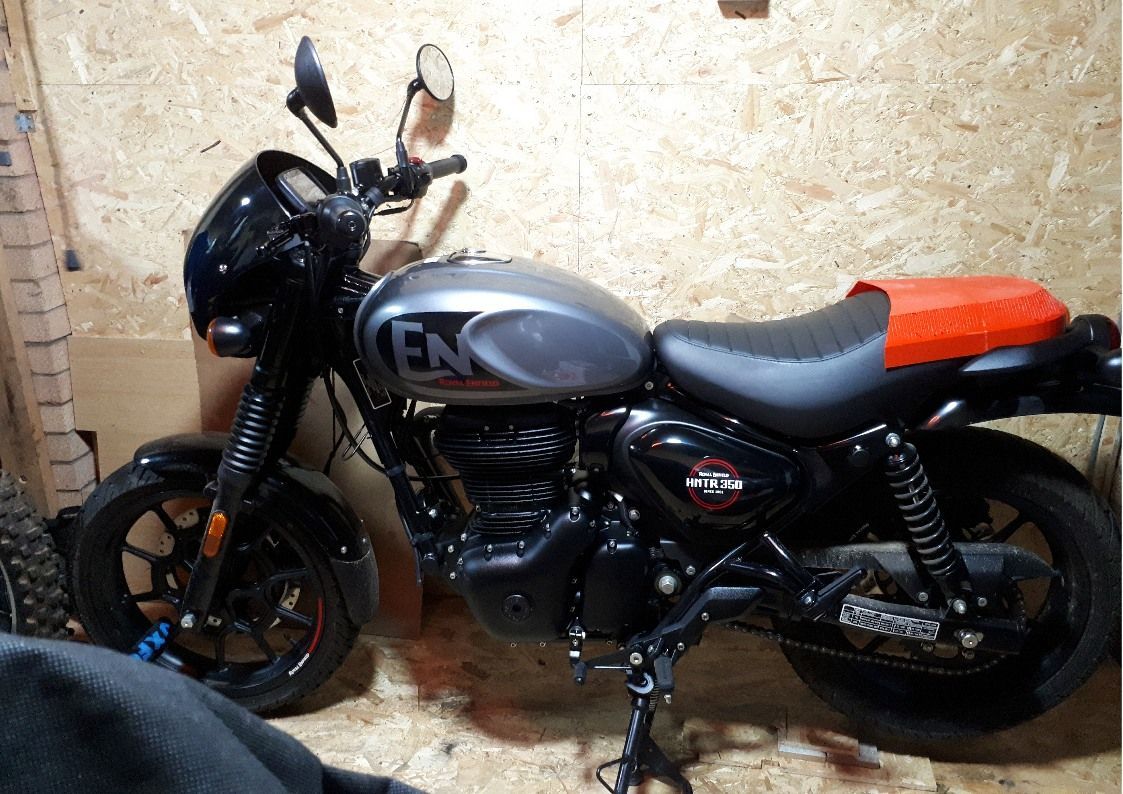
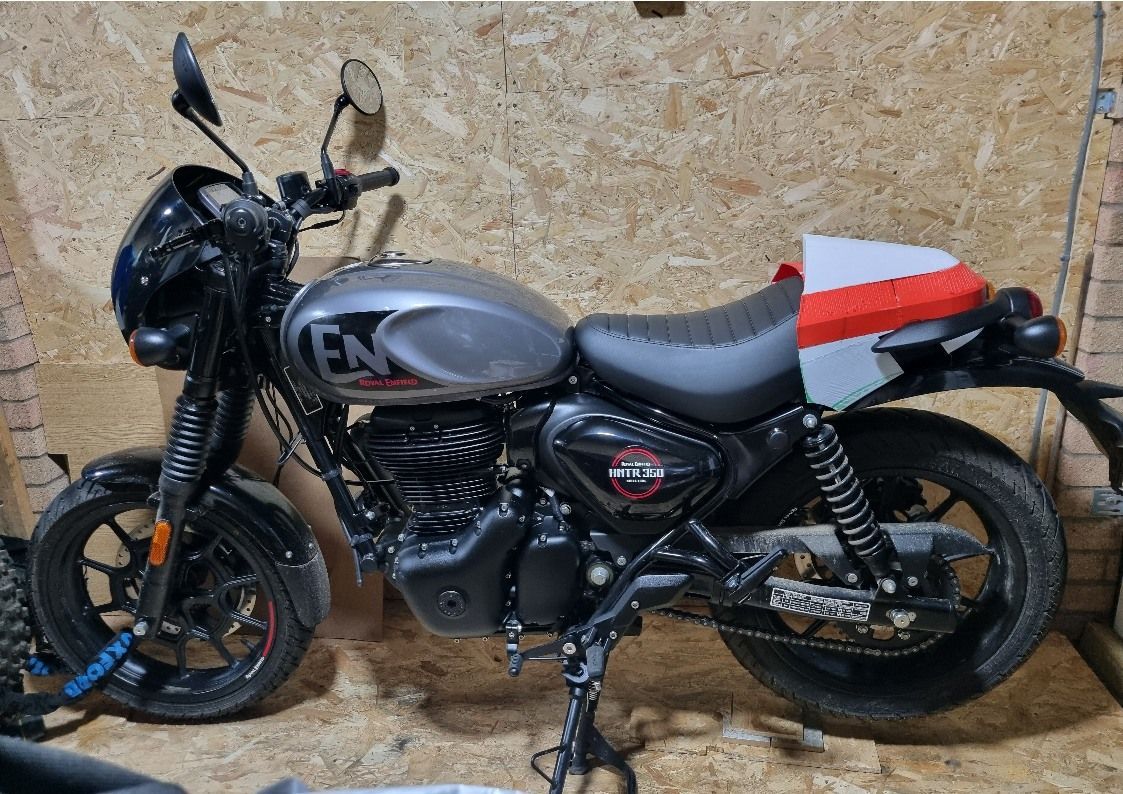
Workshop Blog February 2024
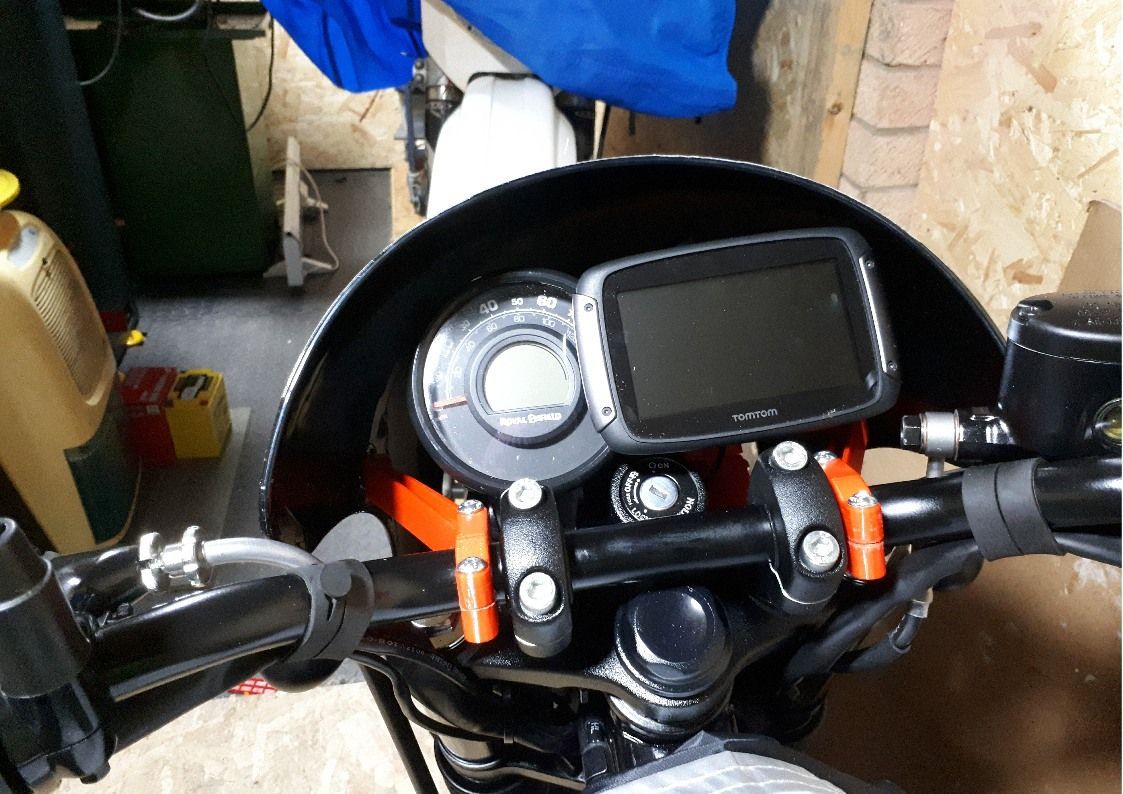
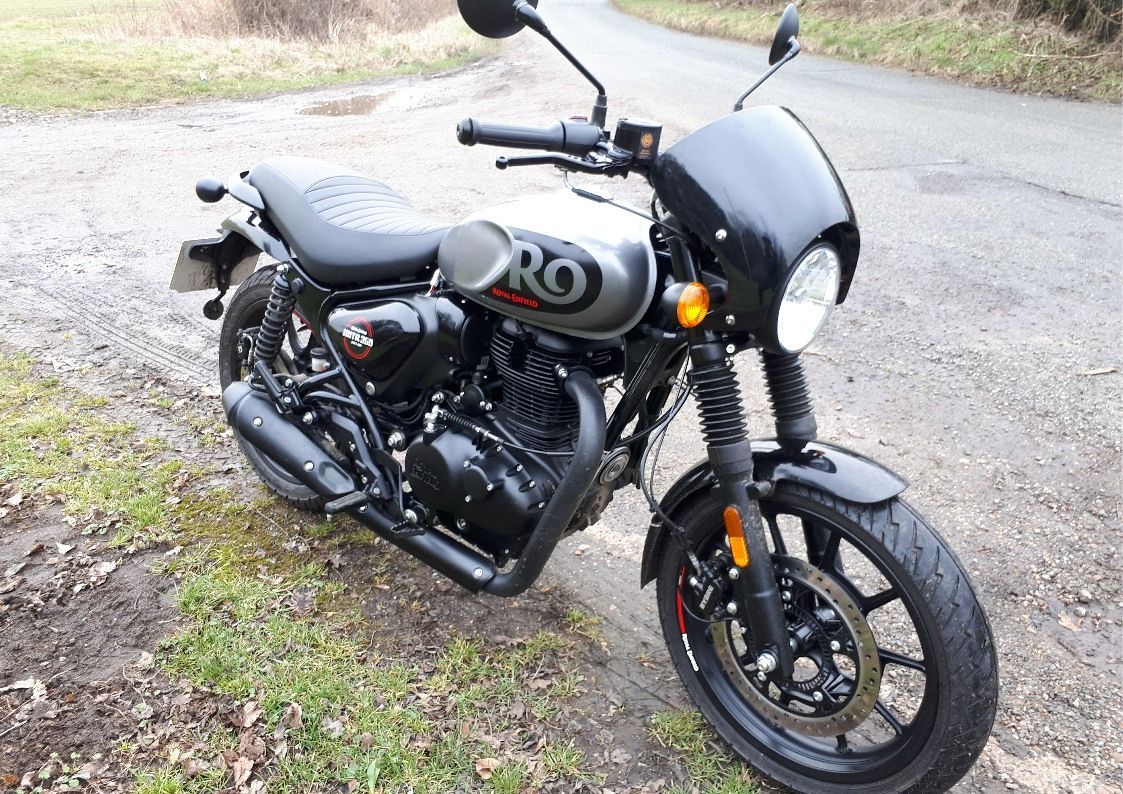
Garage work this month has mostly centred around better brackets for the Hunter’s fairing. Each iteration slowly inches toward something that I might eventually call acceptable.
Bottom brackets have been beefed up and redesigned so that (hopefully) they won’t fracture like the previous ones have done.
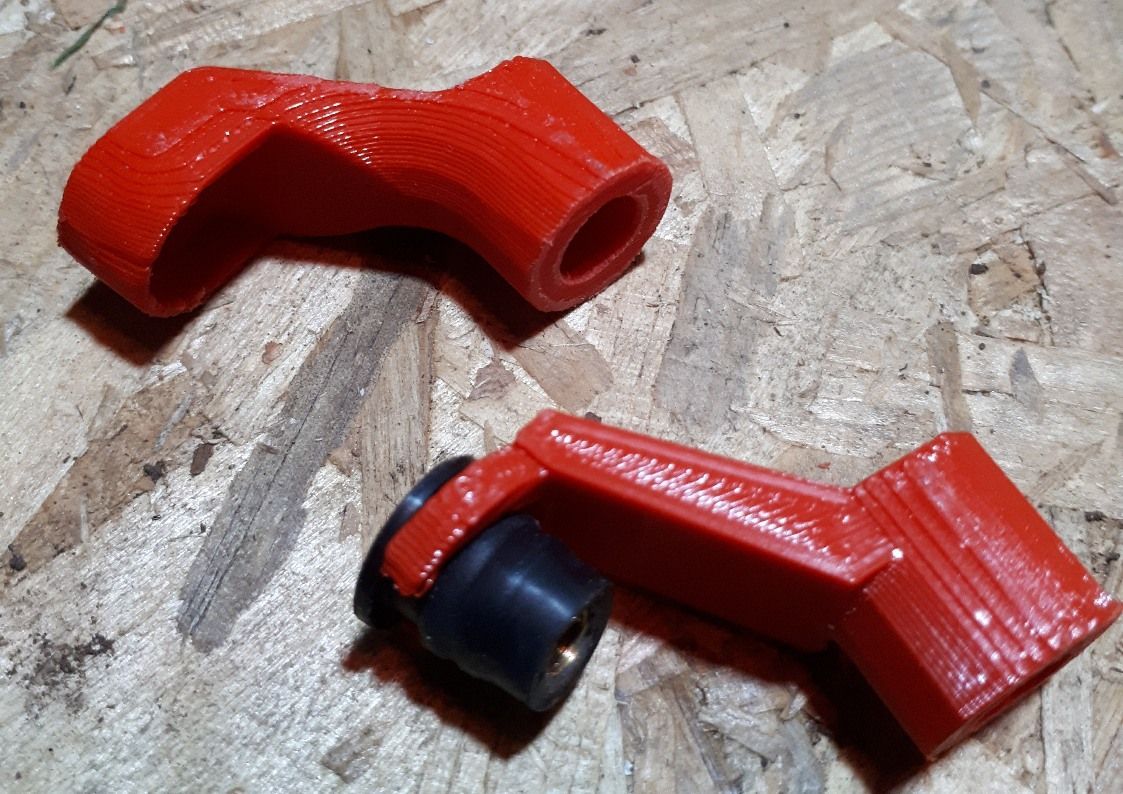
Top ones are now more rigid with the arms at fixed angles.
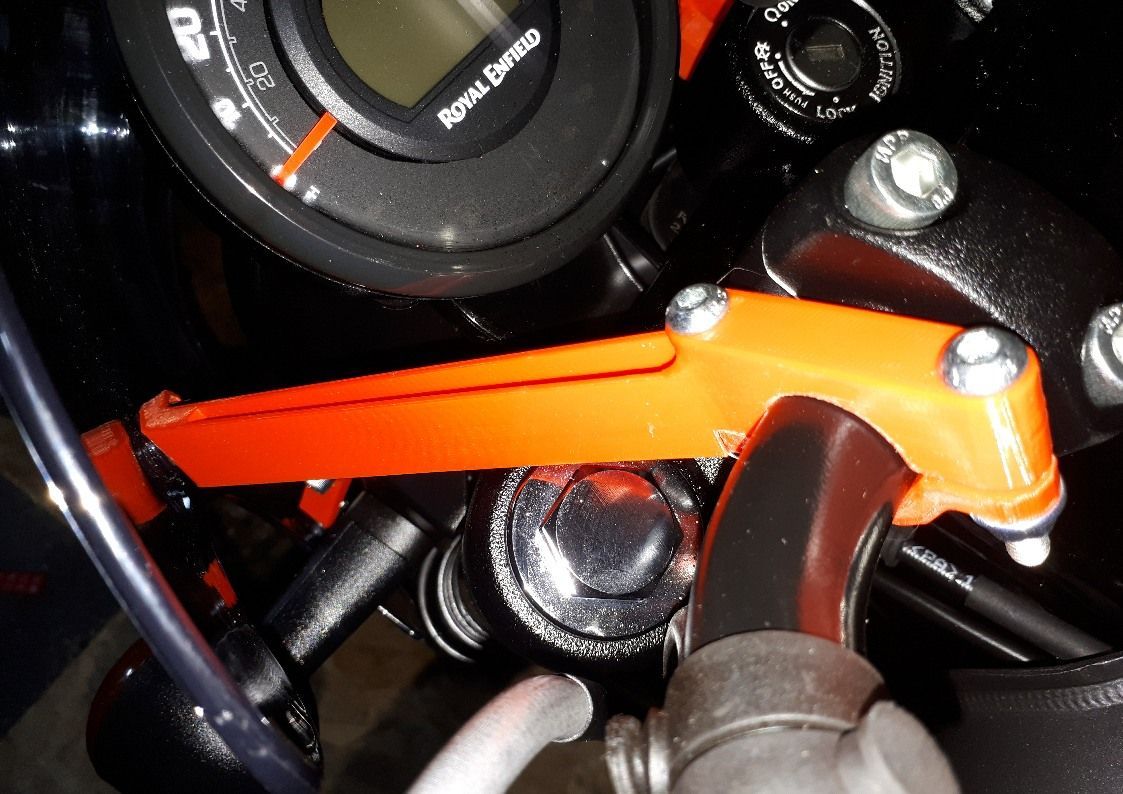
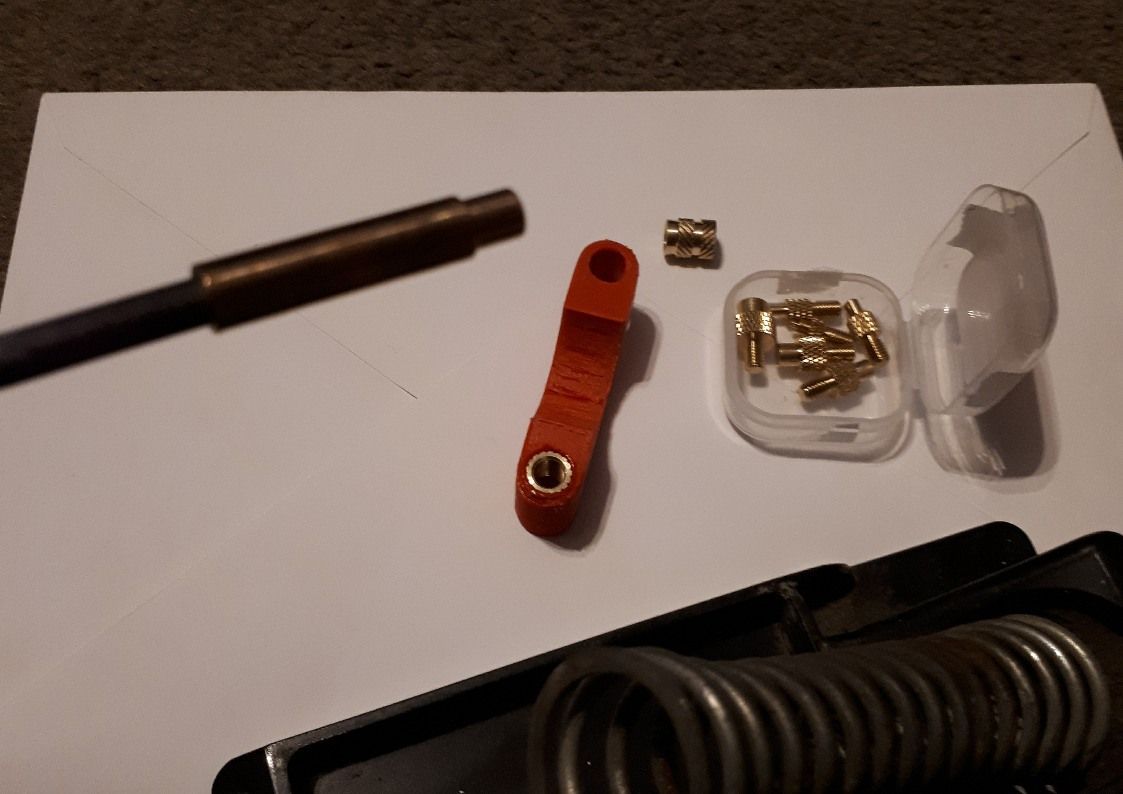
I’ve also been experimenting with M6 tapped brass inserts rather than bolts that go through both parts of the clamp with a nut at the bottom. The inserts are set into place using a special tool on the end of a soldering iron. I have a very old and low power Antex iron but that still managed to do the job.
Got a little bit side tracked experimenting with printing parameters, trying to get better prints, until I realised that was a waste of time as I’m planning on printing the final versions in PET CF so optimising the PLA parameters was a pointless! All I need to prove at the moment are the dimensions
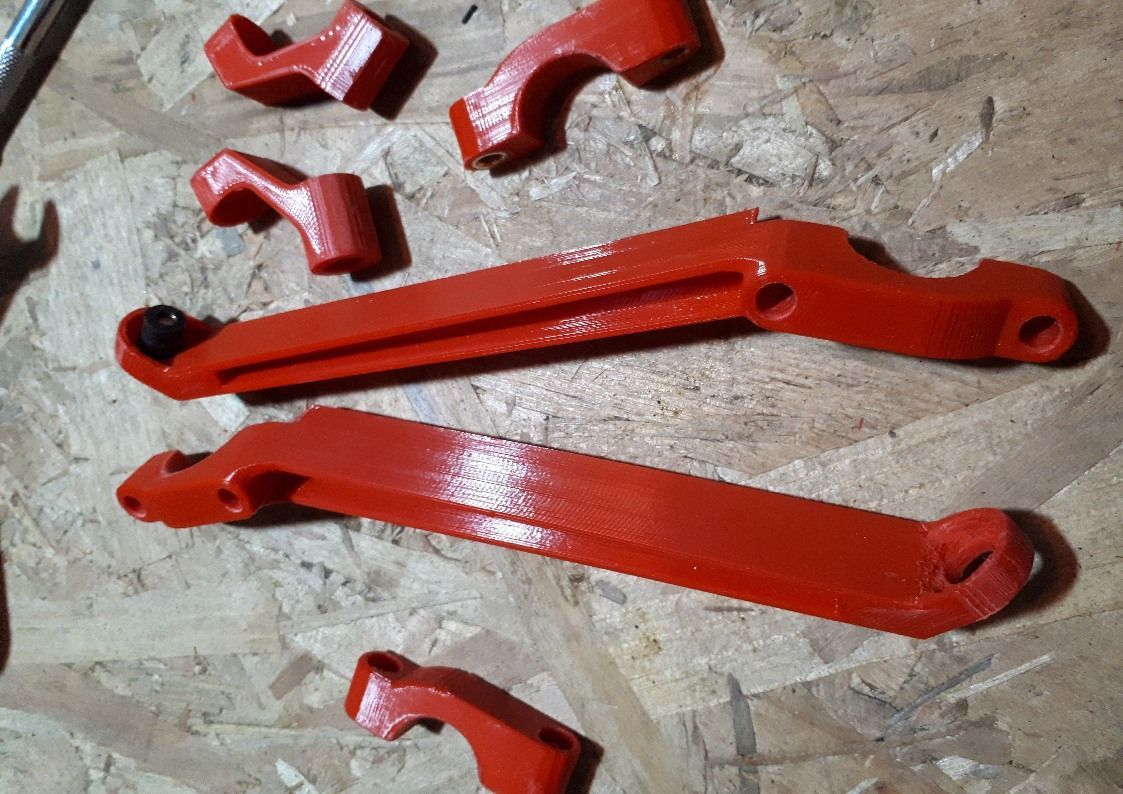
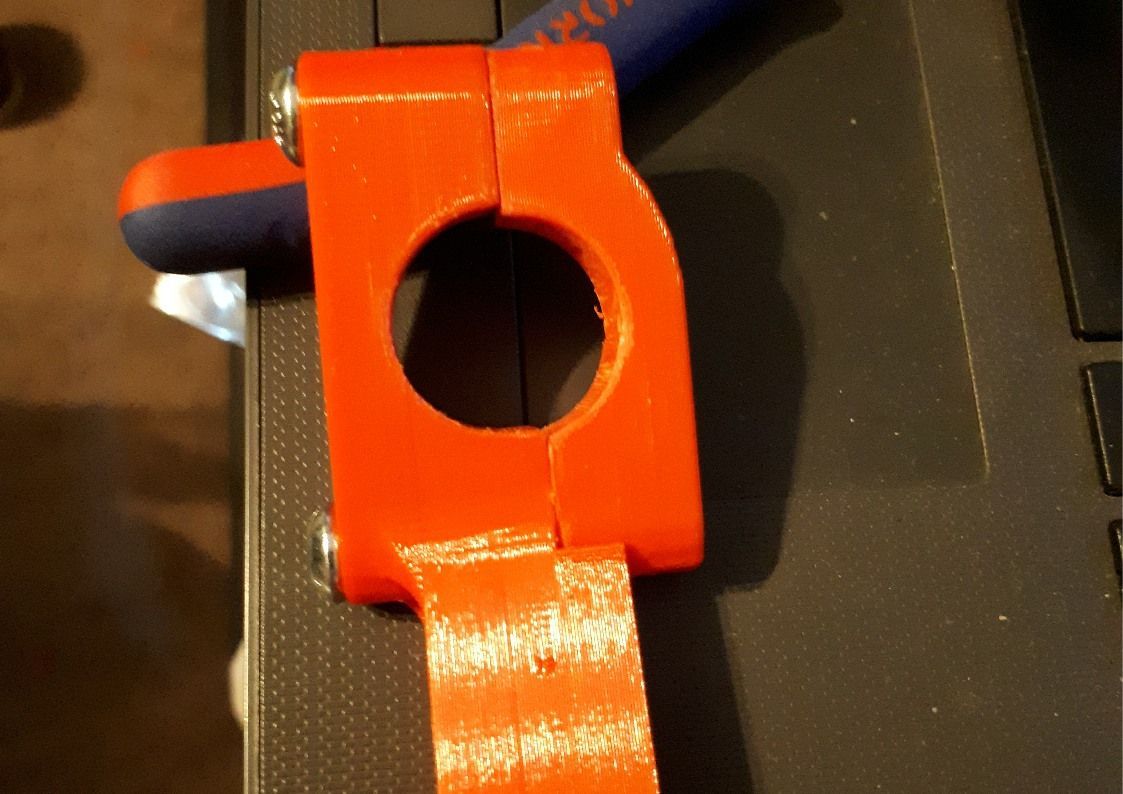
And as you can see, that has proved tricky at times as I cleverly manage to get the clamp hole wrong and still need to refine some of the angles.
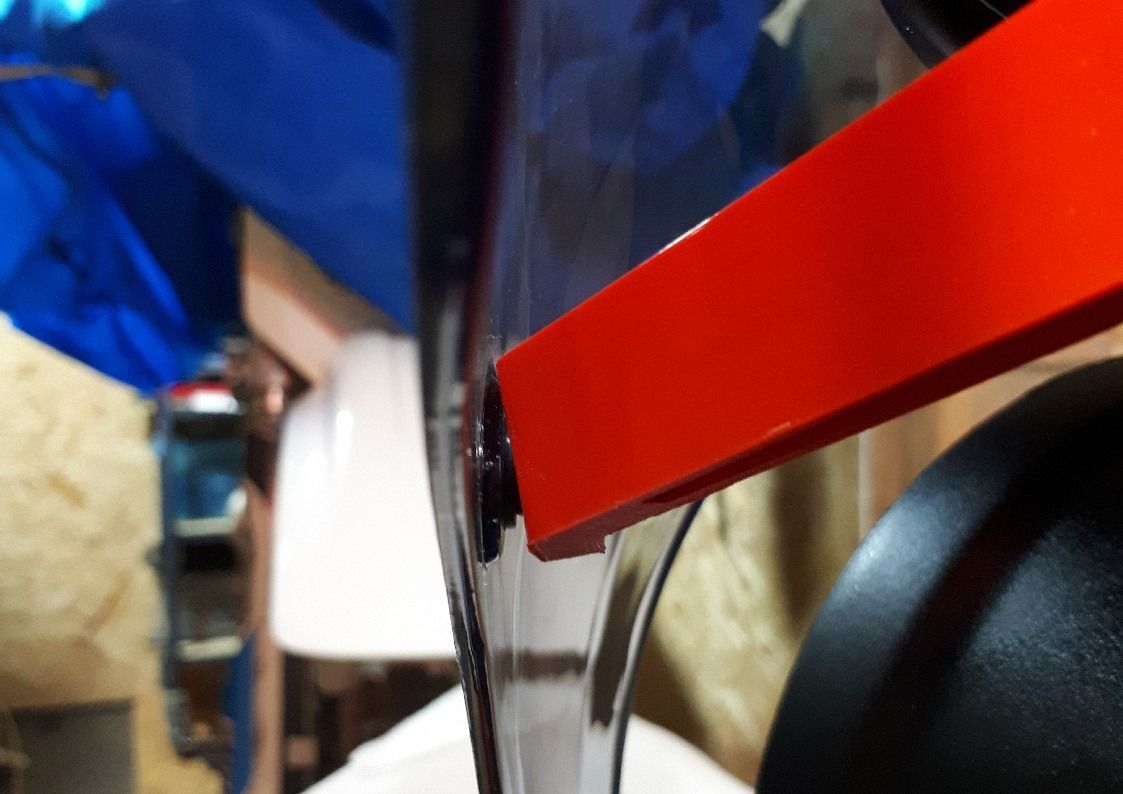
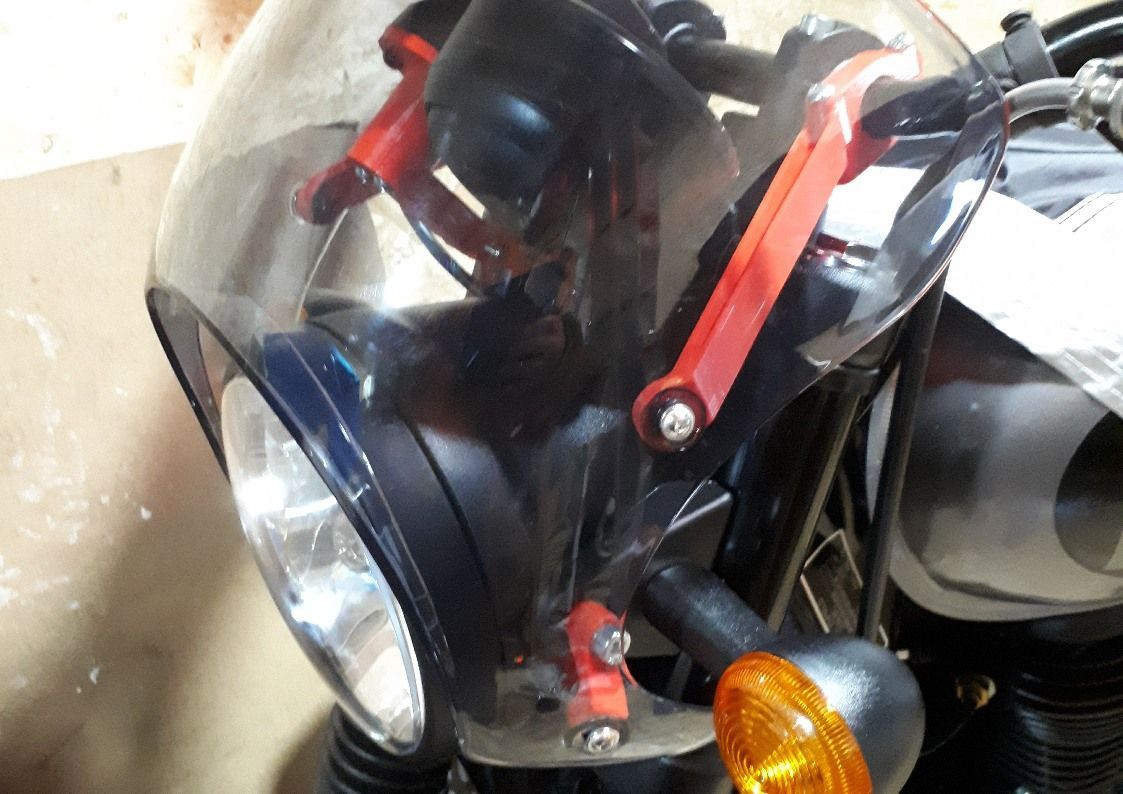
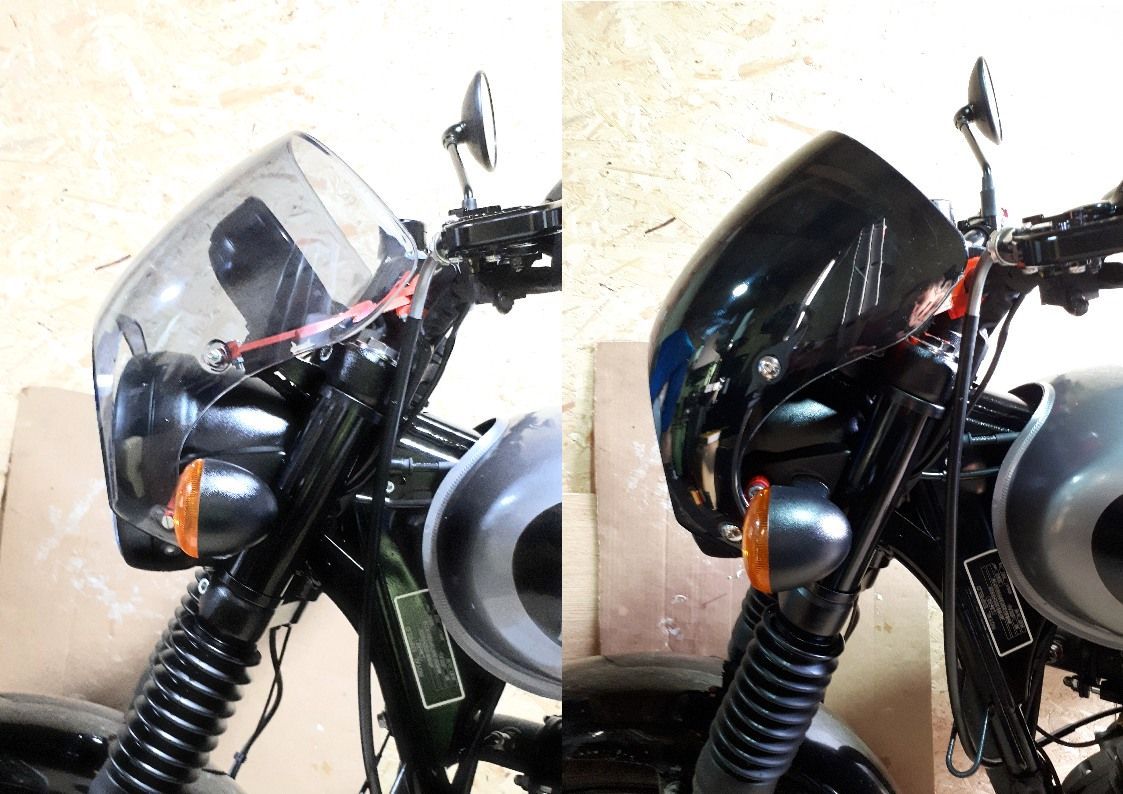
None the less, it is on, although to make it sit evenly around the headlight meant making one bottom bracket slightly shorter than the other and the angles of the top mounts are also slightly different. Is it the screen, or the bike? I’m not sure…
Gap around the headlight looks a little odd in the pictures and everything tells me that conventionally a fairing should fit snugly to the light but, oddly, in reality it does look okay. Will be better when the brackets are black rather than red though.
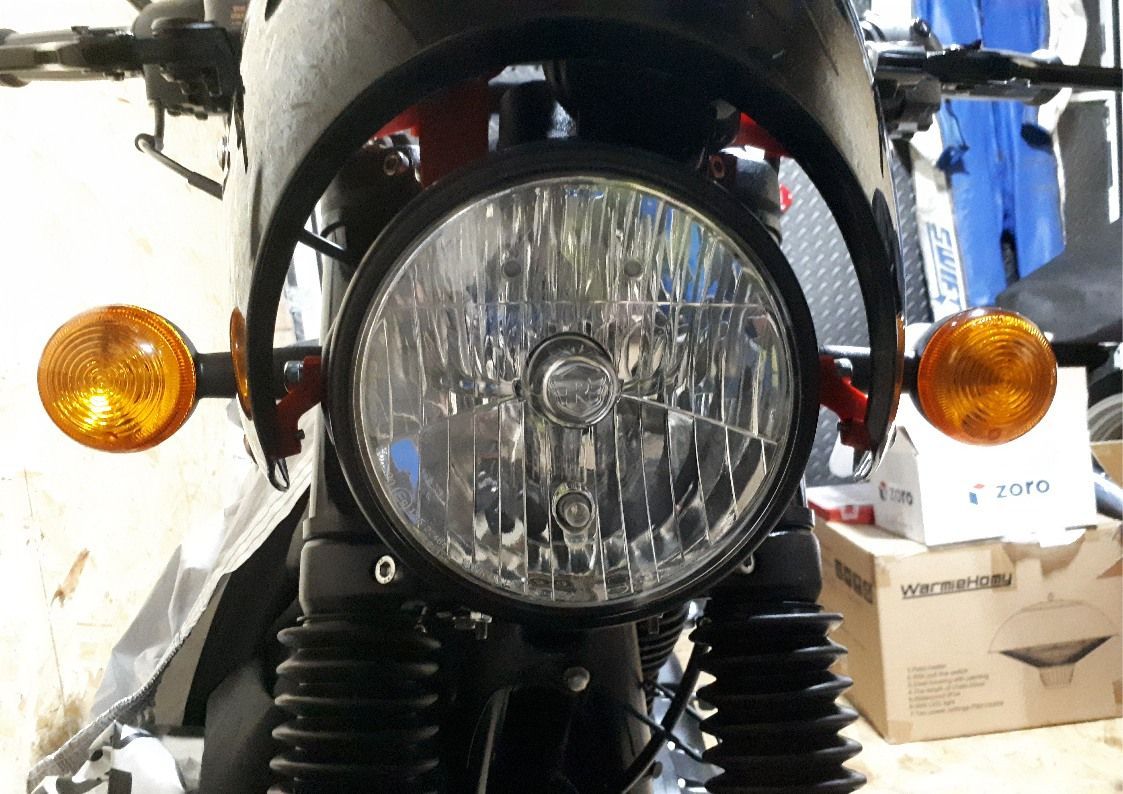
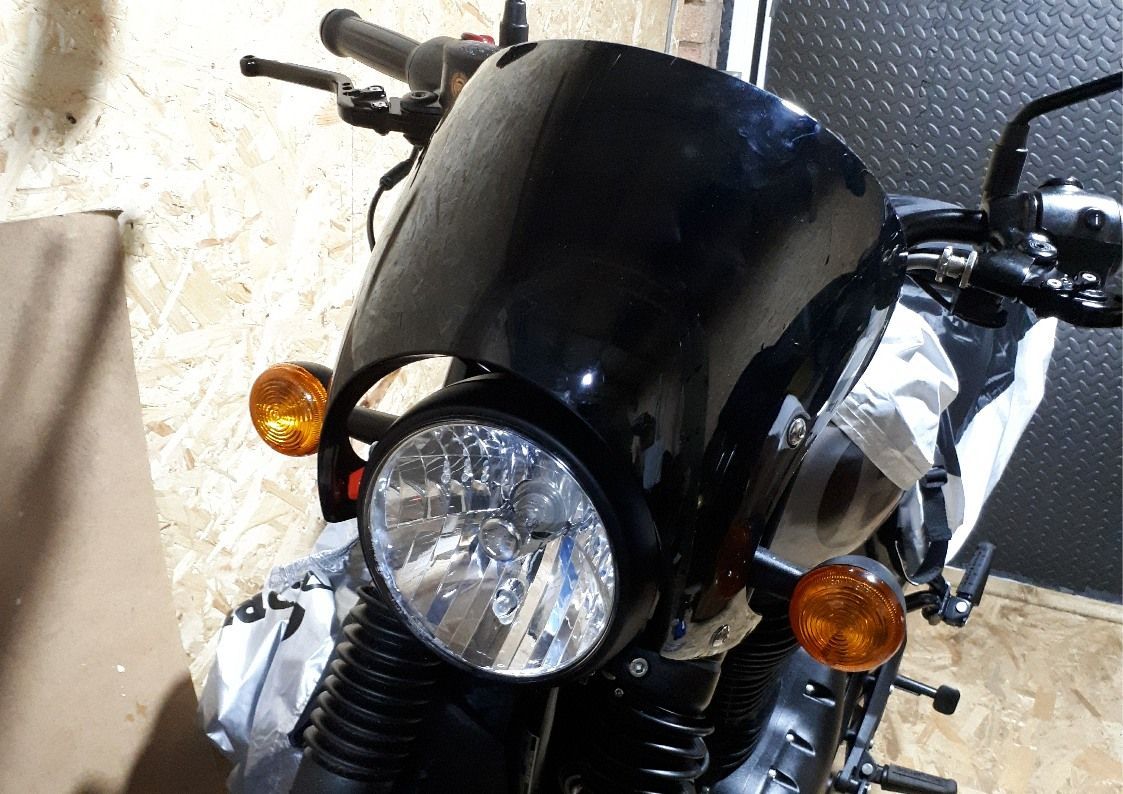
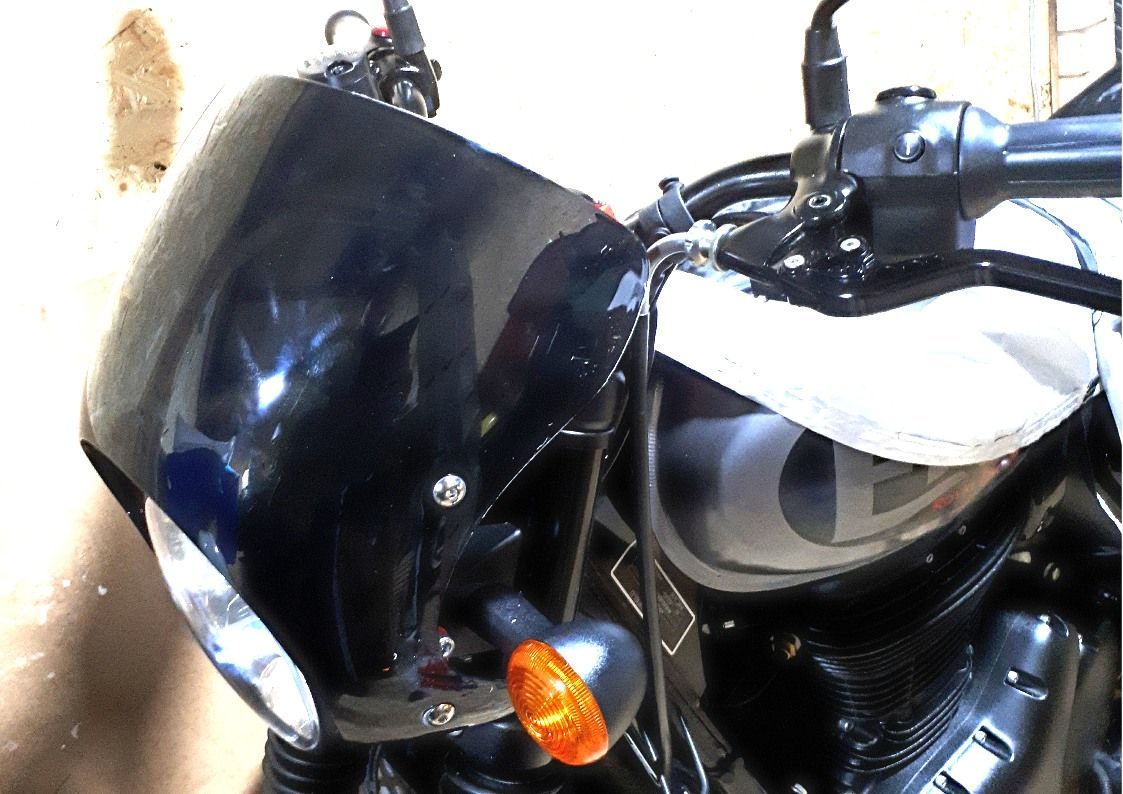
Just waiting now for a weather window to allow me to test the sat nav mount.
Then I need to decide between light or dark screen. Again the photos don’t really do the dark screen justice. It looks better in real life, but does have a bit of moulding flash around the edges that needs attention. The clear one didn’t suffer from that.
It’s still a bit chilly in the garage so I’ve been easily distracted by other things.
Recently I’ve spent some time exploring what’s on SCRIBD and Everand that might be of interest to people like me who like tinkering with motorcycles. My opinion so far? Well, there’s not oodles of stuff of interest, but there are some gems. SCRIBD has a copy of ‘The Racing Motorcycle - Volume 2’. If you’re thinking of making anything bike related, I heartily recommend checking this out.
Everand seems to offer a little more; my bedtime reading lately has been the biographies of Peter Williams, Dave Molyneux and Johnathan Rea. All give an interesting insight into a racer’s mindset and both Williams and Molyneux where heavily involved in the design and manufacture of their own racing machines as well.
Everand also has books on welding, metal fab and 3D printing that I’m keen to check out. It’s a subscription service, but at the time of writing you could get a free month.
Those of you who like reading motorcycle magazines might also like to check out Readly. Most of the UK bike titles are on there, including MCN, Classic Bike, Classic Racer, Bike Magazine etc. Another subscription service but also with a free trial available.

The weather window has arrived (well it was mild(ish) and it wasn’t raining or blowing a gale!) and so the Royal Enfield Hunter 350 was subjected to a trip along the damp and mud smeared country roads of Suffolk to test the dark screen and the sat nav mount.
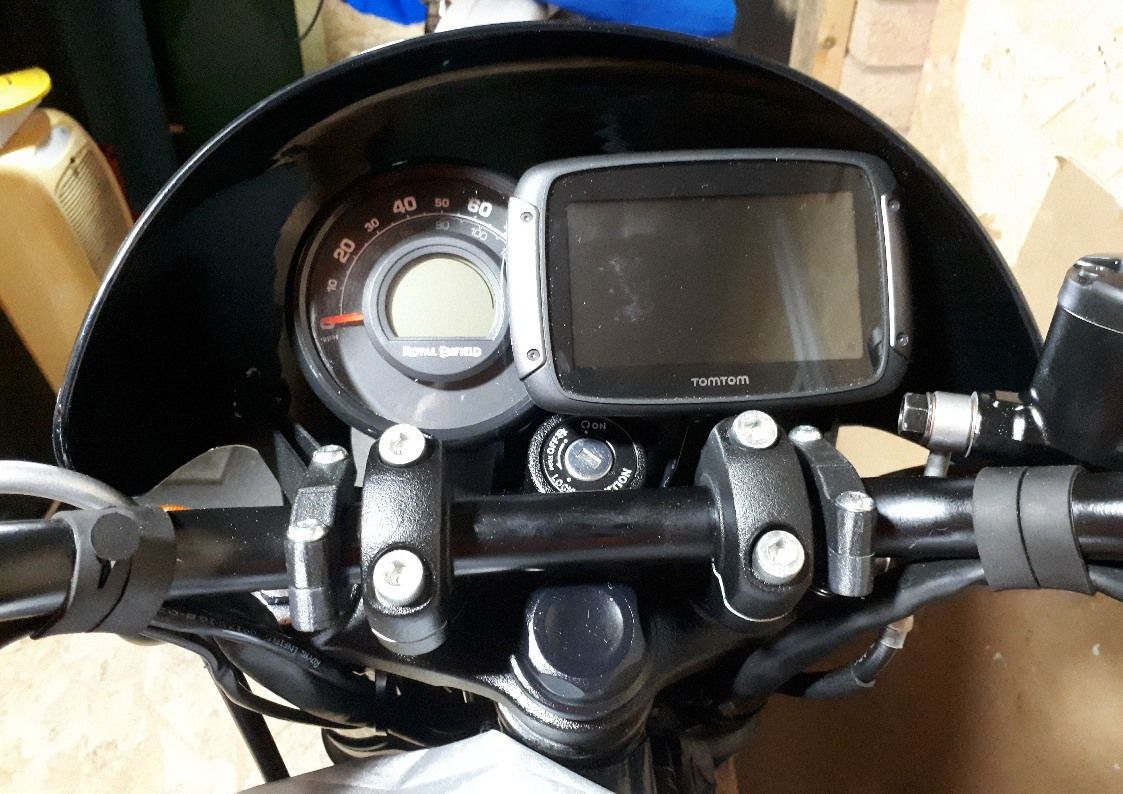
Both performed well, neither screen nor sat nav fell off (bonus!) And I could easily see the sat nav if required, although it is fairly wedged in between screen and key. That also means that currently you can’t take the sat nav off without first removing the screen - I’m working on a solution to that, but I do like the look of the bike with its new handlebar fairing.
There are still some bracket updates to go and I’m thinking that I really should be brave and move the headlight and wiring out of the way and try to utilise headlight and indicator bolts as mounting points instead of the long bracket to the handlebar. Maybe…
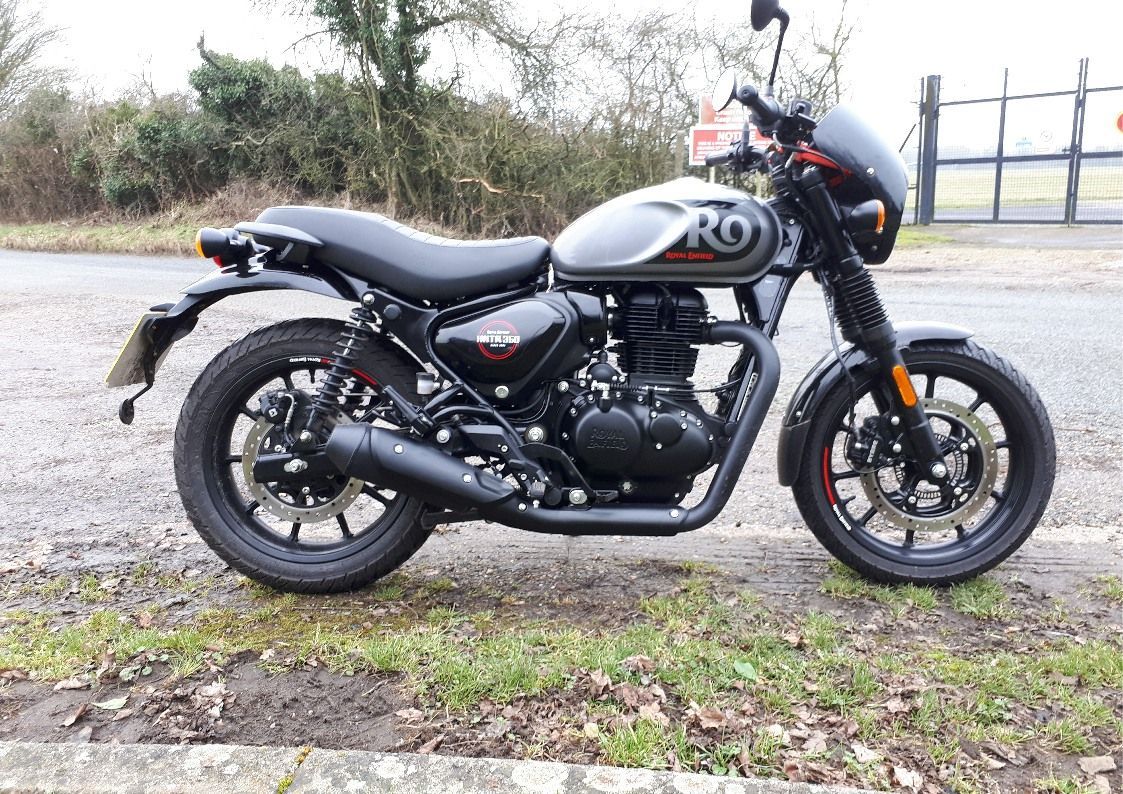
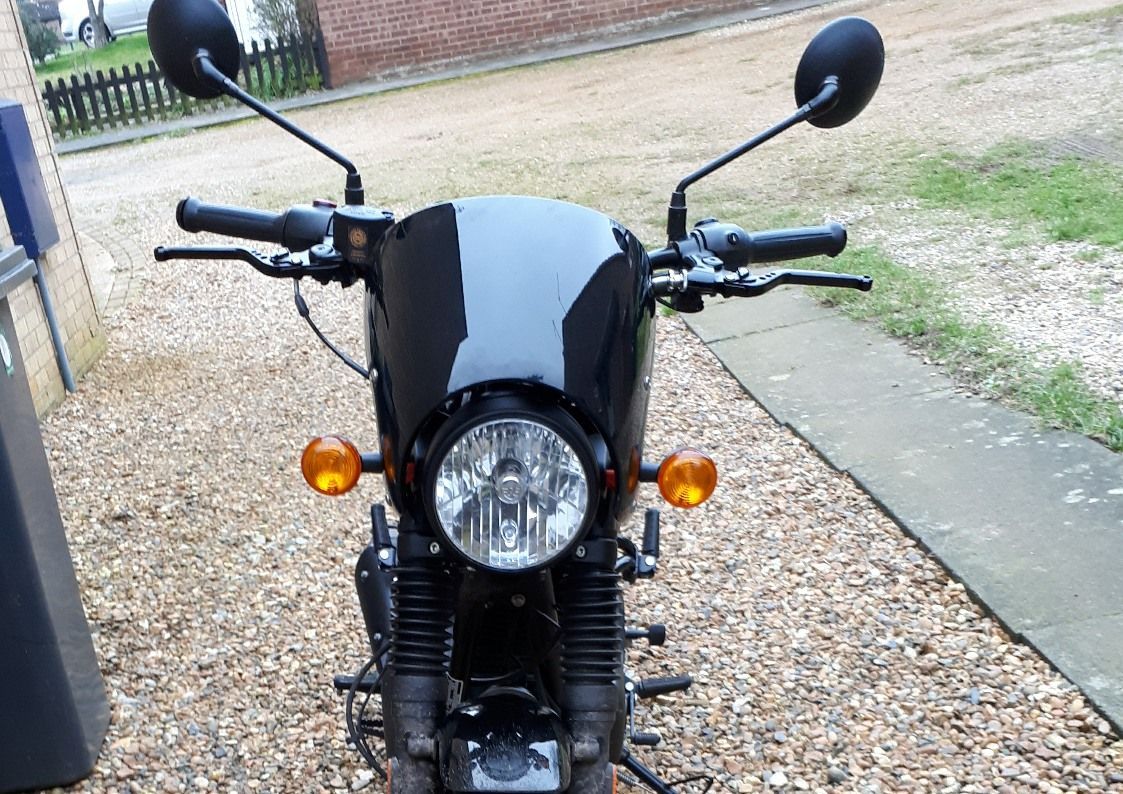
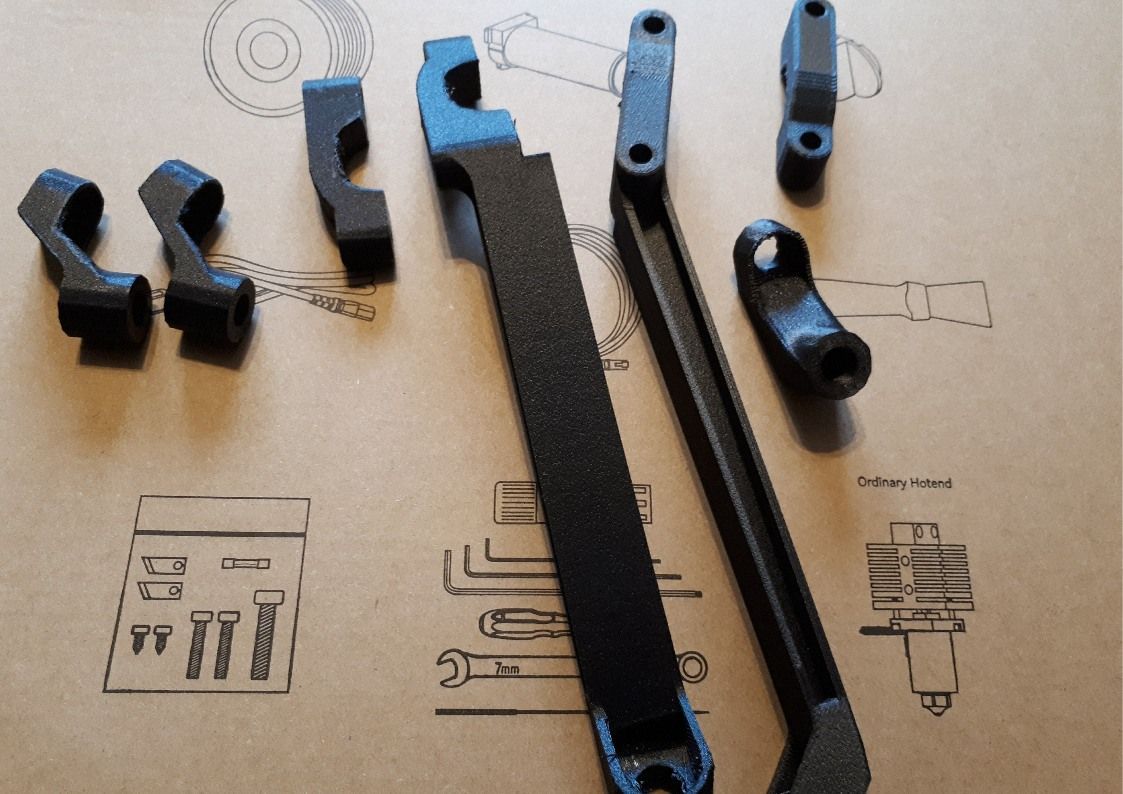
Final versions of the faring mounts have been printed using black PET-CF. This gives a nice surface finish which disguises the fact that they have been 3D printed but I’m not sure that it was the best choice of material.
Should you want to have a go at making these yourself, drawing files for these are available to download. I use Solidedge which is a less well used CAD package, so you may find that you can’t view some of the drawings unless you can find an viewer. I’ve also included some basic overview drawings as PDFs so everyone should be able to view those and the STL files. My CAD package seems to produce STL files in imperial units, so you may have to resize when you import them.
There are 3 parts: Top Clamp, Bottom Clamp and Bottom Mount. Bottom mount has three versions of slightly different lengths for fine tuning of an even gap around the headlight.
In the process of designing and making these, I have made many drawings which have been superseded. I’m hoping that I’ve managed to fish the final ones out from the long list on my computer, but please accept my apologies if I’ve cocked up somewhere!
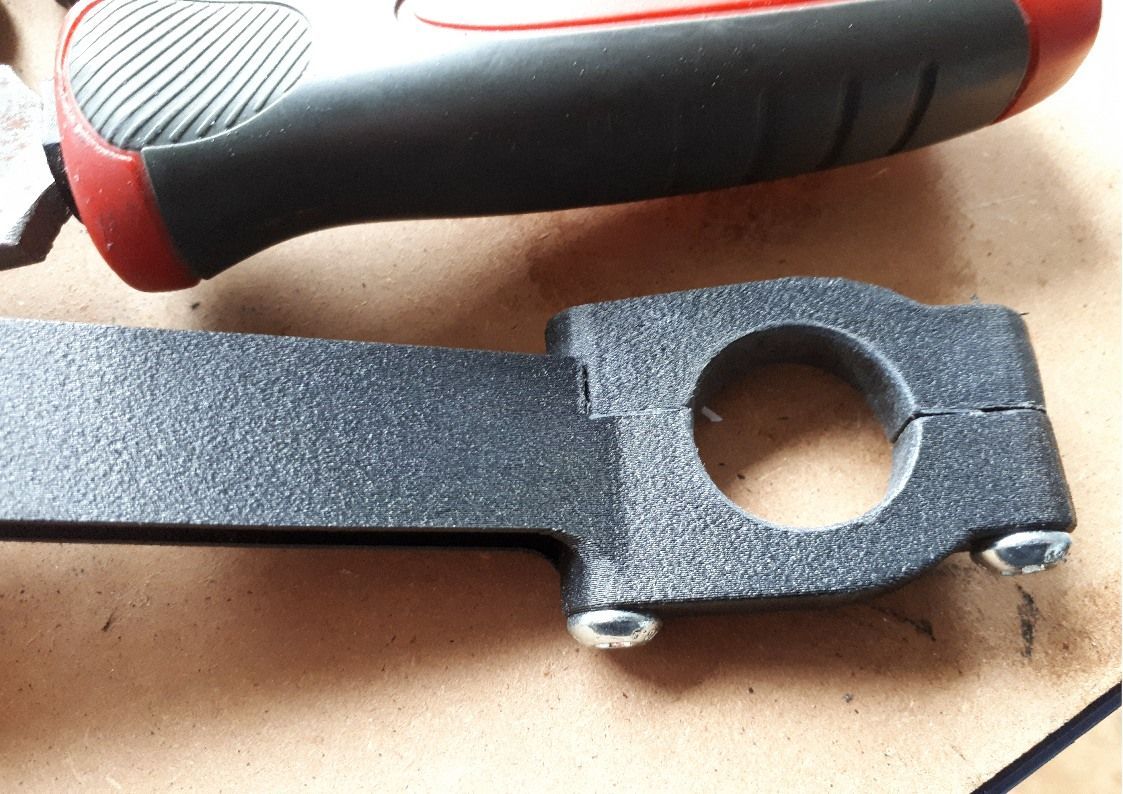
I do also file the clamp holes after printing so that they fit snugly on the bars. I assume they’re meant to be 22mm bars, but the thick paint means mine actually measure 22.4mm. The clamps should print out with a diameter of 22.2mm, leaving a little bit for filing. I also drill all the holes out as they are a little tight in the as printed state.
All of the files can be found at the bottom of
THIS PAGE.
Next up for the Hunter, I’m going to try a single seat cowl.It’s early days with that, but I’ve made a start…
