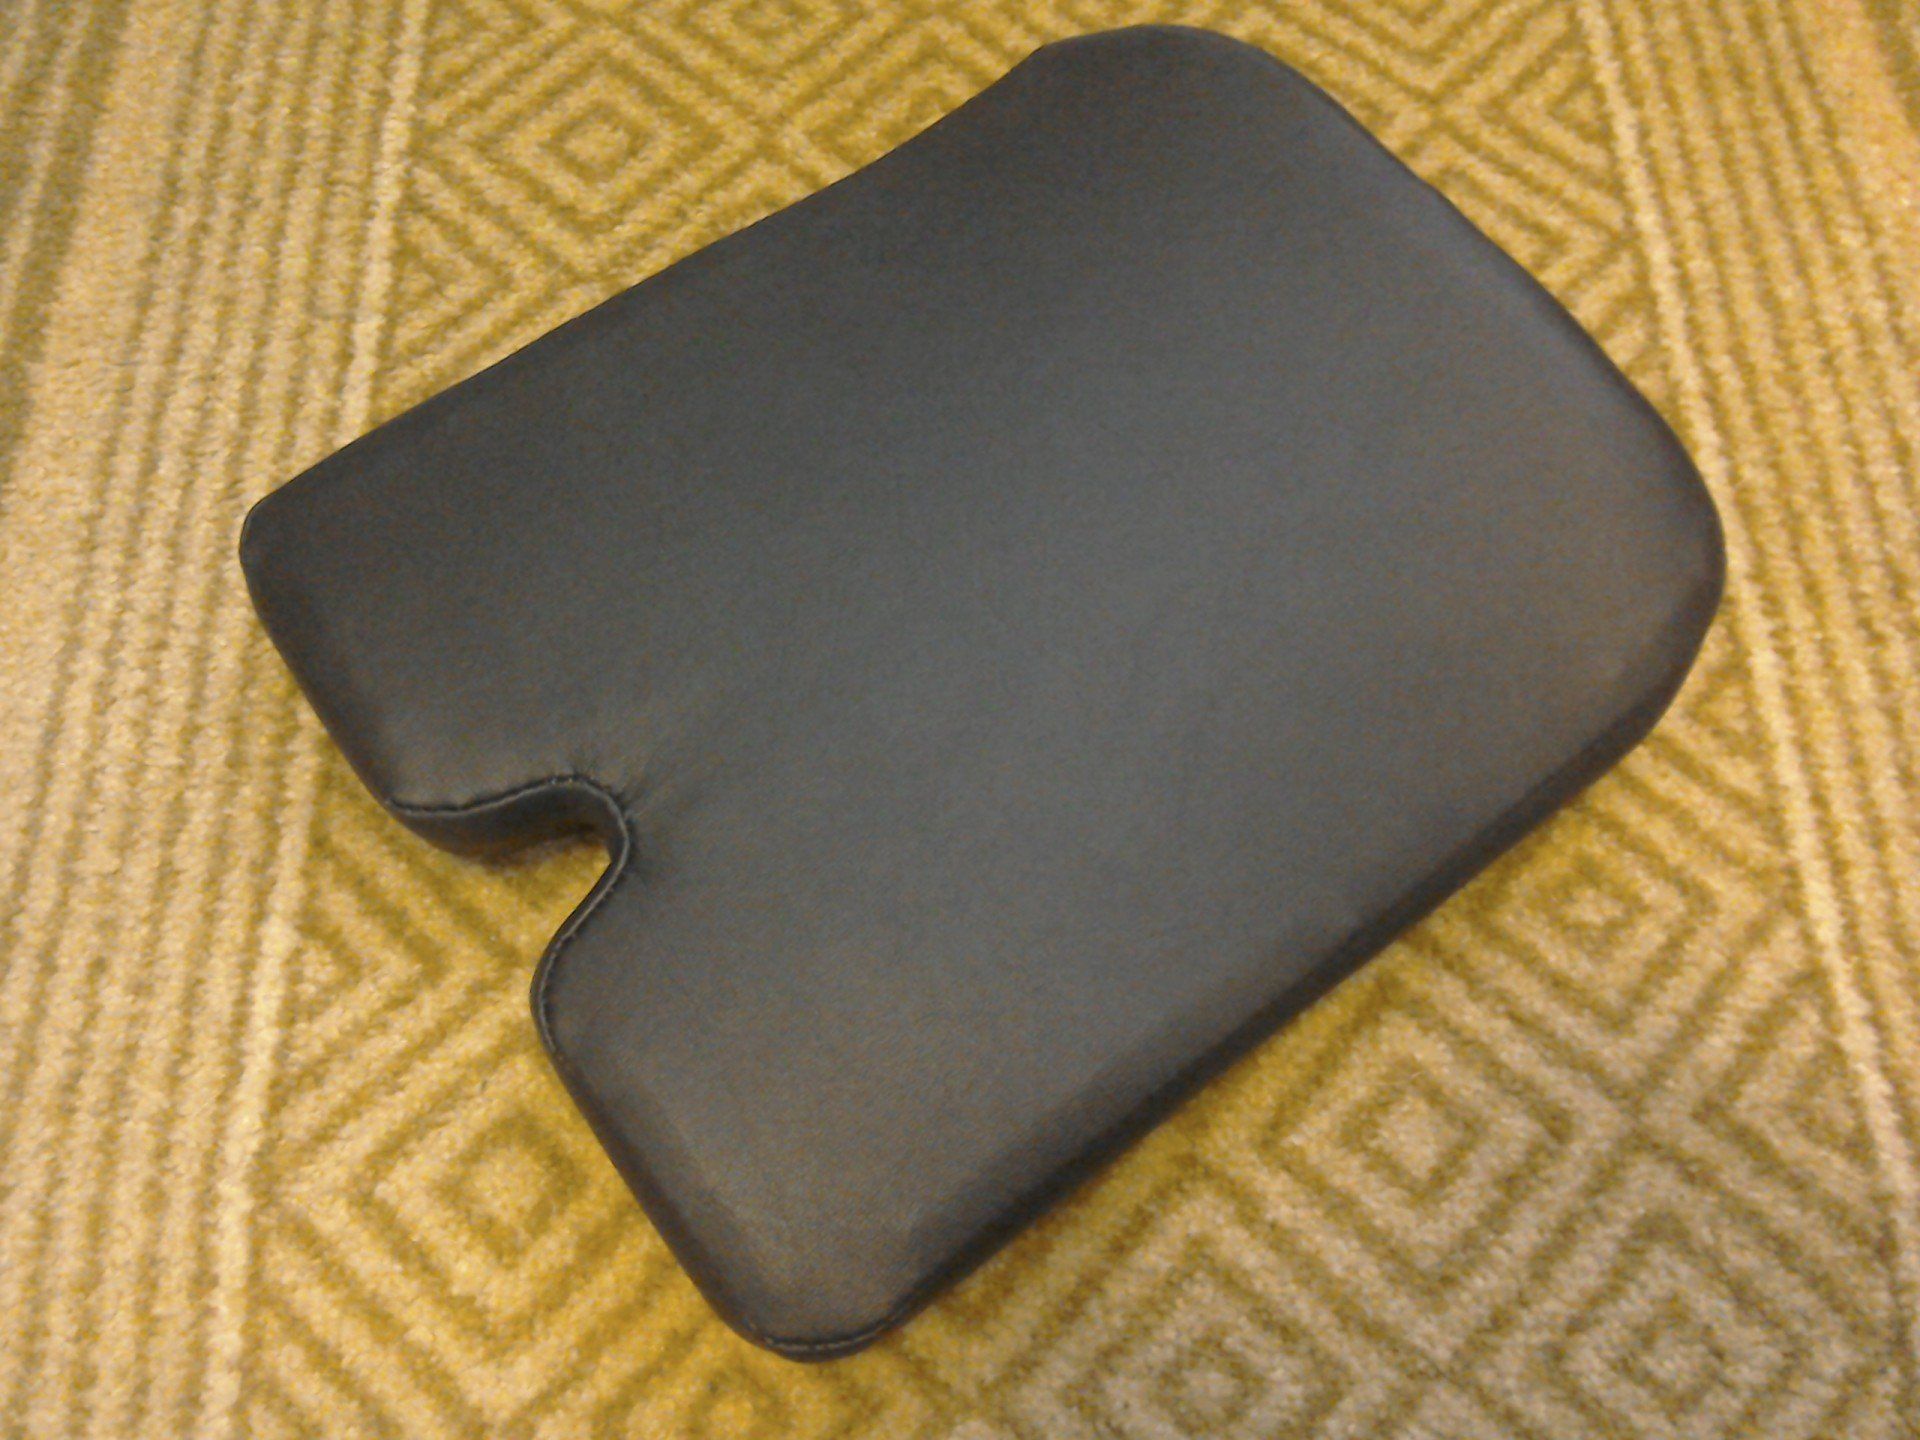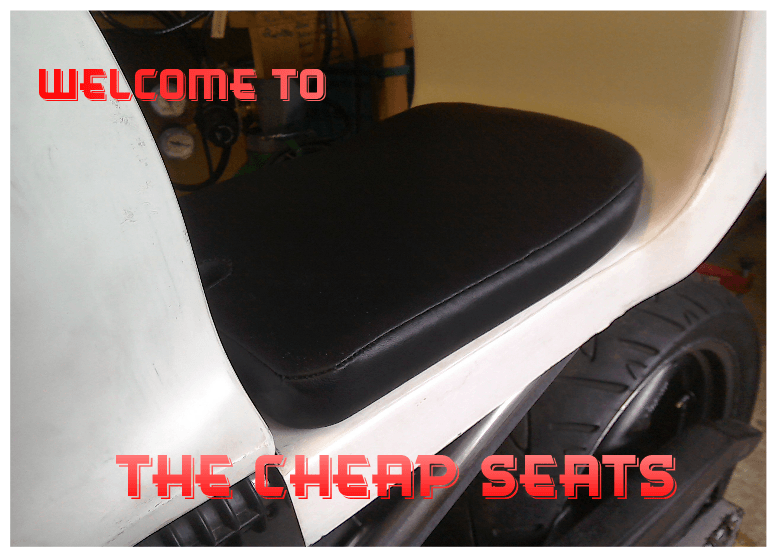
If you’re modifying your bike, the chances are that the original seat no longer fits. Faced with a similar situation myself, this was my solution to the problem.
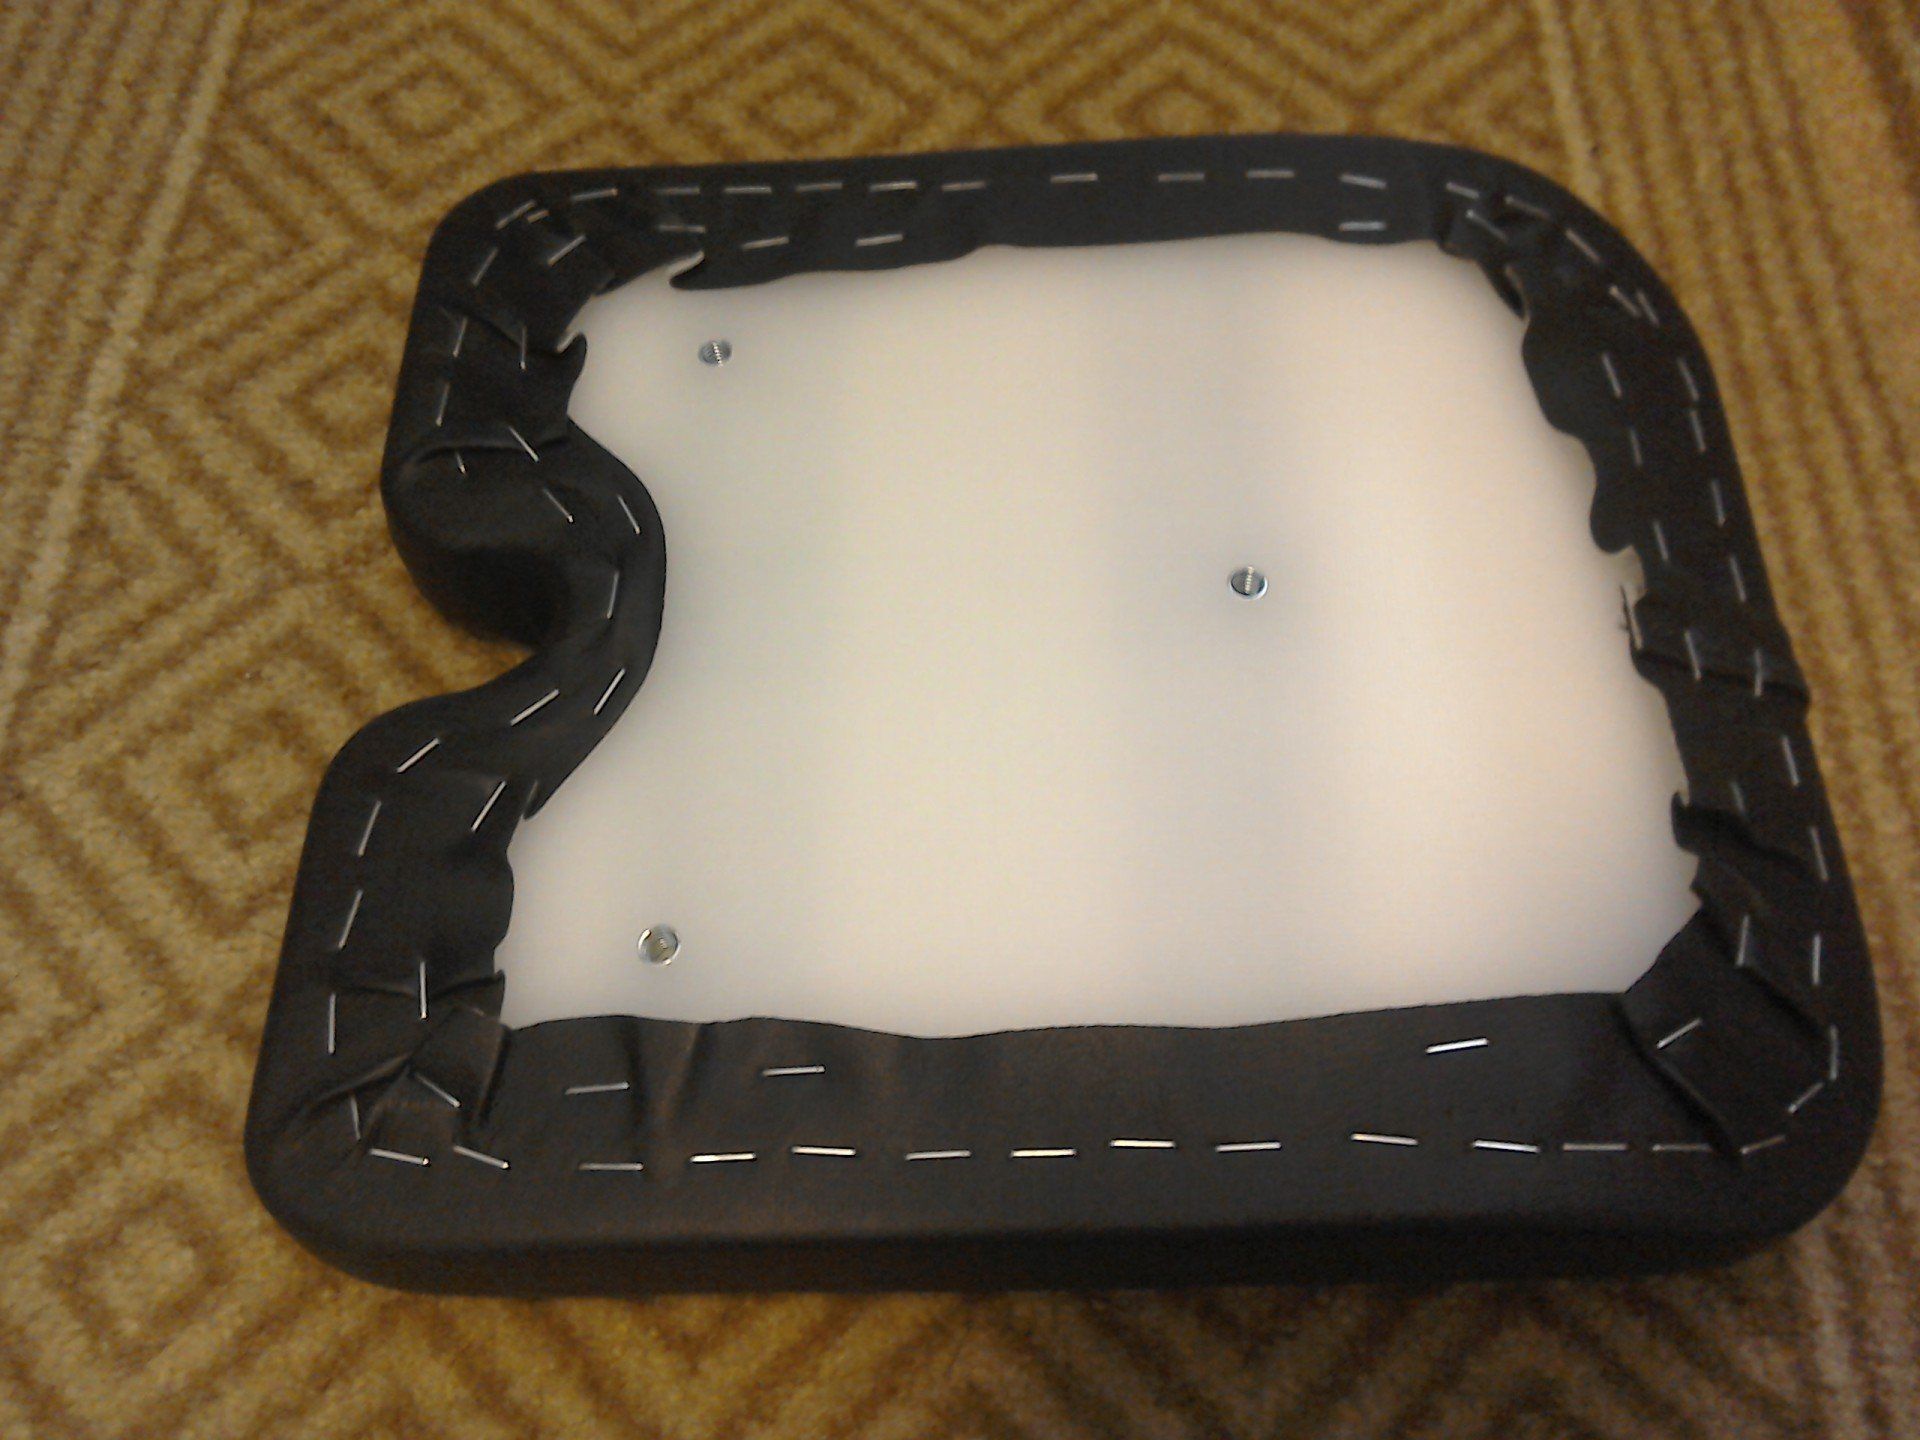
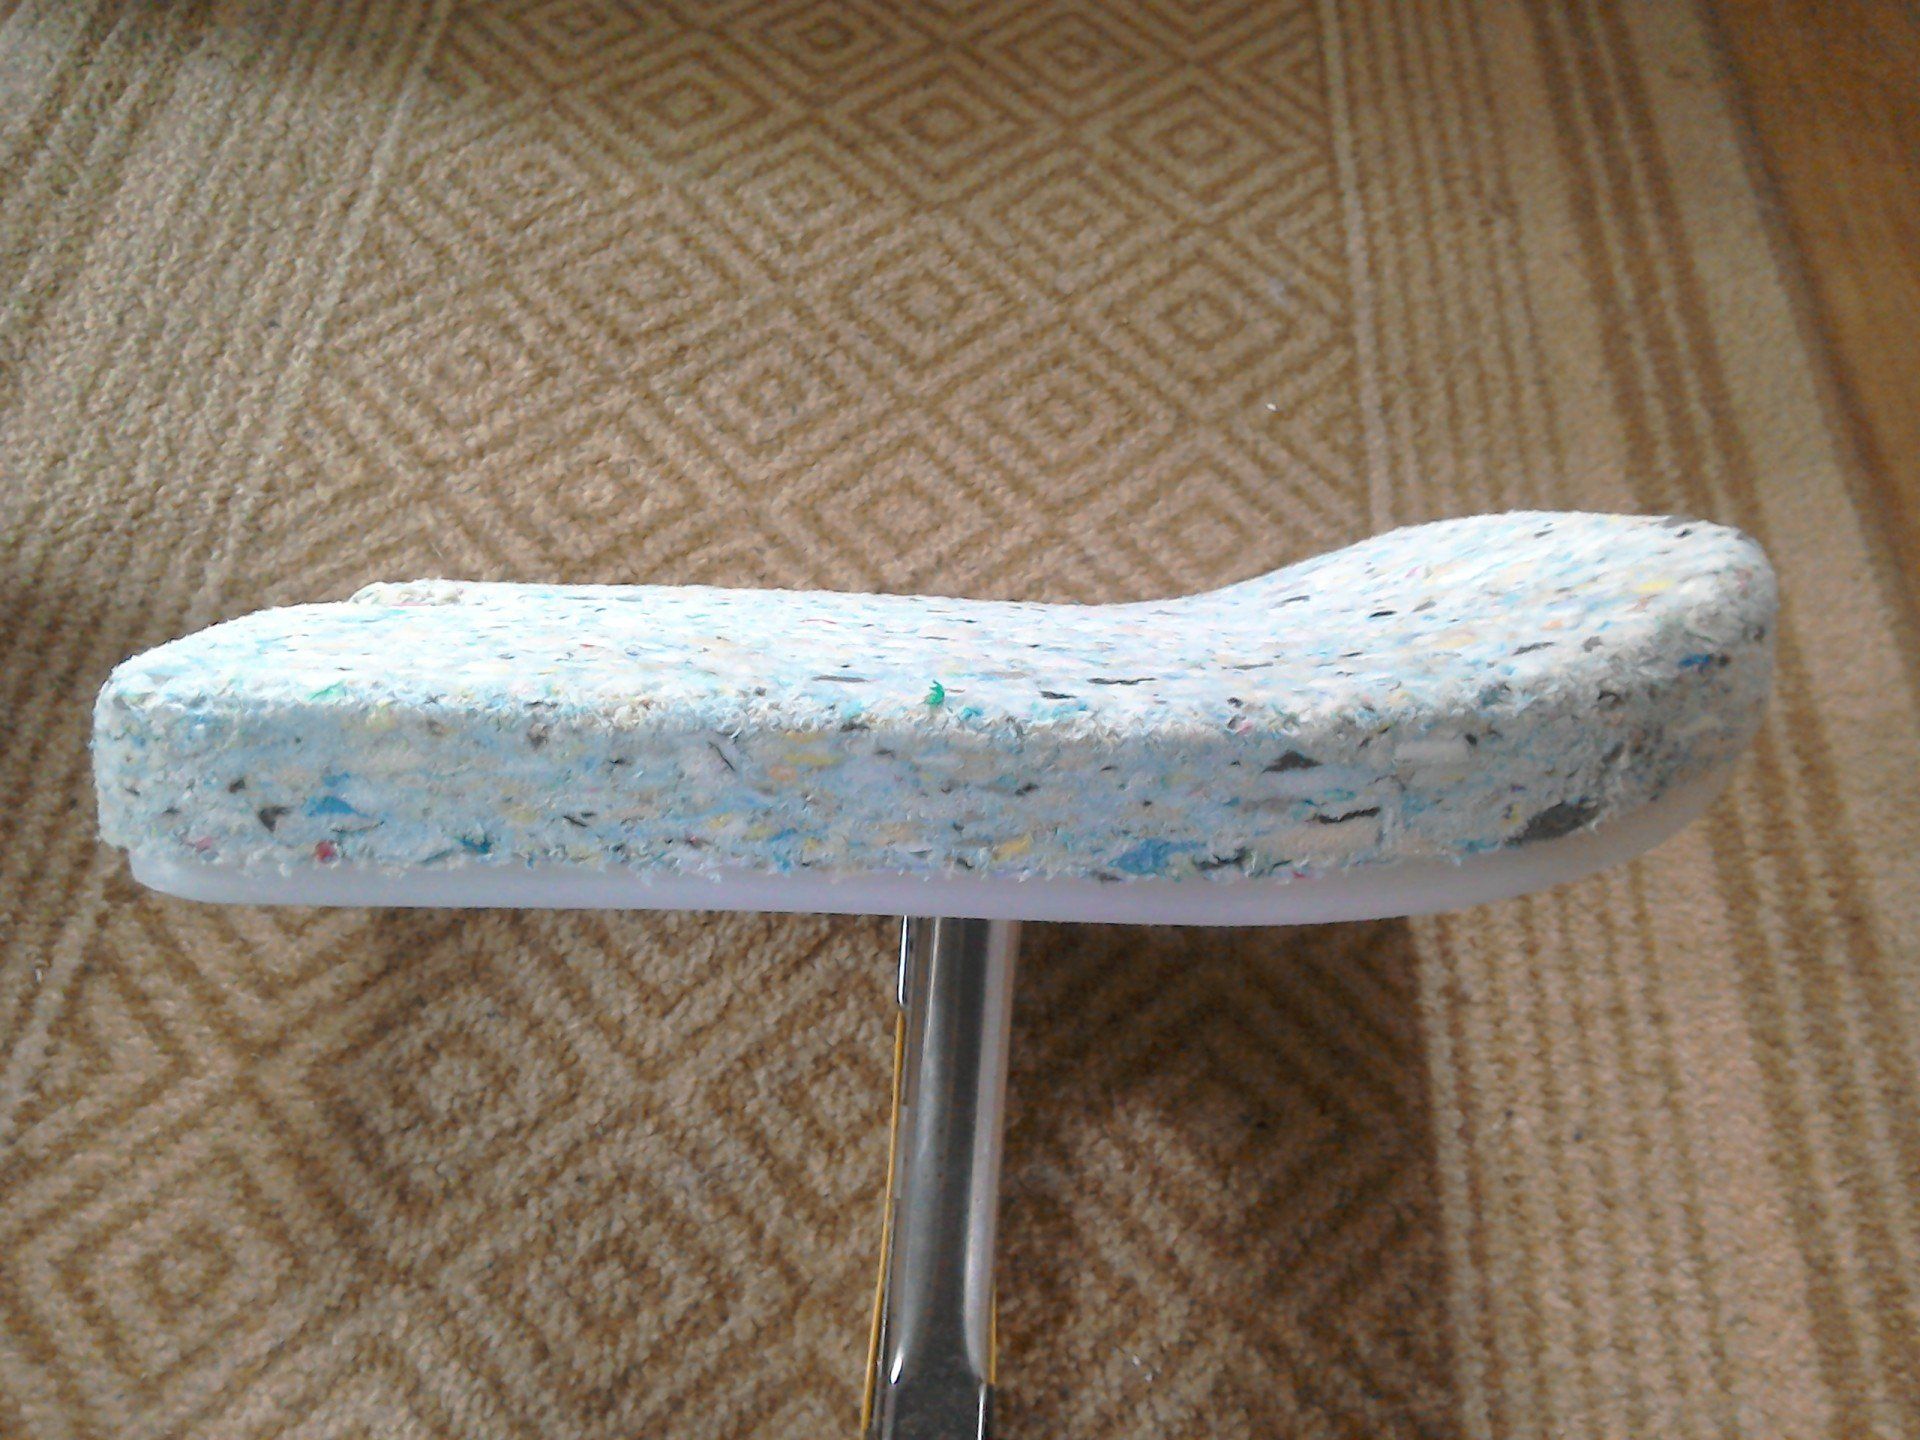
I could have chosen to use self-adhesive neoprene race seat foam, but I didn’t want the seat to be permanently fixed to the tail unit. I also wanted something that looked a bit more, well, um, seaty. That meant some sort of base, foam and cover. As I was also intending to make the cover and my needlework is poor, I wanted to staple the cover in place rather than glue it, so if it looked really awful, I could easily rip it off and start again.
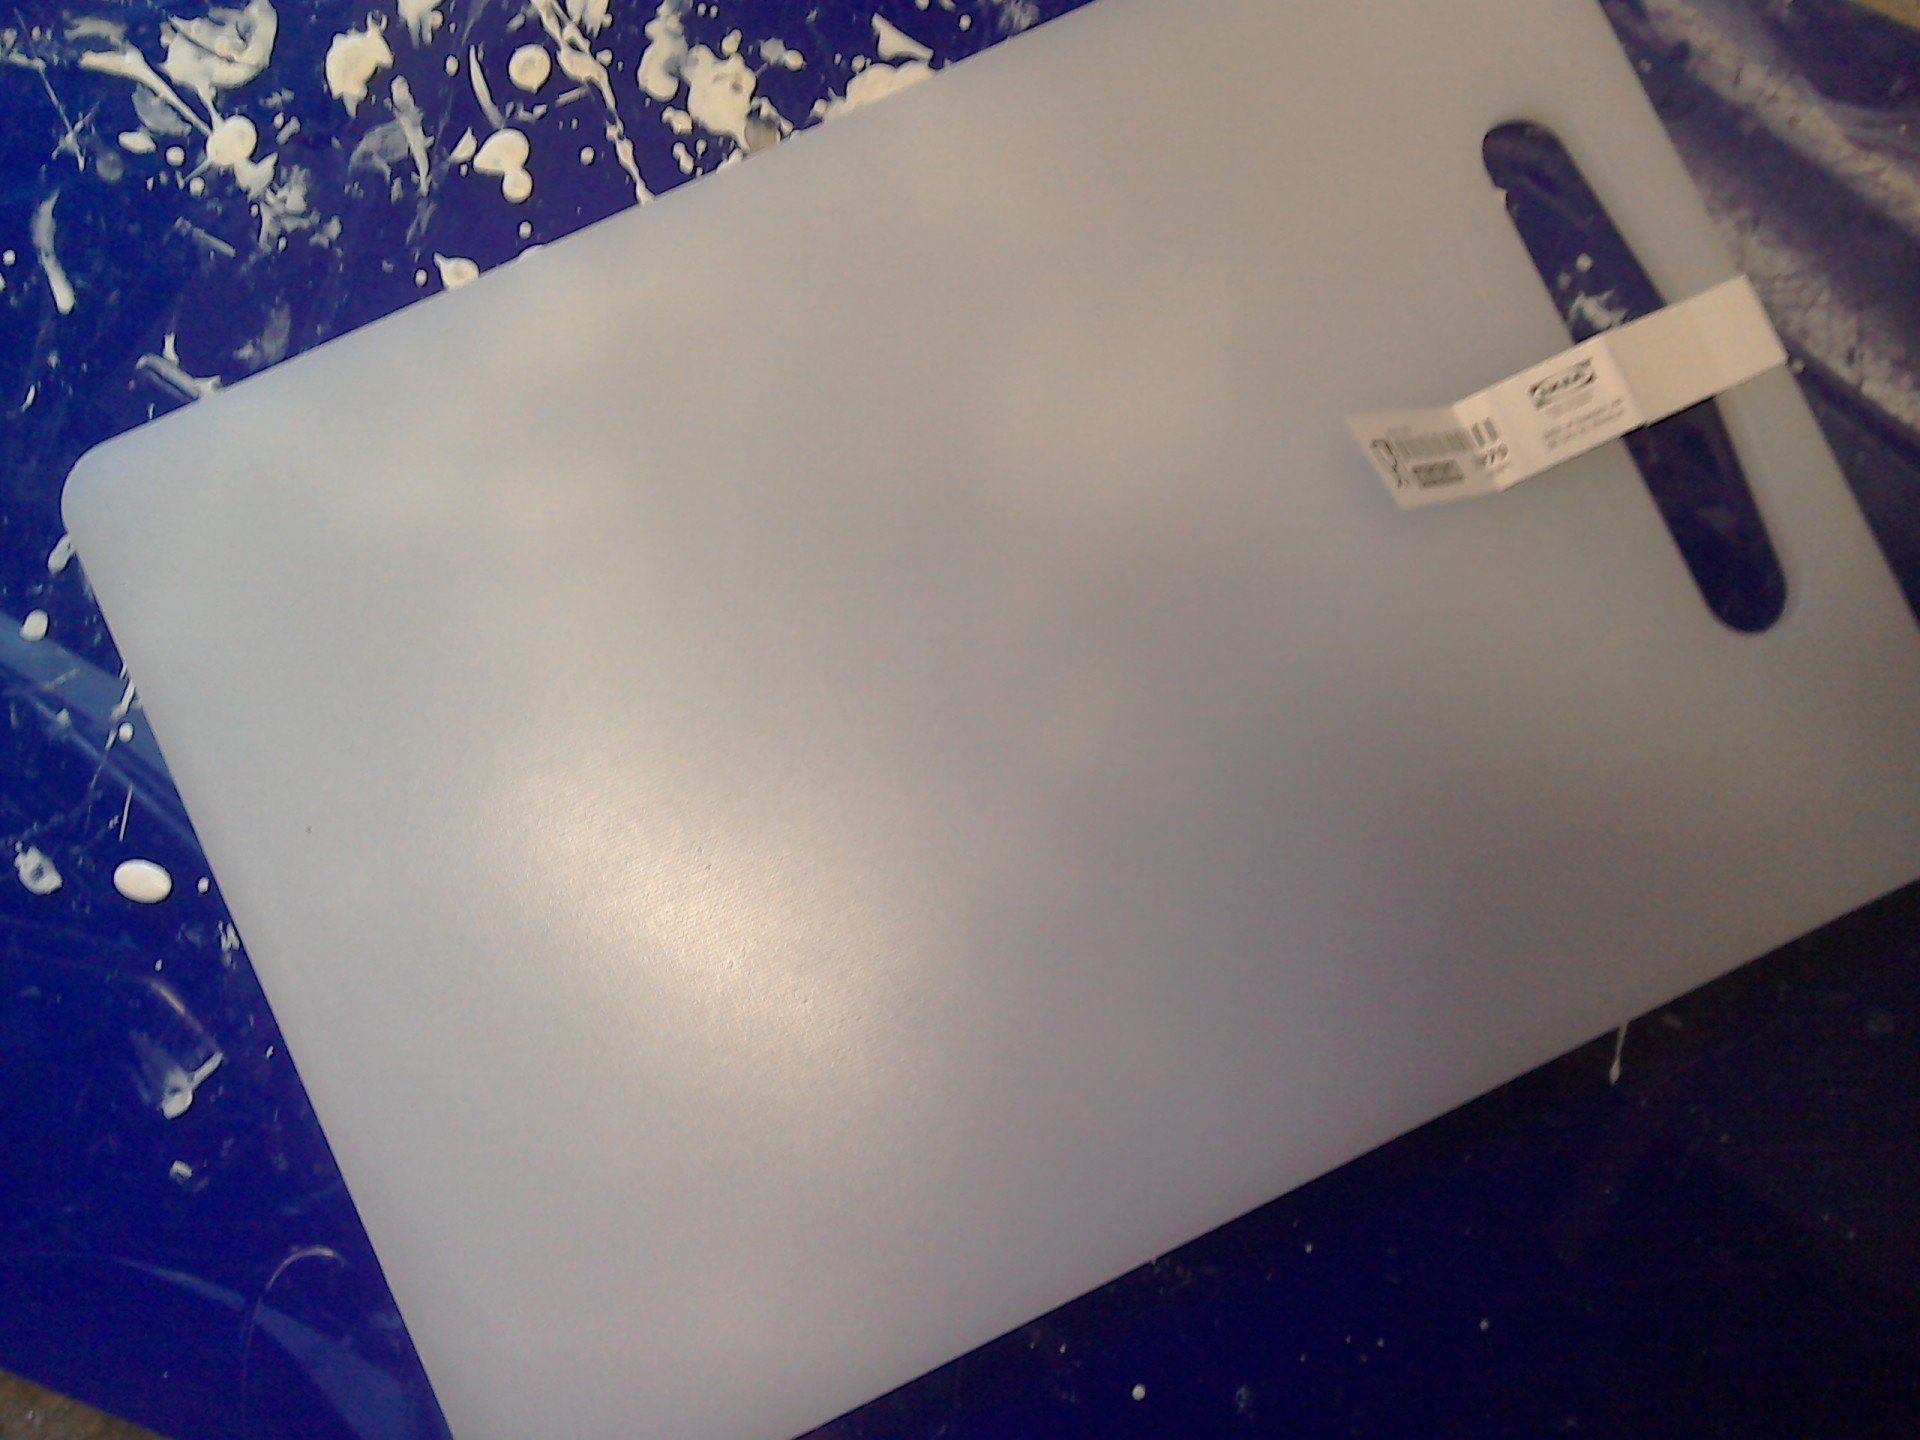
Plastic seat bases are usually made from polypropylene, but easier to source locally is a polyethylene chopping board, around £2 from Tesco etc. Polyethylene will be OK as a seat base providing that it is well supported.
The shape of the seat was marked out on the chopping board and roughly cut out using a handsaw. It’s easy to cut, either a hacksaw or wood saw will do the job. Seat is finished to shape using a flap disc on an angle grinder.
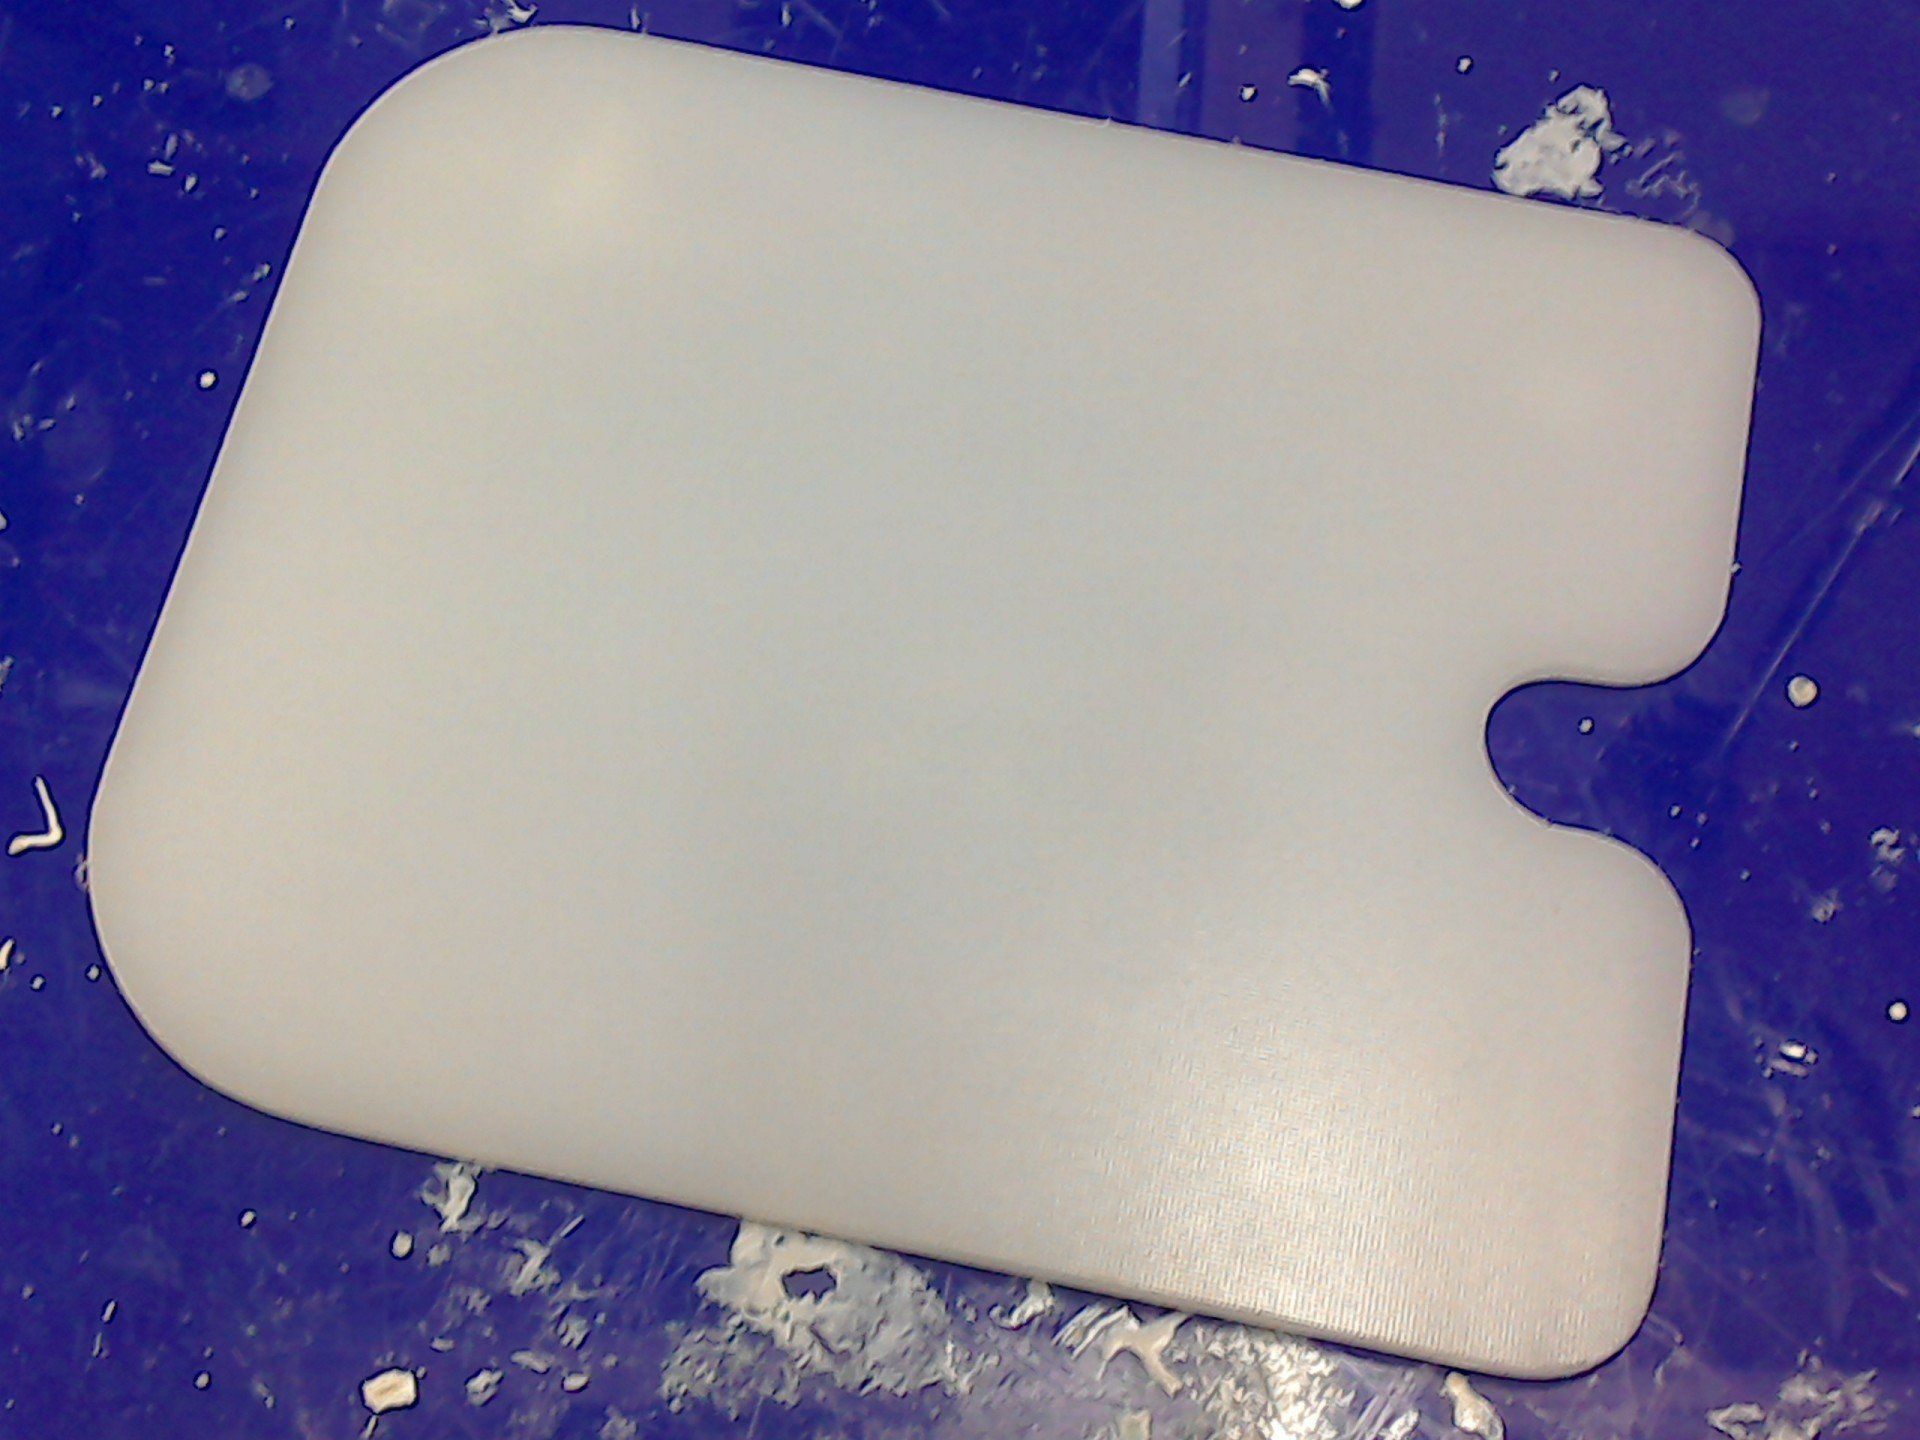
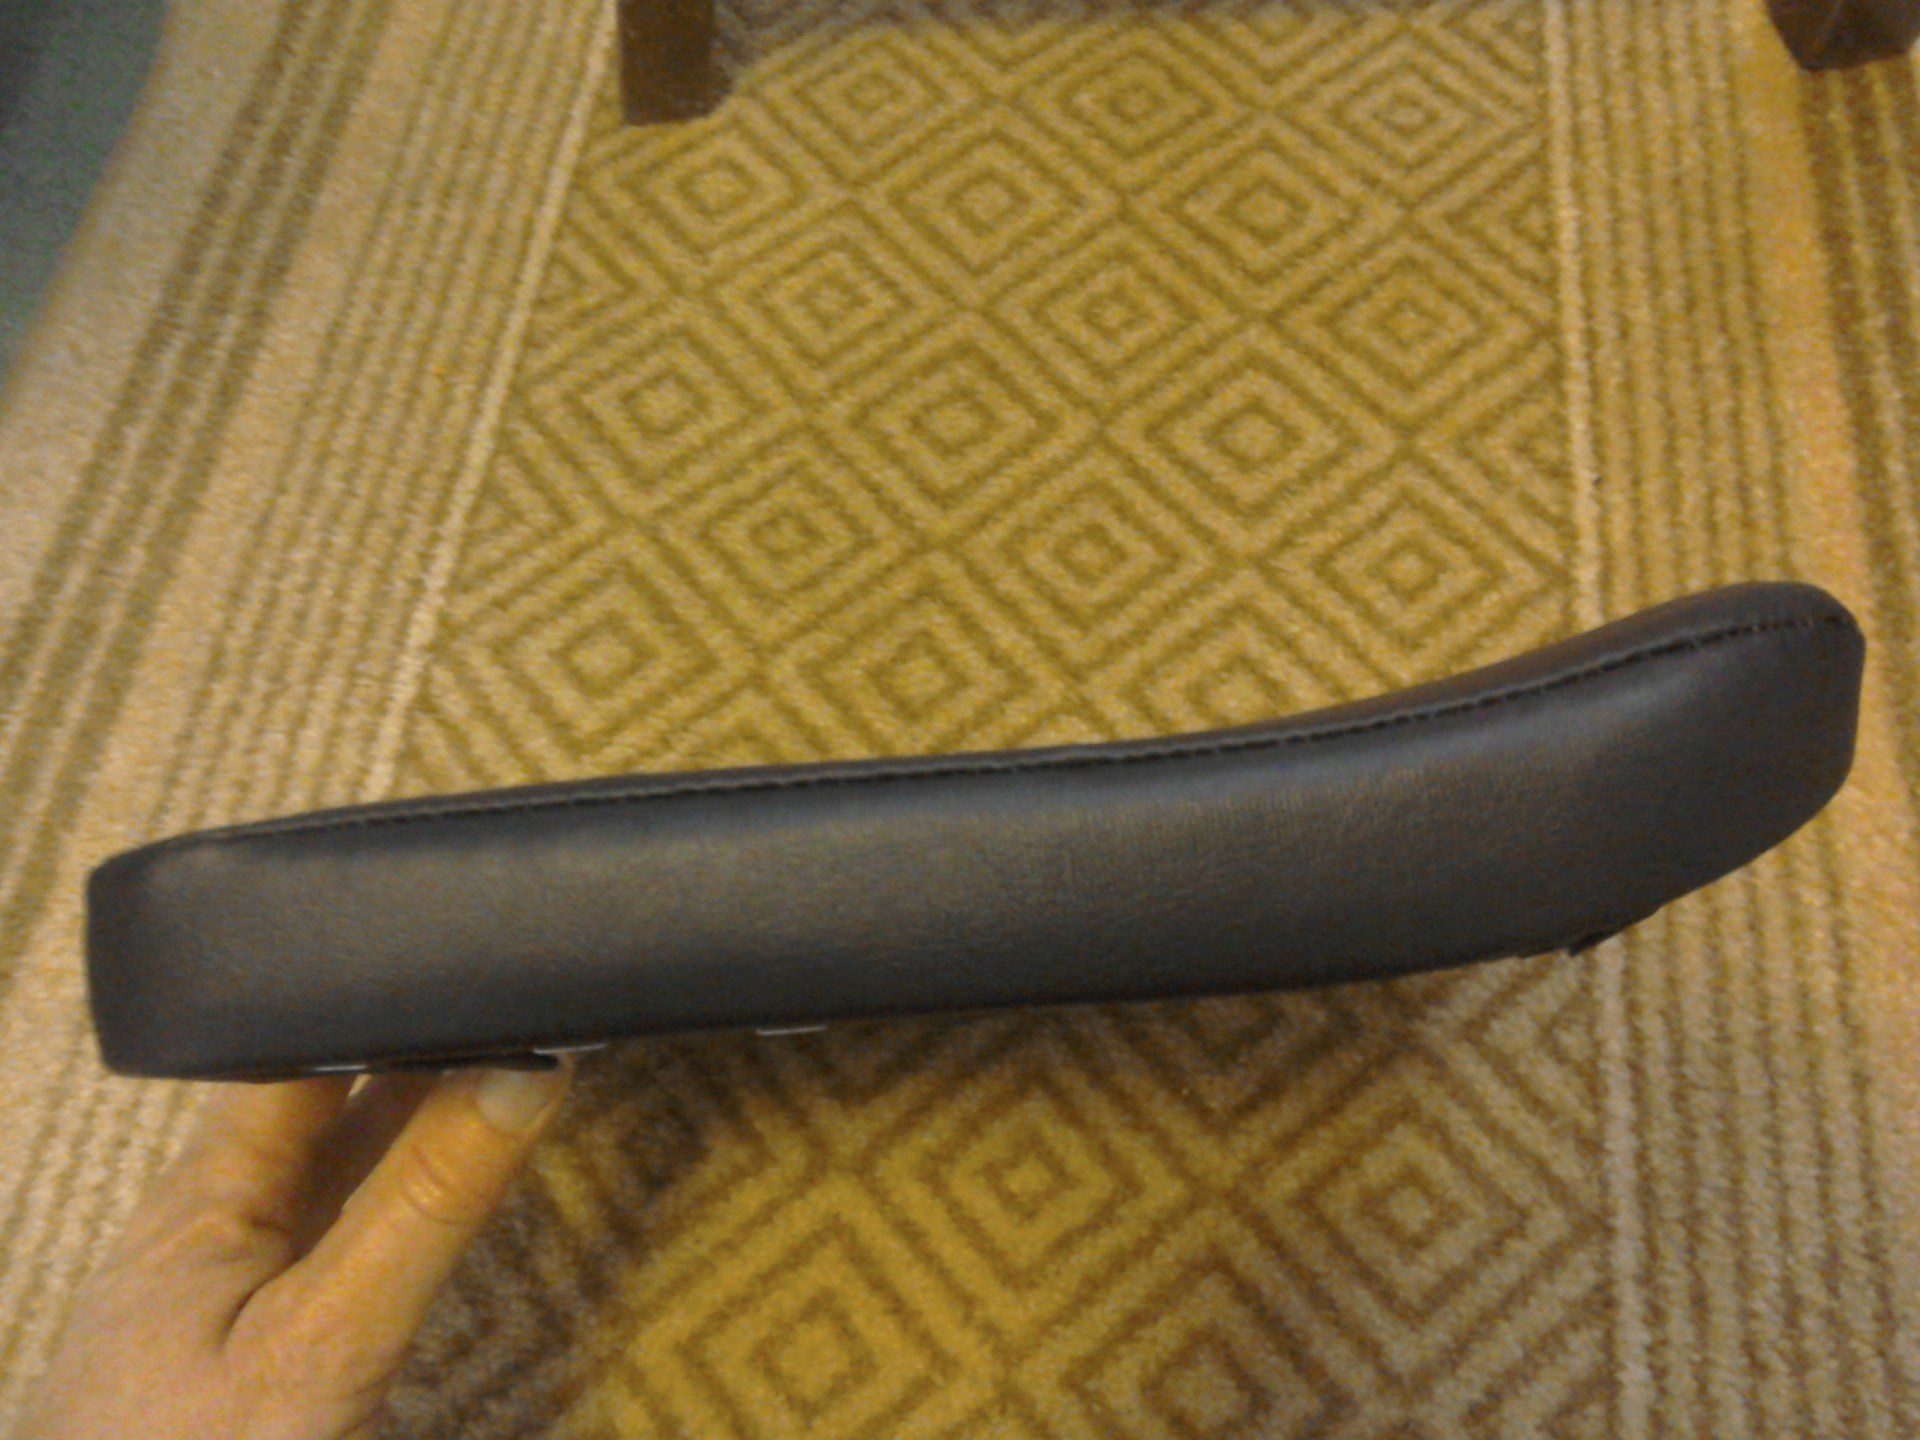
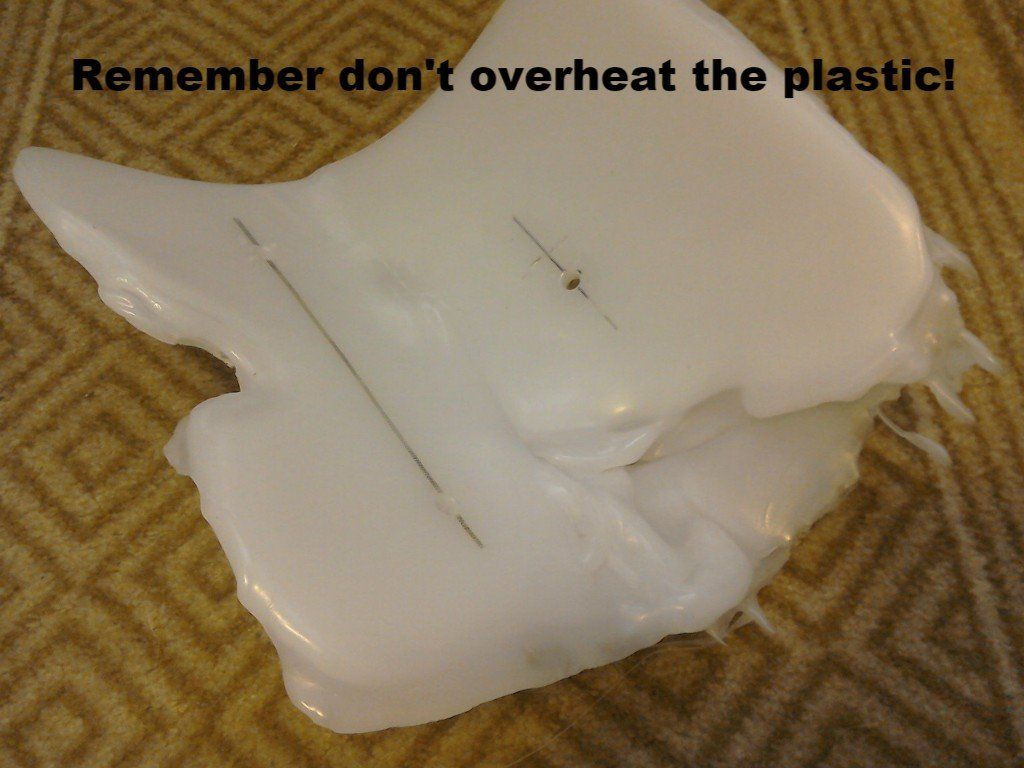
It’s not easy to see from these photos, but the back of the seat curves up slightly. The desired curve can be achieved by heating the plastic and forming it to the required shape. I heated mine in a small oven in the garage, but it was difficult to get the plastic to heat evenly, and getting sidetracked while the first one was in the oven lead to a molten mess. I think using a heat gun locally in the area that needs to bend would be a better method.
Next up was to devise a way of mounting the seat to the tail unit.
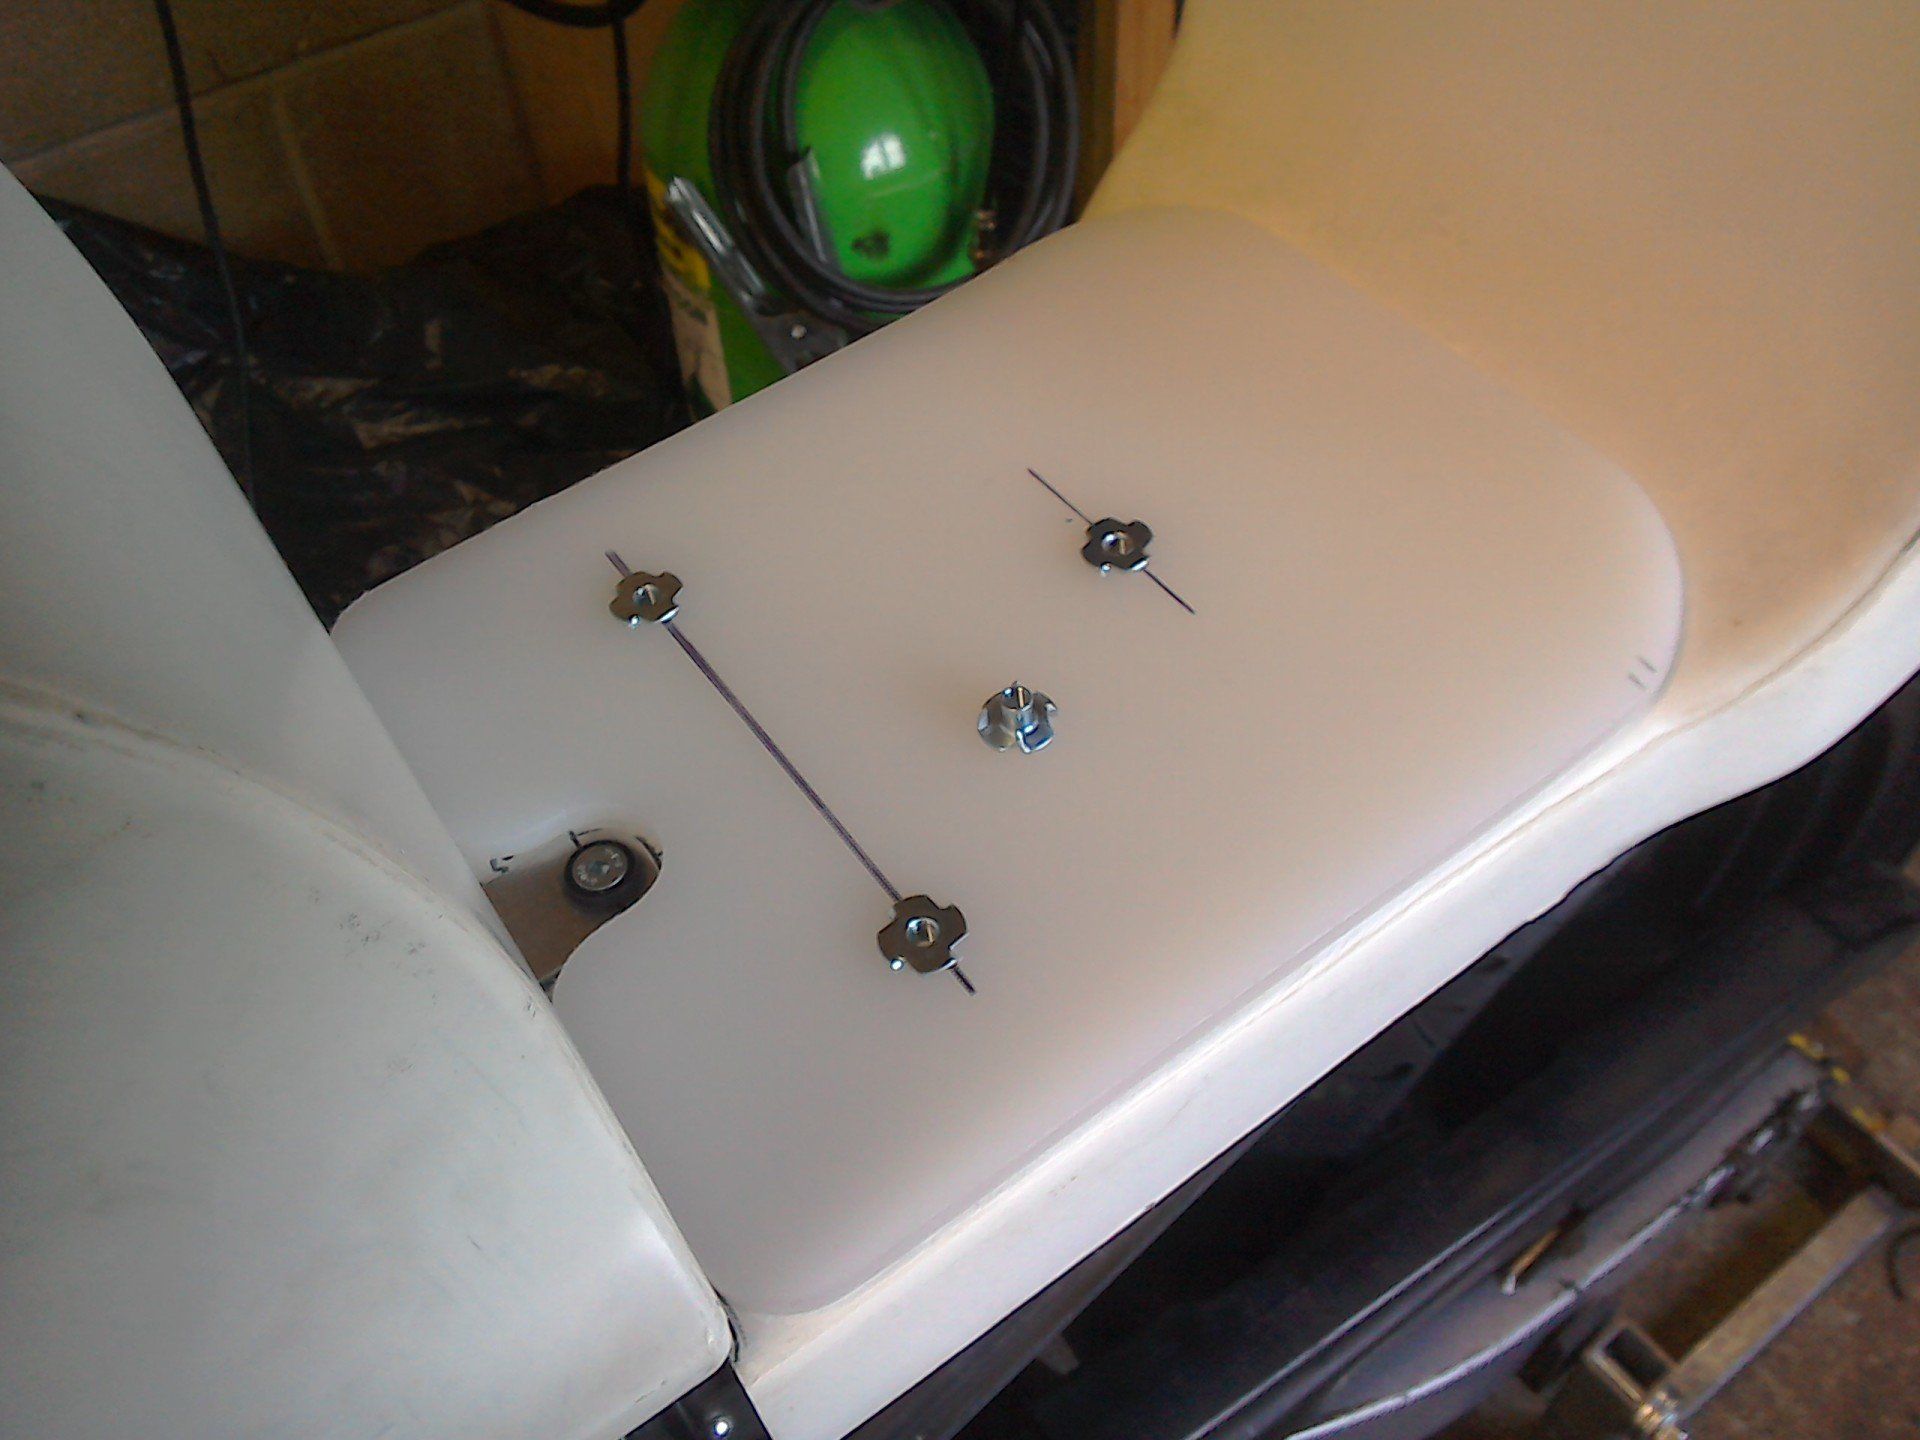
I used these four pronged nuts to form the seat mountings. Drill a suitable size hole, insert nut and then tighten from the other side using a bolt to embed them in the plastic.
Before the nuts were fitted, the position of the mounting holes were marked out on the seat base, drilled, and then the seat base offered up to the tail unit allowing the hole positions to be marked through onto the tail unit itself.
Now my needlework skills are non-existent and as I don’t own a sewing machine, the cover needed to be hand sewn. There are no photos of the cover making, because I assumed that the first effort would be a disaster and not worth taking pictures of. Surprisingly, especially to me, it didn’t turn out too bad.
Basically, it’s two parts, the top cut to the same shape as the base and a straight bit sewn around the edge. There are several good videos on youtube showing cover making and seat foam shaping. I’d have done a better job if I’d watched these first, rather than finding out about them afterwards!
For this cover, I used black, waterproof car upholstery vinyl - £9.50 for 1m x 1.4m (I bought plenty as, as mentioned above I was expecting to make more than one) and nylon upholstery thread - £3.99 for 150m.
