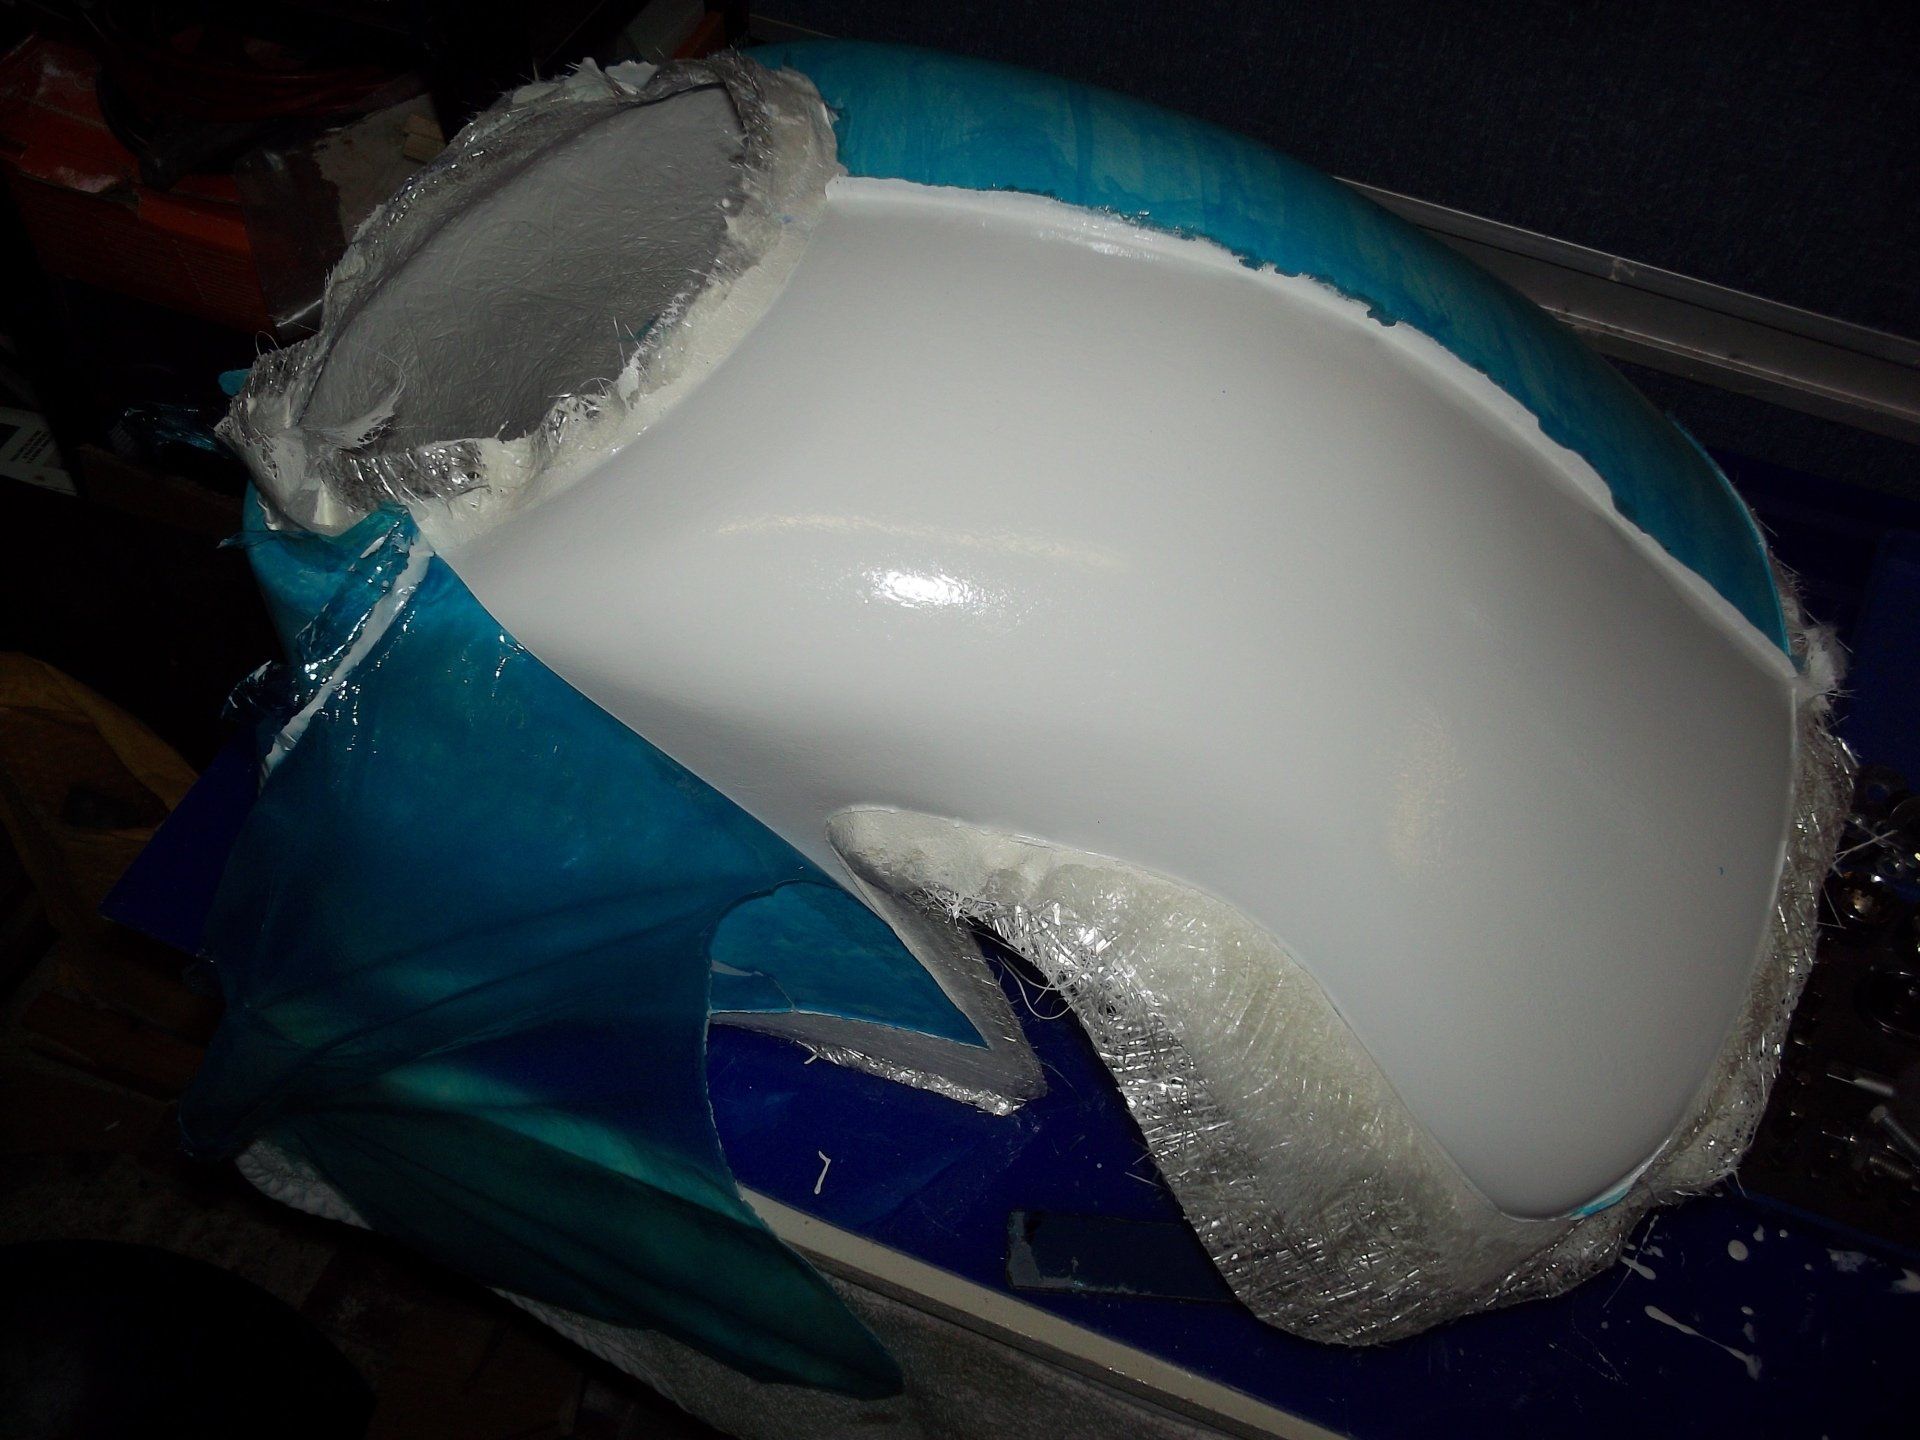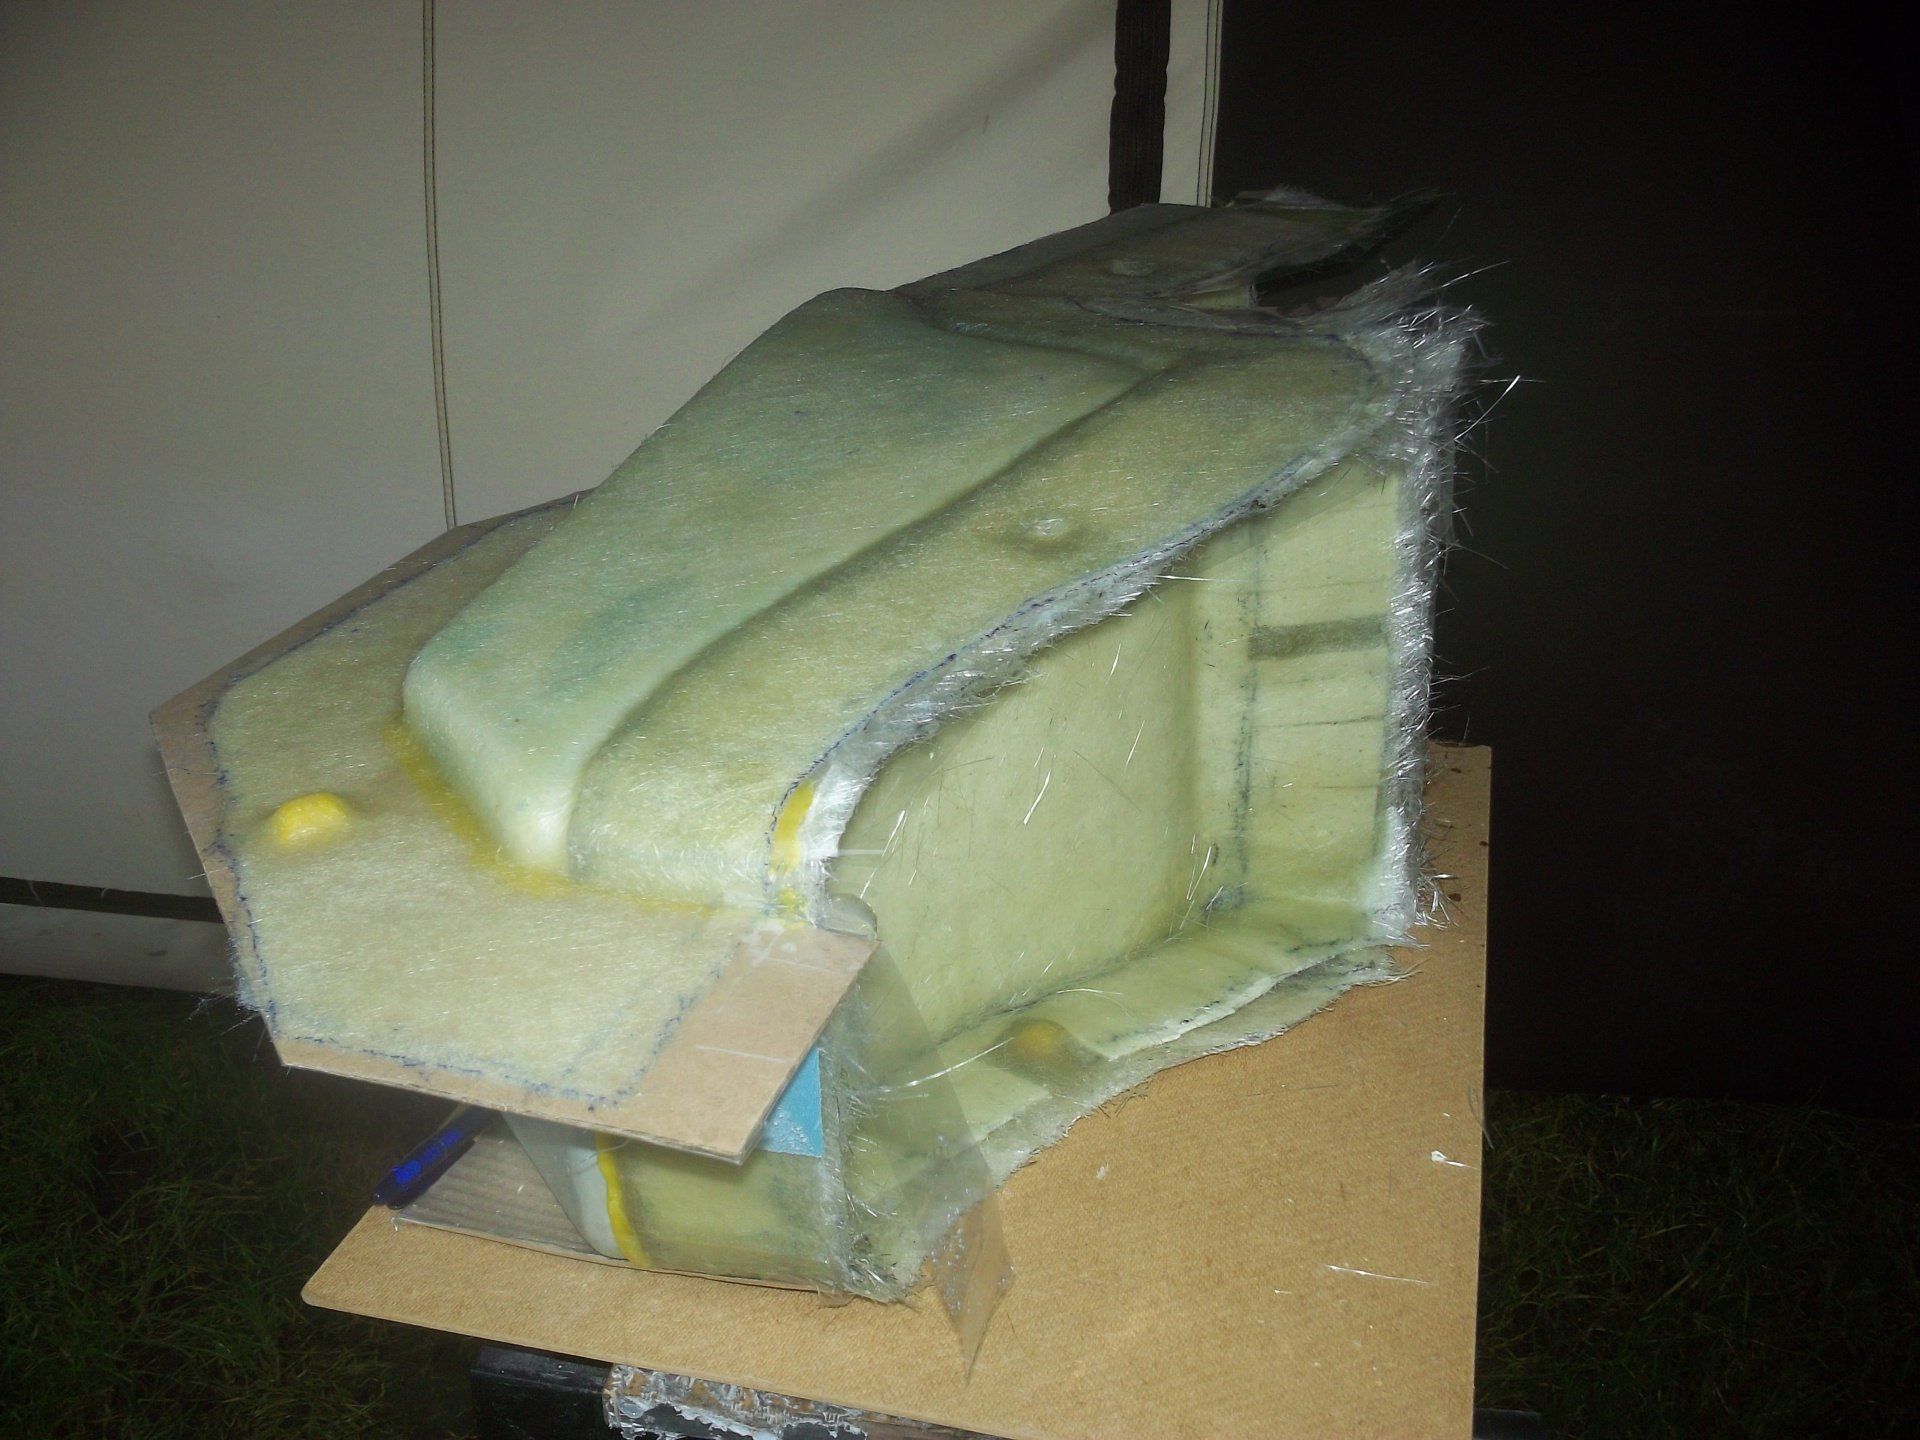
Here, the tail piece mould is being made. The pattern was made from foam and bodyfiller. When finished, the mould consists of 5 pieces that bolt together. Once the moulding is laid up in the mould, the parts are unbolted and you (hopefully) end up with a one piece tail unit.
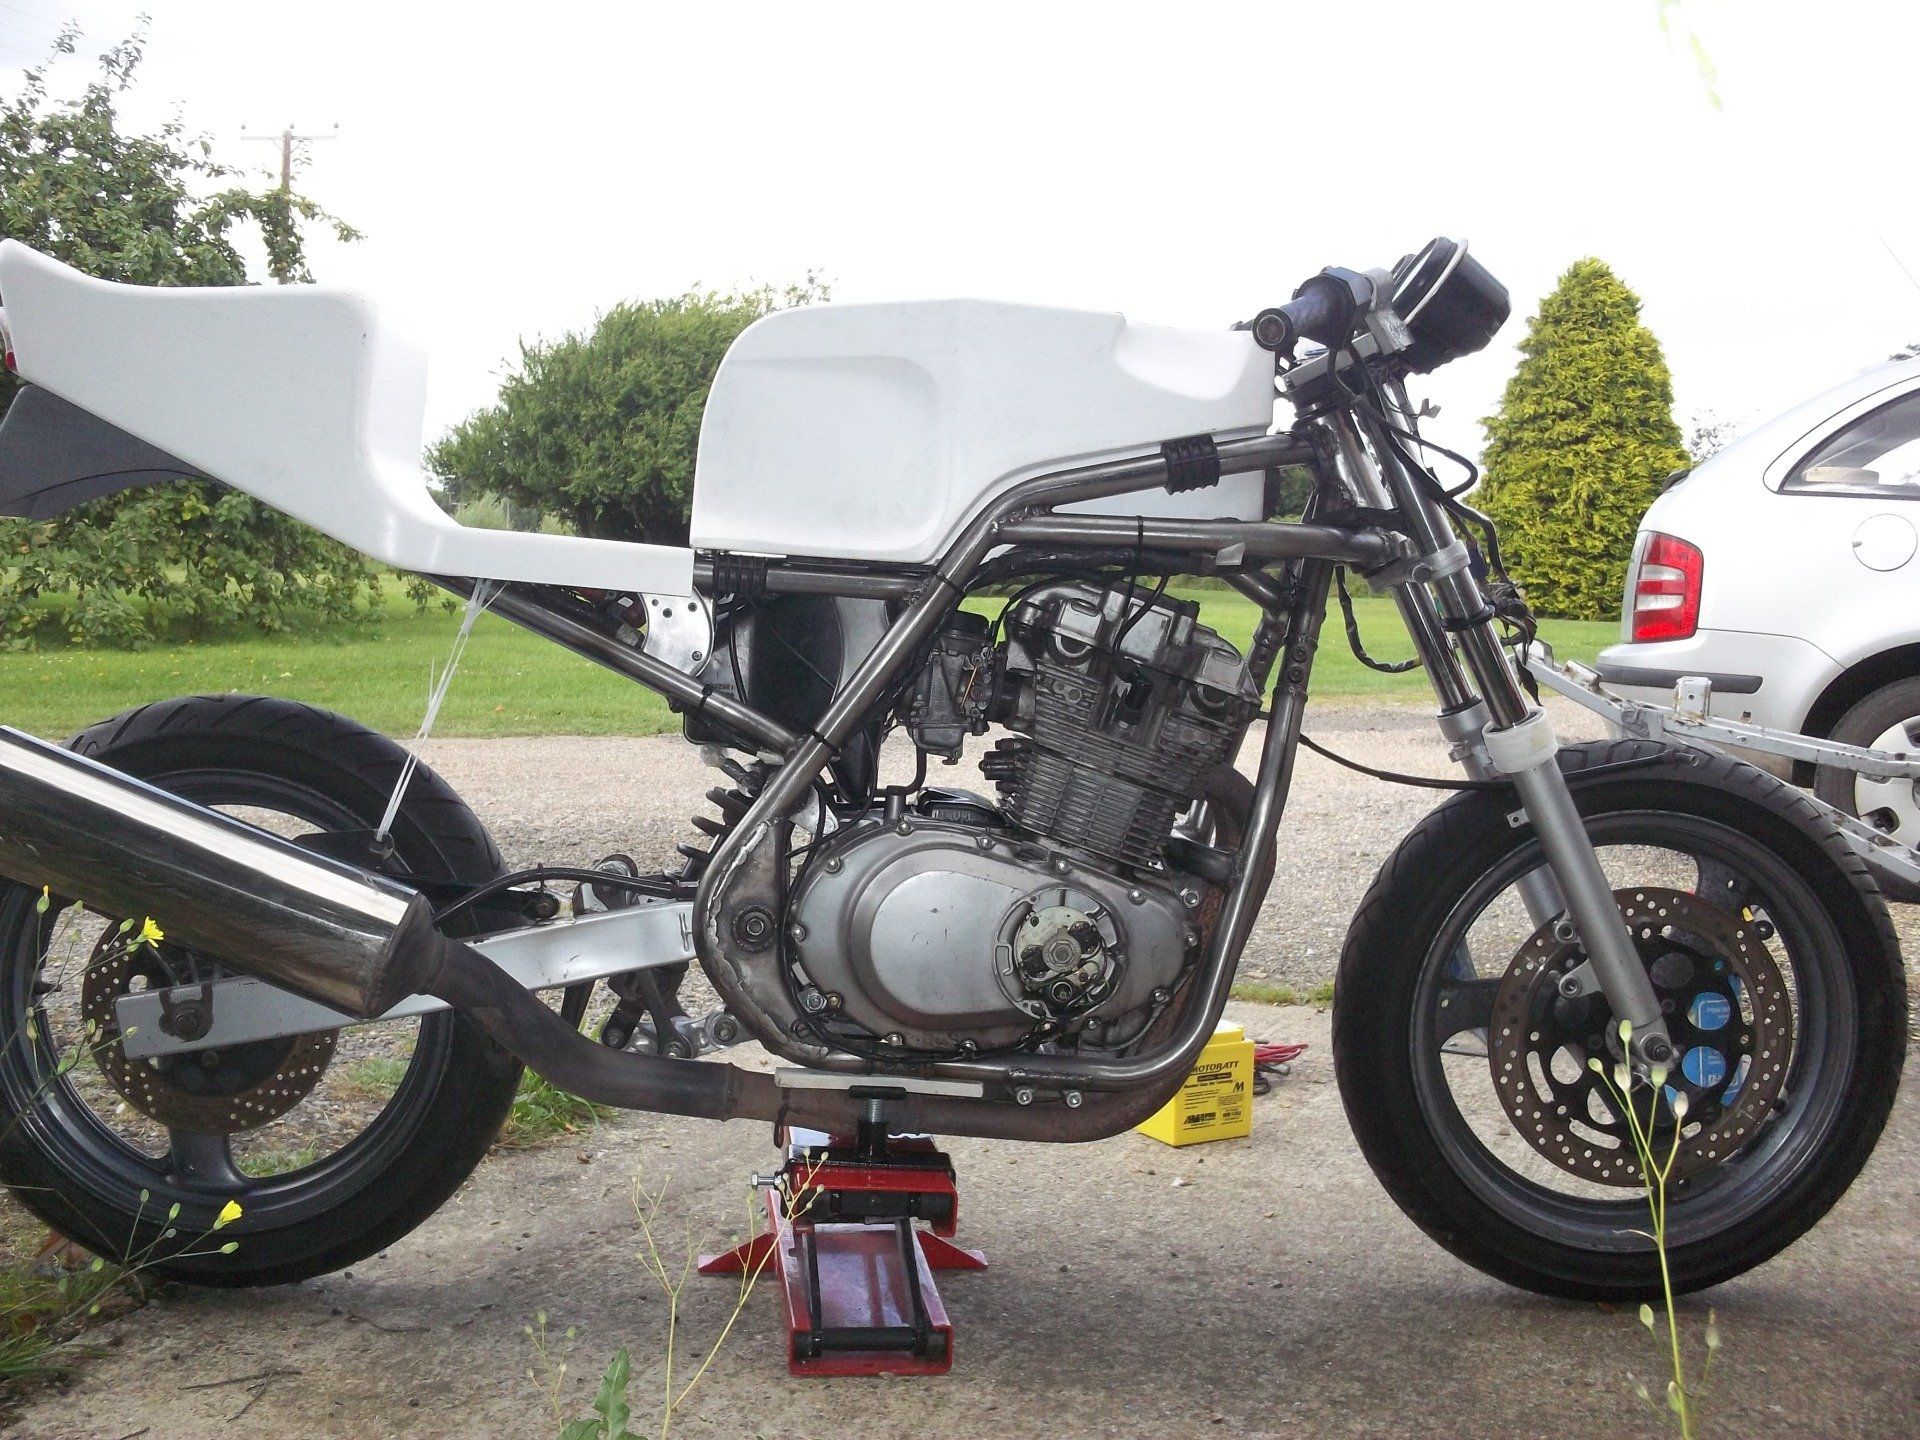
Tail piece and tank cover finished, the exhaust and electrics were temporarily fitted in place to see if the engine would actually go. This was the first time that I heard the engine run, and thankfully it was pretty quiet. It also meant that it was worth sourcing a replacement output shaft so that the engine could actually be used in the project.
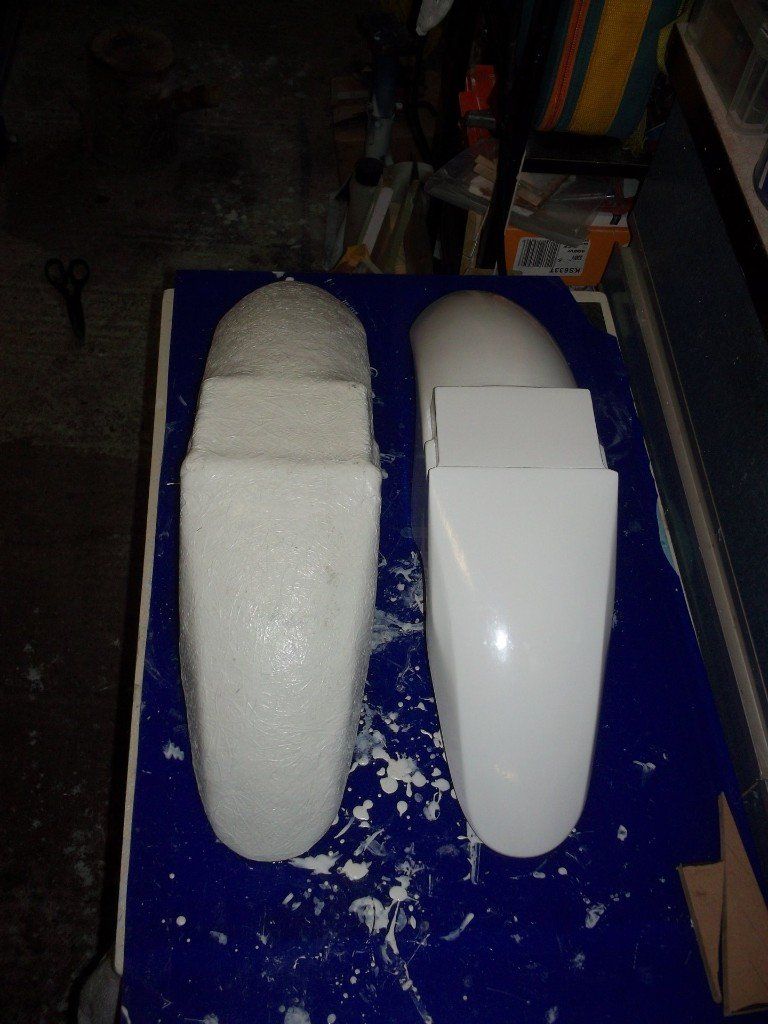
More fibreglass work. This time the front mudguard. Mould is on the left, moulding (the bit you actually want to use) is on the right.
For the nose fairing, I decided to ditch the foam / bodyfiller method of pattern making, and use Chavant clay. Chavant clay doesn't dry out. At room temperature it is fairly solid, heating it gently allows it to soften and be easily manipulated. It is then possible to take a mould diectly from the clay pattern.
Was it any easier than using foam and bodyfiller? I don't know, but it certainly produced less dust. Surface finish wasn't that great, but that was my fault. Next time, I really need to get a smoother finish to the clay before taking a mould.
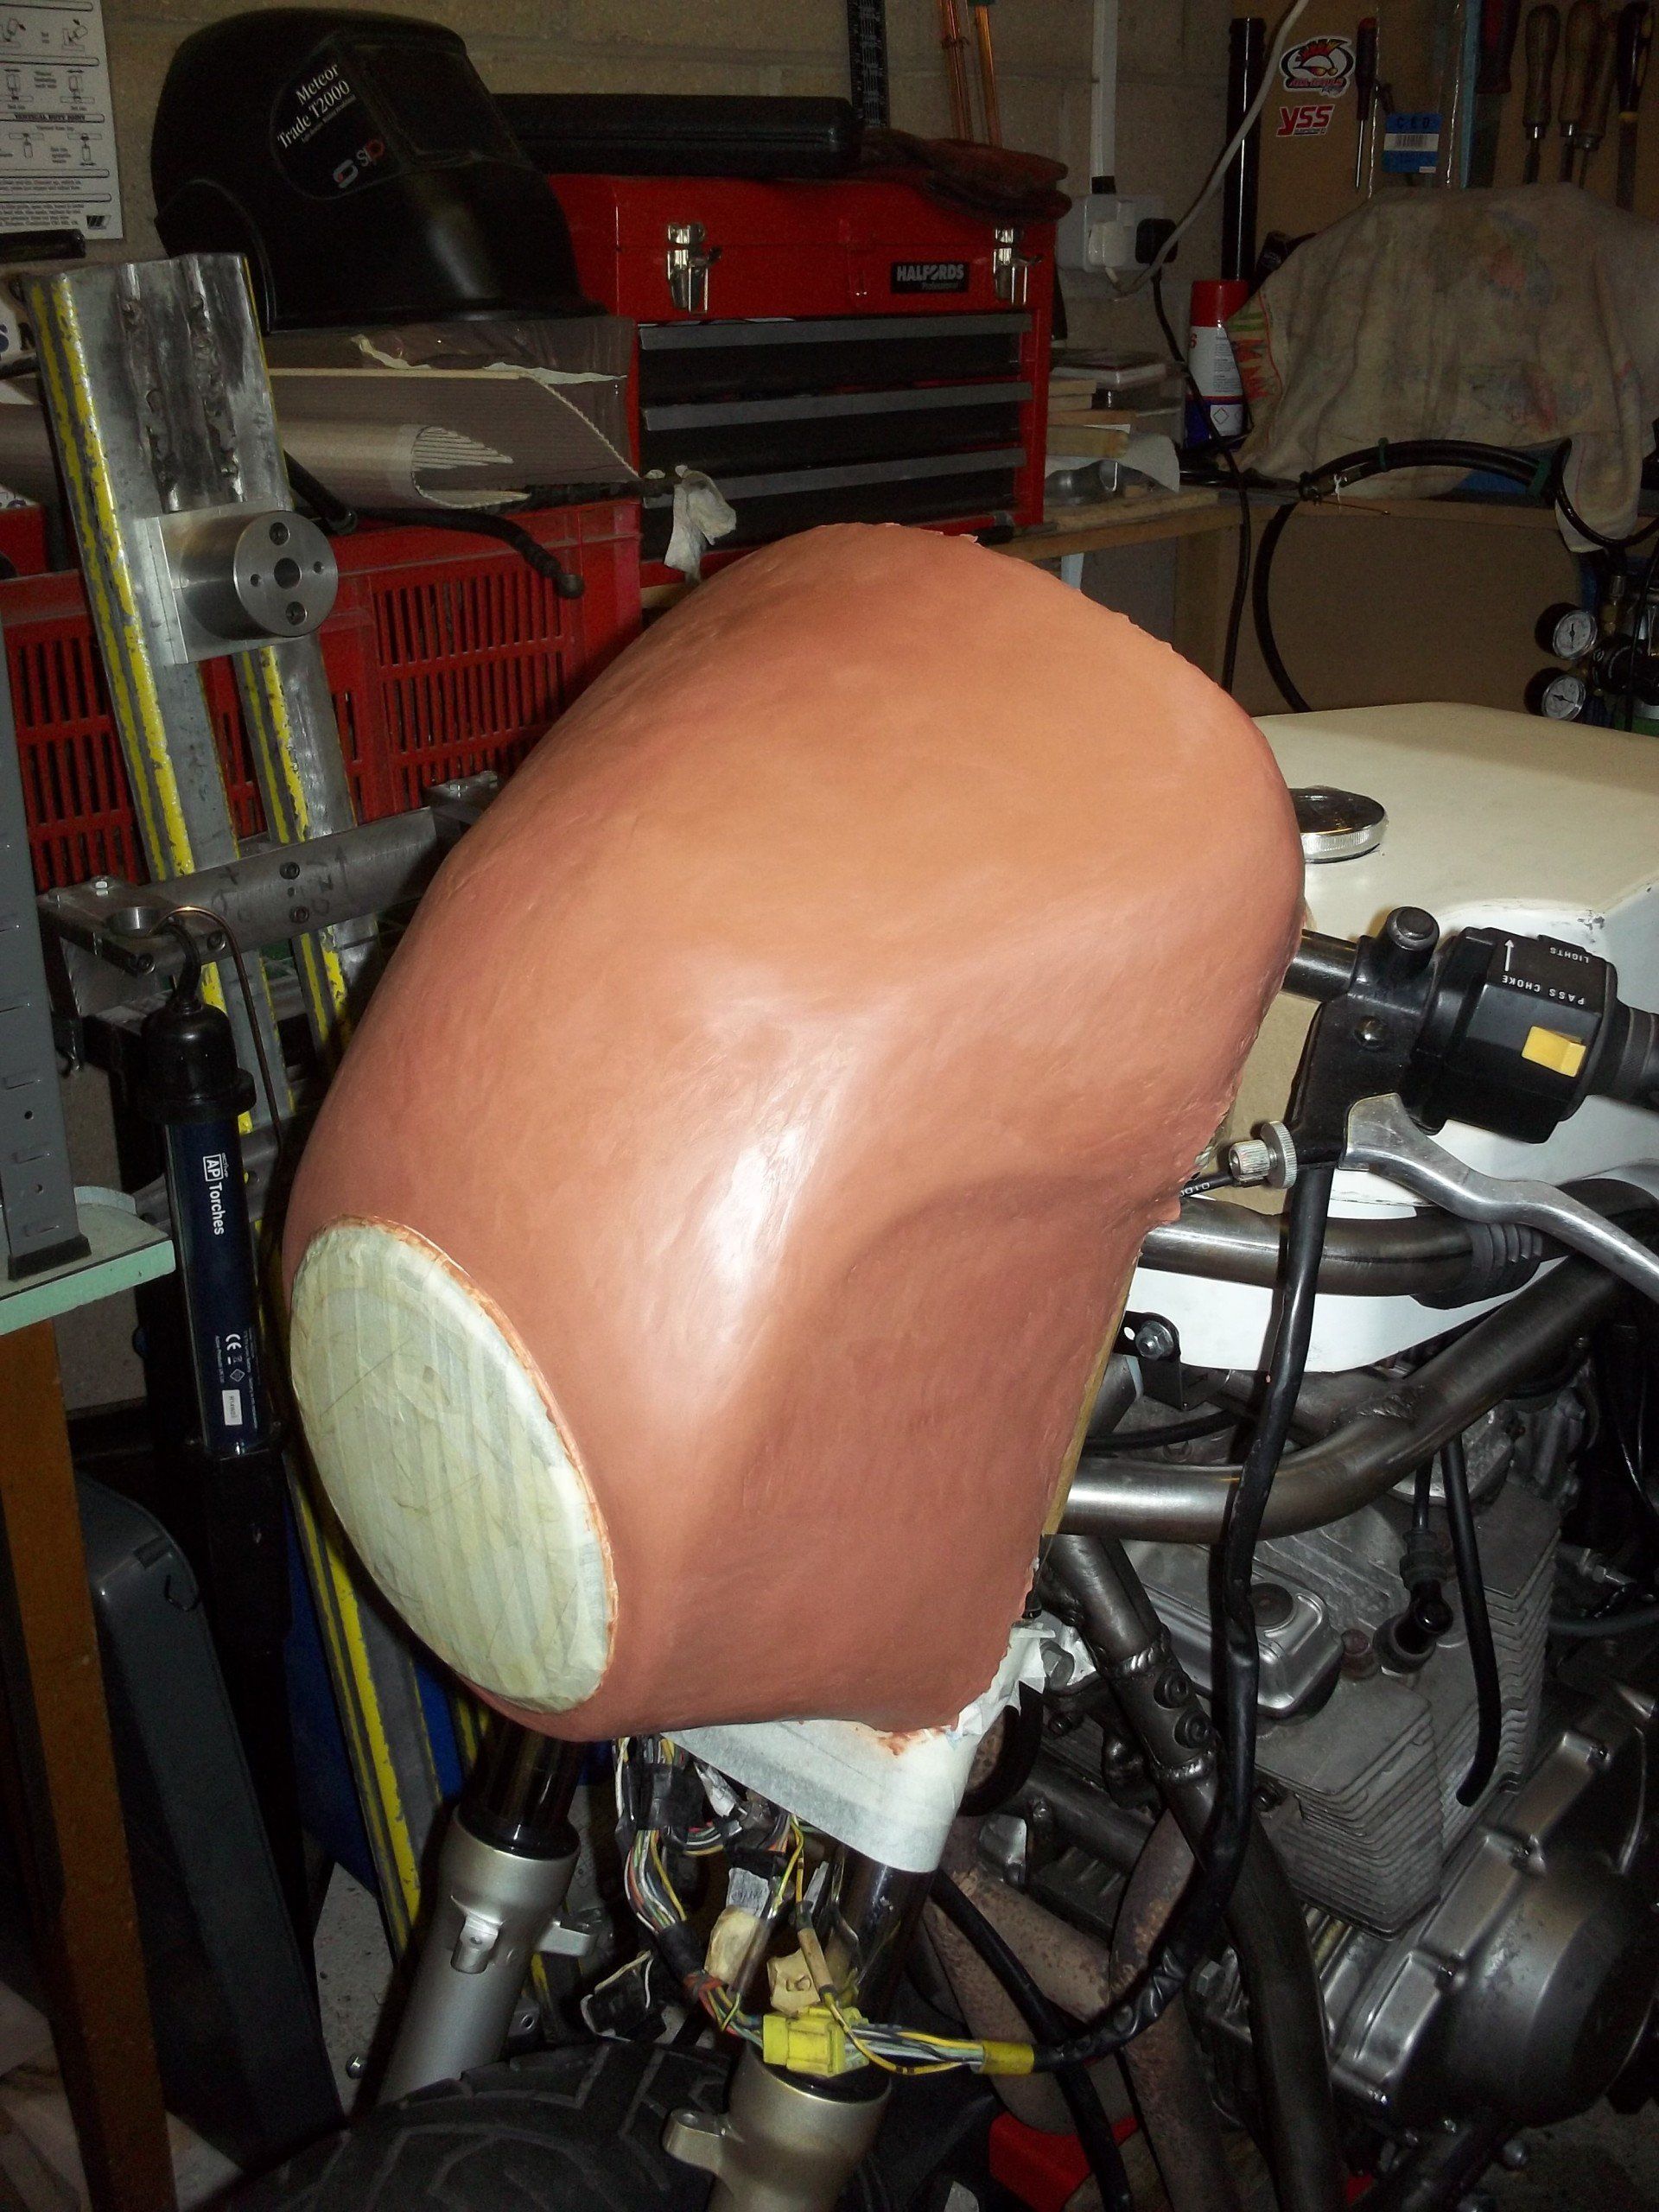
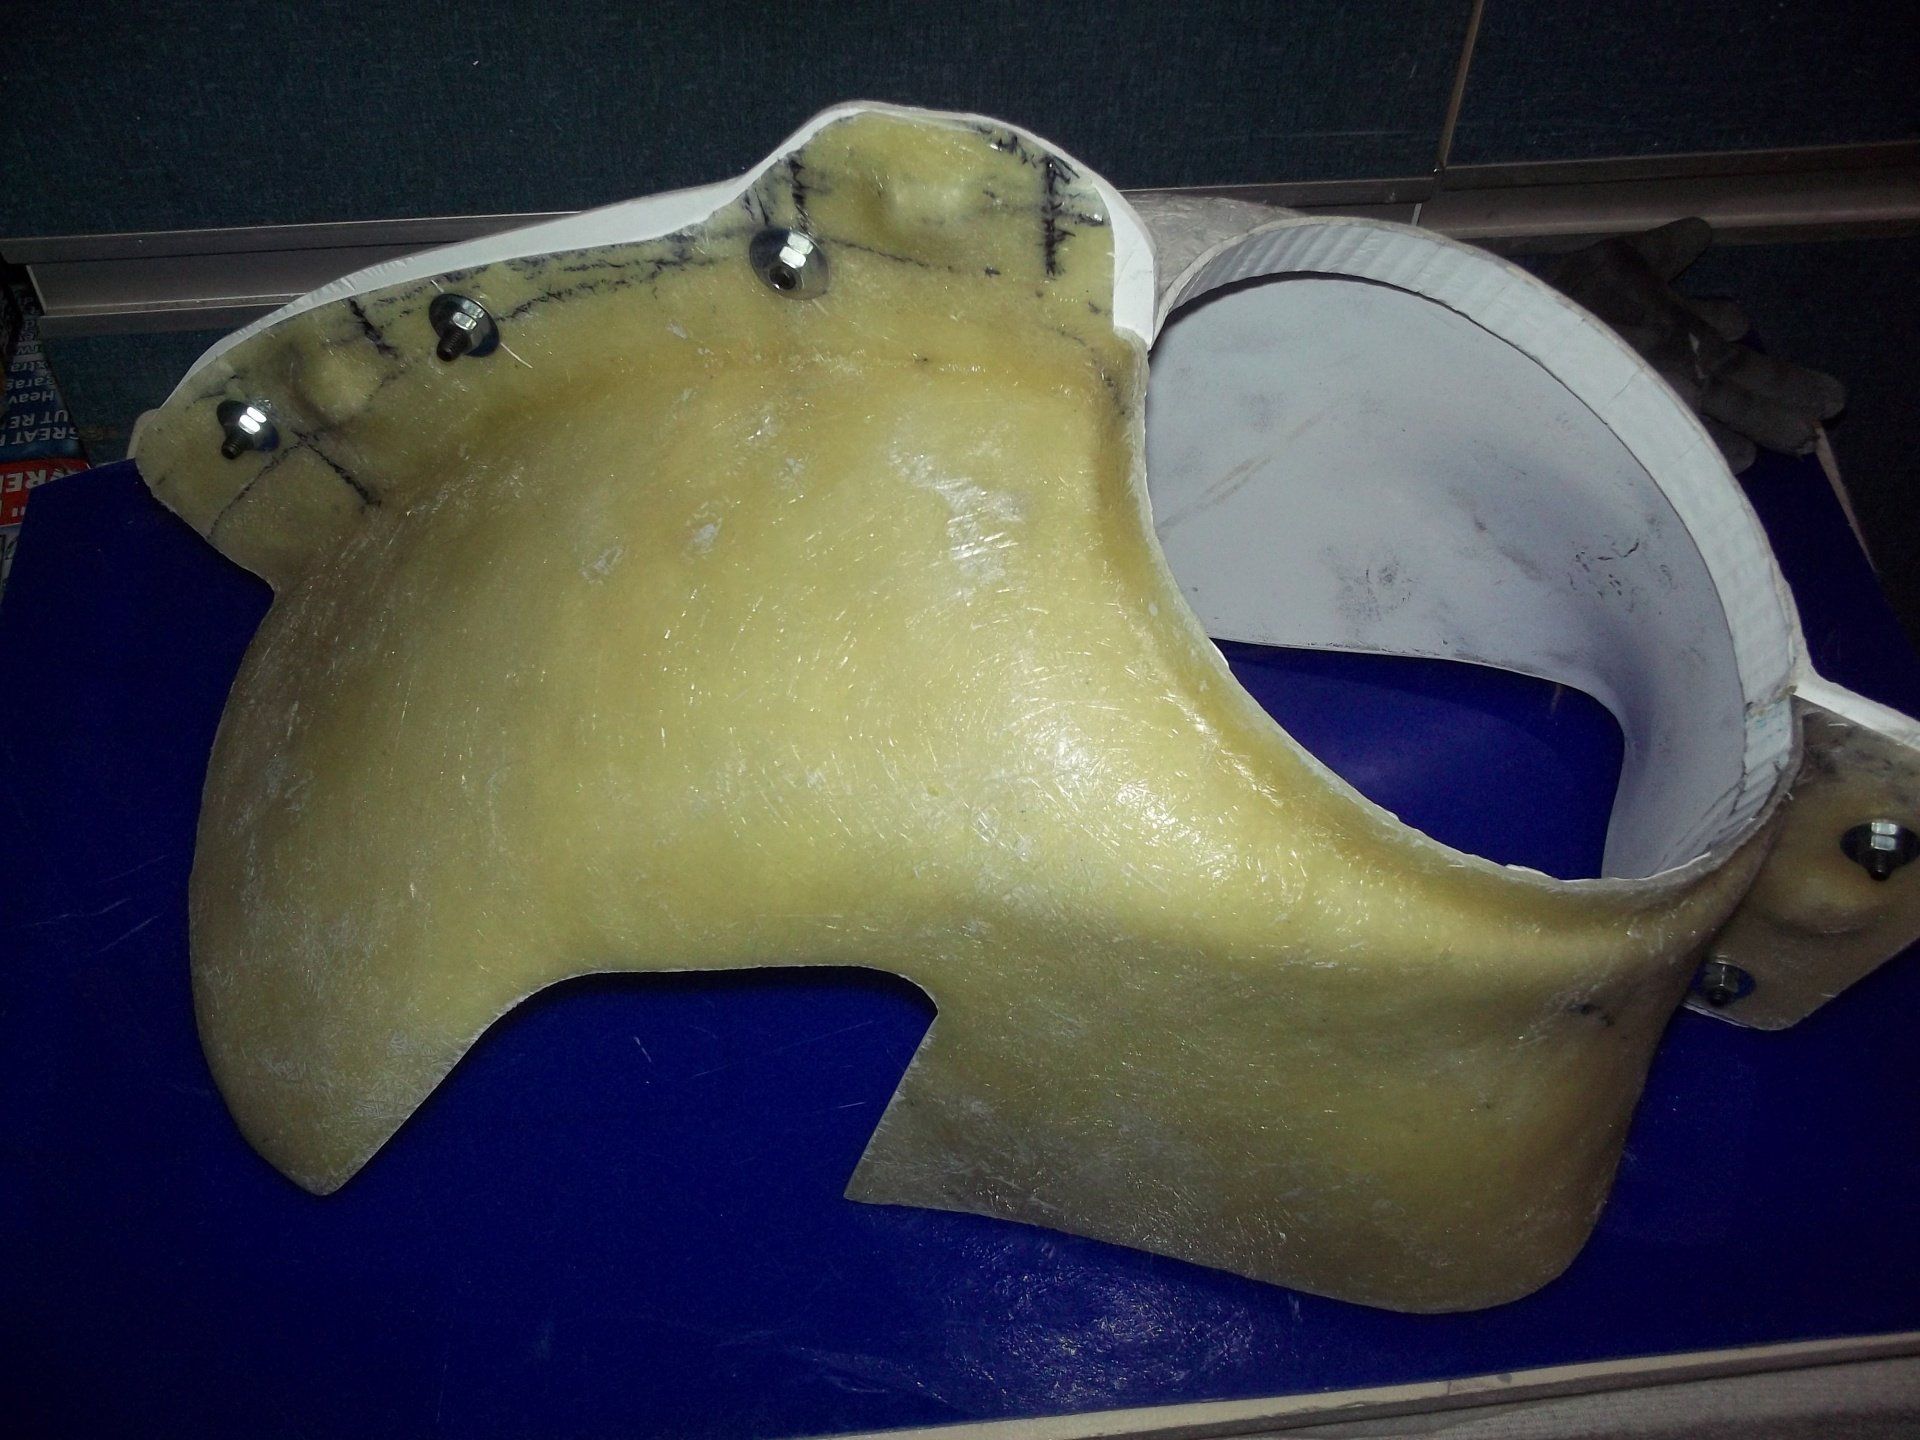
This is the mould for the nose fairing that I eventually mangaged to produce. This is a two piece mould, the two halves bolt together.
The nose fairing moulding, freshly released from the mould. The blue film is a PVA release agent - it stops the moulding sticking to the mould. You have two options for stopping mouldings from sticking, lots and lots of layers of special mould wax or a liquid PVA release agent (or sometimes a combination of the two).
